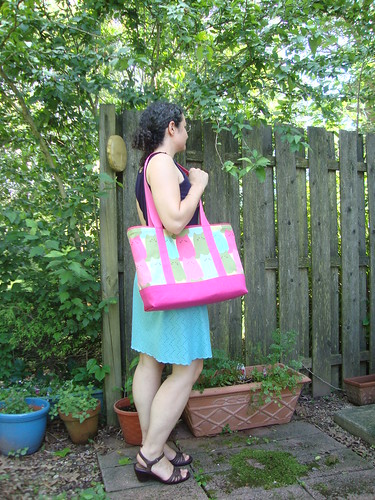
The cat bag is done!!

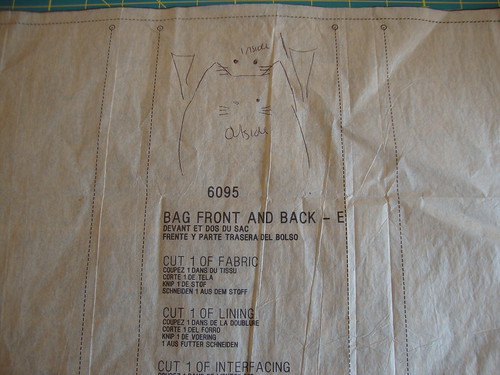
The pattern
I originally bought this pattern for the dress, but the bag started to intrigue me. I looked it up on PR and most of the reviews were for the dress, there was one for the bag which got me all excited for sewing this up. (It's made with bicycle fabric--velosewer, you should check it out).
The cat fabric
I originally saw this fabric at Kaimuiki during my day with MushyWear. It's Japanese fabric from Kobayashi, from their Quiet Cats line (I guess they are quite because they have no mouths)
I bought .75 yards of it to make my mom an apron. But when it finally arrived off the Pineapple Express, I had to have some for me. And for correct kitty placement I could not use the .75 yards I bought. I googled for it and found it on this website that sells so much cute stuff. It comes in three colorways, and I bought the green/pink colorway. I bought, um, a few yards (this is not the last time you will see this fabric...)
The hot pink canvas
So last Friday I had this brilliant idea to have a hot pink bottom on the bag to match the hot pink webbing and hot pink cat, but had no hot pink canvas in stash. Last Saturday night I ventured to the Joann's in Lawrenceville where my hot pink canvas dreams were fulfilled. I bought .75 yards of it and used it for the lining, a pocket, and the exterior bottom of the bag. If I had bought more (or maybe more carefully laid out the pattern pieces) I might not have needed to sew a center seam in the bottom.
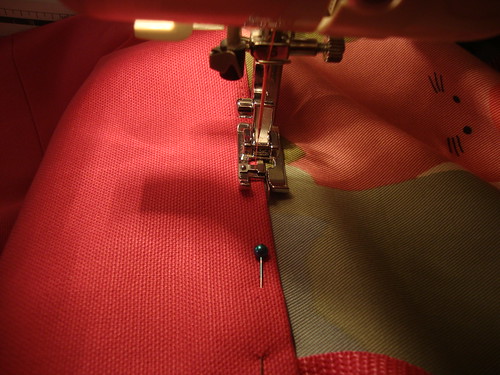
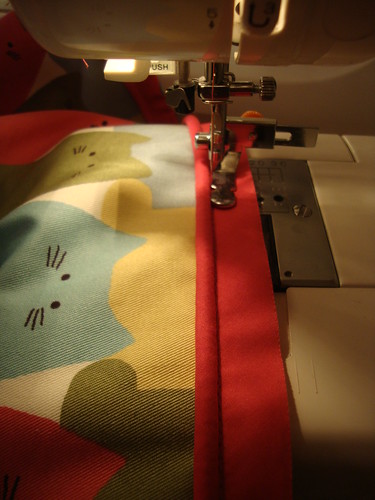
The edgestitching foot in action
The hot pink webbing and thread
When I was in NY with velosewer, I happened to find this hot pink webbing at Pacific Trimming. I had not thought about getting hot pink webbing for the cat but I was pretty sure it would match the hot pink cat on the fabric. I bought 4 yards and it turned out the pattern called for 3.5 yards.
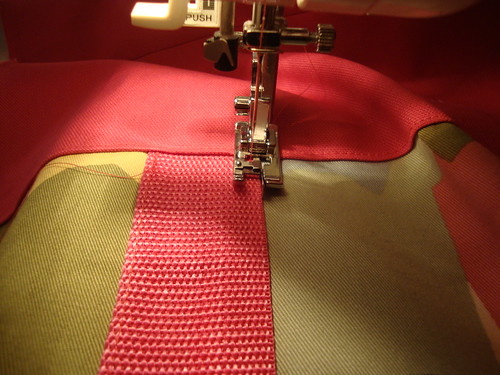
My edgestitching foot got a workout!
The thread I used was Coats and Clark color 1840 (which actually is named hot pink), which blends perfectly into the webbing.
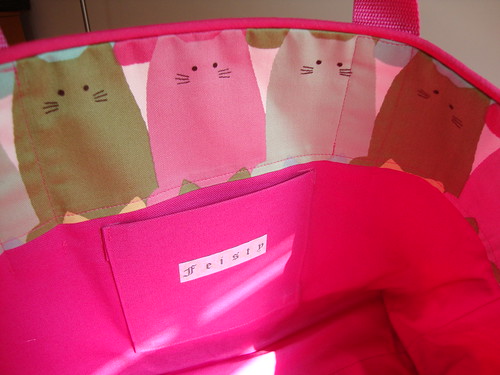
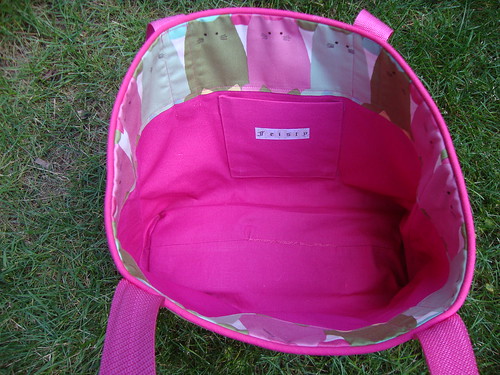
The pocket and the label and the cats on the inside
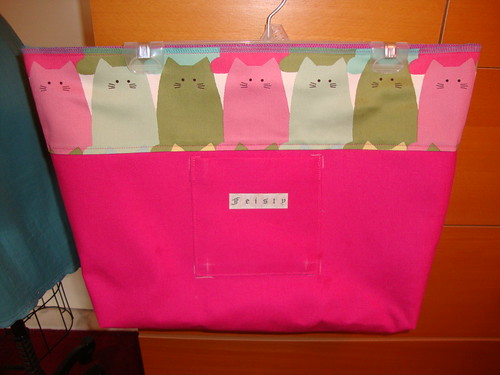
I added an interior pocket and used the "feisty" label that was part of the goodie bag from PR weekend Philly 2010. I would *love* to have more labels like that--any idea on where I can find predone labels with random words on them?
Also I added cats to the top of the lining, just because I like this kind of detail. It's on all the Simplicity bags I've sewn.
The interfacing
I fused Pam's interfacing to the cat fabric, which gave it a really nice feel and drape. I just love Pam's interfacing. Yes, it's not as cheap as Joann's (money wise) but the quality is SO much better, plus it comes in wide widths, does not shrink and does not bubble.
The plastic canvas
The pattern called for cardboard in the bottom of the bag and recommended covering it in a scrap of lining fabric. From somewhere in my crafty past, I recalled using plastic canvas for things like this (canvas like the kind for needleworking with yarn, whatever that is called, I really can't remember).
So at Joann's I picked up some of these big sheets of plastic canvas.
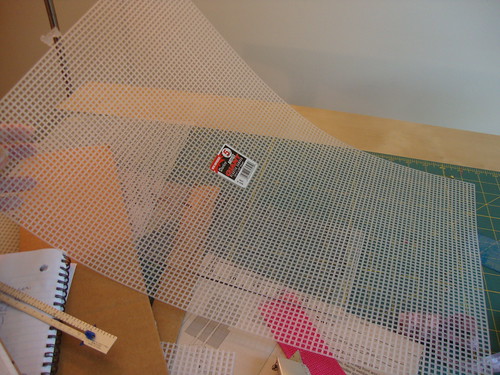
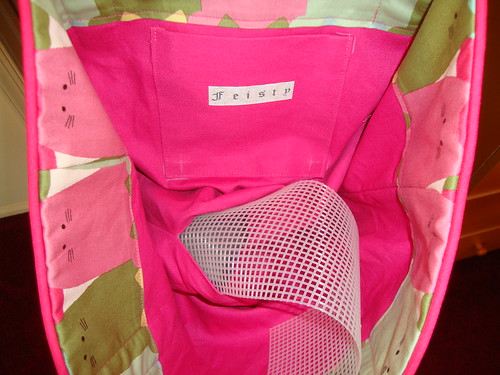
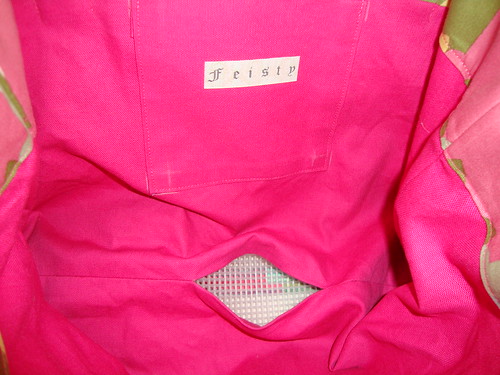
I cut it to the recommended size of the cardboard, and I actually cut two of them, and put them inside the lining. That way the bag is still washable and the plastic canvas is contained inside the lining. I think I will use that technique on all of my bags from now on! It really helps the bottom of the bag

The serging
My serger was still threaded with turquoise thread from the skirt, so I went with it and used it for serging almost all raw edges.
The piping
I made my own piping using a length of broadcloth from the Rag Shop, of all places. The sticker was still on it, dated 6/14/06, $2.29 a yard. I have no idea why I bought it 7 years ago, but it came in handy this week! I used thick red cording that was in my stash. The piping tutorial I like the best is this one from the Seasoned Homemaker
If I had to do it again
I would sew the handles on to the front of the bag, almost all the way up to the top. The way the directions have you do it, you sew the webbing up to 5" away from the top, then put the lining in, then sew the webbing up the rest of the way, but it is kind of awkward to do so, and I'm not sure what the benefit is of having the webbing sewn through the lining 5" to the top of the bag.
The order I would sew this in is:
- bottom seam (if your fabric is one-way directional like mine is--the pattern piece is actually one big piece that I folded in half and cut two pieces of because my cats all face one direction)
- sew the webbing on to exterior fabric about an inch from the top
- sew the canvas on the bottom and edgestitch
- sew side seams
- sew bottom corners
- sew piping into the bag
- sew pocket and iron label onto lining
- sew cat facing to lining
- sew lining together
- sew lining to the exterior fabric as per the directions.
- insert plastic canvas through opening
- stitch opening
- sew remaining 1" of webbing to the top of the bag.
Rejoice!
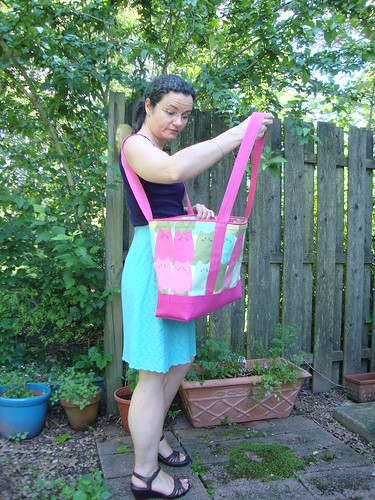
Can I find what I'm looking for?
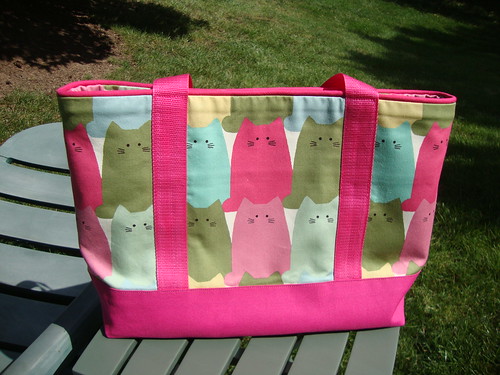

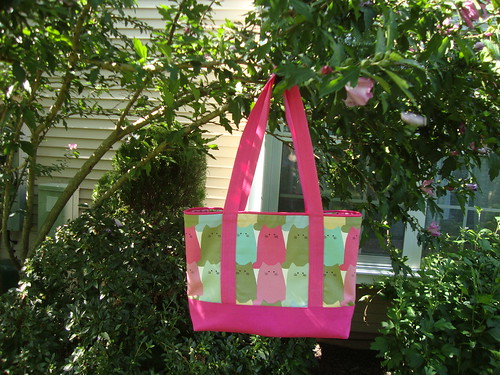
It was a little breezy:
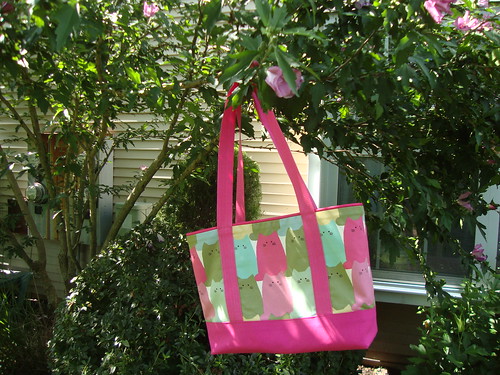
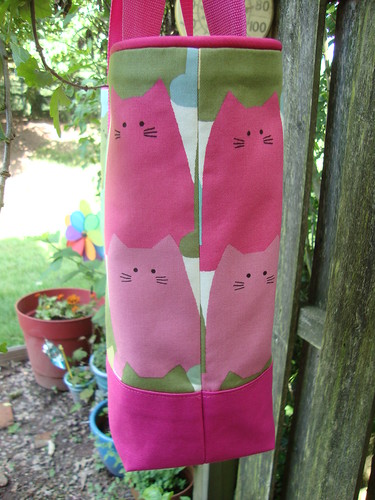
Hey, the black eyed susans are back!

Be well!!

I love that bag! And thank you so much for your sewing tips. I have made the dress once but have not yet tackled the bag.
ReplyDeleteHi Kyle, Love this bag and I could sure use a whole slew of these for errands and organizing. Thanks for the order of construction-I pinned a picture so I could refer back when I make one. The labels? try a scrapbook company for cute cotton ribbons and tags. I use them inside my clothing just for my own amusement.
ReplyDeleteThe bag is so cute and you did a wonderful sewing job. You are really getting these bags down pat. I, too, have used that plastic canvas for purse bottoms, and found that it works really well.
ReplyDeletePattern directions are only a starting place.
ReplyDeleteI love that you committed to shocking hot pink.
Second the scrapbooking comment for printed words on cloth tape.
This bag is so cute -- I love it! The fabric is awesome and your choice of hot pink canvas is perfect. Can't wait to see what else you make with that fabric!
ReplyDeleteGreat job and fantastic bag!
ReplyDeleteGreat job with the bag and all of your tips/suggestions. Very helpful.
ReplyDeleteYou've done a fabulous job on this bag. Love the kitties, love the pink bottom, love the webbing. Gorgeous. :)
ReplyDeleteSo cute! I predict that bag will get lots of use, and lots of compliments!
ReplyDeleteThat came out adorable! I really like the row of cats along the inside lining, it's a great little touch.
ReplyDeleteThat is so cute!!!
ReplyDeleteThis is such a cute bag! I hope you are having a great summer.
ReplyDeleteWow. Your bag is wonderful. You did a great job with every aspect of it.
ReplyDeleteAnd it's adorable too.
The bag is fantastic.
ReplyDeleteNice and cute! I like your pictorials, also!
ReplyDeleteThis comment has been removed by the author.
ReplyDeleteCute bag! Thanks for the tip on using plastic canvas.
ReplyDeleteChristiana
sewamusing.blogspot.com