So yes, I made two turquoise dresses in a row!
First was NL 6071, which I never finished blogging about. I wrote part 1 here about the back of the dress here. Then I made that S1314 quilted dressed which I blogged about in a few posts, the last of which is here.
So today I'd like to finish blogging about NL 6071. I made it all in a 14. Next time I will go back to making the back in a 14 and the front in a 12. It is just a little big in the front, methinks.
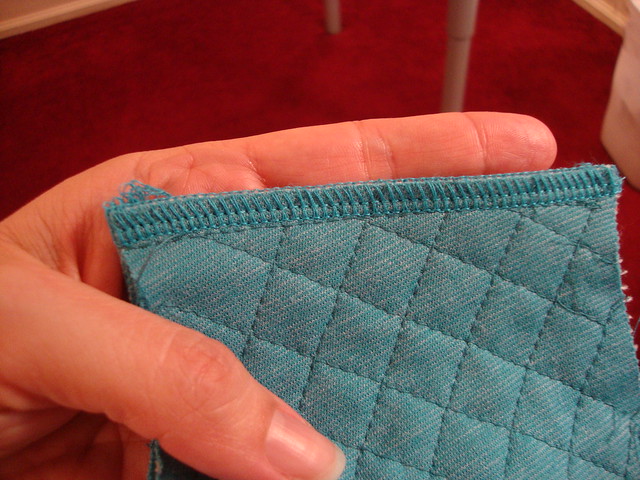
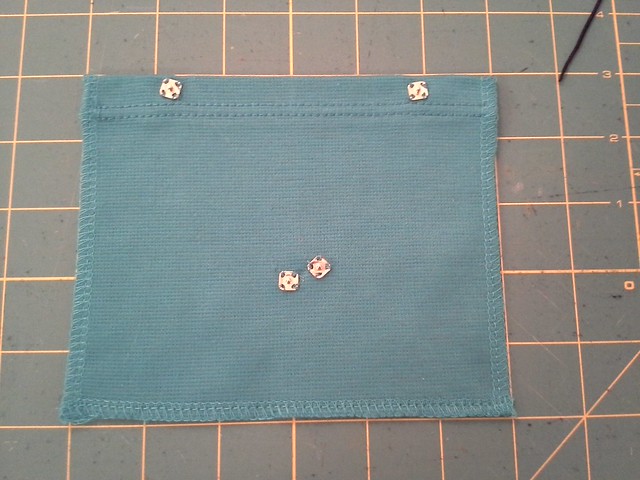
I made a detachable modesty panel for it. Two, in fact. The first one felt a tad too low when I sit down at work. So I made this one recently and sewed the snaps on it last night. I am loving the idea of the modesty panel instead of a half-cami. Less bulk....and bulk is definitely noticeable with light colors like turquoise.
These super-small, super-adorable square snaps are from Daytona Trimming in NYC. They're right next to the register and they don't seem to have them in any other size except super-small. I first saw them during PR weekend 2012 and they have been lingering in the back of my brain ever since, but part of me was like, when am I ever going to use snaps that tiny?
I bought them during MPB Day with Tomasa this past August and she succumbed to their charms and bought a pack too. (Have you seen her nascent blog btw? She has taken classes at FIT and is sharing oodles of construction info--check out her awesome black and white gingham shirt too!)
Still I was thinking, when am I ever going to use snaps that small?
For a detachable modesty panel, of course.
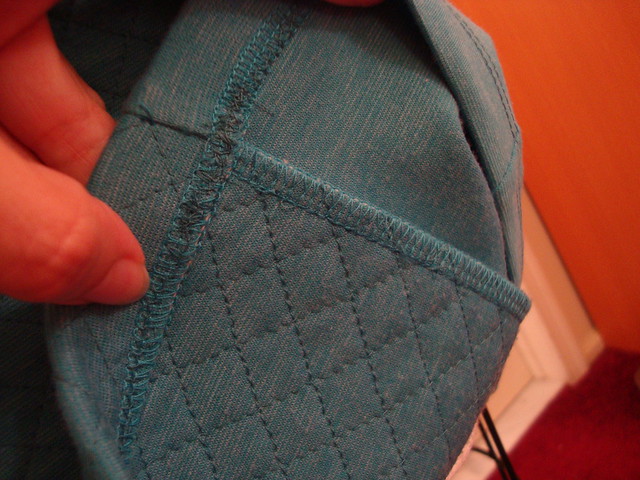
Tiny square snaps
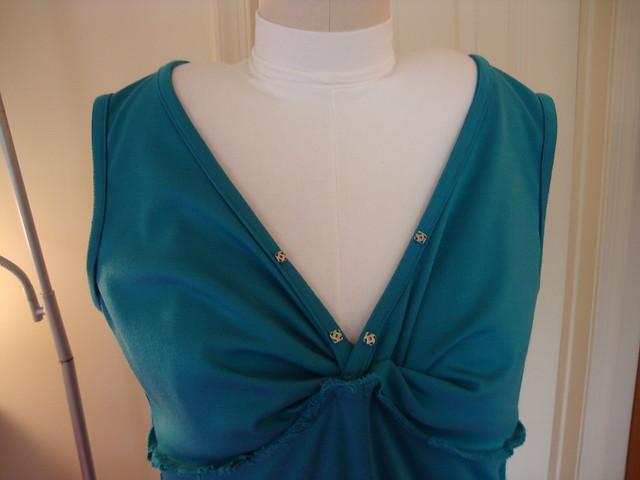
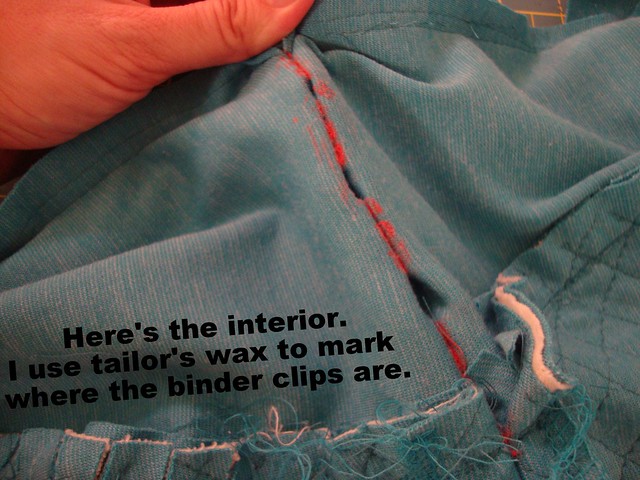
Here's what the inside looked like with the first modesty panel snaps sewn in.
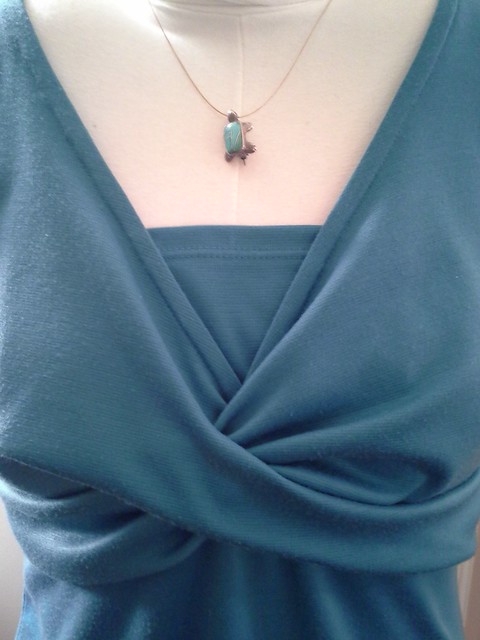
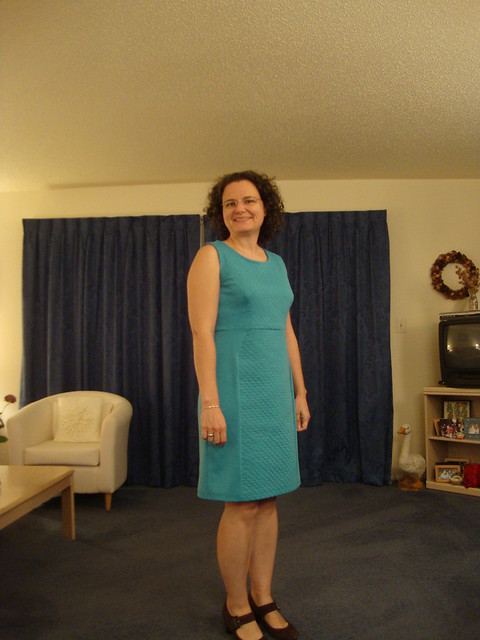
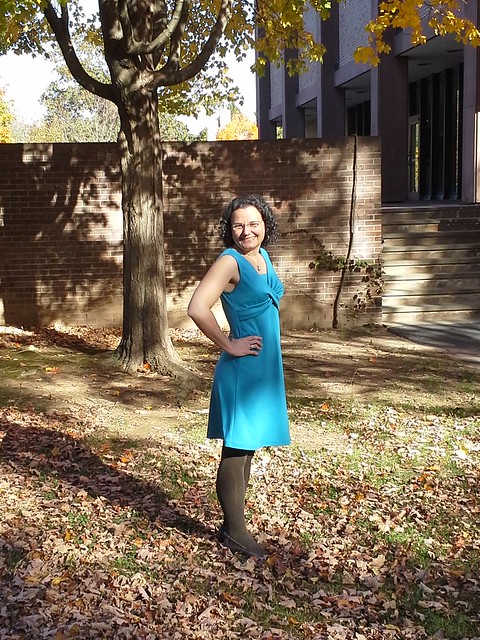
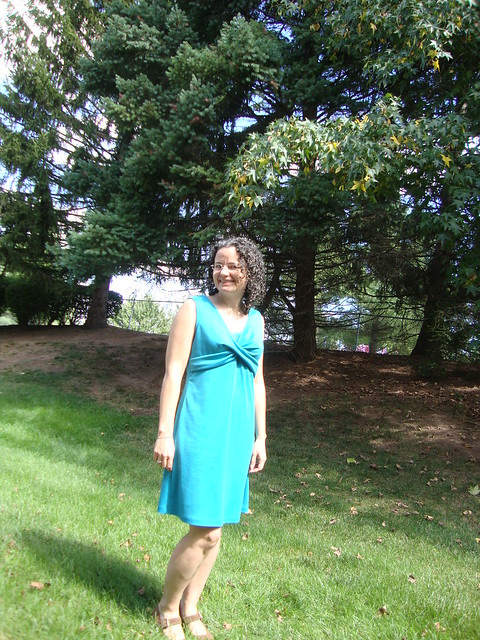
Perfect with one of my favorite necklaces, a turquoise & silver turtle.
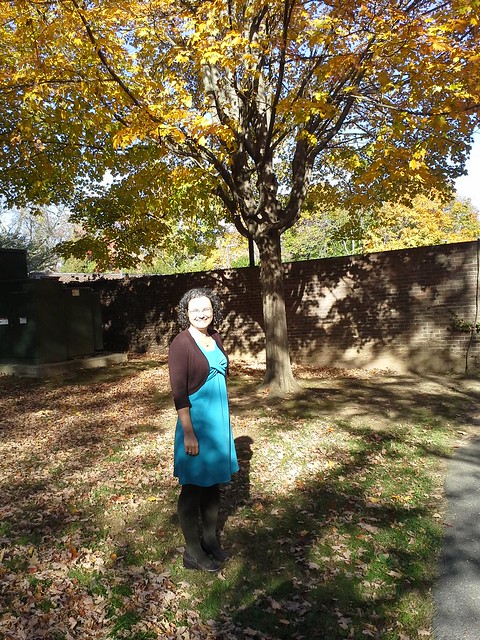
My coworker and I tried for fall color, but this was the best tree we could find.
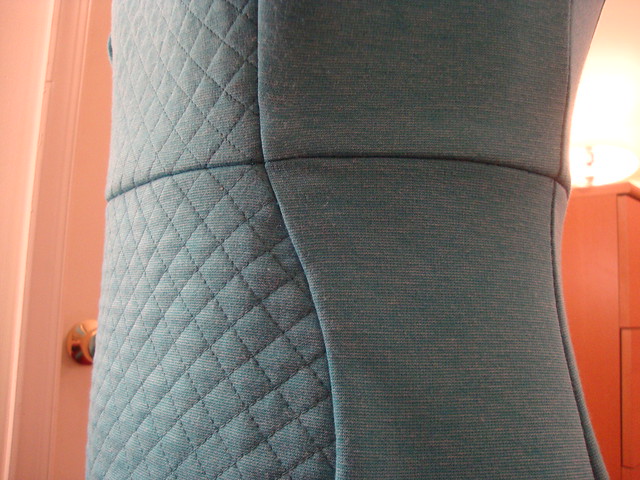
Of note, the turquoise ponte knits were not the same ponte knits. Both were from my November 2013 trip to San Diego and LA. The quilted dress ponte was from Michael Levine Loft, and was actually on a roll where I cut off a length of it myself. The ponte knit for the crossover dress was from the San Diego Swap Meet, where the fabric is in heaps on the ground, and you pick out the piece that you want for $2 a yard. This was the sticker on the piece I chose
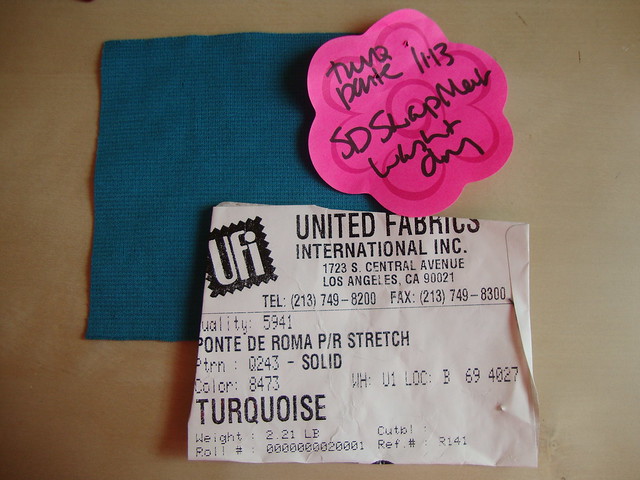
Also you can see my new system for labeling fabrics--a post it that I then pin on to the fabric, with fabric source, if I've washed and dried it, and the 4" sample square I washed and dried for shrinkage. I wash my pontes in the washer but I only dry them in the dryer once--as a shrinkage test when it's just fabric and also just in case the final garment ever accidentally gets thrown in the dryer. Then I air dry the final garment with each washing...unless it accidentally hits the dryer.
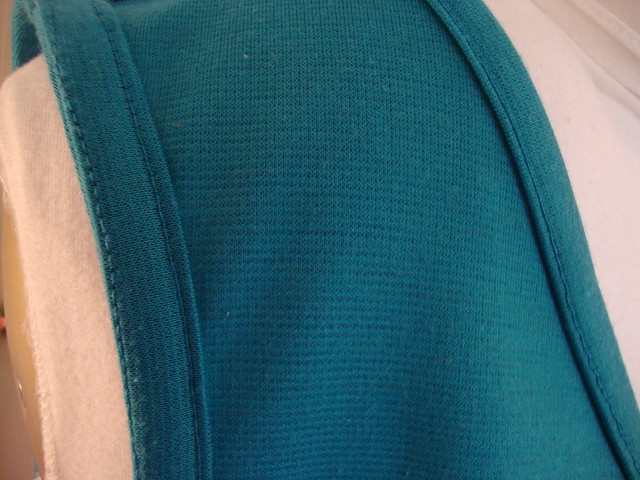
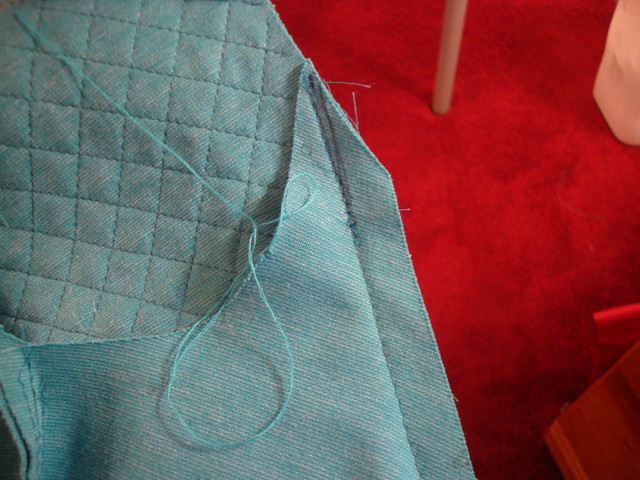
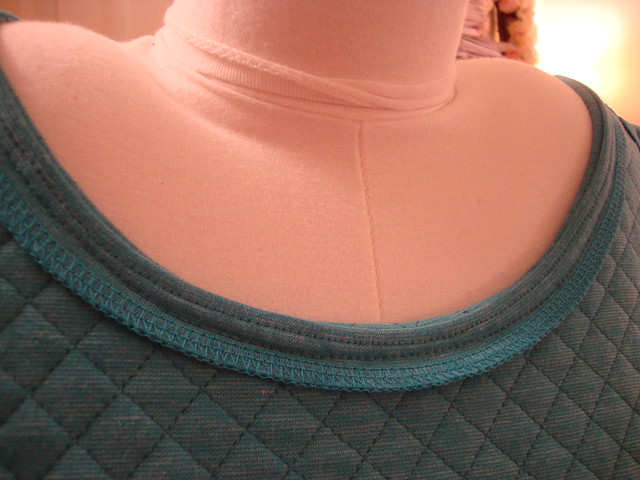
The bindings inside
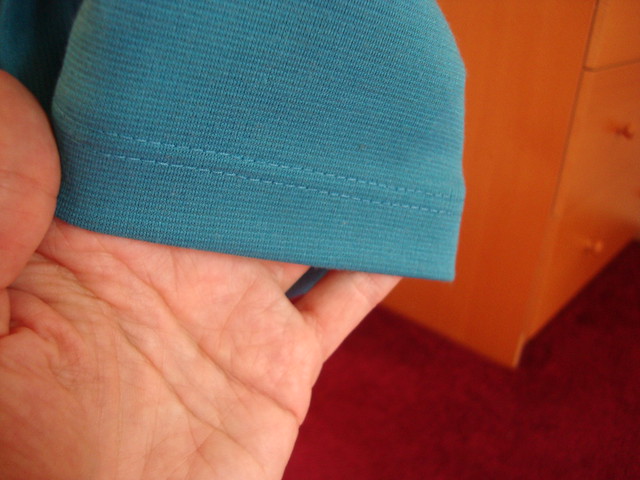
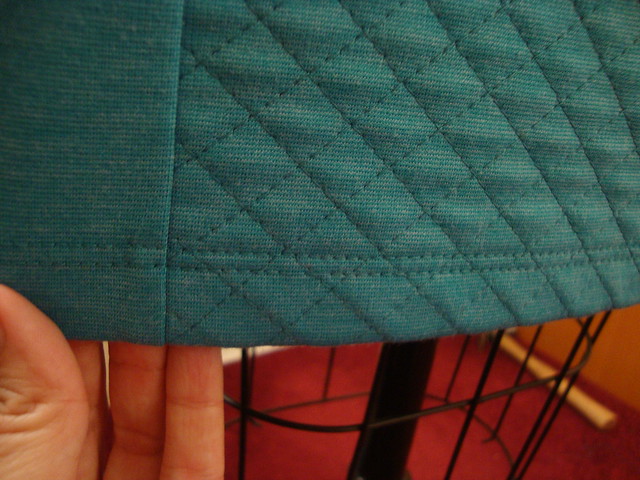
The twin needle stitching on the hem.
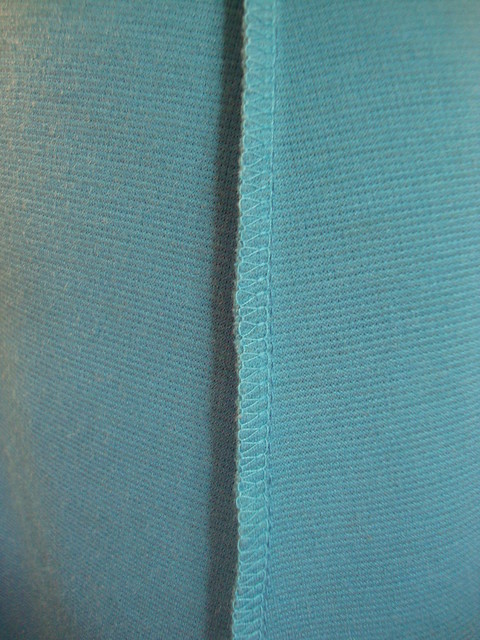
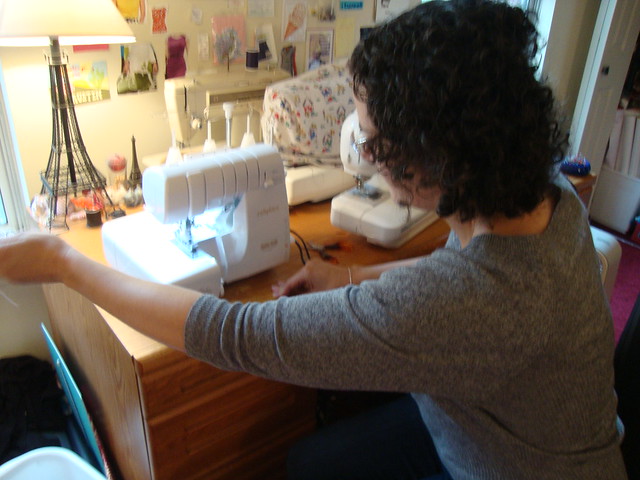
Serged inside with my old serger
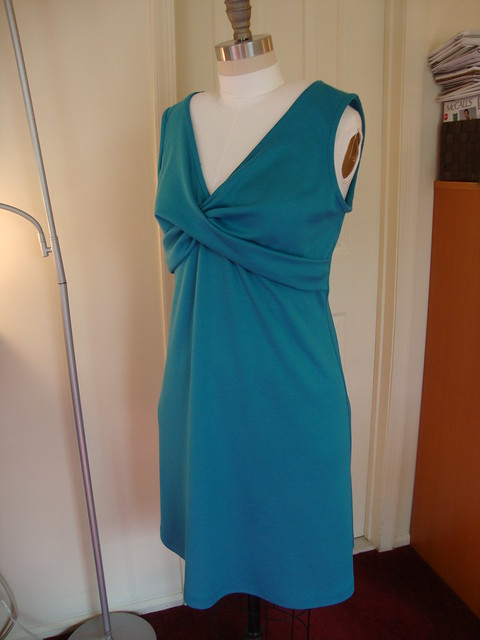
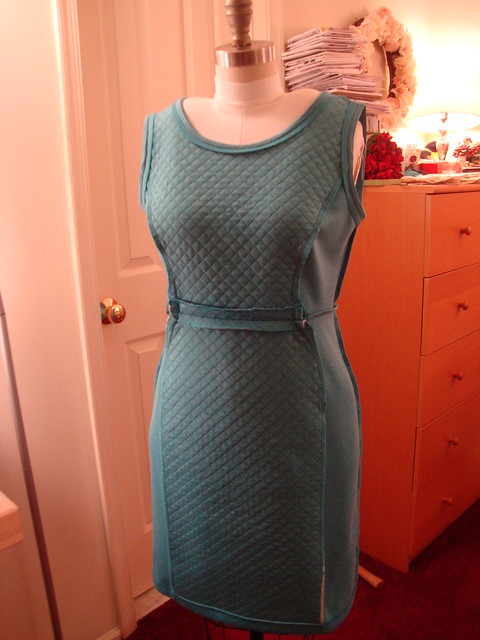
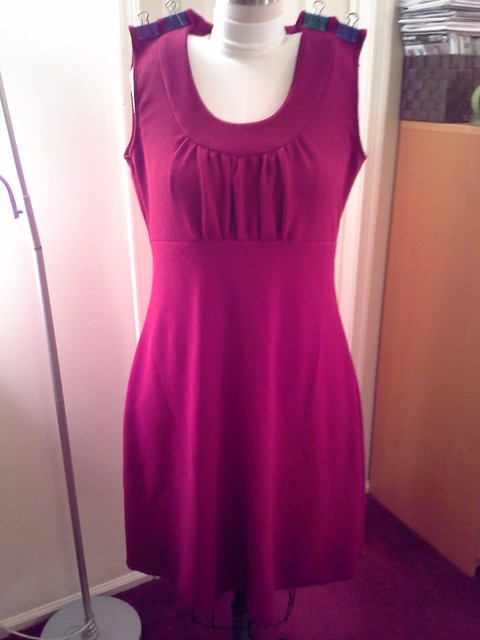
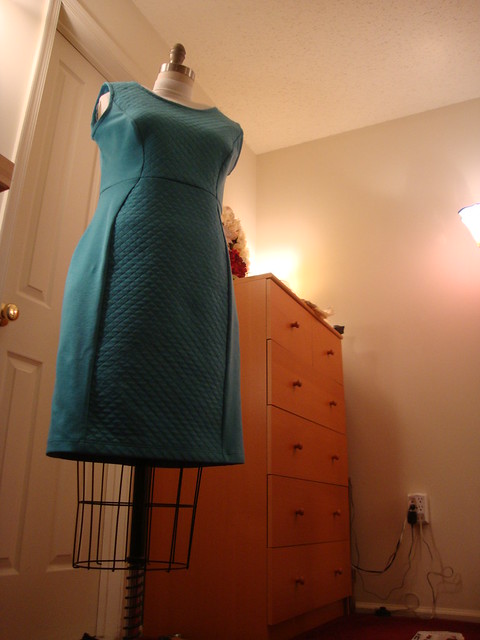
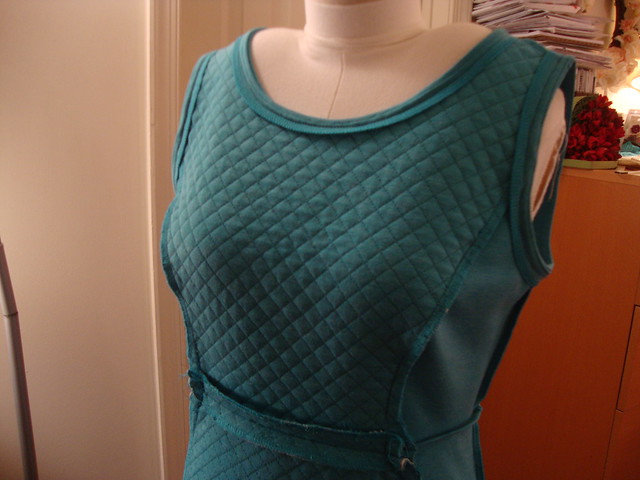
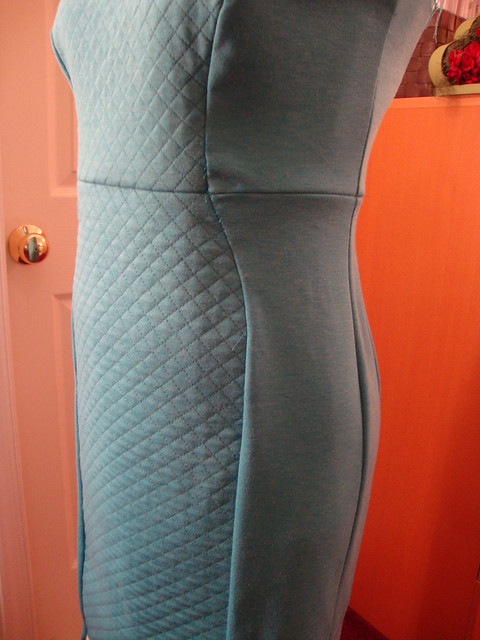
On my dressform
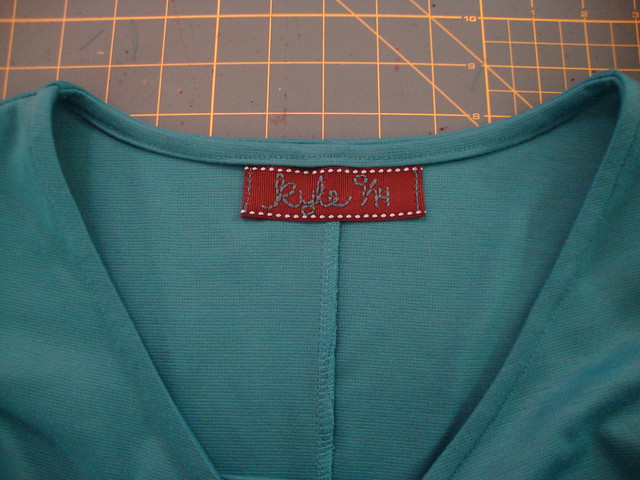
The tag inside, handstitched by me.
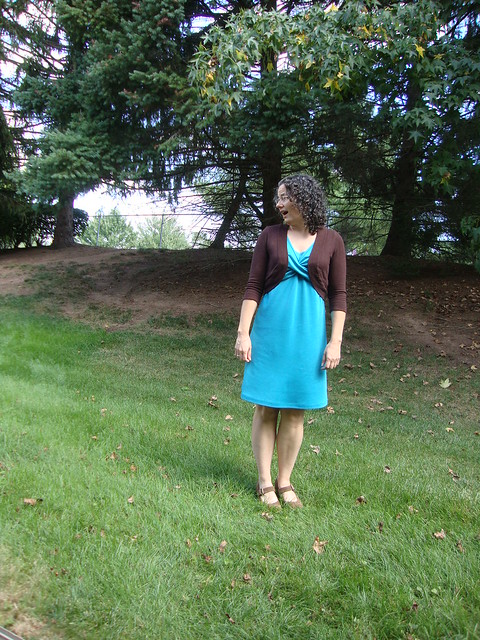
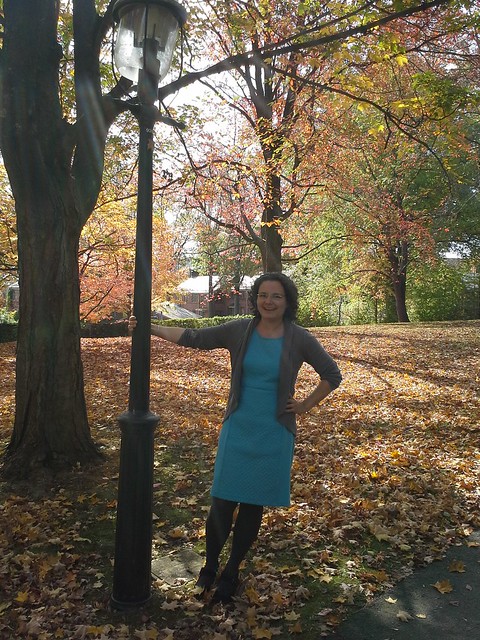
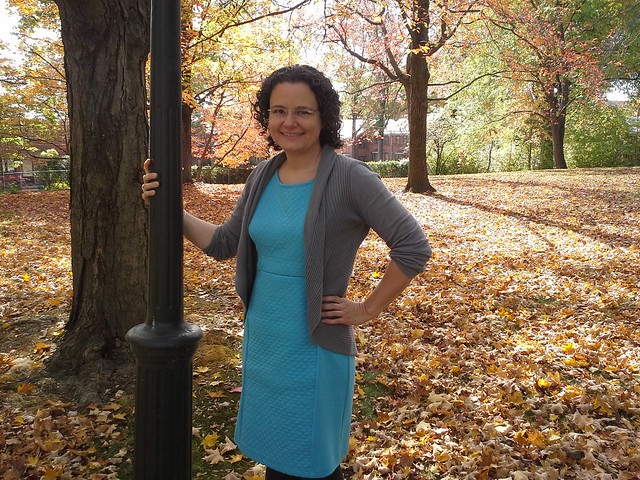
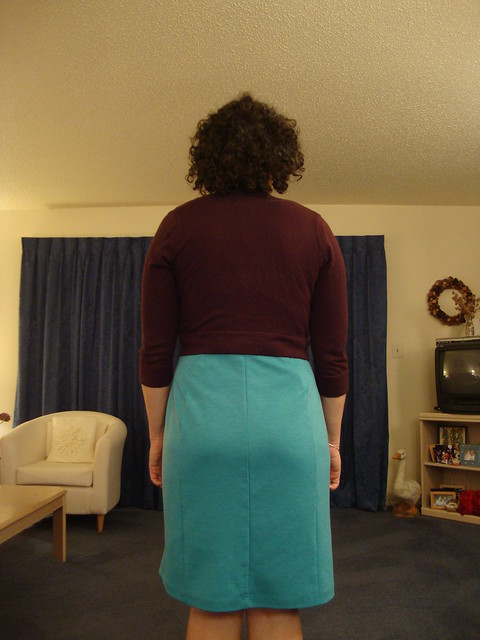
With a cardi
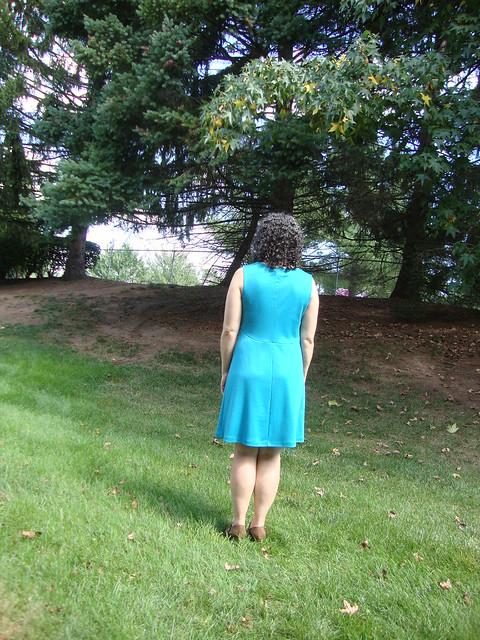
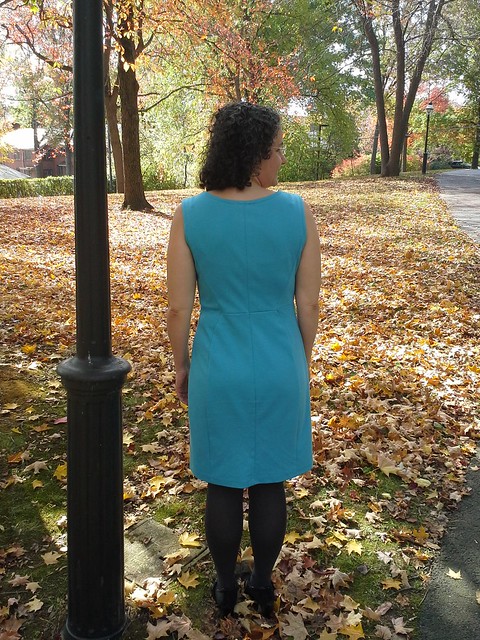
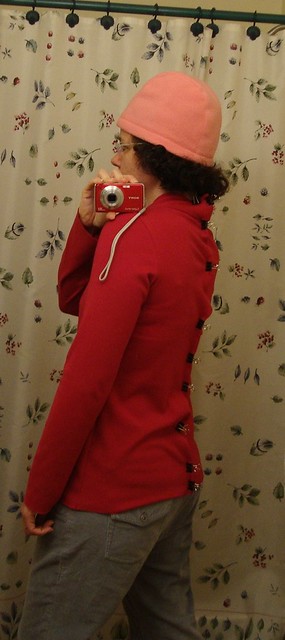
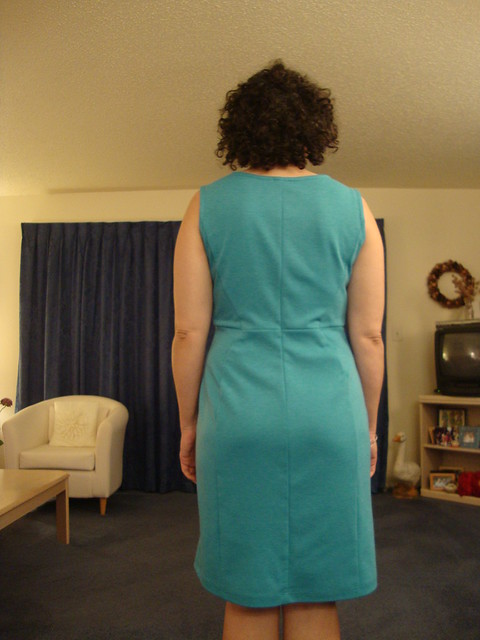
Back
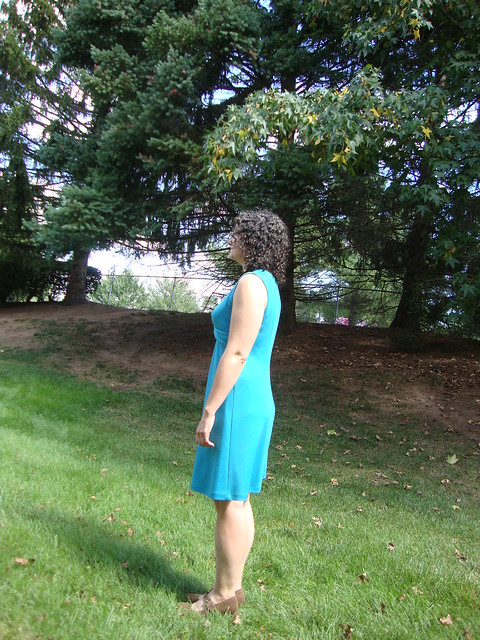
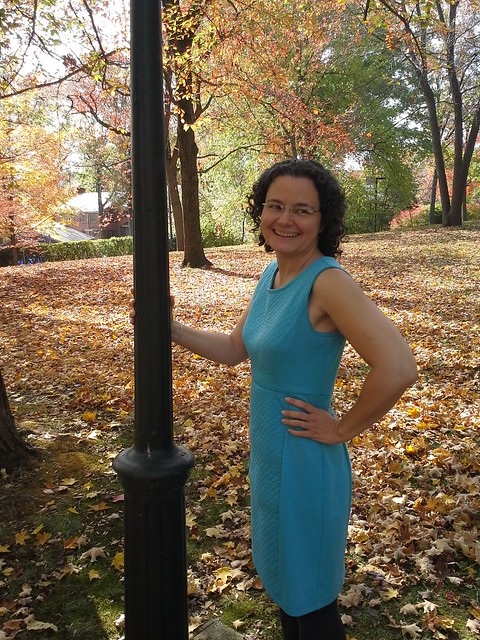
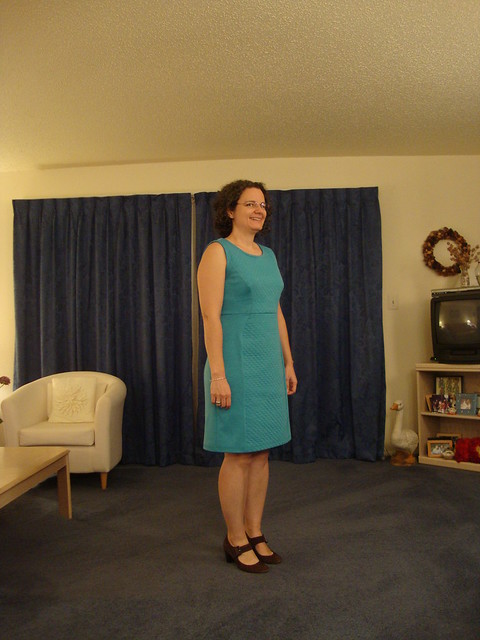
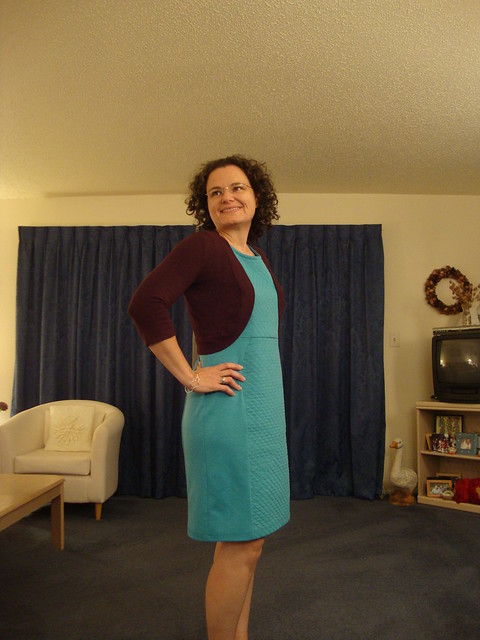
Side
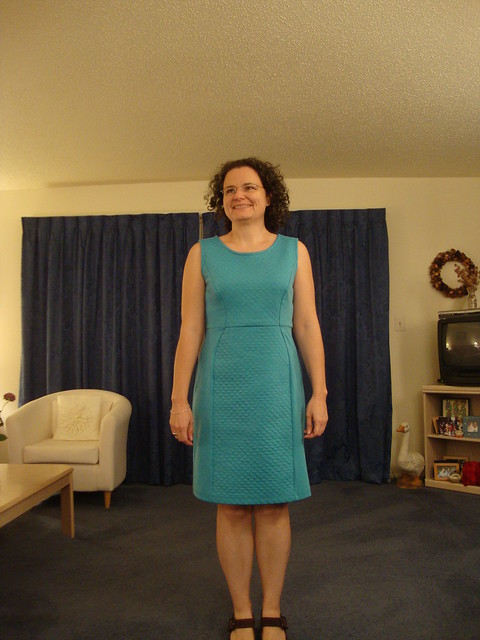
Front, with the lower modesty panel. Those last few pix were taken over a month ago, in mid-Sept.
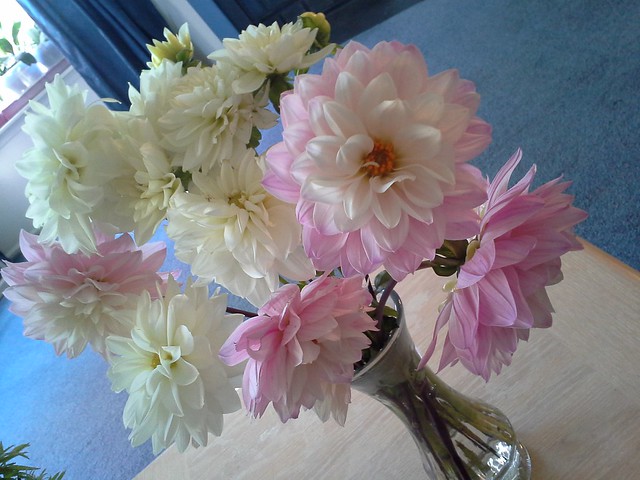
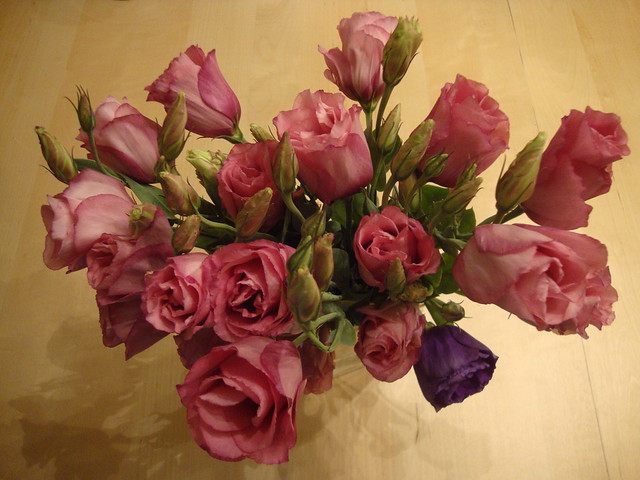
My flower farmer said last Thursday that it would be his last week at the PFM for this year. I snagged these dahlias. So pretty and delicate! I know I slacked on taking flower pix this summer. I endeavor to do better next summer!
Be well!