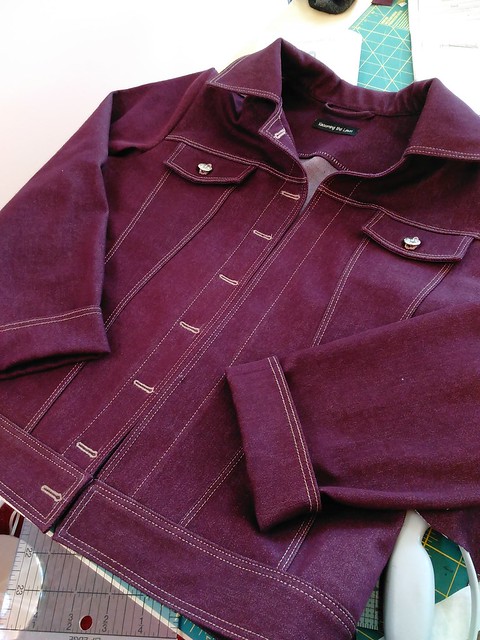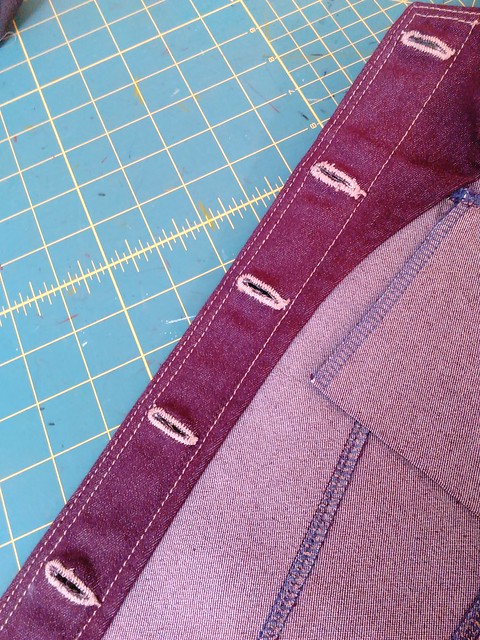
Welcome to the final post about my StyleArc Stacie #epicjeanjacket: The jean shank buttons, drafting a new facing, and other miscellany.
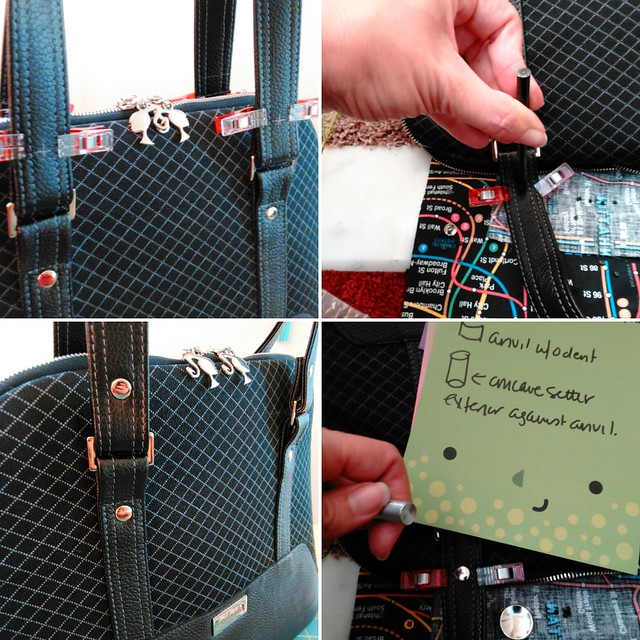
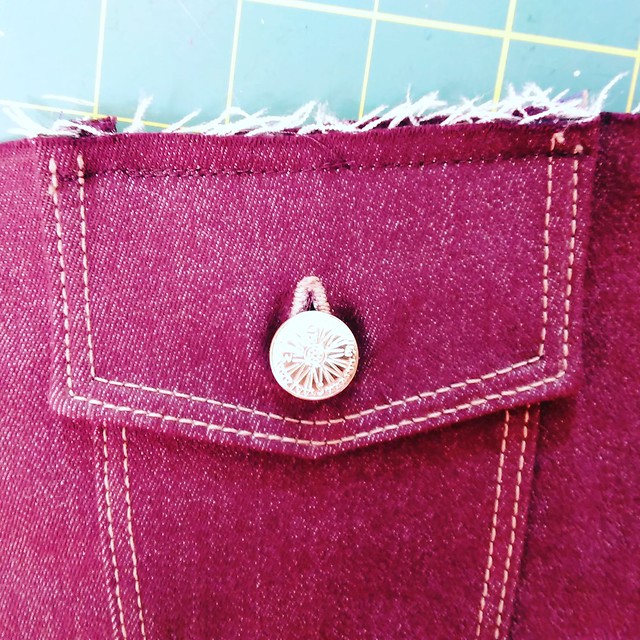
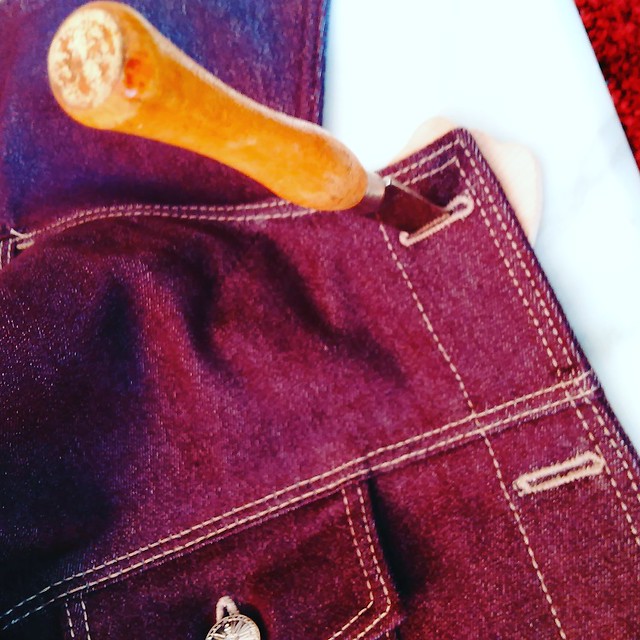
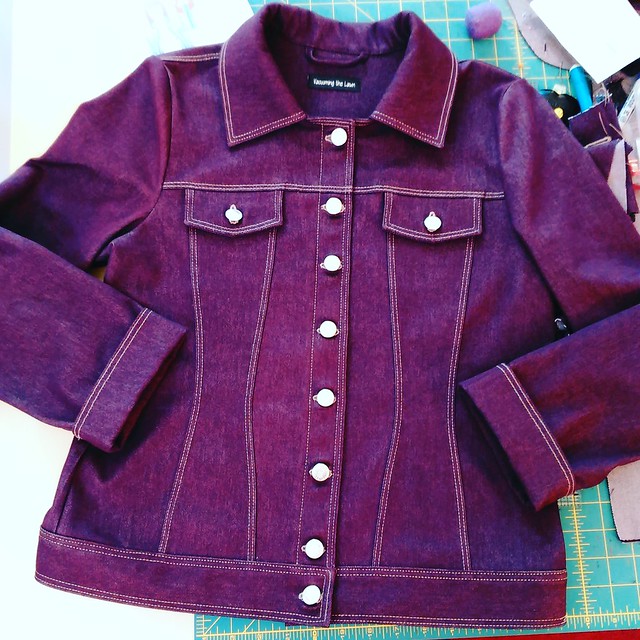
To apply the jean shank buttons, I overlapped the placket and pushed a pin through the center of the buttonhole, then used chalk to mark the spot on the placket on the other side. I also used a ruler to make sure my shank buttons would be in a consistent row instead of haphazardly placed. After double and triple checking, I used a *really* sharp awl (purchased at SIL Thread) to then make a hole in the placket. I inserted the nail part of the shank underneath and through the hole, then put the jean button on top.
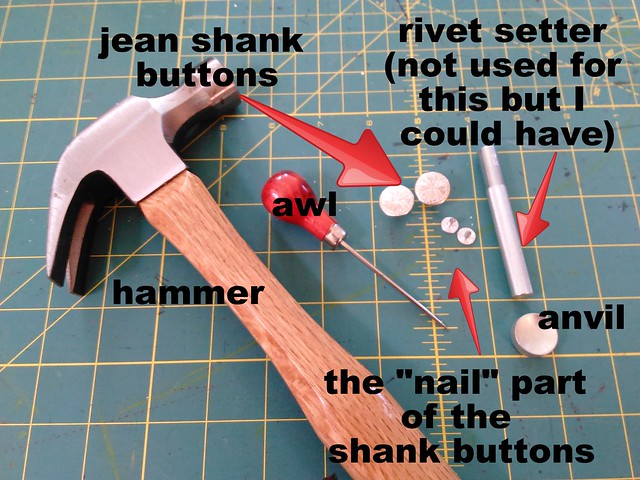
Since my shank buttons had a compass on them, I made sure North was pointing up, covered the shank button with a cloth and whacked it with a hammer (the base of the nail was on the wooden apple that came with the buttonhole set). Since the shank buttons were flat I didn't worry about denting them. If they were convexly curved I would have had to use the concave side of the rivet setter so as to not dent them.
At that point I whacked in 8 shank buttons and thought I was done.....took pix, posted on IG, relaxed.
That night I unbuttoned the jacket and....the bottom button was having trouble unbuttoning. Then the top of that button FELL OFF. It just fell off and left the remainder in the jacket, in such a way that I couldn't pull the shank out. I didn't take a pic of this, I just wanted to FIX IT IMMEDIATELY.
So....I got out my pliers and cut the remainder off the top, removed the nail and hammered in another one. Huge lesson learned: BE SURE TO BUY EXTRAS!!! If I did not have extras, I would have been totally sunk as Pacific Trimming does not have any more of these shank buttons.
Another lesson learned is that the shank HAS to be hammered in perpendicular to the jacket--no angles allowed. I'm still trying to figure out the best way of doing that. I can feel that some of my shank buttons are at an angle...but they haven't fallen off yet. I do have a few more extras so I am holding them in reserve, just in case.
Some Misc:
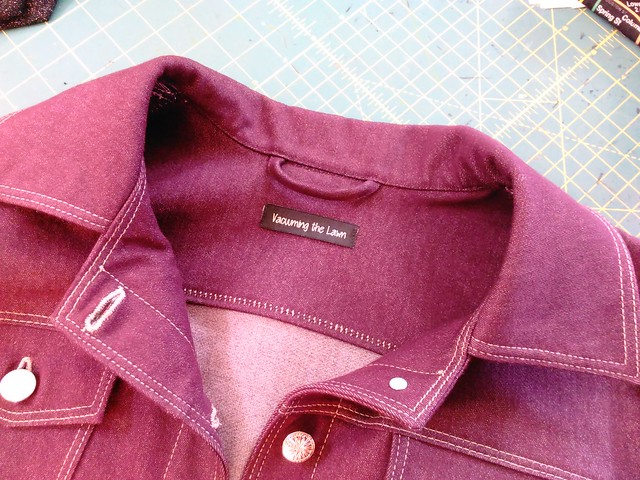
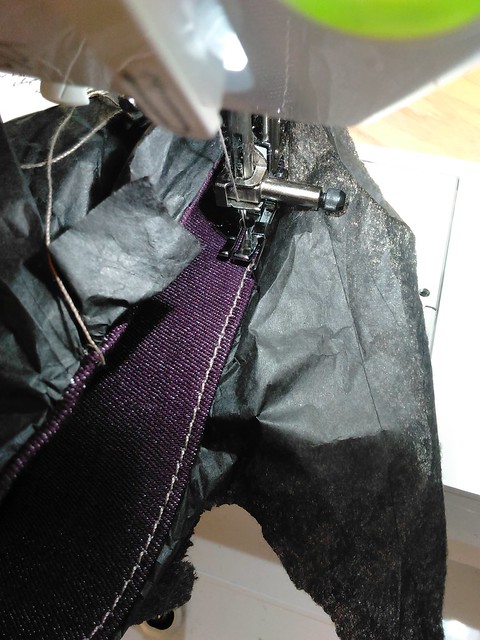
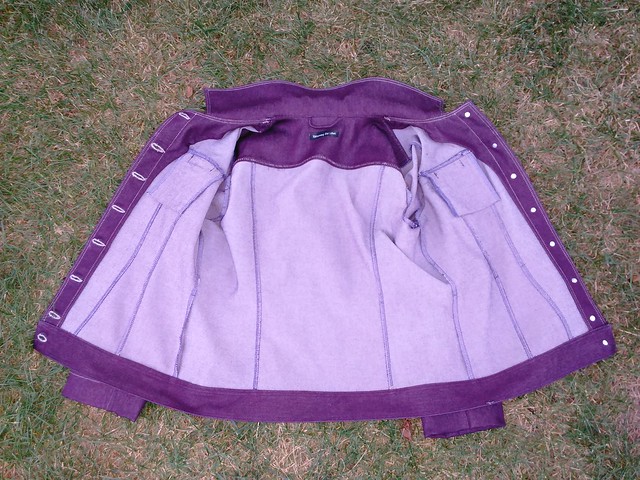
1. I used the Islander directions to burrito the back yoke. The Style Arc directions only have one back yoke cut, but I think cutting two looks really nice. I sewed my label onto one of the yokes first before sewing it all together--that way the stitching for my label does not appear on the outside of the jacket.
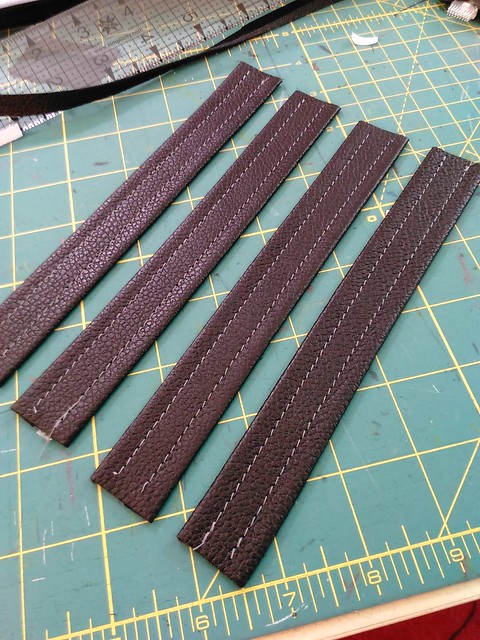
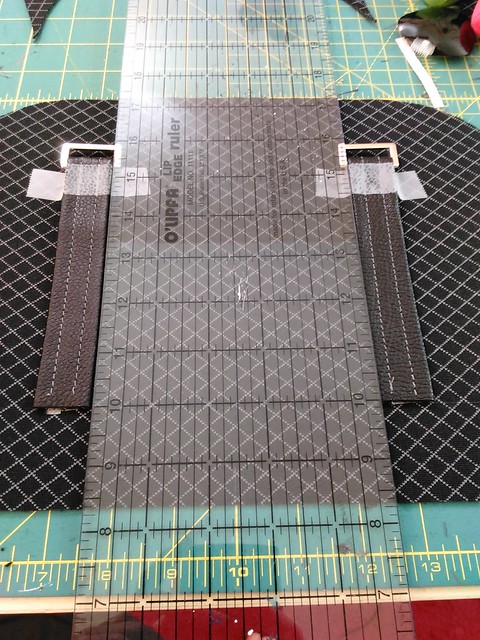
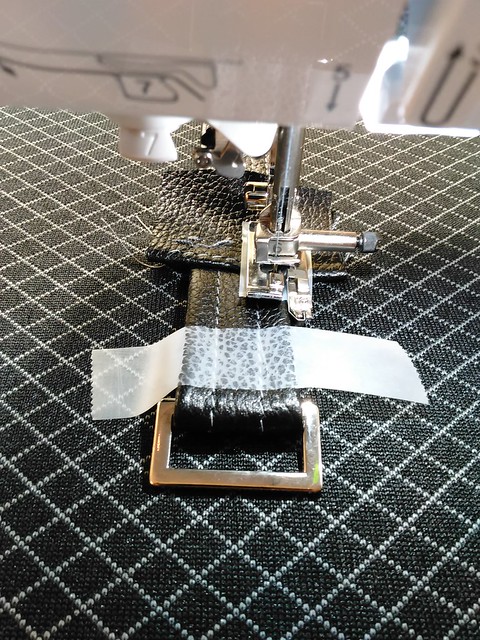
2. I added this little loop so that I can hang up my jacket in a locker at the gym. I made this little loop by cutting a strip of fabric, folding the long raw edges to the middle, folding that in half long ways again, and then stitched along the edge. I then sewed on the loop before attaching the collar.
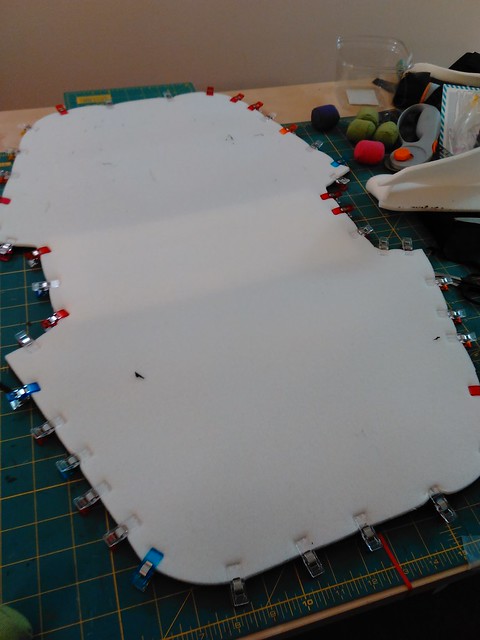
3. I drafted a new facing that started at the shoulder seam and went all the way down the CF. This is because somehow my collar wound up 1" too short on either side to reach the facing that the pattern came with, which only over lapped the collar a little bit. After watching the Craftsy class again, I preferred the Islander method because it completely encloses the collar pieces. After installation I did have to sew down the facing indiscreetly under the collar so keep it from flipping out.
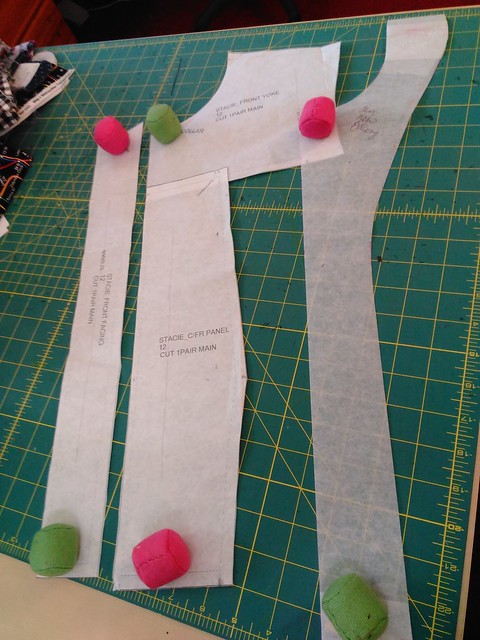 On the left:
 the original facing piece
In the middle: I taped the front CF piece to the front yoke, overlapping seam allowances
On the right: I then used Swedish tracing paper to make a new facing that would go all the way up to the shoulder seam. I gave it extra length at the shoulder seam and at the bottom for SA and "just in case"
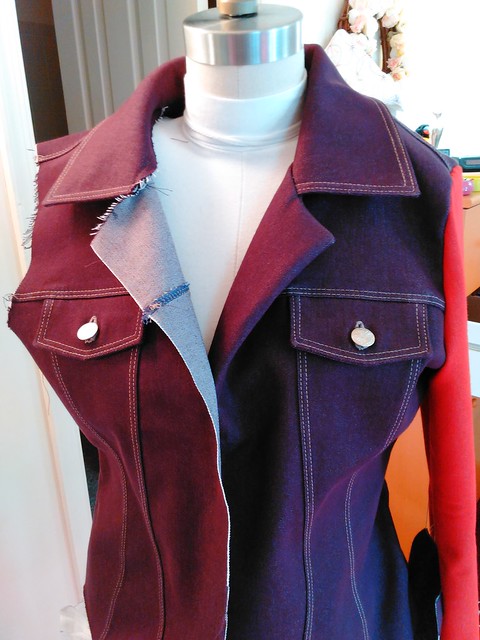 One side of the facing is installed.
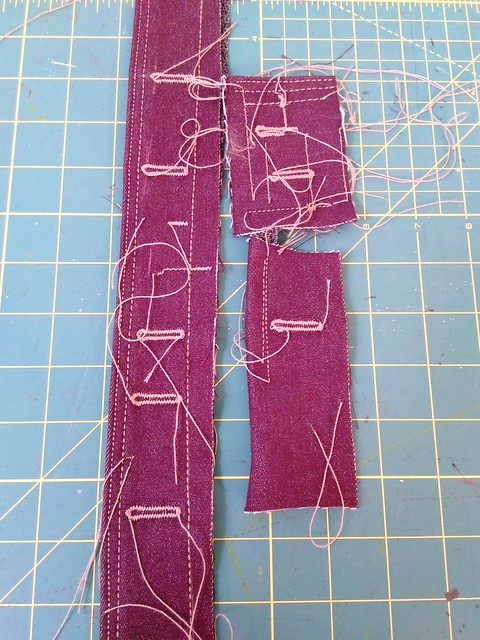
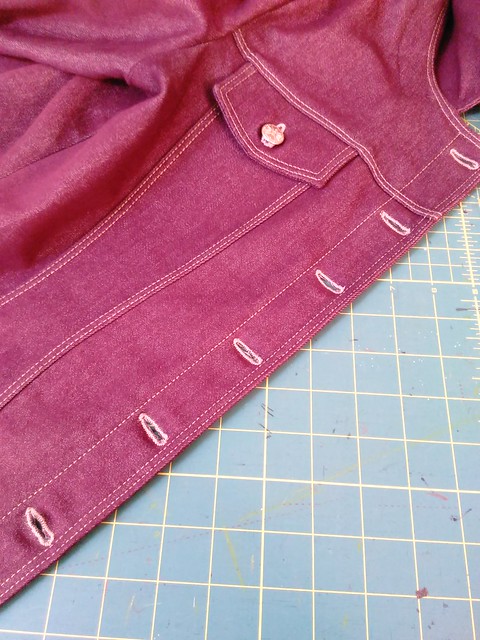
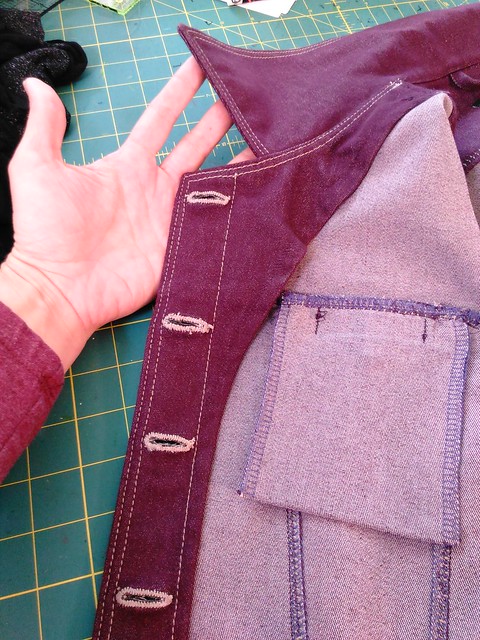 What it looked like after the buttonholes were installed too.
Drafting the new facing is something I never would have done 5 years ago, but it was so easy and really elevated the jacket, besides finishing off the CF and the collar nicely.
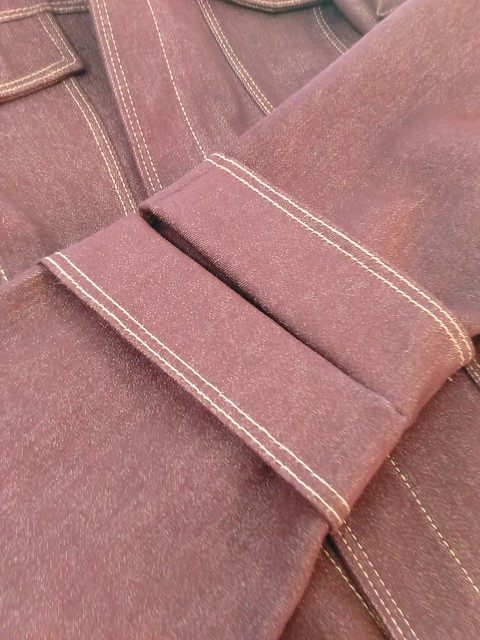
4. I used the Gertie directions for installing the bottom band.
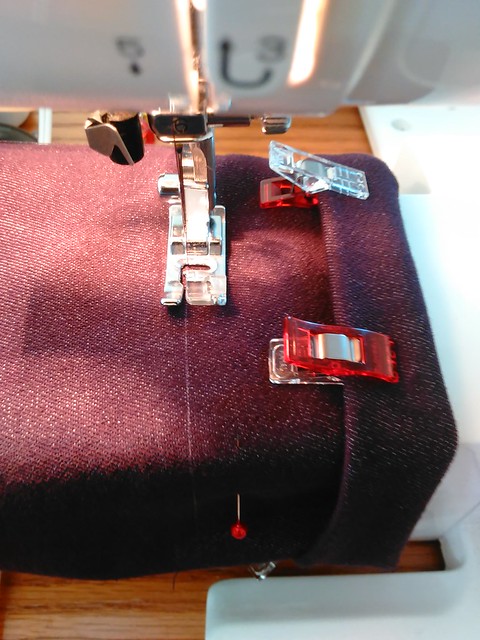
5. I serged as I went--using purple serger thread. I have come SO FAR in my sewing over the past 10 years when Project Runway got me into sewing again. 5 years ago, the insides of my clothes were not so great, but now I am proud to show off the inside of my jacket too. I don't have anything to hide!
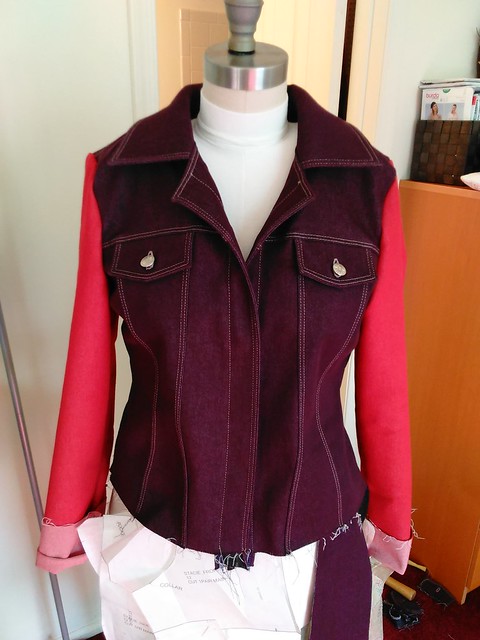
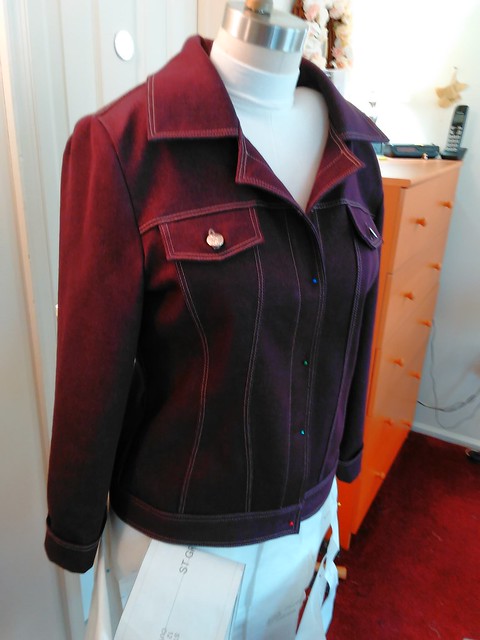
So, there you have it, achievement unlocked!! A 3 year old dream of mine has finally come true. When I first sewed it, it was still too warm to wear it but lately it is cooler in the mornings and even some days, and I have really enjoyed wearing it. It really feels like a delight to have this jacket and I feel really proud of myself. The fabric is wearing really nicely--it doesn't get overly wrinkled and since it has stretch it is comfy to wear.
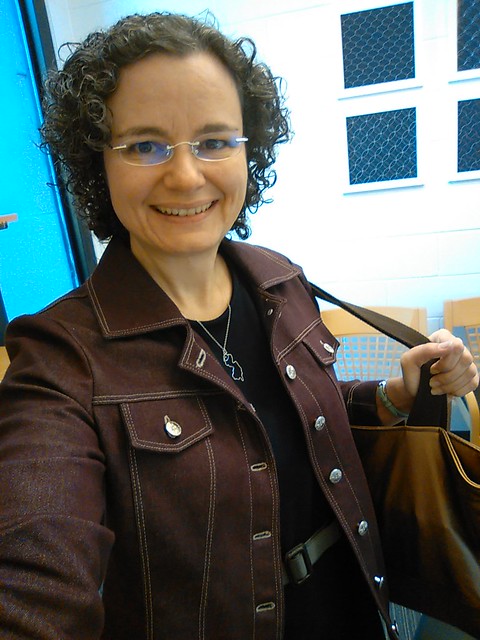
A selfie of my self-stitched day: In my office on Wed morning, wearing my StyleArc Stacie jean jacket, Sewaholic Davie dress, self-made elastic belt and metallic bag (both unblogged). My self-stitched sashiko is hanging on my office wall. It's amazing how adding one key piece like this opens up a whole world of self-made ensembles.
Lots of pictures of me wearing the jacket are in
this post
Links to all posts:
Post #1:
Choosing the Pattern, Cutting it Out, etc (lots of pix of me wearing it)
Post #2:
The Topstitching
Post #3:
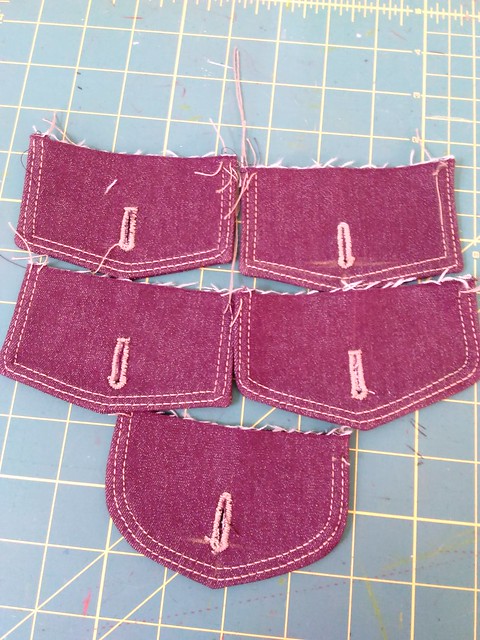
Turning Faux Pocket Flaps into Real Pocket Flaps
Post #4:
Fitting the Sleeves and Sewing the Cuffs
Post #5:
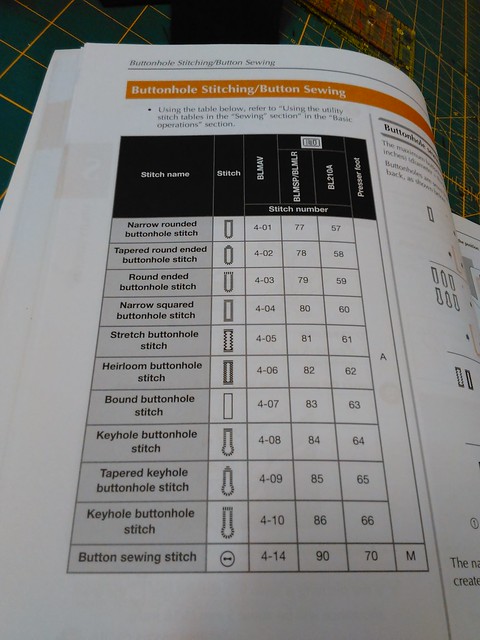
The Buttonholes
Post #6: This post you're reading now.
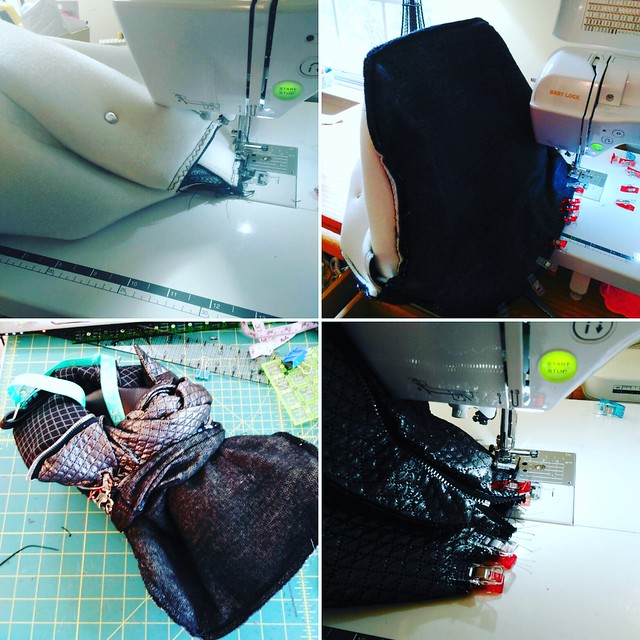
If you follow me on Instagram, you know
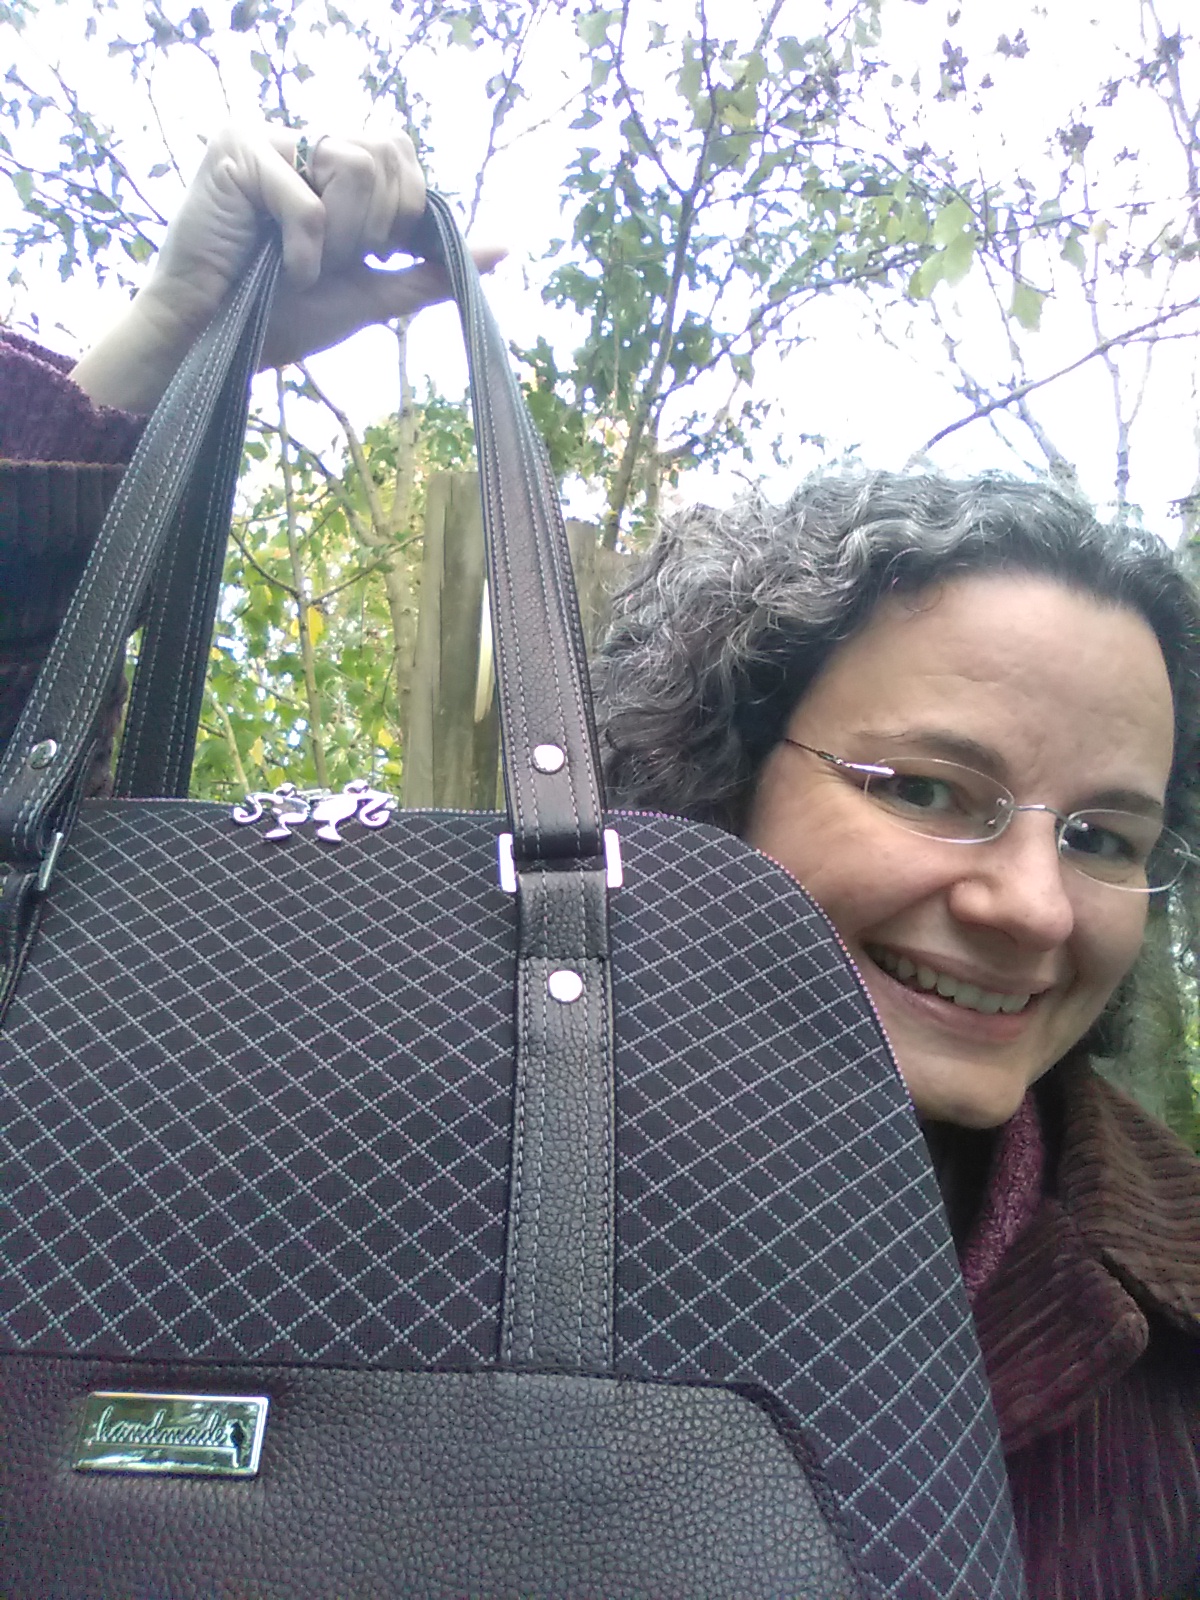
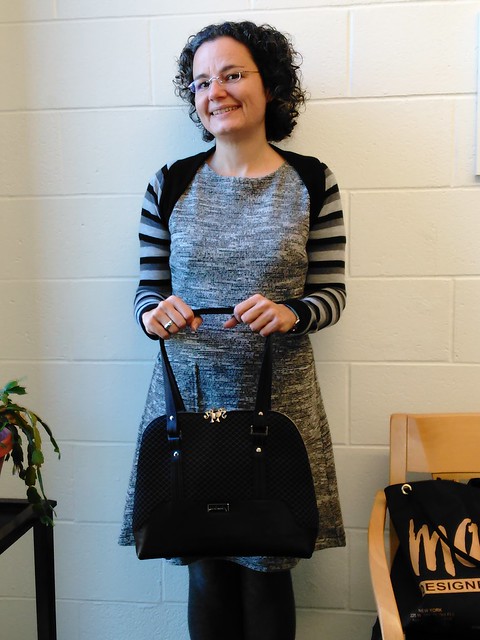
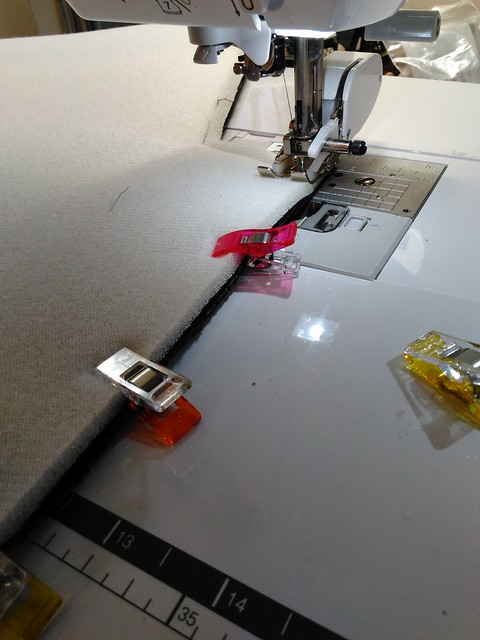
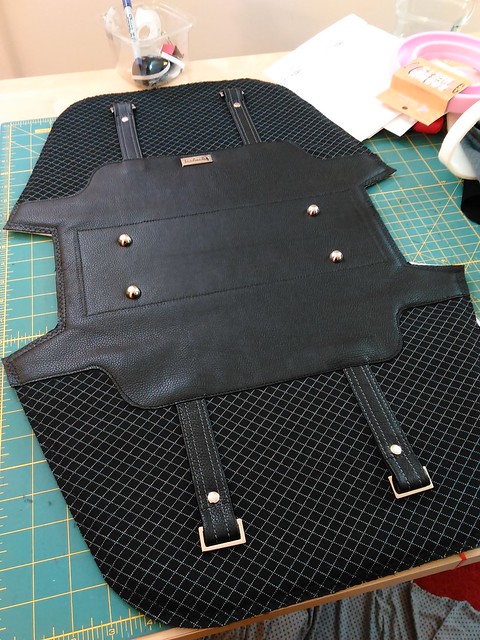
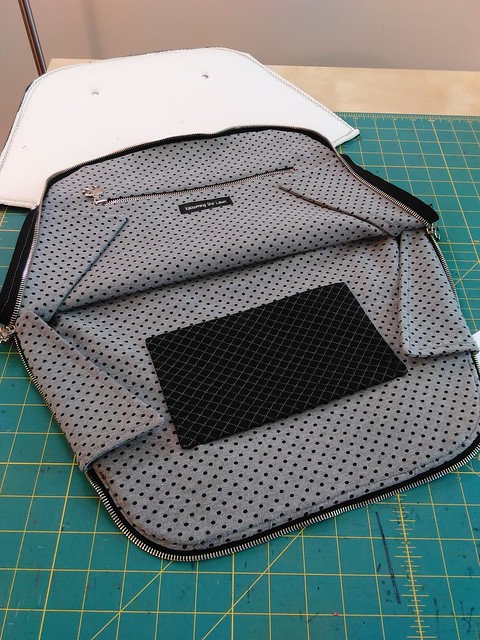
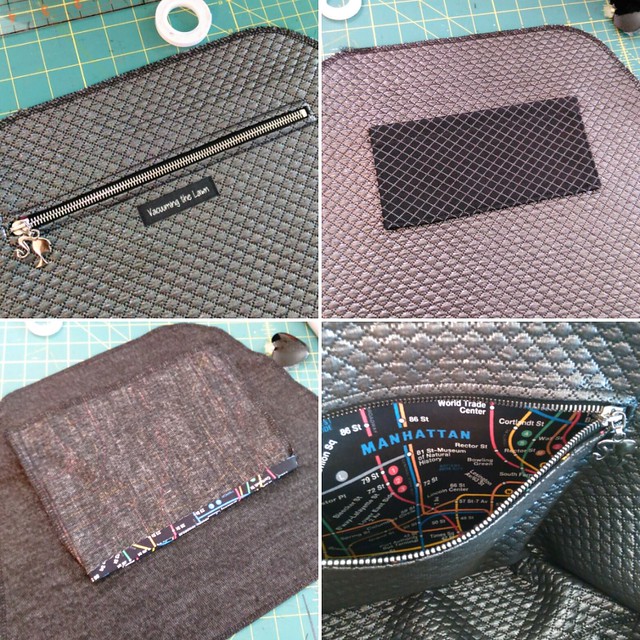
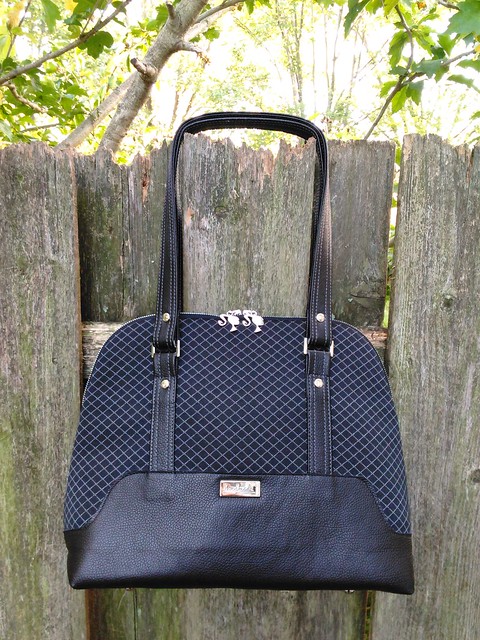
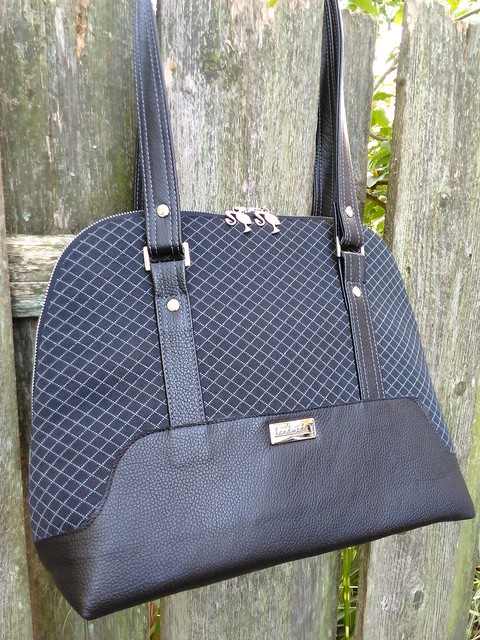
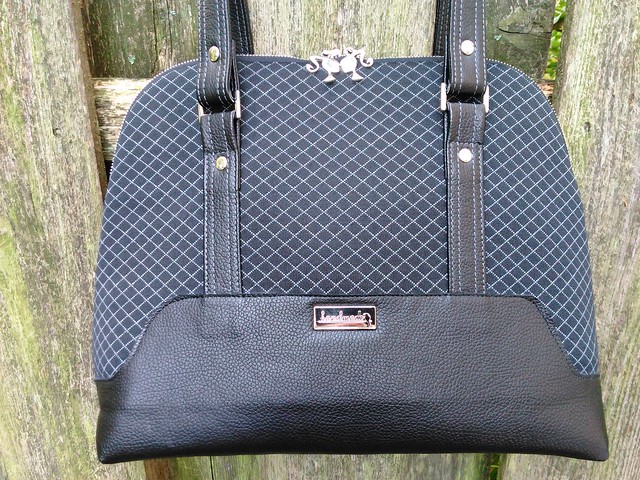
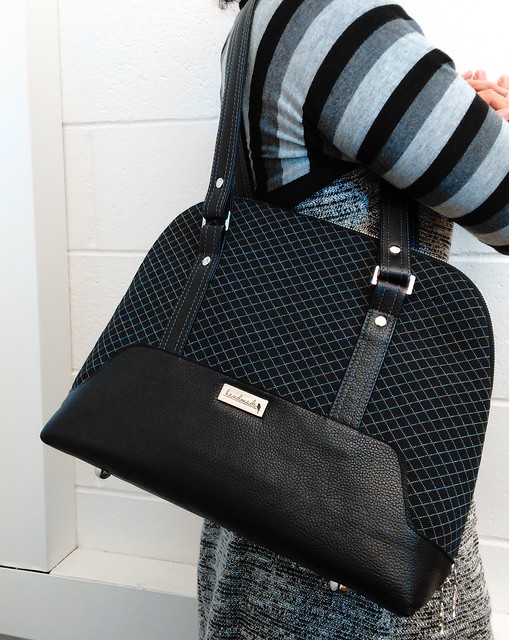
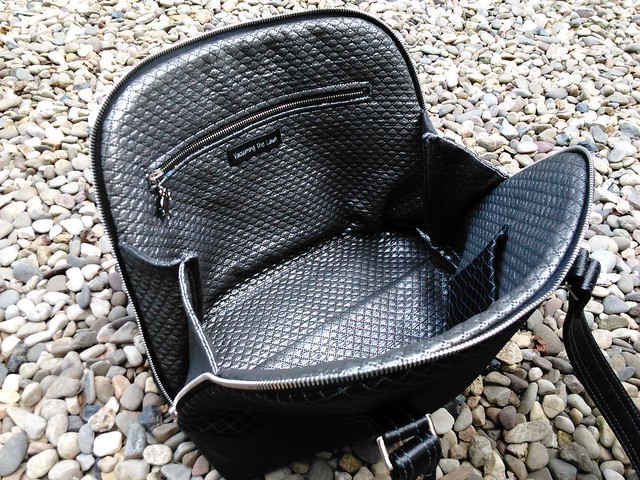
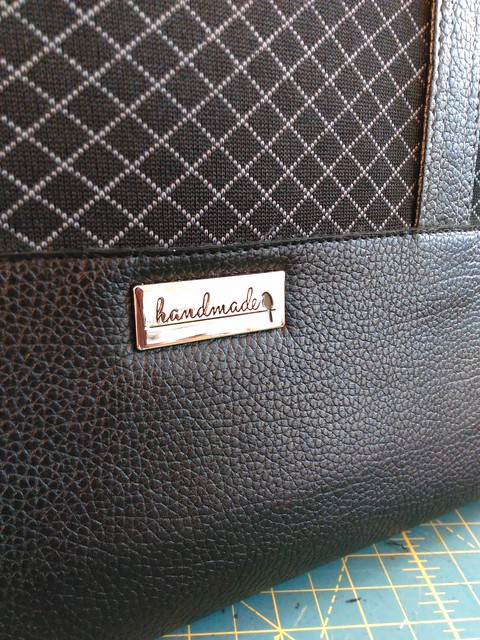
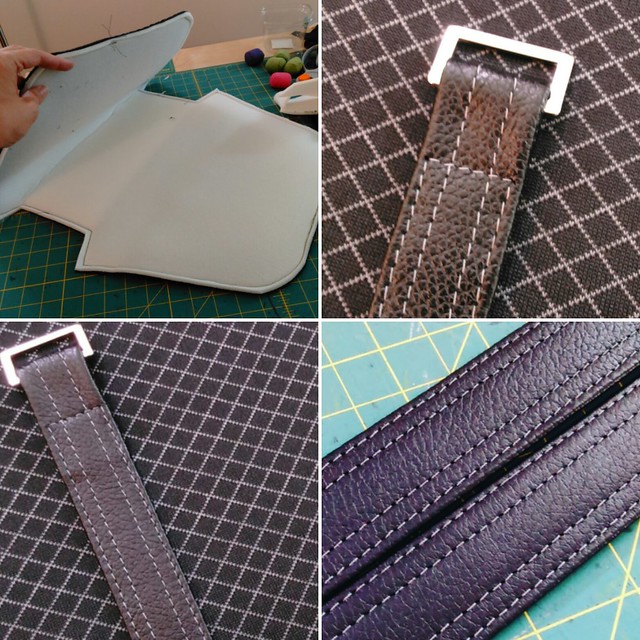
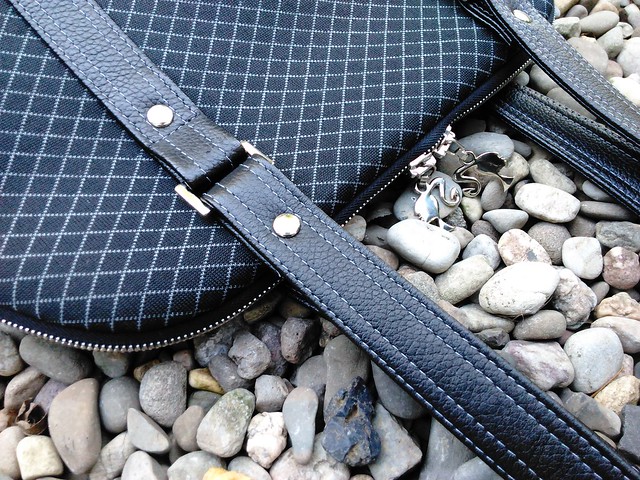
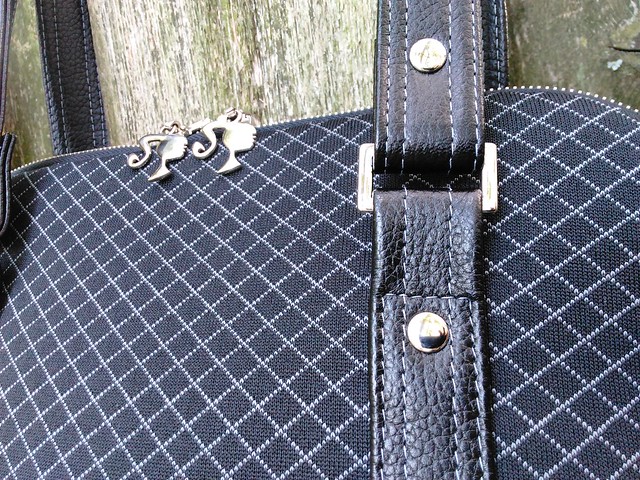
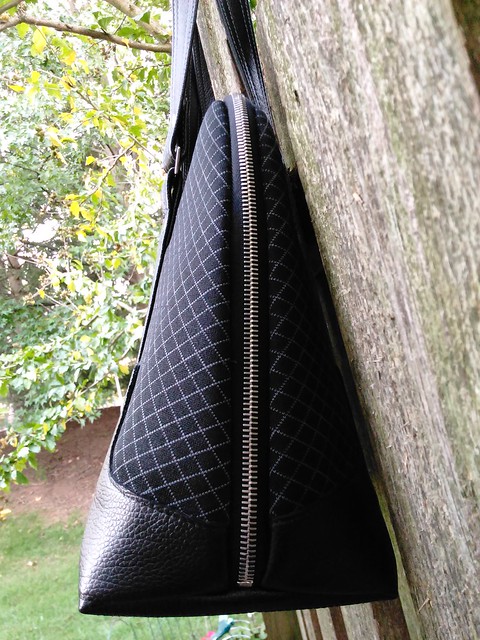
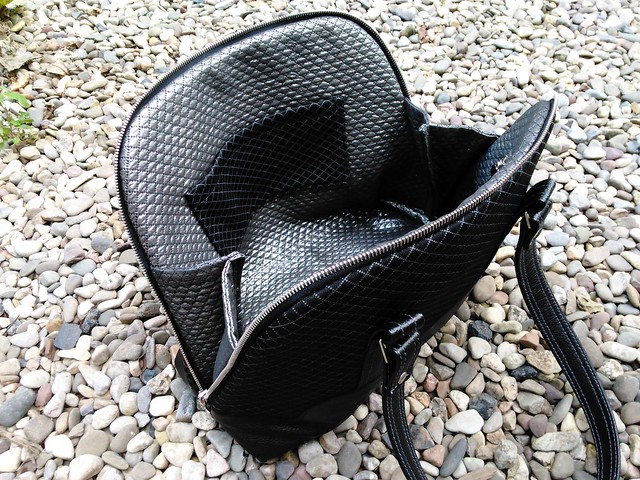
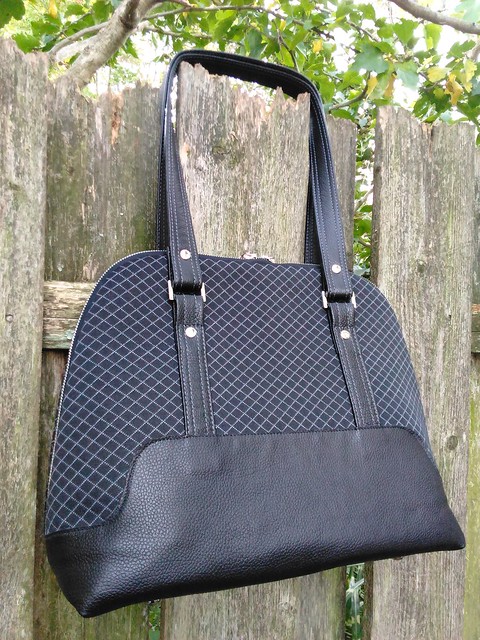
my next big project is in progress: my entry for the Pattern Review handbag contest! It is due on Oct 15!!
Be well!