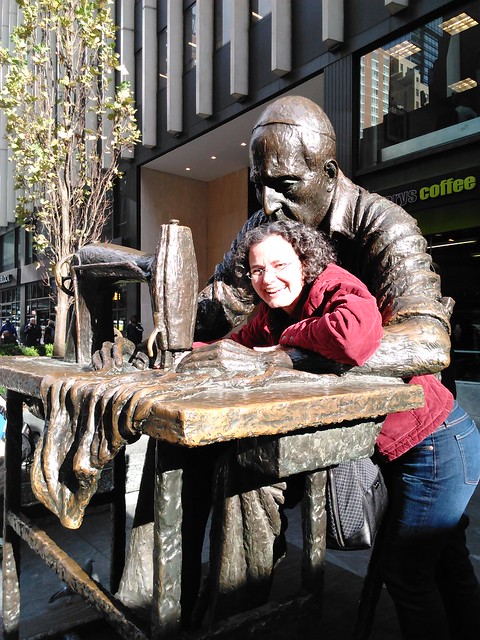
Channeling Shams from Communing with Fabric at the Garment Worker statue Nov. 2016
***UPDATED Sept 2, 2019***
Hi everyone! Although I'm not blogging anymore, I am asked frequently enough about my favorite NYC Garment District spots that I felt it would be easier to direct those interested to a post. (For more info on why I'm not blogging anymore, see this post. I'm still very active on Instagram, my whole creative life is there.)
Store hours
It depends on the shop, but most are not open nights, some are not open on Saturdays and very few are open on Sundays. For maximum shopping fun, go on a weekday and start early (like 9am) and shop the (mainly 9-5) day away.
Fabric stores in the Garment District: there are a lot, here are just some highlights
I'm limiting myself to a little blurb about each shop; click on the PR Review link (if I wrote one) for more detail. Note that some stores are in office buildings and there's no indication at street level that there's a fabric shop tucked away somewhere up above. Just go into the lobby and press the elevator button confidently.
Metro Textiles --weekdays only--take the elevator to the 9th floor, take a right and another right and shop away! Kashi will help you and is eager to cut your purchases. Great for pontes, wool, silks, some denim, some fabrics you never knew you needed. Small but incredibly fun and GREAT prices. Be sure to get your picture taken with Kashi--a sewing blogger/Instagrammer right of passage! My PR review.
Leather Impact -- leathers of all kinds and colors, plus leather strapping and leather piping.
Mood Fabrics--Mon-Sat--take the elevator to the 3rd floor for the fashion fabrics(Mood Home is street level, but not connected to the fashion fabrics). If you're a Project Runway fan you have to check out their three floors of garment fabric. I find Mood to be overwhelming, though, and only go if there is something in particular I have in mind and my other faves above don't have it. My PR review.
Notions/other shops
Botani (street level) is very high-end and where I get most of my custom zippers made (think girl with a ponytail zippers). Tons of rib knit and bag hardware galore!! Expensive, but makes your bag look SO profesh! My PR review.
Pacific Trimming (street level) is amazing! This store underwent a giant renovation in 2019 which expanded the size of the shop by maybe double? Great prices--large assortment of colors and sizes for underwear elastic, bag strapping, bag hardware, cording, studs, jeans shank buttons, Riri zippers custom cut, petersham ribbon...these are a few of my favorite things about Pacific. Much smaller selection of rib knit compared to Botani, but they have some. My PR review.
SIL Thread (street level) --my invisible zipper haven and my place for buying YKK chunky plastic molded zippers cut to size. Also my place for Clover notions, sashiko and embroidery needles. My PR review.
Other Garment District (or Garment District adjacent) shops etc
Gotham Quilts -- I'm not a quilter but have bought some of their fabric for bag linings. They also have a lot of embroidery kits and my favorite embroidery scissors of all time, which are rose gold stork scissors--very smooth and also nice to hold.
The Garment Worker statue--at the corner of W39th and 7th. Have your picture taken there!
Kinokuniya --super cute bookshop that has Japanese pattern and crafting books in the basement.
Purl Soho--not in the Garment District, but such a fun shop full of inspiration. Mainly for quilters, knitters, and embroidery types, but there are some garment patterns and a small selection of garment fabric. My PR review.
Doughnut Plant at Grand Central Station--adjacent to the Garment District. See my Doughnut Plant info in the "Chelsea area things" section below for into.
Chelsea area things
Walk or take the subway from the Garment District to Chelsea for Doughnut Plant doughnuts (the Brooklyn Blackout--a chocolate cake doughnut--and Wild Blueberry are my favorites), TrueMart (street level--Sun-Fri) a shoebox sized garment fabric shop that is uber fun and quick, and the FIT Museum (free, small, Tues-Sat). New in 2019 is the FabScrap Shop, a street level Chelsea outpost of the FabScrap Brooklyn warehouse space. FabScrap sells reclaimed fabric, leather, and trims from NYC designers that would have gone into the trash if FabScrap didn't rescue them, and it's a delight to browse through their well lit, organized, and clean shop! Two great places to have lunch/dinner down there are Westville (farm to table, organic, great veggie plate) and a restaurant called Cafeteria. Sullivan St Bakery (on 9th, not on Sullivan St) was highly recommended by Peter Lappin for breakfast/lunch and it's delicious!
Shopping order
If I have custom zippers to order, I go to Botani first, then visit Kashi at Metro Textiles (and have him ship my fabric). Then I have lunch at Macaron Cafe (great salads and sandwiches, then get some macarons--my fave is the dark chocolate) or Maison Kayser, but in warm weather I might eat lunch in Bryant Park. Then I go to trim shops (like Pacific Trimming) and then another fabric store or two, and back Botani to pick up my zippers. Then I either take the subway down to Doughnut Plant in Chelsea to pick up some doughnuts and go to TrueMart and/or the FabScrap Shop, or, if I'm not going to Chelsea, I head over to the Doughnut Plant location at Grand Central Station.
Hauling it / Shipping it
Note that you're in the city. It's not like when you go to JoJo's and buy a bunch of fabric, throw it in your car and drive home. Whatever you buy you have to carry with you, and fabric is heavy. On some trips like PR weekend, folks bring rolling carts, but if I buy a lot I prefer to ship. There are FedEx storefronts all over Manhattan, but honestly the easiest shipping method is to have Kashi ship. You can throw purchases from other stores into your Kashi pile and he will ship them for you with the fabric you buy from his shop, but he will also chide you for not buying all the fabric from him. If it's other stuff (say Kinokuniya purchases or notions), those will escape comment. :) Many other stores ship too, but the shipping process at Kashi's is the easiest IMHO.
Need more help?
Mimi at Shop the Garment District sells generic Garment District maps and also will create a customized map for your shopping interests. I'm not affiliated with her or her blog, but based on everything she's ever written, I'm sure she can steer you in the right direction.
Summing it up...
So the above are my faves, not a comprehensive listing of every single shop in the Garment District--there are a lot.. :) Have a shop you love that I should know about? Have a NYC Garment District question for me? Let me know in the comments!
RIP to the following old faves: The City Quilter, Paron Fabrics, French Couture Fabrics, The Red Cat, and the Moaz location by Bryant Park.
Be well!!