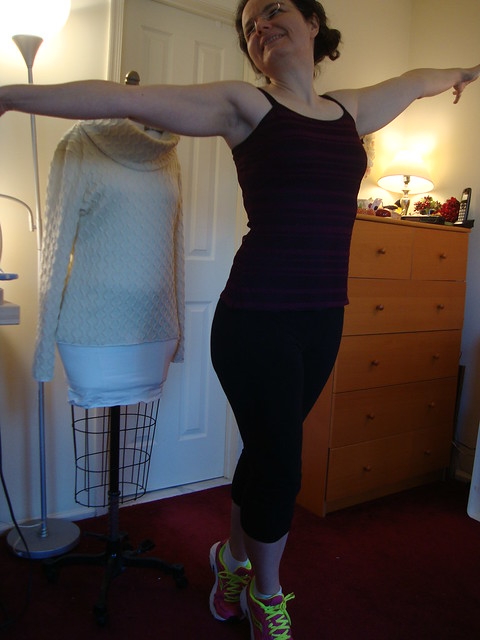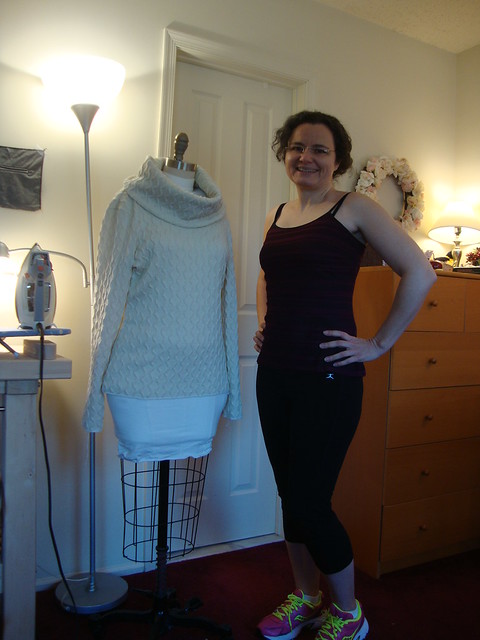

Since it's snowy and cold, I don't know when I will get to actually wear this skirt to work, hence the sewing room photos.
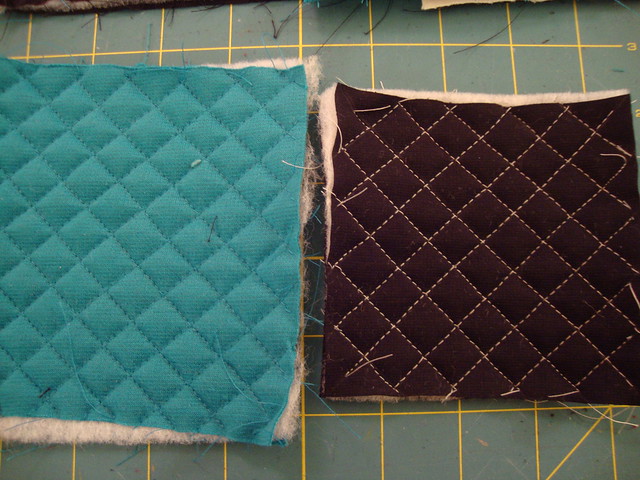
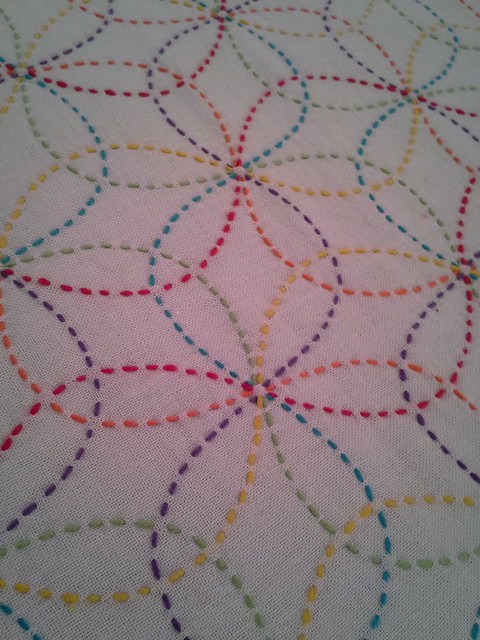
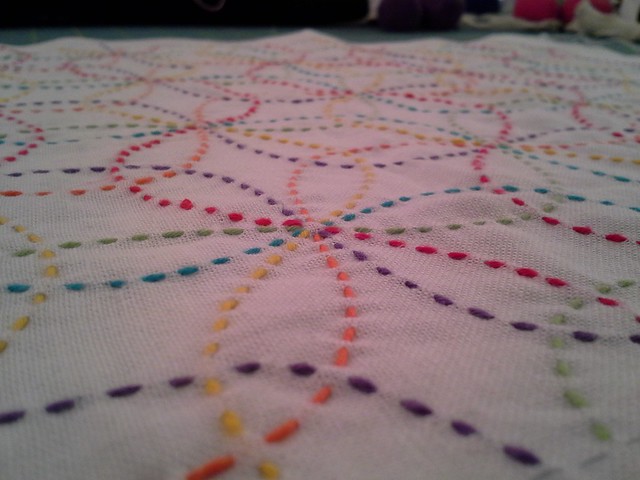
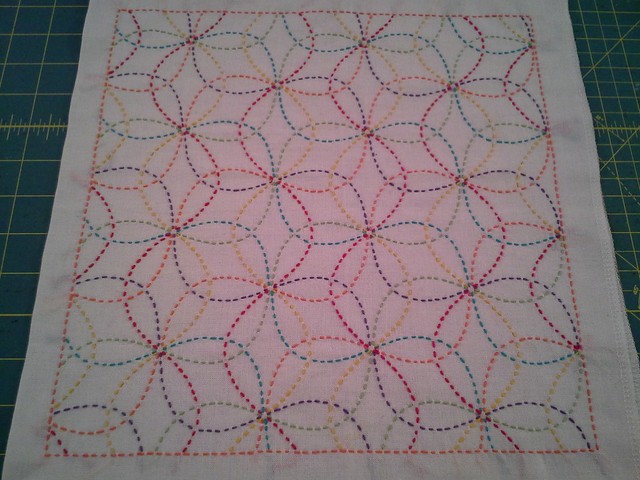
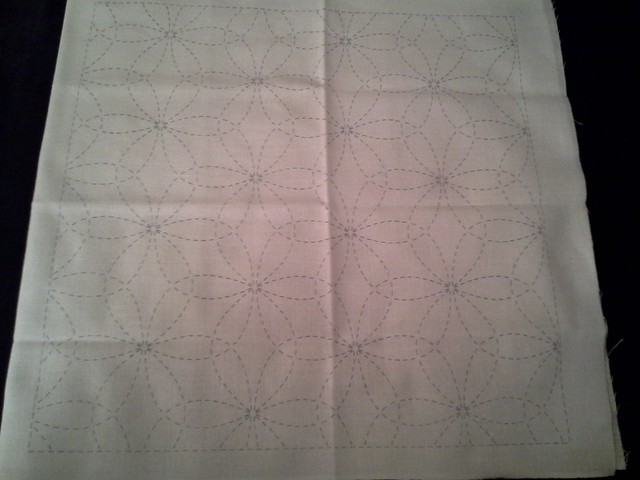
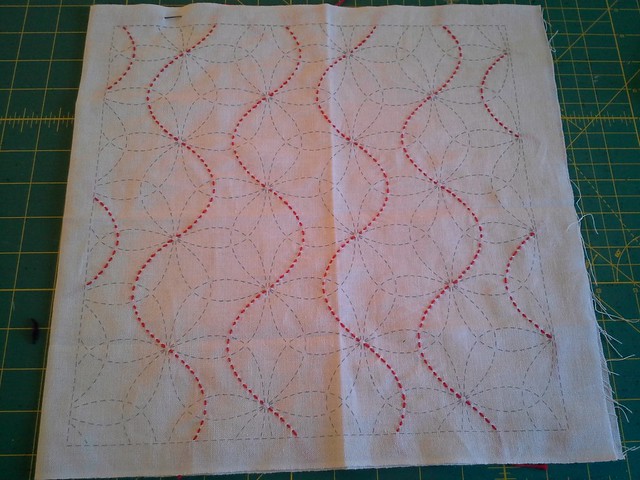
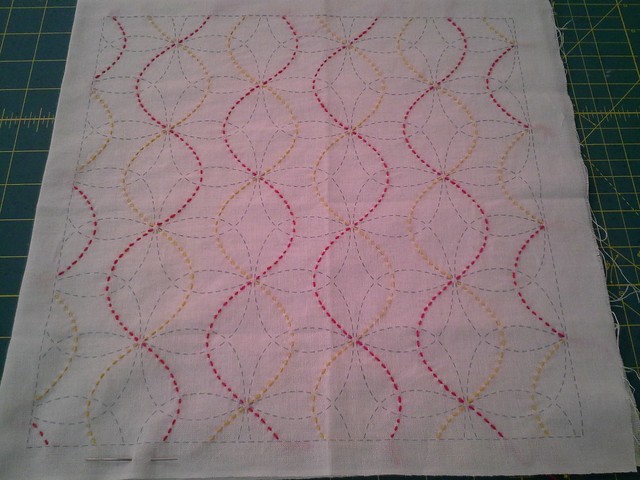
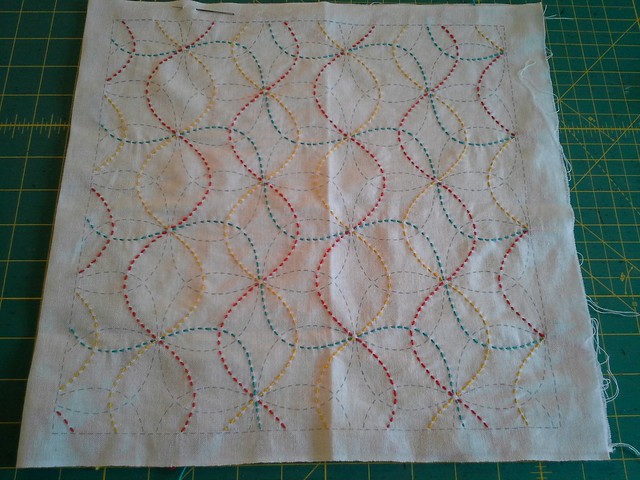
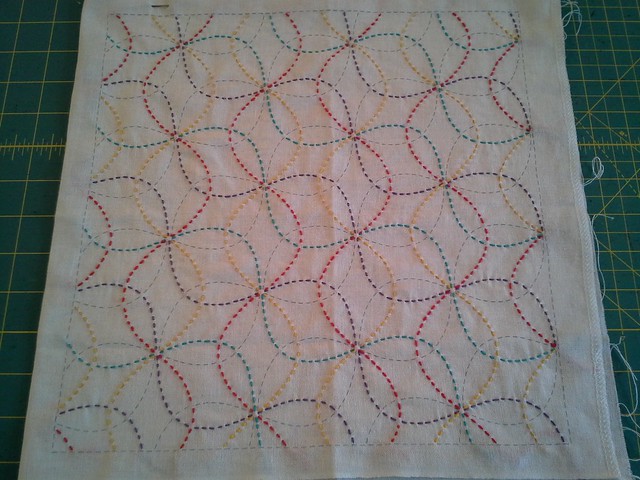
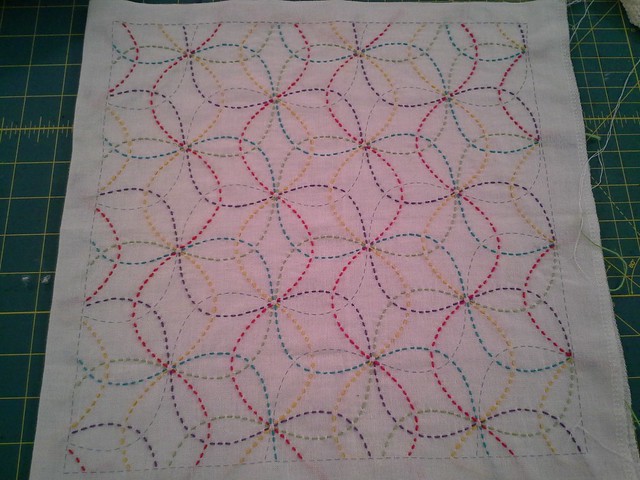
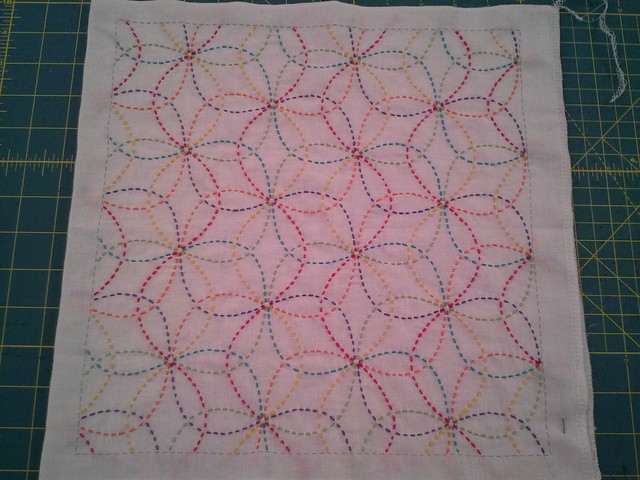
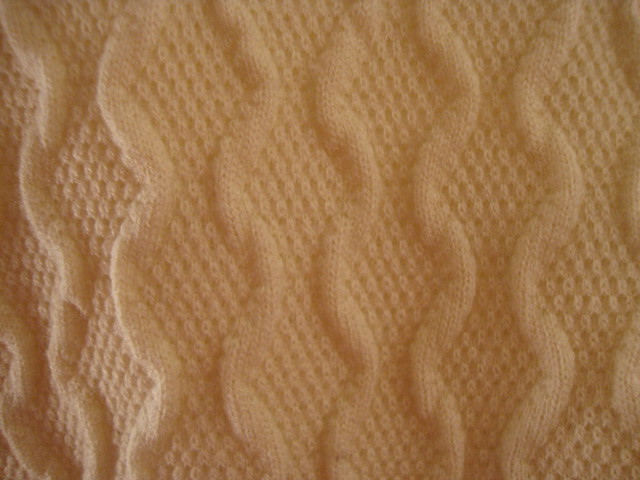
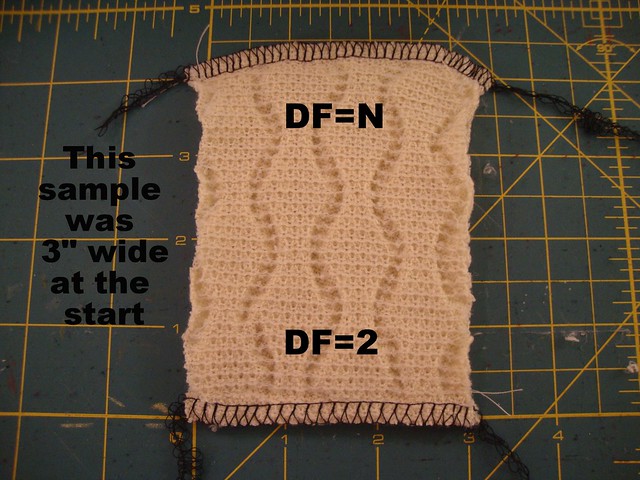
Last fall I was on my quilted fabric kick. Remember when I quilted these samples above?
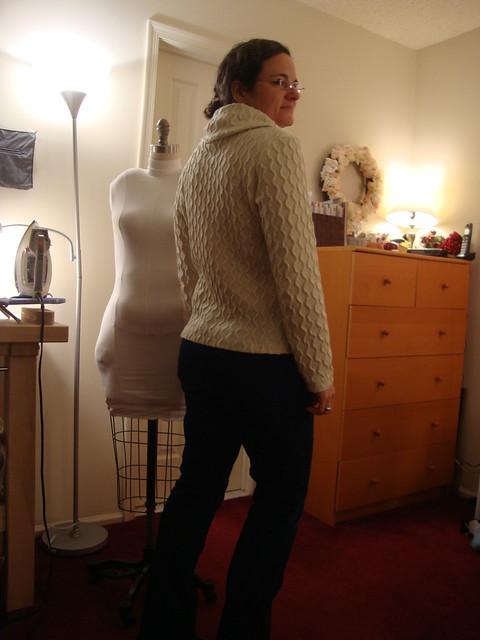
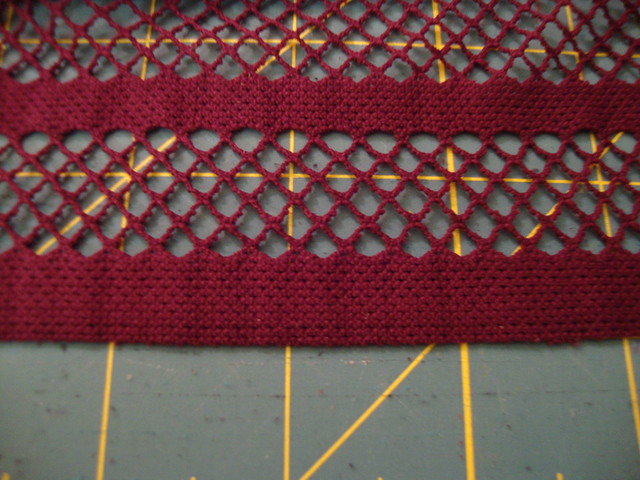
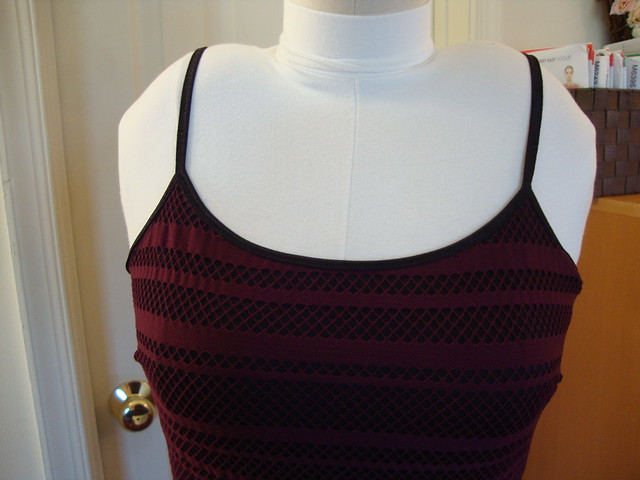
Well, in November I went to Kashi's with Tomasa for MPB Day and he had basically what I was trying to emulate:
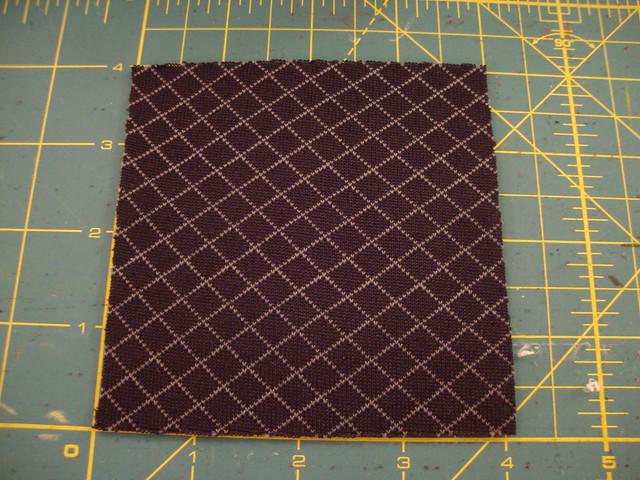
I know, right? It's not quilted, but it's the look I was going for.
It's also totally indestructible polyester, that thick and scratchy double knit kind, with a lot of body, and is slightly stretchy.
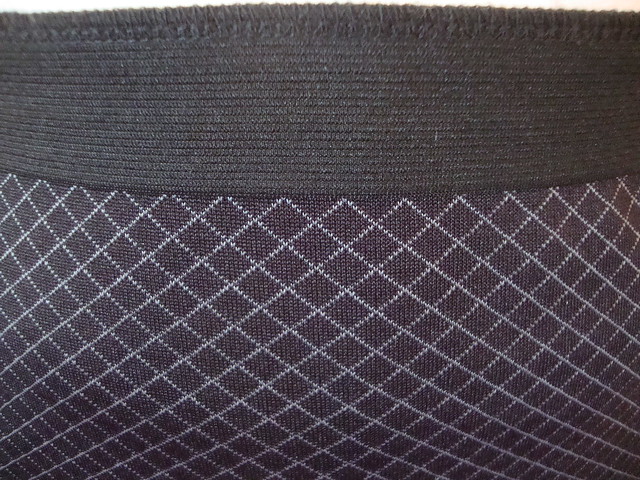
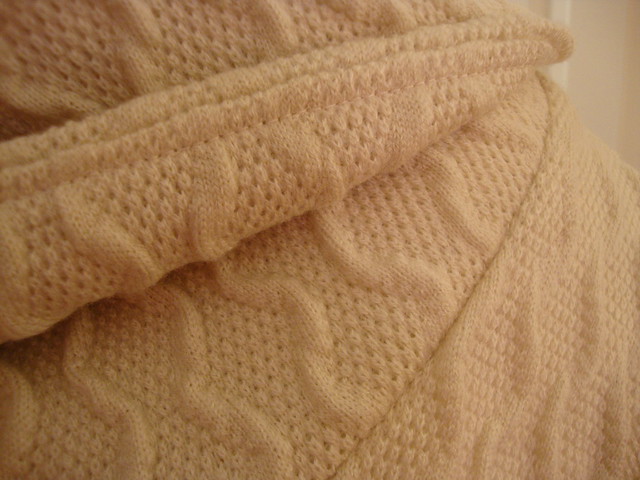
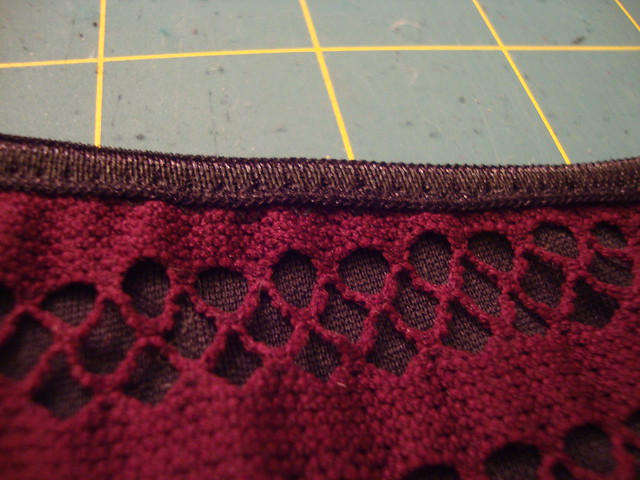
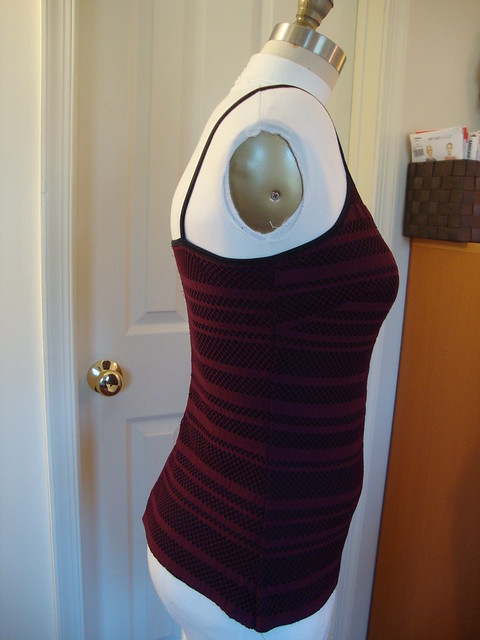
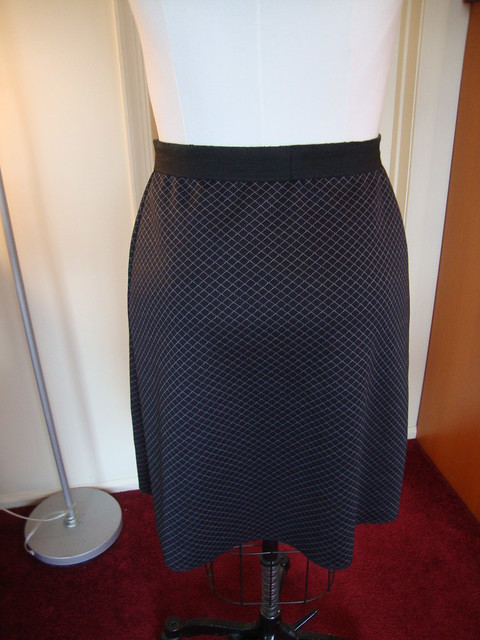
Closeup of waistband on my skirt....on my dressform.
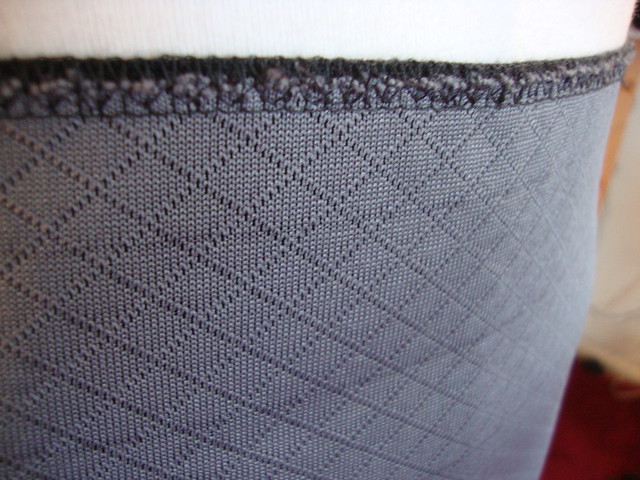
The inside is gray
And it was $2 a yard. I would have paid $20 because that pattern was exactly what I wanted and I love love love the small scale of it.
Kashi, darling, throw three yards of it in my box. Thanks, love.
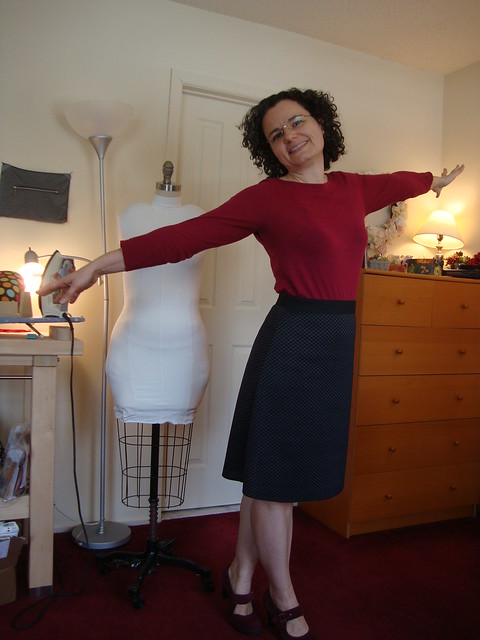
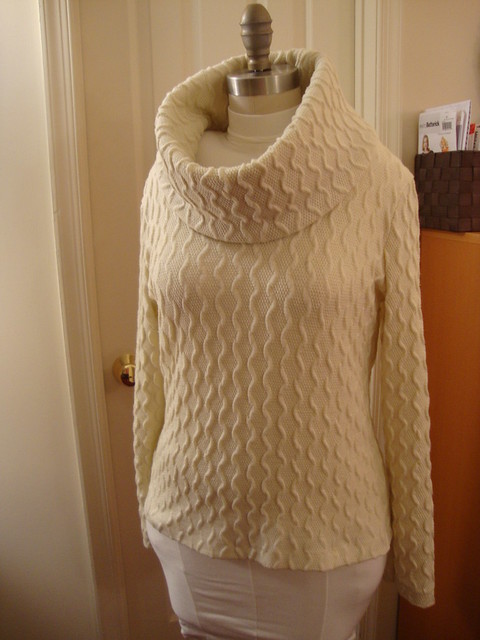
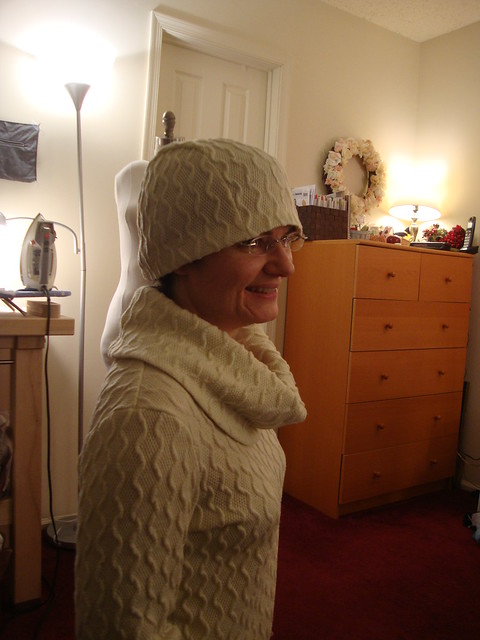
Front
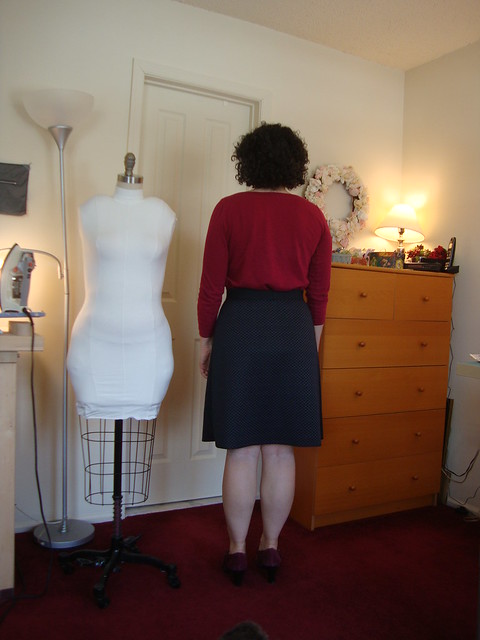
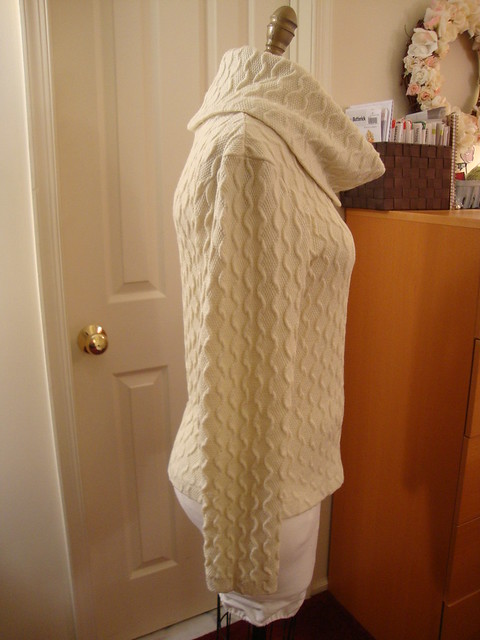
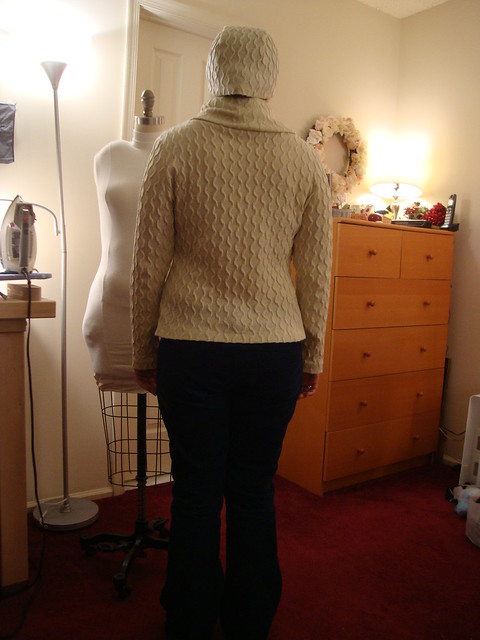
Back
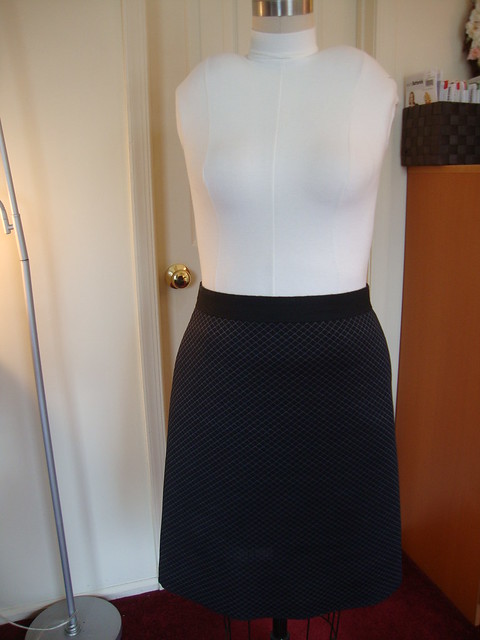
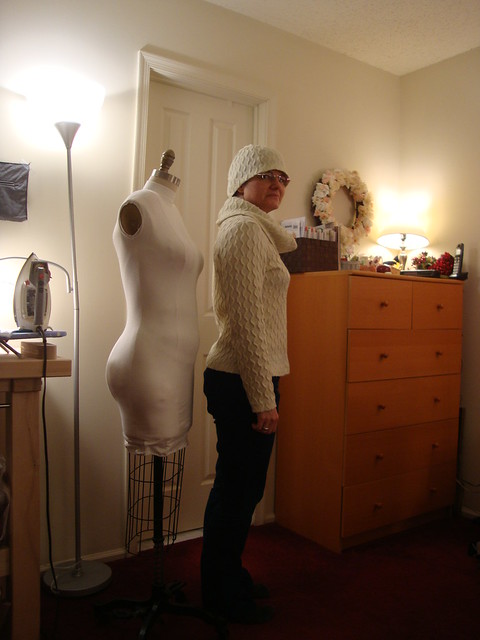
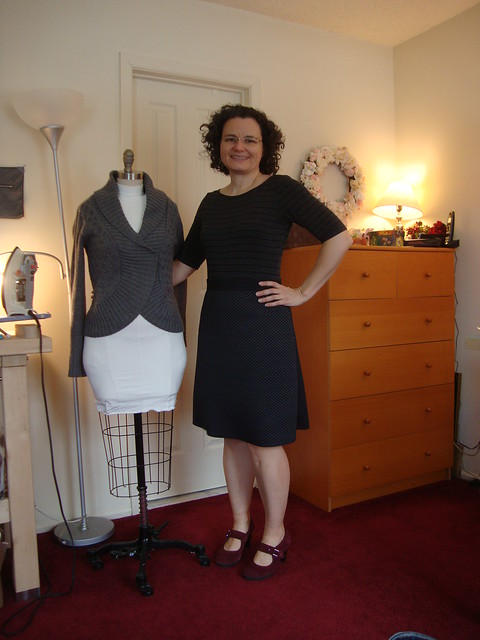
On my topless Izzy. I have a slip underneath because the fabric is not opaque, but my slip isn't nearly as long as the skirt....
There is some gathering on the back of Izzy, but less so on me.
I went back to my TNT skirt pattern, New Look 6843. I was thinking this would be a "quick and easy" project.
Don't get too comfortable. Every fabric is its own universe. Sadly I took no photographs of the missteps, but there were several!
I actually started with regular NL 6843 and cut it out my usual size and sewed in all 6 darts (2 in front, 4 in back). and I thought it looked terrible. It was SO obvious that the pattern was not matching where the darts were. That little amt of stretch made a big difference. It turned out to be gigantic.
So then I went to version of NL 6843, the one I traced off and folded out the pleat for knits. Its stretch is minimal but enough that it makes a difference.
Basted the side seams and tried it on and it was still a bit big....
Sewed on the elastic waistband, but there was too much gathering, especially in the back.
Tried various things including adding darts to the back--small (just under the waistband)--longer ones (that could be seen), totally hated it.
Basted the side seams closer at the waist. Reattached waistband.
Then I wound up with the waistband being too small! There was no way I could wear that all day.
Finally I figured it out:
- Get the skirt to be relatively smooth front and back by basting the side seams accordingly.
- Press the side seams.
- Take a length of elastic, position it over the skirt, find where it feels comfy. Cut the elastic so there are a few inches on either side of where the join will be.
- Baste the elastic into a loop.
- Try the elastic on again and sit down in it. If not comfy, try 2 and 3 again.
- Once comfy, cut the tails off the elastic so there is just an inch or so on either side of the join.
- Serge the side seams and press.
- Move the join to the center back (my preference, the join could be at the side seam).
- Now take tailors chalk and chalk where the elastic meets the side seams!!! This was the key for me. I was dividing my elastic and waistband into quarters, but my back at my waist is smaller than my front at my waist....resulting in a lot of gathering back there if I quartered it.
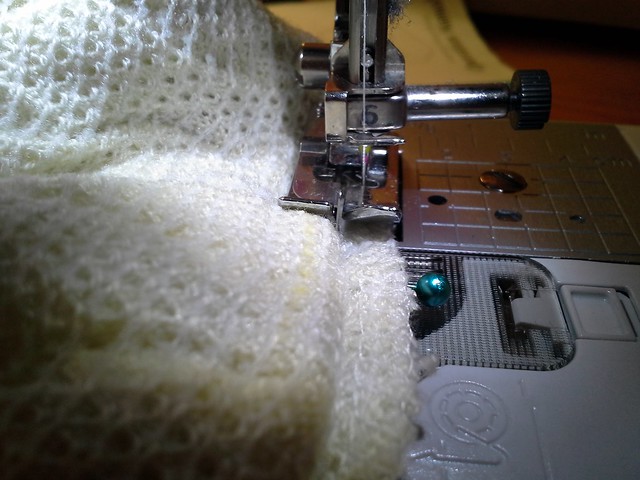
- Zig zag just the front of the waistband on! Leave the back flapping around.
- Try on again and turn around. Adjust the elastic. If you have a sway back (as I do), I wound up pulling up the raw edge of the skirt in the center back, tapering to zero at the edges, to remove some of the slight pooling. Take chalk and mark where the top edge of the elastic should be.
- Now zig zag the back on and try one more time....
- Good enough? Now serge it!
- If everything is how you like it, DO NOT PRESS the waistband if your elastic is the kind that loves steam. I used Pamela's Fantastic Elastic, which I like quite a lot, but pressing it will shrink it down (hence the too-small waistband in one of my prior attempts).
Then there was the hem....Turning it under an inch and blind hemming looked terrible! It destroyed the drape of the skirt. The rolled hem didn't look good either...it is thick poly double knit after all. I wound up just serging the raw edge to maintain the drape. And pressed the edge.
Also it is longer than usual....but I think it looks more elegant that way?
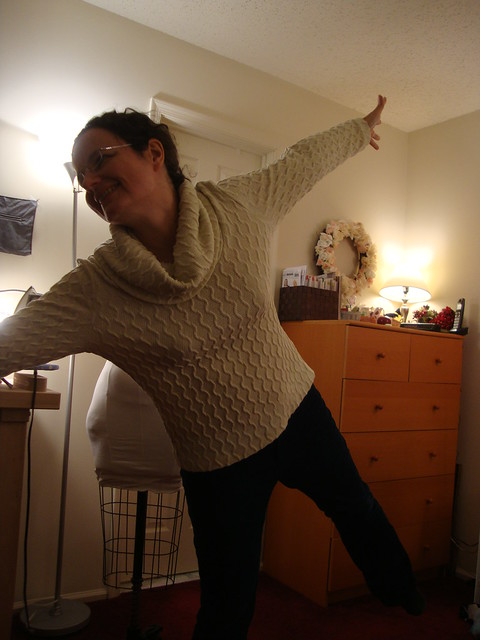
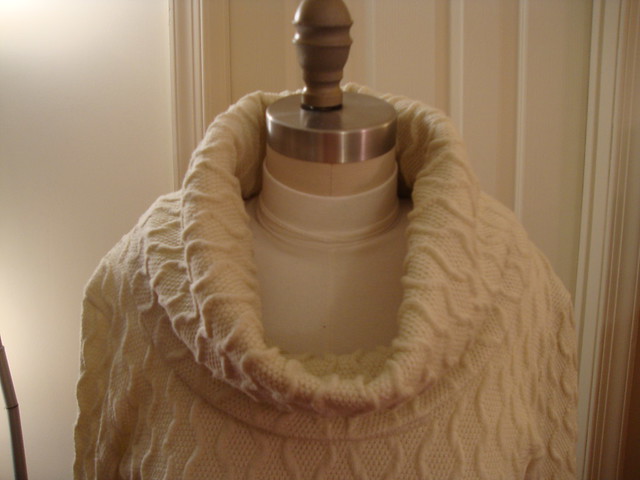
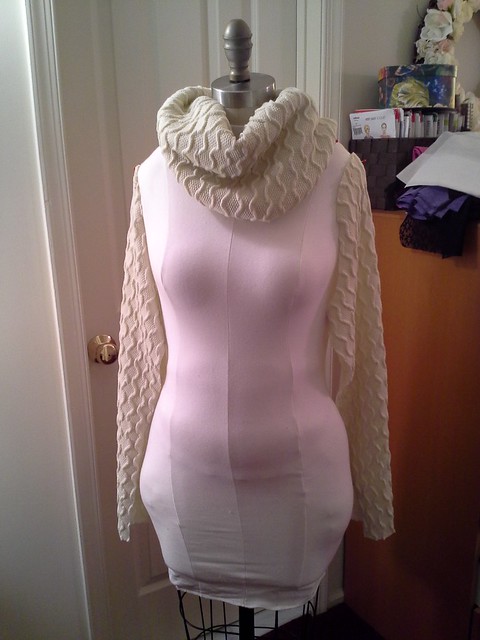
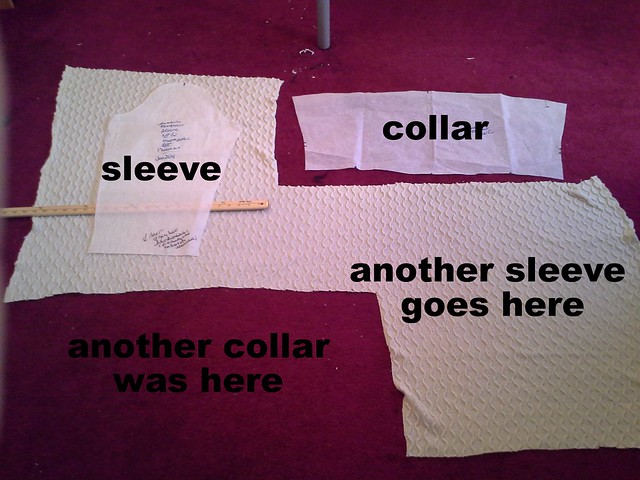
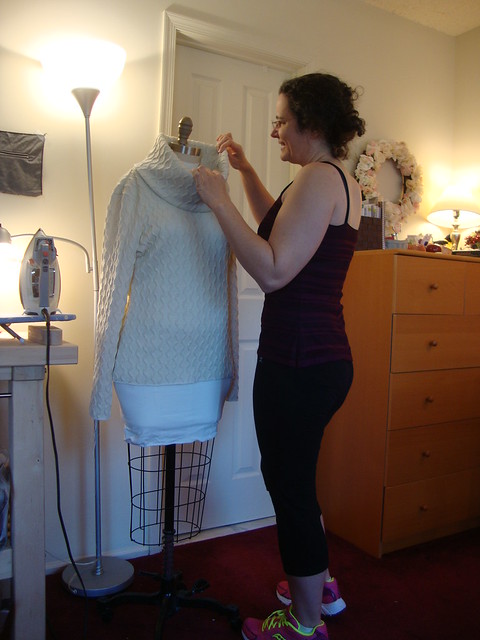
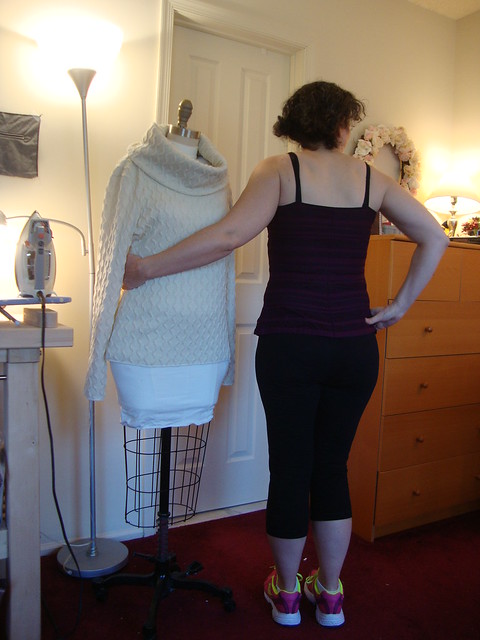
Spoiler alert is on my dressform: another new series I have forming in my head entitled "RTW Hacks". That is the after. You will giggle at the before.
Spoiler alert is on my dressform: another new series I have forming in my head entitled "RTW Hacks". That is the after. You will giggle at the before.
Yesterday was a snow day, so I made my first ever skort (yes, skirt with shorts attached) out of performance fabric, for the gym. Quite the adventure. I think I'm hooked!
Be well!