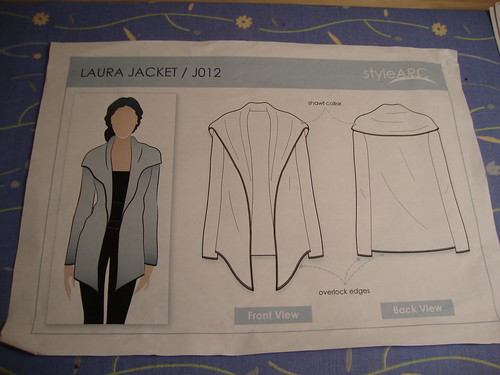
I bought this pattern in the summer of 2011, but sewing it up meant I would have to learn how to use my serger first (see the overlocked edges above) and find some sweater knit.
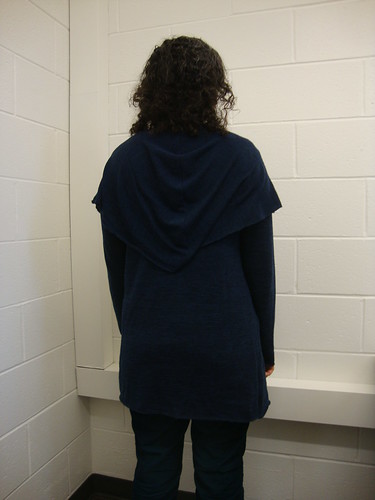
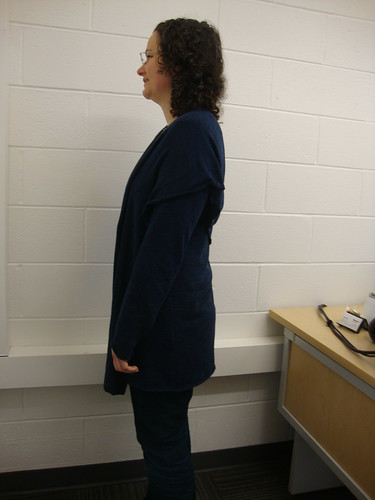
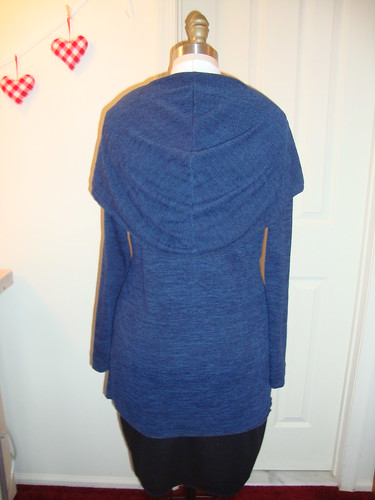
Finally, 2.5 years later, the time came to make a muslin. I made the straight 12. I think it fits pretty well. The only thing I'm unsure about is the length.

My usual work photographer was not available for pictures so this is a different work photographer who insisted we use his windows phone.

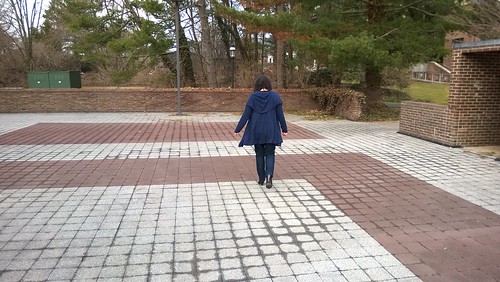
Here is the walking away shot, to show how it flutters. I feel like I'm a caped superhero when I wear this.
This is to show you the impressive wingspan
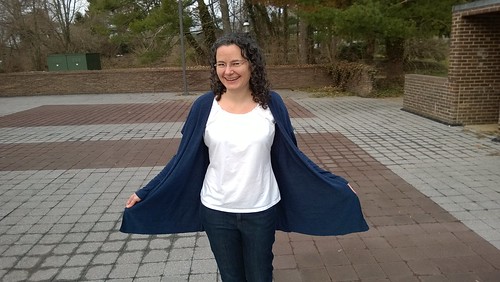
And here are some pix my regular work photog took before I serged the raw edges
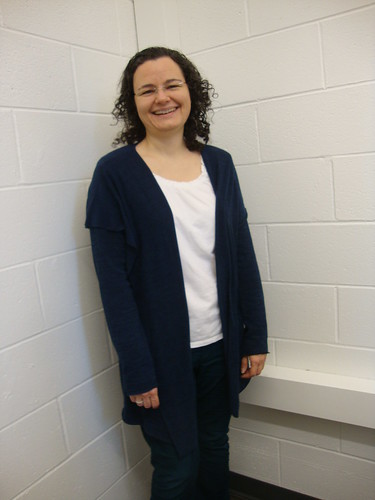
back
Side
Serger practice
I was pretty afraid of serging the raw edges.
I cut some sample squares.
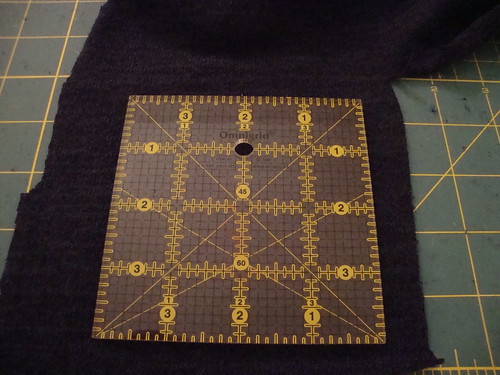
I bought this 4x4" square "ruler" after taking the PR class "understanding knit fabrics". Mainly I use it for cutting sample squares when I wash and dry fabric to determine shrinkage...but it has another use...when I serge the edge, is it getting longer or shorter???
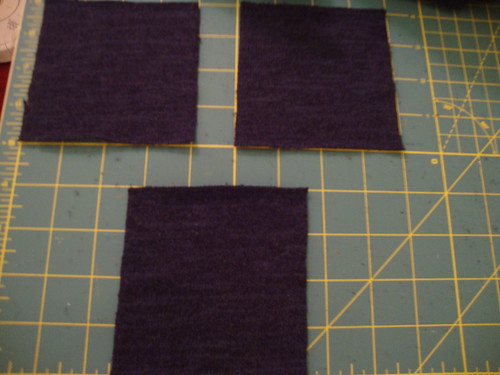
Then I serged.
And it was terrible.
No matter what I was setting the differential feed (DF), it was gathered. Adjusting the DF was always my fix in the past, but not this time.
I gave up.
Then I googled.
And then I found the right setting.
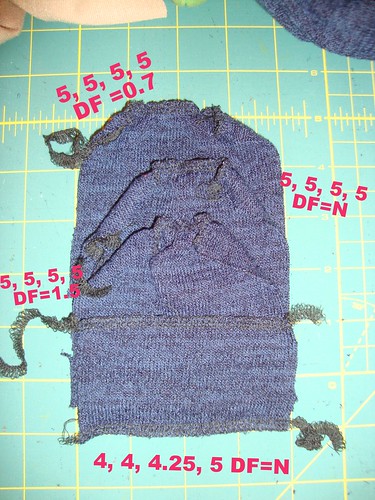
First three: great if I wanted gathering!!
I had no idea that I had to release the needle tensions down, and the upper looper tension down too, but so it was. I experimented a bit more than above, but finally figured out that the last settings above are right.
I then serged on the lengthwise grain, expecting the settings to be different, but they weren't! This was single layer, which is exactly what serging the raw edges involved.
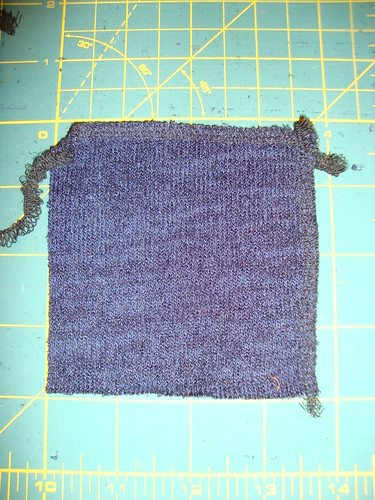
In the above photo, the top and right sides are serged. I cut the edge so the square is no longer 4x4. If you really want to check if the stitching is changing the length/width you need two samples: one where you only cut the length and one where you only cut the width.
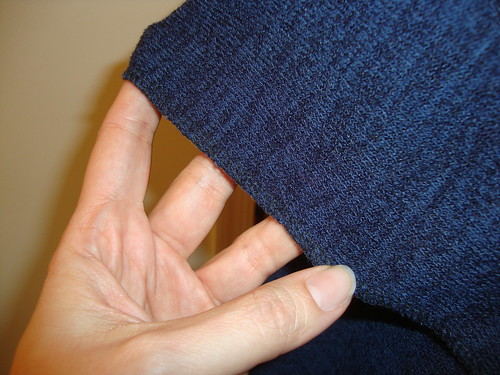
So here's what it looks like on the garment. Wow, that black serger thread really blends into this blue and black fabric:
So I wanted to serge the inside too, which meant 2 layers.
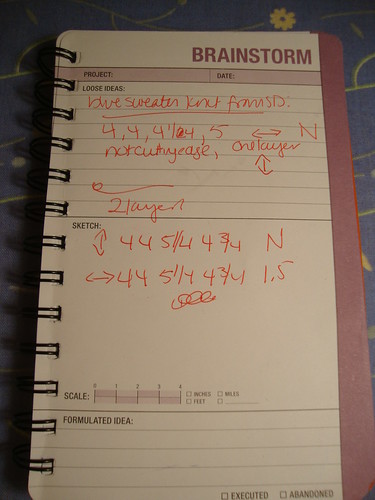
I wrote down the settings in my notebook where I keep sewing notes for myself. The fabric was from the San Diego swap meet with Elizabeth last November.
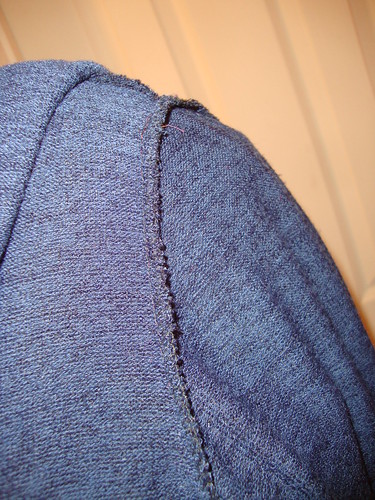
and this is what it looked like inside on the sleeve cap
For the bottom of the sleeve I serged the raw edge and then blind hemmed it. The arms seem to be extra long and begging to be hemmed so that's what I did.
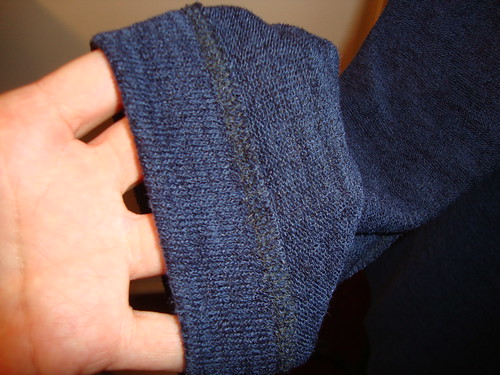
Wrong side of the sleeve.
What to do with the serger tails
I was also unsure of what to do with the serger tails on the single layer, around the edges. It turned out to be so easy...but maybe I'll talk about that in the next post.
So what do you think of the length? Too long?
Be well!!!
I had no idea that I had to release the needle tensions down, and the upper looper tension down too, but so it was. I experimented a bit more than above, but finally figured out that the last settings above are right.
I then serged on the lengthwise grain, expecting the settings to be different, but they weren't! This was single layer, which is exactly what serging the raw edges involved.

In the above photo, the top and right sides are serged. I cut the edge so the square is no longer 4x4. If you really want to check if the stitching is changing the length/width you need two samples: one where you only cut the length and one where you only cut the width.
So here's what it looks like on the garment. Wow, that black serger thread really blends into this blue and black fabric:

So I wanted to serge the inside too, which meant 2 layers.
I wrote down the settings in my notebook where I keep sewing notes for myself. The fabric was from the San Diego swap meet with Elizabeth last November.

and this is what it looked like inside on the sleeve cap

For the bottom of the sleeve I serged the raw edge and then blind hemmed it. The arms seem to be extra long and begging to be hemmed so that's what I did.

Wrong side of the sleeve.
What to do with the serger tails
I was also unsure of what to do with the serger tails on the single layer, around the edges. It turned out to be so easy...but maybe I'll talk about that in the next post.
So what do you think of the length? Too long?
Be well!!!


Congratulations on conquering the serger! Your cardigan is cute. I like the longer length.
ReplyDeleteGORGEOUS!
ReplyDeleteThis is one of my most sewn and worn patterns. Different knits behave and drape so differently that the sweater will have a different character. I love your sweater in the longer length. Next time you can try a shorter length to see how you like it.
ReplyDeleteNot sure. Yes to an inch or two when i saw your petite stature.
ReplyDeleteNo when i saw the last photo on the manequin. The length balances out the back shawl 'collar'.
Since you are the one wearing it, serge off an inch.
The length is realy good and I am so impressed with the whole project!!
ReplyDeleteYou have conquered your serger! I like the length, there is something about the flowing of this cardigan that I love, perhaps the shawl collar is a little long but then again you are making it your own.
ReplyDeleteThis is a beautiful cardigan. I love the design.
ReplyDeleteI think you are just not used to wearing this length. It does not look out of proportion to my rheumy old eyes. Besides, soon the weather will turn warm enough that you'll fold away the sweater until September. It will seem fresh and new to you then, all over again! You can decide then whether to shorten it at all.
ReplyDeleteWell done getting through all that fiddling with settings. I make little index cards and staple a serged fabric sample with my setting on there. Then next time I have a similar fabric I can have a better starting place. Having the sample really helps because fabrics that I remember being similar don't always have the same settings. Great Cardigan too, glad all the work was for a great finished product!
ReplyDeleteWas on my smarty pants phone earlier ---forgot to say this is very flattering.
ReplyDeleteLove your sweater! You are a pro at the serger!
ReplyDeleteCan I just say you look both sharp and cosy in this sweater jacket. you really do.
ReplyDeleteThank you for sharing your serger experience Kyle. I never test my knit fabrics for sizing changes when I serge but I will now.
I like the length! I bet you wear this a lot. It looks like the perfect combination of easy and stylish.
ReplyDeleteI'm totally coveting that cool square ruler. It looks useful. Thanks for explaining!
ReplyDeleteSergers have been on my mind lately, as I'm trying to decide whether to invest in one. I love the serving you did on this project -- the thread really does blend into the fabric! And thank you for all of your tips! As to the length, maybe you can pin it up a couple of inches to see if you like a shorter length. I'm petite so I'm always pinning up the hem to try and determine a hem length that looks right to my eyes. Great job!
ReplyDeleteWhat a beautiful cardigan!! The colour is really smart and the shape is lovely on you. And well done for mastering your overlocker! The tails are generally just threaded into a long-eyed needle and woven back through the overlocked fabric edge. :)
ReplyDeleteHave gotten behind in my blog reading. What a fantastic use of the ruler. I have one that I use for quilting, but I will be using your idea from now on before serving. I love this sweater. Some of the best dressed girls at work wear cardigans like this from very expensive shops and I drool. You look quite stylish in it, and it is really versatile. I think you have to go with the length that makes you feel most comfortable. It sounds like you are a little uncomfortable with the extra length, but it really does look great!
ReplyDeleteserging,not serving
Delete