
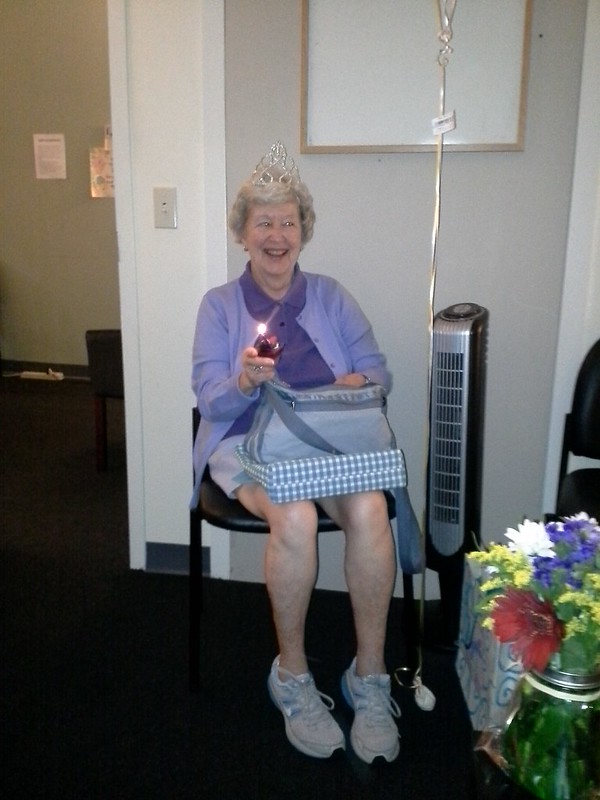
I made a tote bag for a friend from my meditation group over the July 4th weekend. She turned 80 earlier this month and we threw her a sweet little surprise party where everyone brought something: balloons, sweet treats, fruit, flowers, even a birthday crown! I normally do not sew for others, but Francesca is extra special. She is like a grandmother to me, probably because I feel like I'm still 20-something at heart.
Exterior fabric: from my stash of cotton gingham
Interior fabric: White duck cloth from Joann's.
Piping: Joann's.
Cotton Strapping: Joann's
Interior zipper: my stash
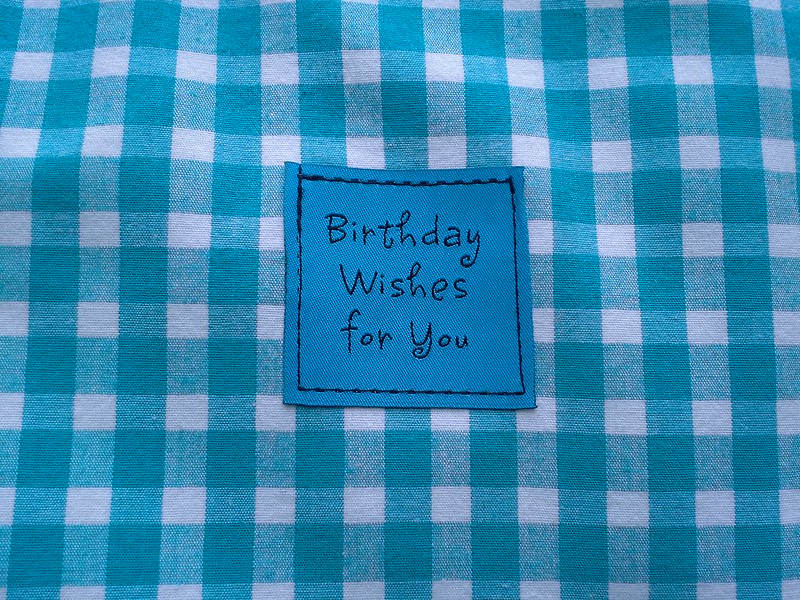
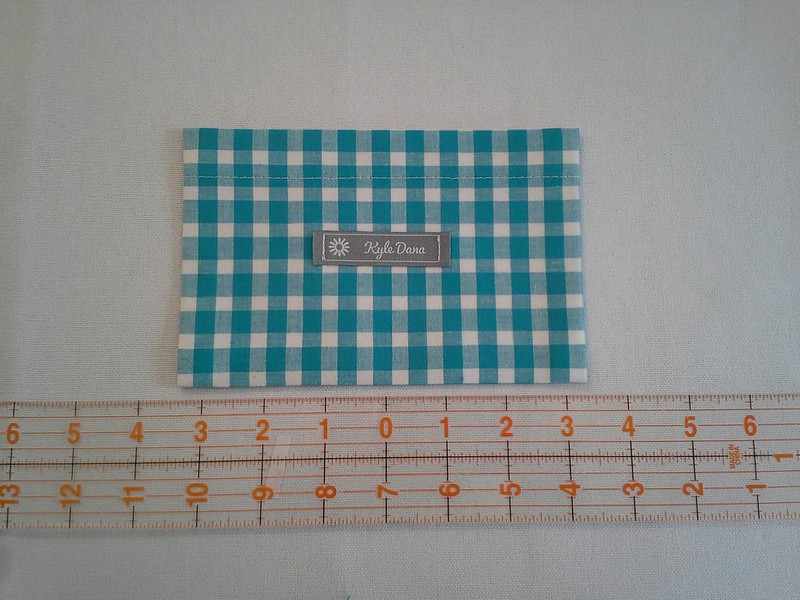
Exterior label: from my stash of scrapbooking woven labels. Someone recently asked where I find these labels as they no longer seem to sell them in stores. I've been buying similar labels lately on ebay by searching for "Joann woven label" or "Threads woven labels" or "MAMBI woven labels"
Interior label: LabelsAndRibbon.com
Peltex (in the bottom of the bag for support): Joann's
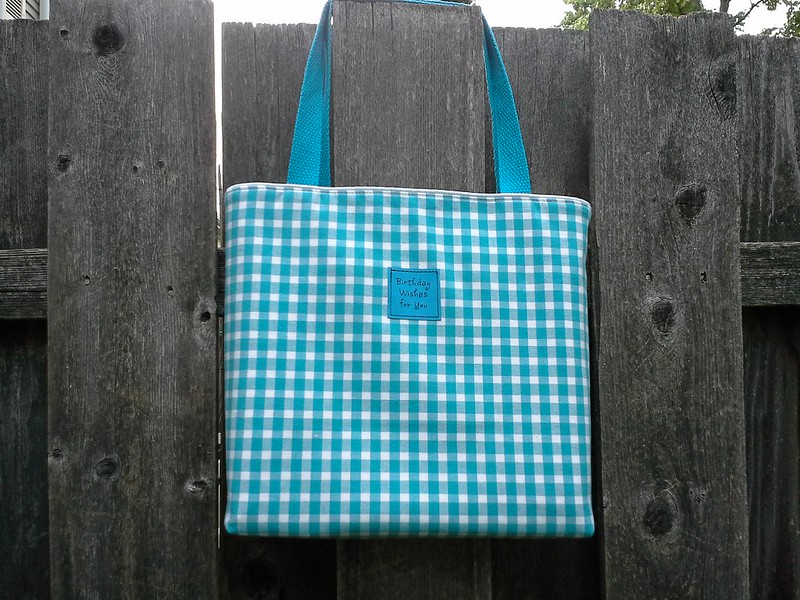
Front
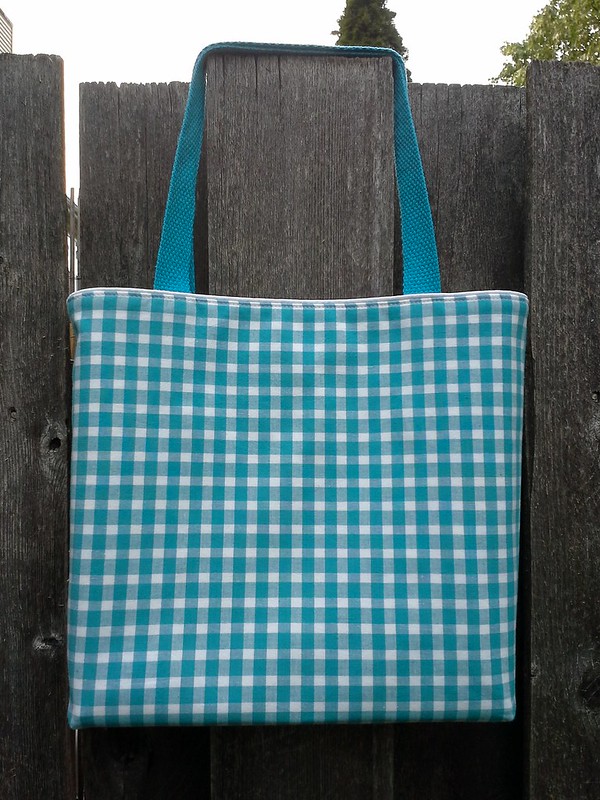
The back is unadorned.
Unlike other bags I've made, this one was birthed through the top edge instead of the bottom seam in the lining.
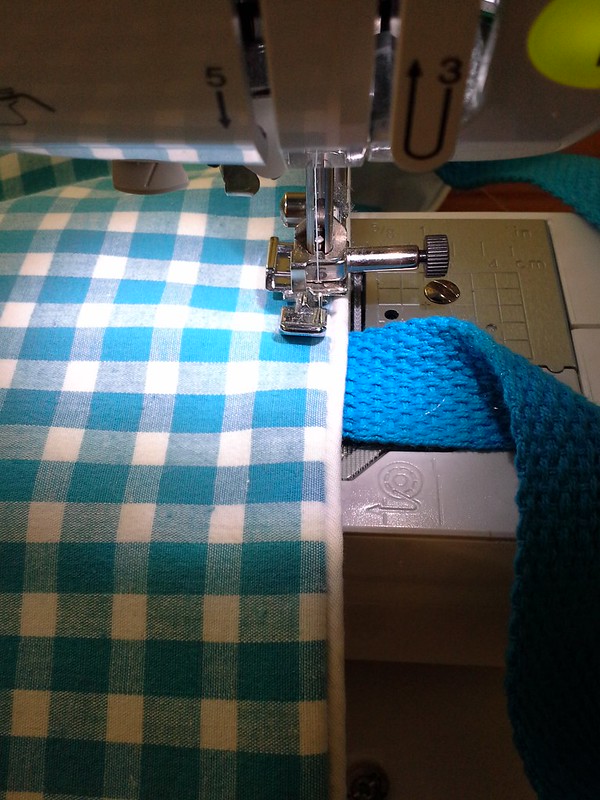
I made the bag in the "reversible" method, using this tutorial from the Seasoned Homemaker, which means having to topstitch the top of the bag. I was a bit afraid of this step as any uneven stitching would be immediately evident. I lined up the edge of my presser foot with the top of the bag and used that as my guide.

It turned out fine! And of course the bonus is that there is no evidence that the bag was ever "birthed". It makes a completely professional and complete finish.
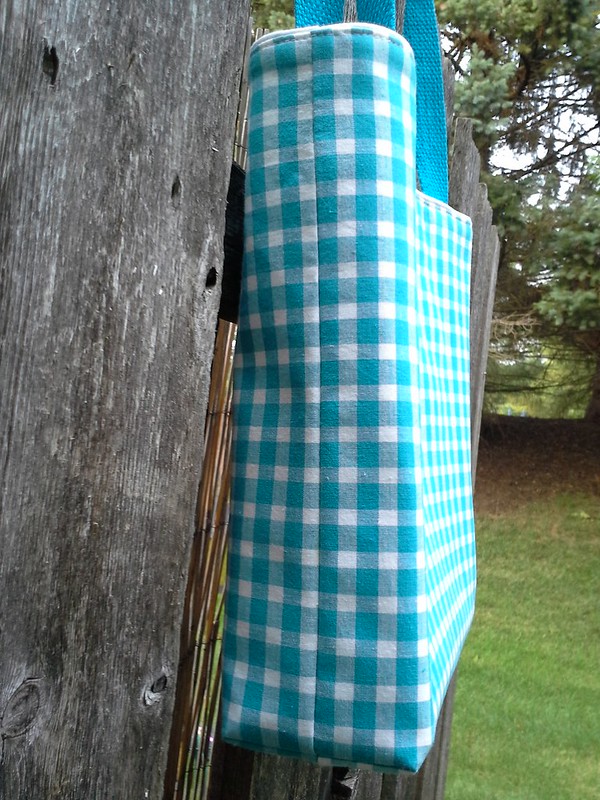
Having recently sewn my black and white gingham bag, I decided to cut the exterior out as one piece so there would be just one side seam instead of two. That meant only lining up the gingham on just one side.
If the side seam matches, it also means that the bottom will never line up. I decided I'd rather have the side seam match instead.
I also cut the lining as one piece, so it would also have one side seam.
Since I didn't have an appropriate zipper for the interior zipper pocket in my stash, I added a grosgrain ribbon pull to a regular zipper. Since then, I saw Jennifer Stern's tutorial on using an invisible zipper for interior zipper pockets. I may try that sometime, though I just bought a bunch of zippers with foxtail pulls from the Emmaline bag site.
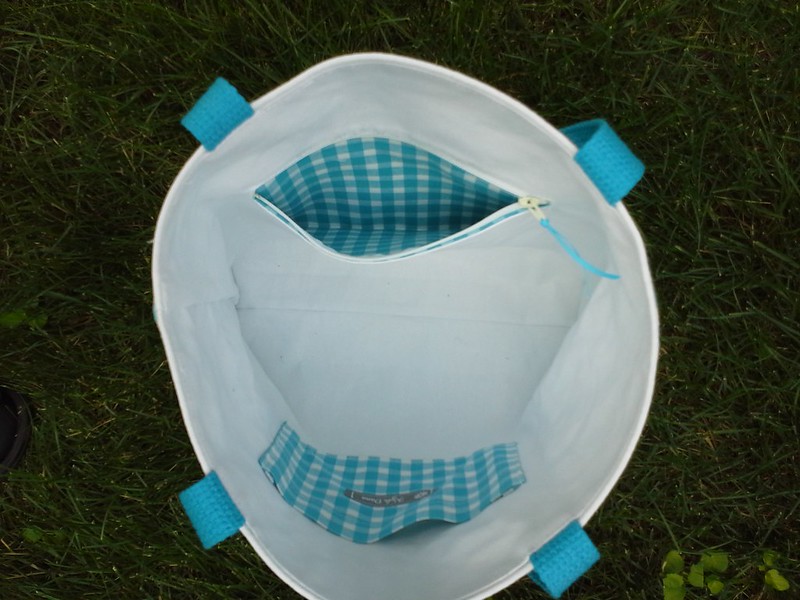
The interior zipper pocket fabric is the same gingham. I sewed the zipper pocket using this tutorial from the Emmaline site.
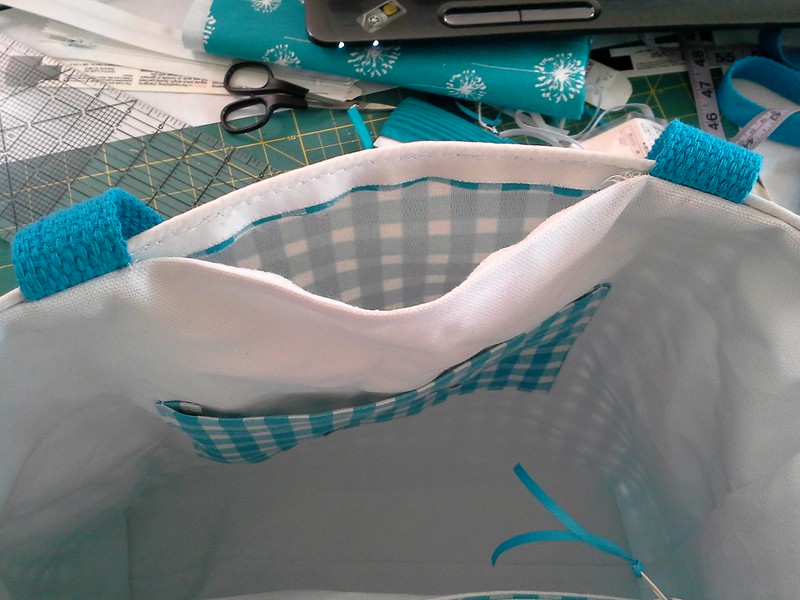
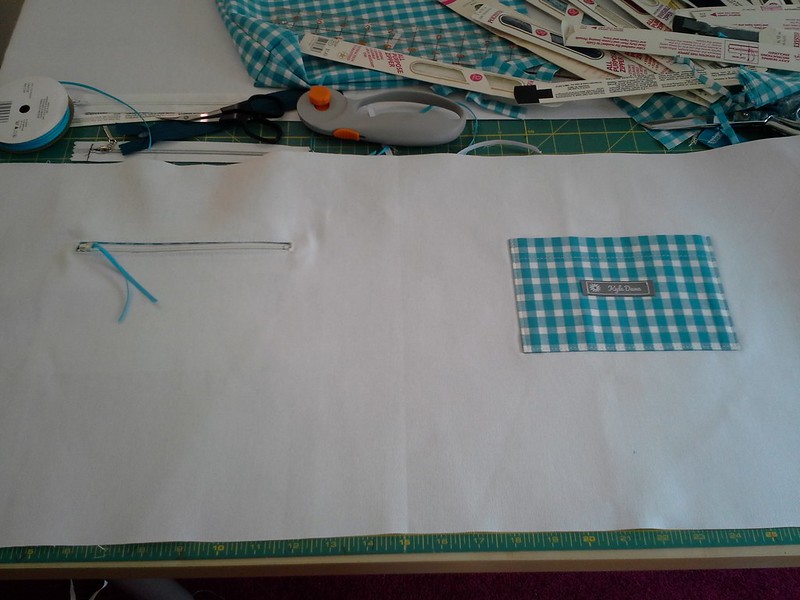
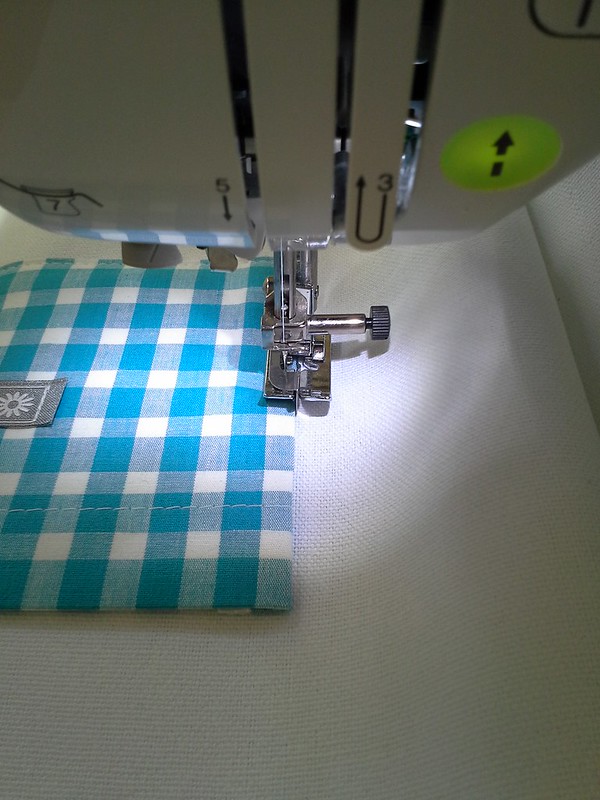
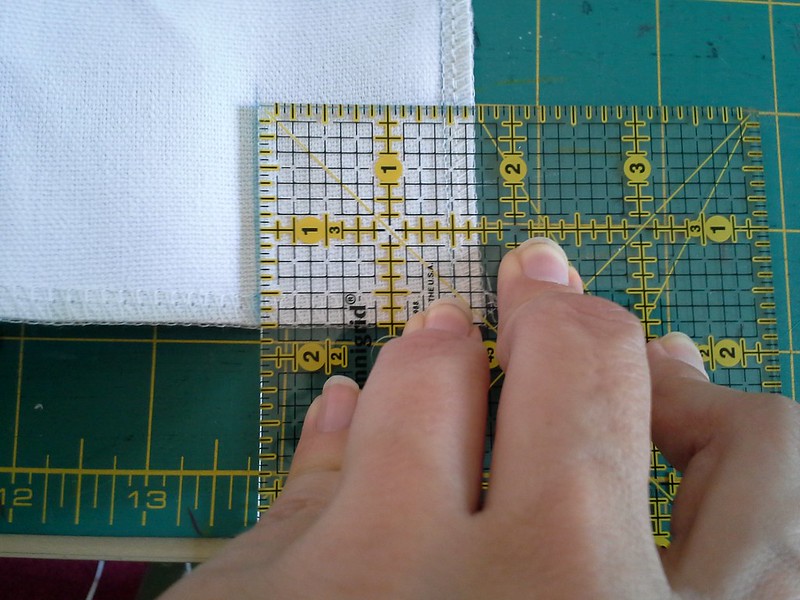
The patch pocket on the inside is about to be sewn on, above. I'm lining it up with this fun ruler that has 0 in the middle, to make it easier to center the pocket. I used Wonder Tape to anchor the pocket at first, then sewed it on using the flange on my blind hem foot as a guide.
So then it looked like this:
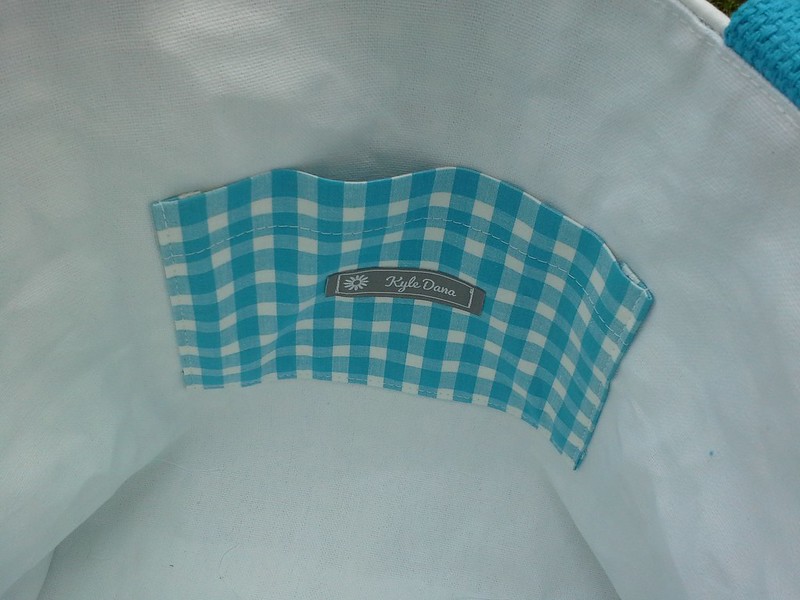
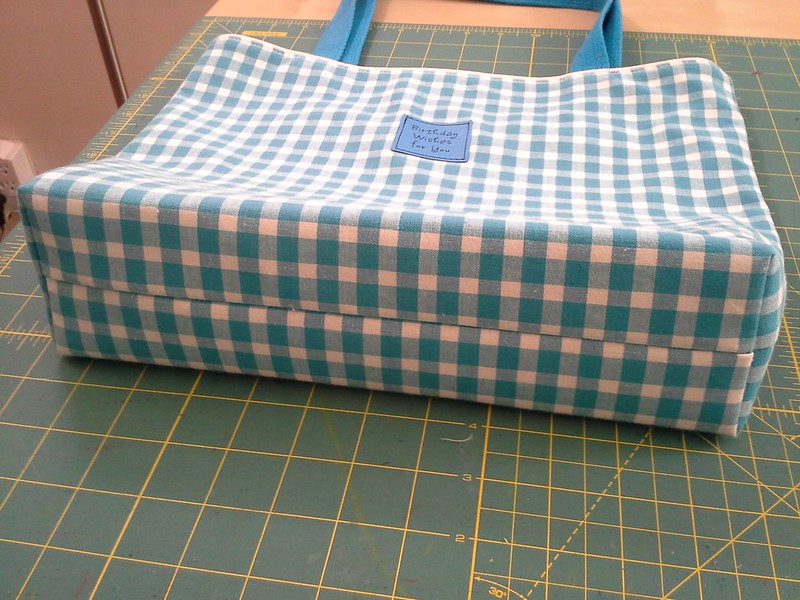
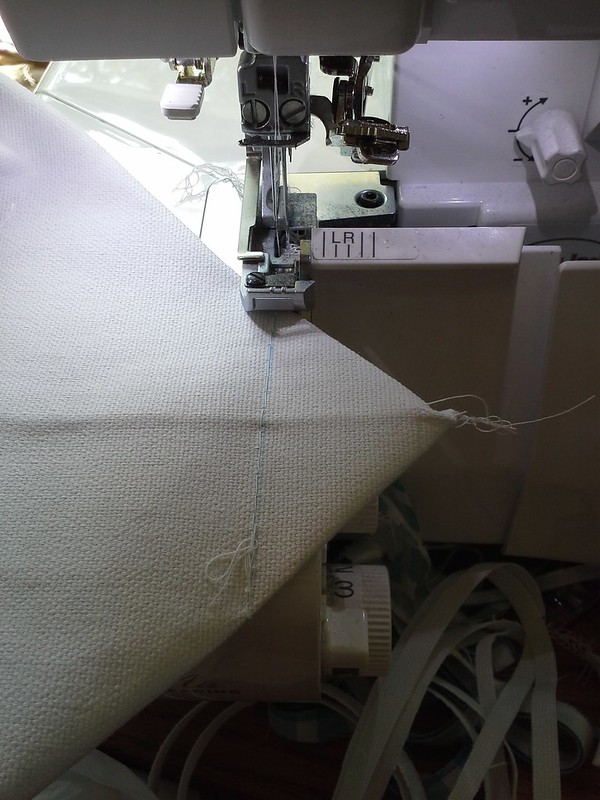
This time I boxed out the corners 1.5" from the seamline
It was basted first and the excess was serged off.
I definitely want to make one of these for myself!
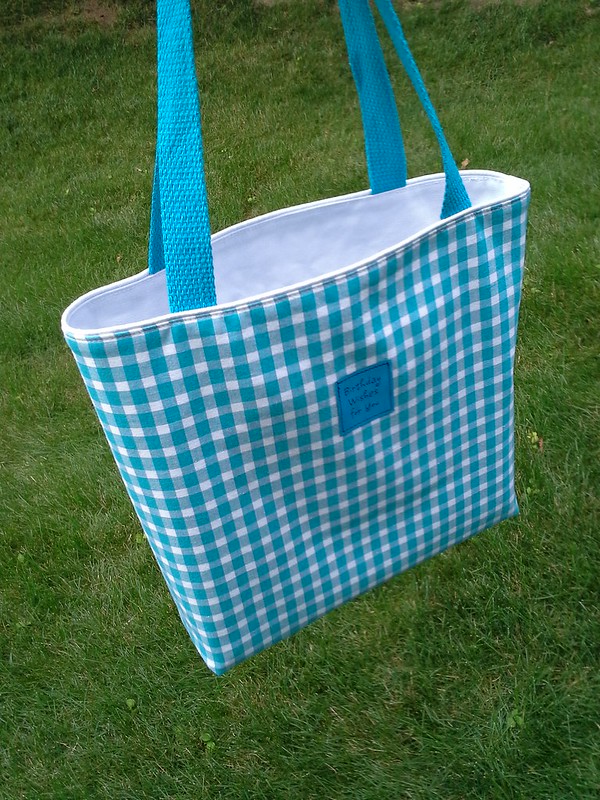
So there you have it, a fun bag for summer! This one took about 5 hours to make, and turned out ~12" high and ~11" wide at the base.
Happy Birthday Francesca! Wishing you everything warm and wonderful!

A volunteer sunflower in my backyard opened this week.
Be well!
Thanks for the tip on locating labels. They add that last sprig of zest to your projects. Your friend is the same age as my mom; I am positive your surprise party made her day.
ReplyDeleteI made a bag today too. I love turning it out via the top.
ReplyDeleteIt actually gives me a final chance to see if I have the lining taut instead of sloppy. The top stitching hides the opening and I don't have to hand-sew any openings shut.
I also did a single welt pocket inside instead of a zippered one. Saturday, I watched a Peggy Sager's Silhouette video on pants and she explained it so well --- I had to have a go at it.
I was actually avoiding some necessary sewing today and playing instead!
Glad your sunflower finally popped!
What a fun and cheery bag! I agree that having the side seam match is the best option. I love it. And I was wondering about that sunflower....glad it opened, so pretty.
ReplyDeleteBeautiful bag! Thanks for sharing all the production details.
ReplyDeleteHer face says it all!
ReplyDeleteYou did her proud.
Your bags look so professional, and well done! What a superb gift for Francesca!!
ReplyDeleteOh it's lovely Kyle! I love that gingham and the colour. You've done a great job no wonder you want one too!
ReplyDeleteBeautiful bag (and zipper :) ..Interesting that the gingham doesn't match on the bottom. I'm having the same problem with a chevron striped fabric I'm using to make a Tee. I can get it to match on one side seam but not the other.
ReplyDeleteAnother awesome bag from you! You are becoming the bag lady lol. I love the color of this one. It's so playful.
ReplyDeleteCute bag and the recipient clearly loves it.
ReplyDeleteWhat a sweet bag!
ReplyDeleteSuch a pretty bag -- perfect for summer! So nice of you to make it for your friend -- looks like she really loves it!
ReplyDelete