
Inevitably someone asks, "what are you going to do with all that sashiko?"
This is something I don't worry about. I just do it because I love it, and the end result takes up very little space, so it's not like it's filling up my home. You may find me buried in an avalanche of fabric, but you won't find me buried in an avalanche of sashiko.
I can think of a few ways to use finished sashiko, like the preprinted Olympus kits I've been using:
- pillow covers (you don't need to make a pillow for each sashiko. Just make the cover and change out the covers every once in a while--I learned that from a comment on Peter's blog. I admit, though, that changing out decorative pillow covers is low on my to-do list.)
- tote bags
- tea towels
- frame them and turn them into wall art--I am eager to stitch up a bunch of coordinating sashiko and hang them in my office at work.
So I recently made two pillow covers, one for me and one for a friend.
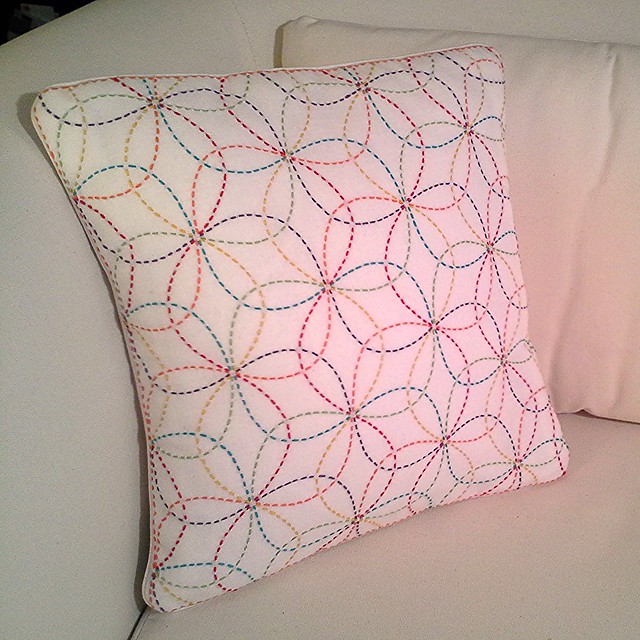
First up was the multi-colored flower pillow.
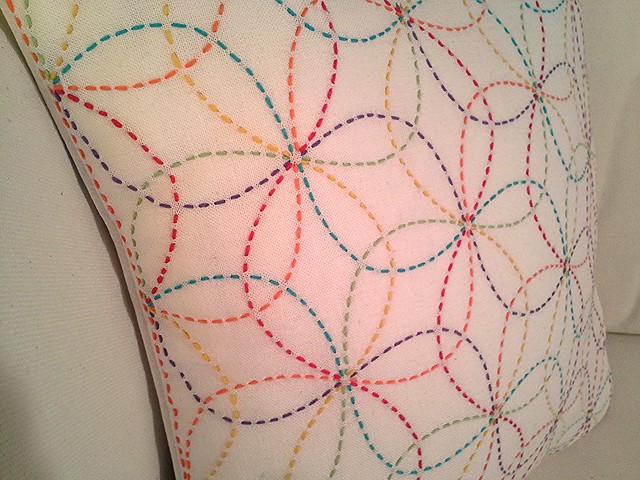
I completed the stitching during my July vacation and turned it into an envelope pillow for me last month.

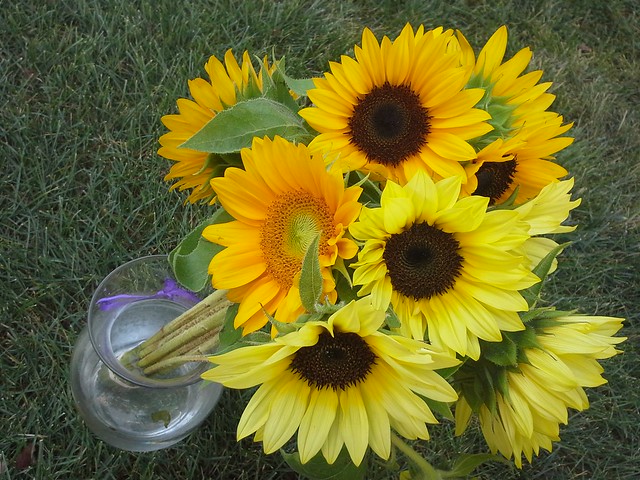
Turned the other way, in the great outdoors.
The front is underlined with the other half of the fabric that comes with the kit.
I used prepackaged white piping and feel that maybe I should have used orange piping? Turquoise piping? Not sure.
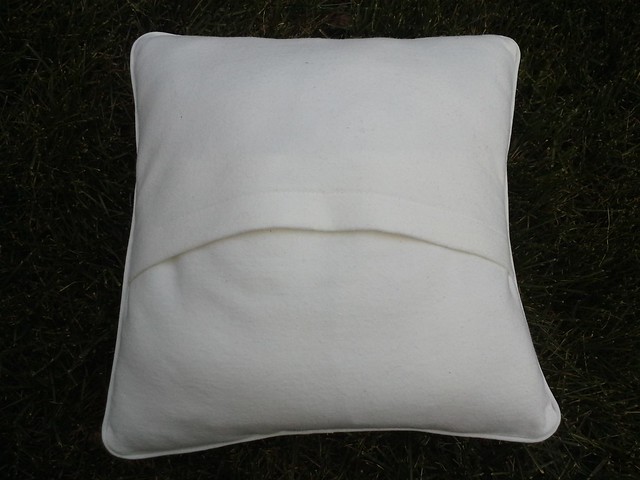
One thing I'm not fond of with envelope pillows is the pillow bulging to emerge from the back of the pillow. This lead me to my next pillow:
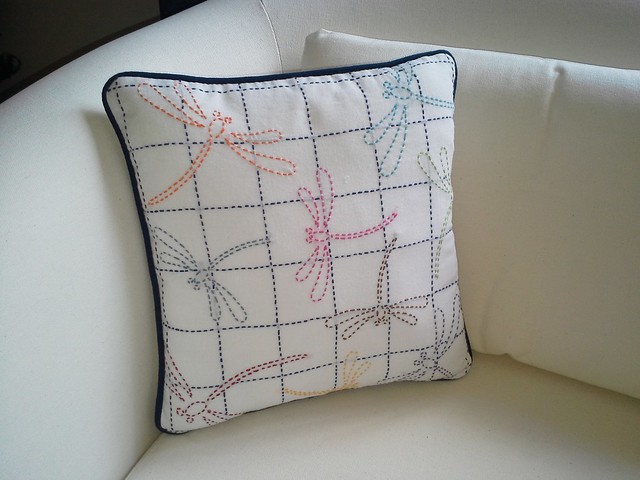
This one is the dragonfly from earlier in the year (I used blue thread as the grid instead of the gray from my last post). This is my first-ever pillow with an invisible zipper. I didn’t have the premade piping in my stash so I made my own from double fold bias tape that was the right color and some cording in my stash. The tutorial for the invisible zipper was from Haberman Fabrics on YouTube.

I will say that:
- If you used knots on your dragonflies, you will not want to interface the design after stitching because those knots will be super-evident. Instead I underlined it with some white fabric.
- I interfaced the backing fabric to give it some heft.
- All raw edges were serged
- You will want to use the same color thread as the piping, not the pillow. This is because when you unzip the zipper, you will see the contrast stitching on the piping very clearly.
- The invisible zipper MUST be longer than the opening you want in the pillow by at least 2 or 3 inches. Then after it’s installed cut off the excess.
- I used a 12x12 pillow form but the design dimensions are not 12x12. I wound up removing all the stuffing from the pillow form (which has its own non-invisible zipper) and stitching the pillow down two sides to reduce the size, then stuffed it lighter, then zipped it shut and put it inside the pillow cover. Then I used some of the leftover stuffing to fluff out the corners of the pillow.
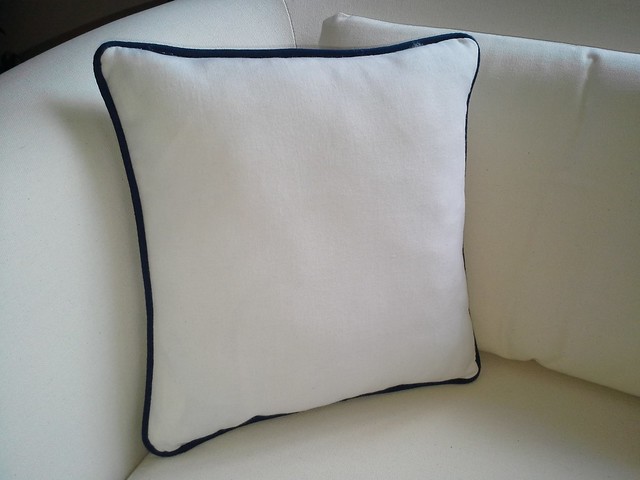
The back. Where's the zipper? It's invisible. :)
(Ok it's actually at the top of this picture)
I also want to mention that I severely underestimated the amount of time it would take to stitch up the pillow cover with the invisible zipper, but now that I know the ropes, it should be easier next time. Right? Right?
At least my friend loved the pillow, yay!
Be well!
These are gorgeous. Anytime you have too many cushions, I have a large couch ;)
ReplyDeleteI think I need to try this!
ReplyDeleteThe pillows are so pretty. Great job !
ReplyDeleteRIGHT! ;) They look great. I'll bookmark this post, and re-read your tips when I sew up my own sashiko pillow cover.
ReplyDeleteYou are officially approved to move forward to sashiko on garment of your choice.
ReplyDelete:-)
I love the idea of underlining the pillow cover with the fabric that comes with the kit! I am working on a sashiko kit now & wondering what to eventually do with it. Thanks for the thoughtful explanation!
ReplyDeleteThey look so professional! Thank you for the tips on underlining. I love to make pillow covers, so I can take them off for easy cleaning.
ReplyDelete"I just do it because I love it..."
ReplyDeleteThis!
Do what you love and have no worries! I'm like that with pottery; I make dishes because it is fun for me. Although, I do have a limit on where I can put the stuff. =)
I love your sashiko pieces!
All of your pillows are just great! But I love, love, love the dragonfly one.
ReplyDelete