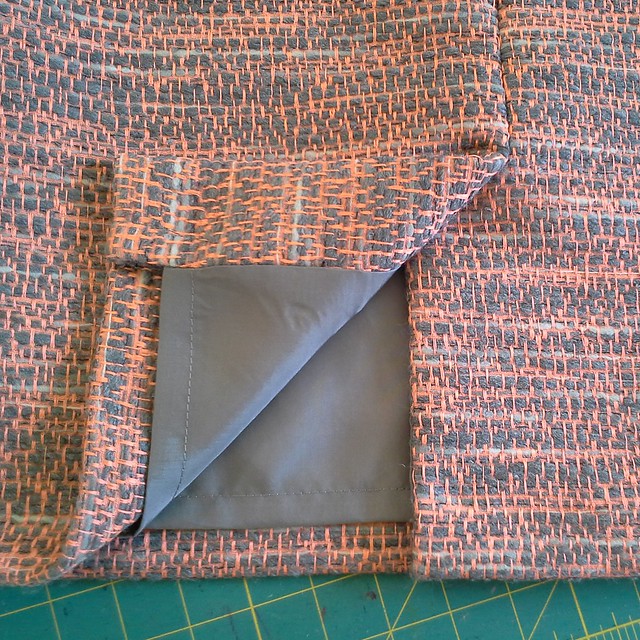
Thank you for your comments from post 1 (the wool) and post 2 (the rayon bemberg lining). Today's Epic Skirt installment centers around lining a skirt with a kickpleat.
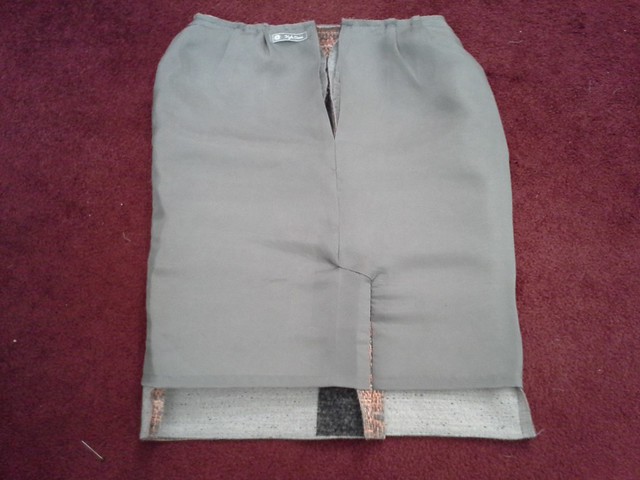
I had sewn skirts with linings before (easy, just cut the lining an inch shorter than the skirt) and I had sewn skirts with kickpleats before (S2154 being one of them ~5 years ago, followed the instructions just fine) but I had never sewn a skirt with a lining *and* a kickpleat.
I looked in my pattern stash; I had no skirt patterns with lined kickpleats.
I looked at my RTW skirts; none of them had lined kickpleats.
Tutorial for drafting and sewing lining to a kickpleat
So, I googled and found this tutorial by Blue Ginger Doll for drafting and sewing a lining one of their skirt patterns with a kickpleat. The first photo is "not found" but whatever it's of, it's not needed.
The drafting was pretty straightforward and non-scary. Only the back of the skirt needs to be drafted; the front pattern piece can simply be turned up 1" for cutting out the lining.
I made two samples first using black to represent the exterior of the skirt and muslin to represent the lining.
I think Step 10 should be clarified to include "sewn stopping at 5/8" at the top of the kickpleat".
In the real deal, I sewed step 14 by hand, to have the greatest amount of control as Sarah Veblen would say.
I didn't worry about not understanding the whole tutorial up front, just followed step by step and wow, it came out looking pretty ok!
Also I did not sew the darts into the skirt as per the Blue Ginger Doll instructions, but rather converted the darts to pleats as I had seen Handmade by Carolyn using that technique.
Left over right
I sewed the samples on Super Bowl Sunday (which has no meaning to me! I'm just using it as a marker in time); the kickpleat overlaps right over left. That Wednesday I went to a local consignment shop and a thrift store and found that all of the RTW skirts with lined kickpleats overlapped left over right (if you have the skirt right side out and are looking at the back of the skirt)
When I made the real deal, I reversed the tutorial instructions so that the left would overlap the right.
I also felt the kickpleat was too high and lowered the S2154 kickpleat by 1" (I had taken 3" out of the pattern at the lengthen/shorten line.)
RTW investigation
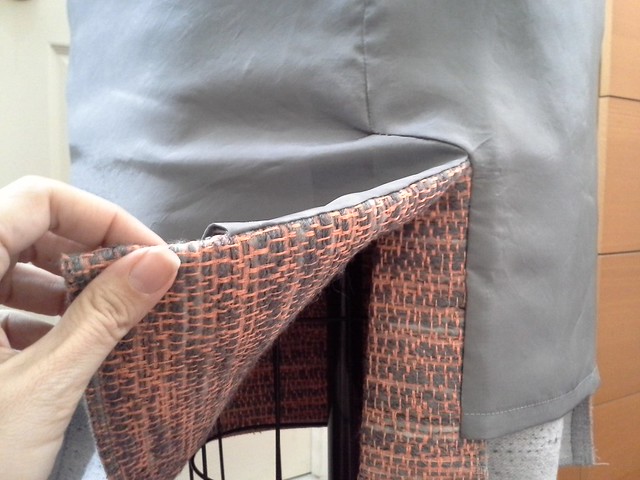
I bought a Talbot's skirt (with tags and original $109 pricetag attached) for $6 at the thrift store. It does not fit me but it has a lined kickpleat and could be used as a "study garment".
1. The kickpleat exterior fabric is interfaced, on the wrong side, so I did this too.
2. The zipper exterior fabric is also interfaced, on the wrong side. I had already sewn the zipper to the exterior fabric so I missed the boat on interfacing there.
3. The Talbot's skirt was brand new, but the RTW skirts that had been worn all seemed to have a tear in the lining at the stress point where the lining is sewn to the exterior skirt. As a result of this, I interfaced the lining too in the kickpleat area.
Hemming the lining
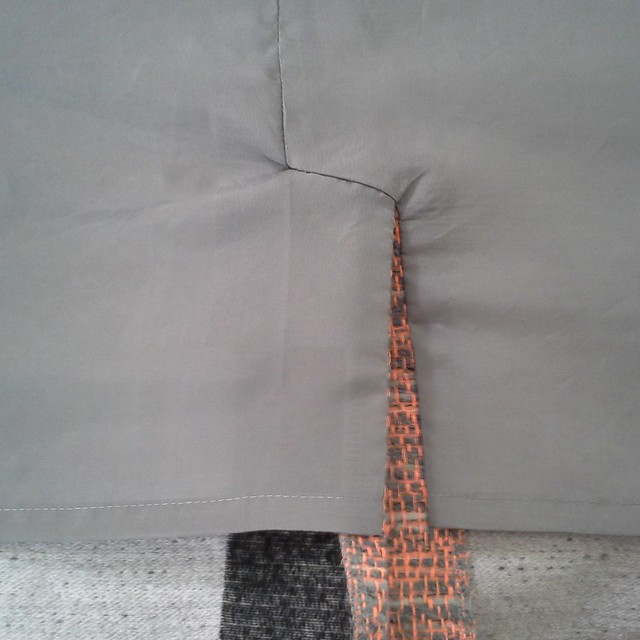
I pressed up 1/2" (using the hot hemmer, on the wool setting with a dry iron and without a press cloth--my Black and Decker probably does not get as hot as a Rowenta) and stitched it down; then turned and pressed another 1/2" and stitched again for a double folded hem.
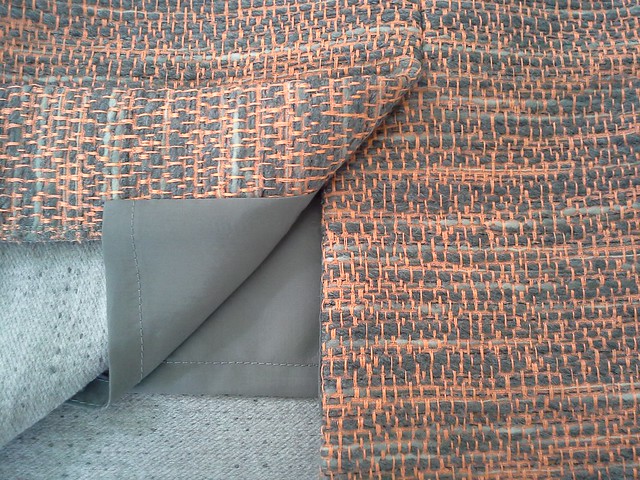
Hemming the wool
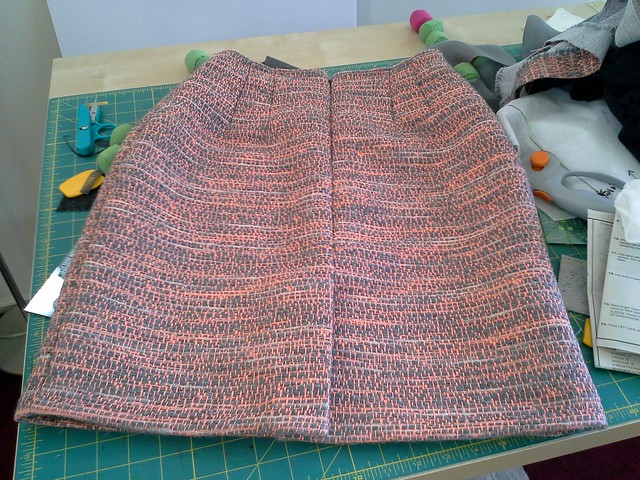
I serged the raw edge for a clean finish, then used the blind hem foot on my sewing machine to sew most of the hem. I hand stitched the fiddly bits of the kickpleat then pressed with my Elna Press and it all came out looking ok! Achievement Unlocked!
Next post!
So, I still needed to attach the lining to the zipper, add a waistband and snaps, and add that adorable little thread chain that keeps the lining attached to the bottom of the skirt...details next post!

Super bowl - marker in time. You and me both!
ReplyDeleteYour kick pleat is well sewn.
Thank you Kathy! I like that we use the same marker in time!
DeleteI'm always impressed with the level of research you do with each new skill. That looks so good.. I'm impressed. I love that fabric.
ReplyDeleteThank you Summer Flies! I felt like it was worth the time to do it well--an investment in a successful outcome!
DeleteYou did a great job Kyle. Lining kick pleats always give me a fit.
ReplyDeleteThanks Faye! Making the samples really helped!
DeleteAmazing job & so many great tips ! Would love to see how you style it .
ReplyDeleteThanks MaryEllen! Stay tuned for post #5!
DeleteComing along just famously!!
ReplyDeleteThank you Linda T! :)
DeleteGosh your research is thorough. I'm learning so much from what you've achieved. Your lining is really sharp Kyle.
ReplyDeleteThank you Maria! I'm amazed that I have something to teach you--I always think of it the other way around!
DeleteBeautiful kick pleat! Very smart of you to study ready to wear skirts and especially the worn ones.
ReplyDeleteThanks Tomasa! I thought it was really revealing that the worn ones all had the same problem at that critical juncture with the lining. It seemed like interfacing the solution was to interface the lining in that area--we'll see after a few wearings if I was right!
DeleteVery well done! "Watching" you sew this skirt helped to kick start my sewing. Hmm. I think I said this before. =) Thanks for sharing your thoughts about how to do it. I've reserved some samples to try it myself.
ReplyDeleteAwww thanks for letting me know, Lynn! I really enjoy how we all inspire each other.
Delete