Saturday, April 28, 2012

I met Vanessa from Sew Filled to the Brim!

Hey hey!


Vanessa, me and our fabric purchases at Gail K fabrics
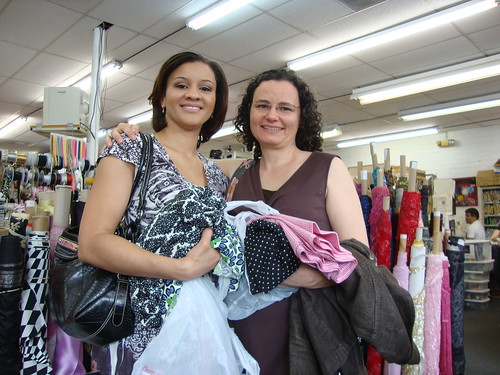
Vanessa, me and our fabric purchases at Gail K Fabrics

I just returned from the ATL, where I met up with Vanessa from Sew Filled to the Brim.

We've been reading each other's blogs for a while now, and when I found out I'd be in Atlanta for a work conference, it was the perfect chance to meet Atlanta resident Vanessa.  (I wanted to also meet Faye  from Faye's Sewing Adventures but sadly she couldn't go.)

PatternReview.com is such a great resource--I looked up Atlanta fabric store reviews and three shops were consistently listed with positive reviews--Gail K, Atlanta Fabric, and Whipstitch.

So last Saturday Vanessa and her niece Whitney and I met at Gail K's Fabrics first.

Vanessa and Whitney at Gail K Fabrics

It's a lot like a mini-version of Mood in NYC: floor to ceiling fabric-fabric-fabric and more fabric focused on fashion fabric, yes!
It's all on one floor and organized by type, but not labeled.
The aisles aren't as wide as they are at Mood. But they definitely have good stuff.   We spent quite a while there.
At Gail K Fabrics
Here's Vanessa with her favorite fabric of all:
Vanessa and her favorite fabric at Gail K Fabrics
If I lived in Atlanta, Gail K is definitely a shop I would buy at frequently.

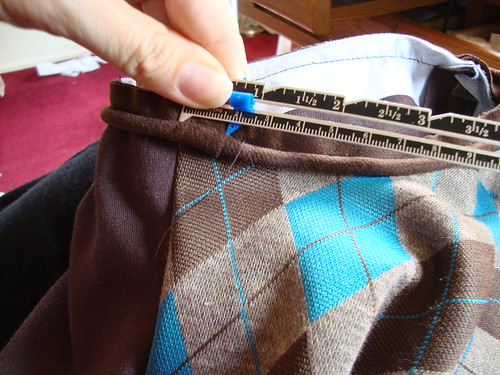
I would have bought the plum double knit but I needed to pace myself...

I was also glad we got there at 10am when it opened as we easily found parking spots. The store filled up quickly and when we left, people were waiting for spots.

Next we went to Atlanta Fabric, a very small shop, especially after Gail K's.  I purchased decorative underwear elastic.
Next stop:  Atlanta Fabric

Then it was on to Flip Burger Boutique, which was ultra cool. (it is co-owned by Richard Blais, winner of Top Chef All Stars.)  I wish I had taken some pix of the booths; they were unlike anything I had ever seen before!

Here's what I had, the Butcher's Cut burger.
Butcher's cut burger at Flip Burger Boutique
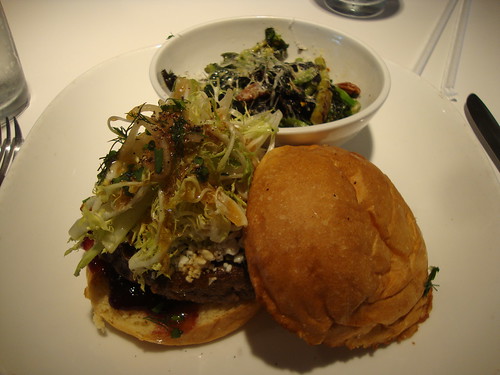
It was excellent.  In continuing with my "year without fries" I had the broccolini instead.  I'm not eating a lot of red meat anymore, so when I do have it, I want it to be as good as that burger!

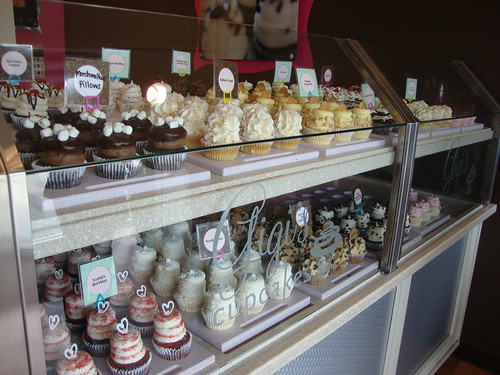
It turned out that Gigi's Cupcakes was in the parking lot of the Flip Burger so of course we stopped there!

Gigi's cupcakes

But then it was time to say goodbye.  I was really glad I got to meet Vanessa--she was just as kind and sweet in person as she is on her blog.  I'm glad she met up even after her husband voiced concerns about her meeting someone she only knew from online.   Thank you Vanessa for meeting up--and to Whitney too for being such a good sport.

Then I headed over to Whipstitch fabrics which is in a very cool spot near midtown? downtown?  I don't know, it was near town.  :)

If you've been to Austin's Stitch Lab before, Whipstitch is a lot like it, but with lots more space. Fabric here is more on the crafty/novelty side, but they have a lot of garment patterns by new-to-me designers and companies.
 Outside Whipstitch
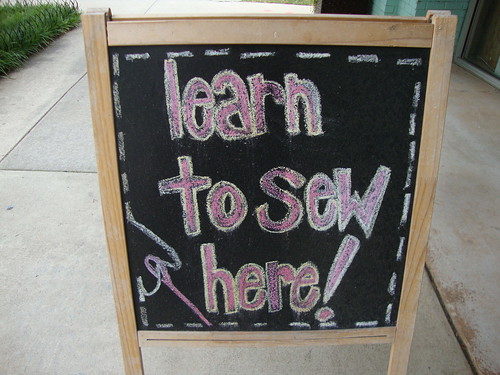
Sign outside Whipstitch 

It was only me and one other shopper in the store the whole time I was there.  I spent quite a while looking at the patterns and fabric.

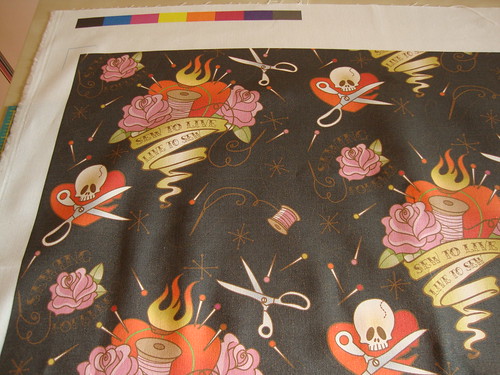
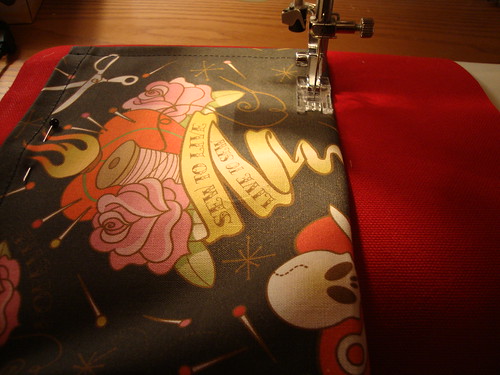
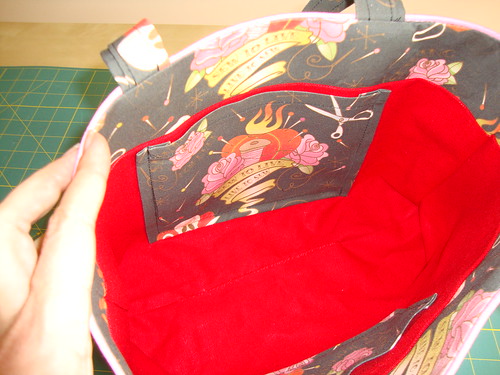
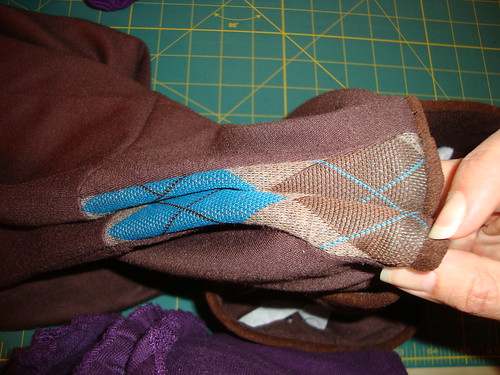
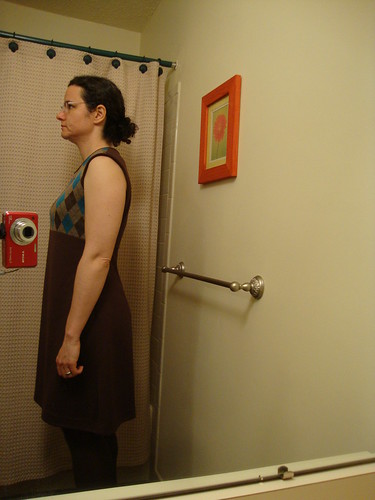
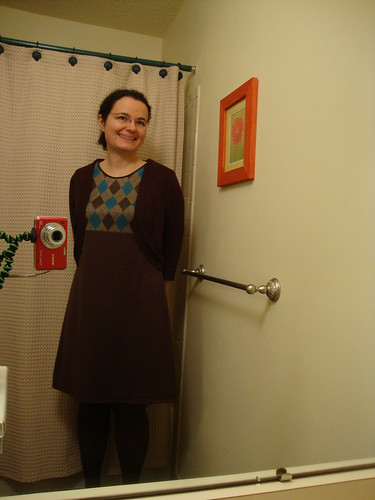
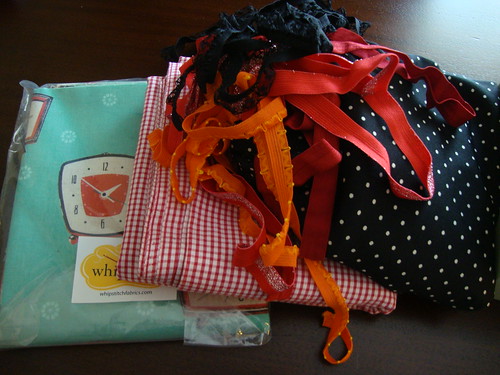
So here's what I bought in total:
fabric and elastic purchases, ahoy!

The meetup and shopping was a really nice way to gently scrub away the memories of the day before.

I hiked Stone Mountain where I lost the key to the rental car. It was a situation that took 5.5 hours to correct, involving calling roadside assistance, having a car rental employee show up and then drive off without saying goodbye, waiting for the tow truck driver, watching the tow truck driver use a rod to unlock the door (after being told by the car rental company that the car could be electronically unlocked), towing the car back to the airport, getting a new rental car.... After discovering the key was missing at 4:30pm, how it all played out was better than many alternative scenarios.

The key is still somewhere on the mountain. car-rental-key
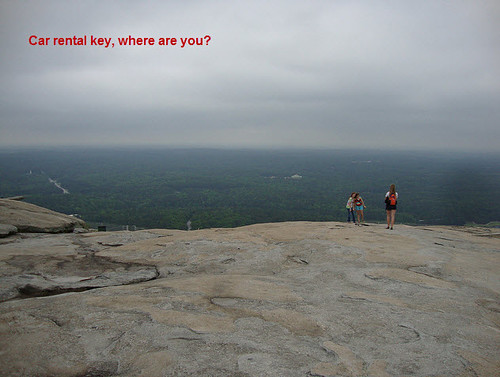
Top of Stone Mountain 

This reminded me of the 99 steps up Diamond Head:
 Stone Mountain

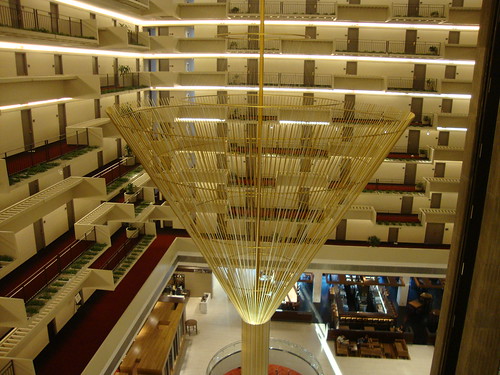
Then it was on to my work conference, held at a swanky downtown hotel, the Hyatt Regency Atlanta.
I gave a talk which went really well, met up with new and old colleagues, and generally enjoyed the conference.
Conference hotel: Hyatt Regency Atlanta

DSC08307
Now I'm off to Communiversity this year instead of Rutgers Day (why are they always on the same day???)

Be well and wishing you all wonderful moments!

Sunday, April 15, 2012

Sew to Live, Live to Sew bag

Sew to Live, Live to Sew bag

Hello new bag!
I started sewing it last weekend and finished it today.

Sew to Live, Live to Sew bag
I make a bag for each Pattern Review weekend, but wasn't sure what fabric I would use this year.   I thought I'd check out Spoonflower and the rest is history....it's whimsical and funny.  

The fabric is called "Sewing Forever Tattoo" and  can be purchased here on Spoonflower.  The fabric designer is Cynthiafrenette.


Here's what the fabric looked like, after ironing it. I bought the Kona Cotton option, 1 yard at $18 a yard.
Sew to Live, Live to Sew  fabric

Here's a nice close-up of the flaming pin cushion heart while I was sewing on the pocket...which says "Sew to Live, Live to Sew".
Sew to Live, Live to Sew bag in progress

Here's an action shot of the making of the strap...first I iron on some craft interfacing (extra-sturdy interfacing) and then I fold the strap like so and sew it down...
Sew to Live, Live to Sew bag in progress

Then I flip it over and sew from the other side:
Sew to Live, Live to Sew bag in progress

I piped the edge in pink. I used purchased piping that was in my stash as it was the right size and matched the color of the pink roses perfectly (though I was kind of itching to make my own piping; like I said last post, it turns out, it's easy to make piping!)
Sew to Live, Live to Sew bag!


The inside of the bag is lined with red canvas that I had in stash. The canvas gives some shape to the bag. I made the pocket larger than recommended, so I could get the "Sew to Live..." in there...also it will hold my camera and phone nicely.
Sew to Live, Live to Sew bag


I sewed a smaller pocket on the other side (which says "Sewing Forever") to hold my calling cards. I'm ordering new cards soon with a different design.
Sew to Live, Live to Sew bag

If I had to do it over again, I think I would order the fabric in canvas and line it with some pink or red cotton I have in stash. But it's a very cool bag and I look forward to bringing it with me first to Atlanta later this week and then to NYC in May for PR weekend!

I've noticed the "One Pattern One Week" trend going around the sewing blogs, where sewists wear garments they've made using one pattern during one particular week.  I think the most frequently made pattern that I may have sewn 7 times is a pj top pattern, not really practical for such a week, but I have made the Simplicity 8331 bag 4 times now.

So, I present to you "one pattern, half a week-ish and a holiday:"
All the bags I've made from S8331

In case you want to read more about the other bags I made, here you go:
Scissors bag
Santa bag based on Gwen's amazing bag
Pattern pieces bag

In other news, my ironing board cover was totally shot and I was having trouble finding a replacement cover I really liked. I hit the jackpot at the Marshall's in Princeton.
Check out this cover for $9.99:
My new ironing board cover
Pretty cool, huh?
My new ironing board cover

I especially like that the padding is actually batting and not foam, and it has velcro straps to secure it snugly.  It seems like an ultra-quality item that is worth a lot more than $9.99.
And check out that cute tag (The Macbeth collection?):
My new ironing board cover

I ironed my bag on my new cover tonight and really love it.

I saw that Bed, Bath and Beyond has extra wide ironing boards that are $100.  Does anyone own such a board?  Is extra wide helpful in most situations or a hindrance?  Is it worth $80 (because let's face it, we all use the 20% off coupons...)
Please let me know!

Be well and good night!

Sunday, April 1, 2012

Argyle concept finally done but imperfect

argyle concept dress is done, hurrah!
Yes! It is finally done!
But if you're a perfectionist, don't read this post. It will only irritate you. :)

To recap: I bought this argyle double knit fabric from Mood last June with Antoinette. At $18/yard, it was the most expensive fabric I've ever bought (per yard price) (Filling out the bio for the PR NYC weekend made me think about that a bit, as one of the questions was "what's the most you've ever spent on a single cut of fabric?" For me, it's buying ponte roma knit at Joann's, 5 yards at a time with a 40% off coupon...).

Anyway, I tried to make a StyleArc demi drape top out of it, and it was a total bust, still to blog about that.

And then I thought I'd make a vest out of it, and then when I cut it out and held it up to me, inspiration struck and I thought I'd make a dress. Only that's a lot of argyle for one dress and I had already cut up my yard and a half a bit too much to make adress from it. So, I google image searched "argyle dress" and saw something somewhat like what I came up with.

I took NewLook 6071, my favorite dress of all time, as the starting point, using the bottom of the front and the entire back. Then I sort of drafted a new top for the front...I free handed it on the fold of the fabric, then traced this in case I ever wanted to make this dress again
top of front of dress
I then interfaced the armholes and neckline so it wouldn't stretch (here I made the pattern for the interfacing) (cue foreshadowing...)
making pattern for interfacing
Then I wrote the other posts...peter pan collar or no? sleeves or no?....

I decided not to go for the collar because like many commenters said, it was very cutesy, maybe overly cutesy that way. More "professional" without the collar. So, I left the collar off. Then I asked about the sleeves, and agreed with the majority, sleeveless is better. Trembelina had mentioned brown binding...I was thinking piping!!

So last week I had a visitor at work (hi Claire!) who also sews, and she talked about making her own piping, that she loves to make her own piping. I had thought piping would be a lot of work...but when the brown piping I had bought was not as large as I wanted, I decided to make my own.

At PR weekend Philly, Kenneth King had talked about using rattail to making piping...that you don't have to use the plain cording sold at Joann's for this purpose. I didn't use rattail but it gave me the idea to use regular cording I had bought for some other project....
the cording I used to make my own piping
I used the instructions in the Singer Complete Photo Guide to sewing (Though they don't call it piping, they just call it cording--it's in the section on binding pillows).

This isn't meant to be a tutorial, just showing you that it's easy if you have the right tools. Used my cutting mat which already had 2" bias guides, my clear ruler and my rotary cutter (the fabric is the type used to make Pocahontas costumes at Halloween, it feels soft and fun to touch):
making piping
Put the cord into the strip at the halfway point, with the zipper foot on my machine:
making piping
I found it helpful to hold some cording out the back to start, to keep the cording in the center (no photo of that, though). So not all the cording was covered by the fabric, because I was holding some of it at the back.

Then I cut about a quarter inch off
making piping
And then it looked like this
piping I made myself.  yea!
I then made a sample (Elizabeth from SEWN was asking if anyone makes samples)..
sample on my dressform
Here I topstitched one half of the neckline, while leaving the other half untopstitched. By seeing the sample, I knew I didn't want to topstitch when it came to the real deal....
sample, half topstitched, half not
Another note to make is to be careful about where you start sewing the cording on. At the end you overlap the edges but in this case the overlap meant it wasn't at the stitch line of front to back
I fixed this later
So I fixed that by ripping it all out and starting again sewing about an inch BEFORE the seamline and now they match.
right armhole
The piping didn't look to be the same width right vs left armhole, even though I used the same cording. So on Monday night I stitched closer to the piping that was too wide, to make it more like the piping width on the other side.
front
I also thought on Sunday night that I had stretched out the armhole. Carolyn (Cmarie12) said I should interface to prevent stretching, and I had done so, but the interfacing was not fused on too well...but when I removed the horrible hem and resewed the hem, I found that a stretched armhole wasn't really the problem.

You know what the problem was?

The two sides are not actually symmetrical.

I don't know WHY I didn't notice that like, way way way earlier on in the process. Like the first step.
argyle concept dress imperfection

argyle concept dress imperfection
Here on Emma the difference is noticeable in that the seamline is rising up....
dress on dressform
I wore it anyway....ha ha ha ha ha!  The hemline is even since I took the asymmetry into account.

OH, and my swayback....here I cut the line to make the swayback tuck (Then sewed it with a 3/8 seam, tapering to nothing on the edge...)
making the swayback tuck
It could probably use a bit more swayback tucking:
still some swayback issues
But it's done:
side view of argyle concept dress
How I wore it to work (with purchased cardi): argyle concept dress done, with purchased cardigan
argyle concept dress done!

argyle concept dress done!
I still have more of that fabric left--will probably make the vest after all. and maybe a tank top too. But it's time to give that fabric a rest and go back to solids for a bit!

Be well and have a great Sunday!