

Conversation with my photographer this morning: "Let's find a spot without shadows or too much light"
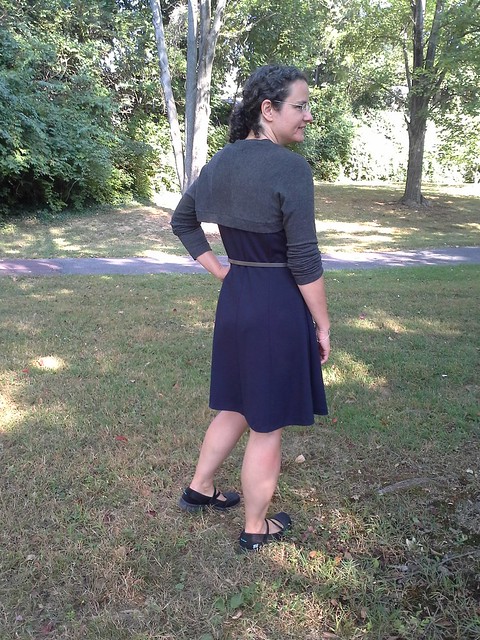
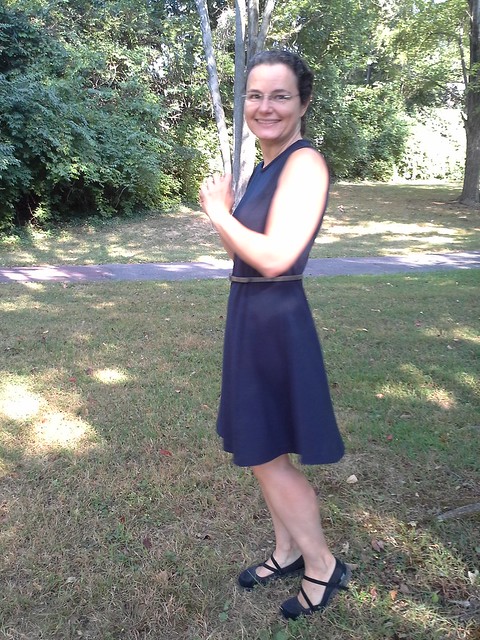
"Ok, I want to do four sets of poses. With the shrug and the belt..."
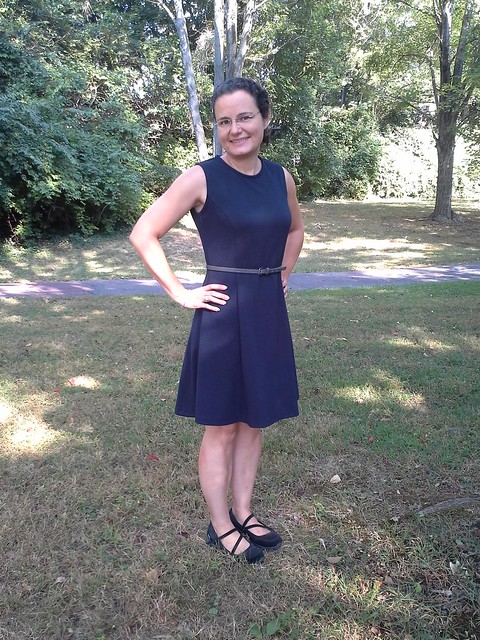
"Without the shrug but with the belt...."
"Ok, now without the belt"
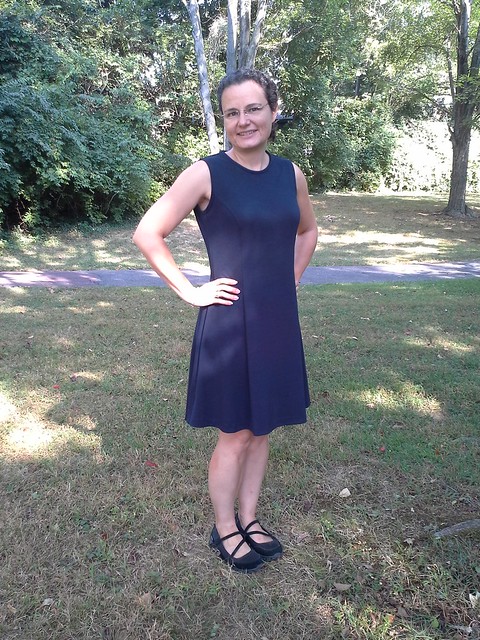
"It's better with the belt, isn't it?"
"Yes."
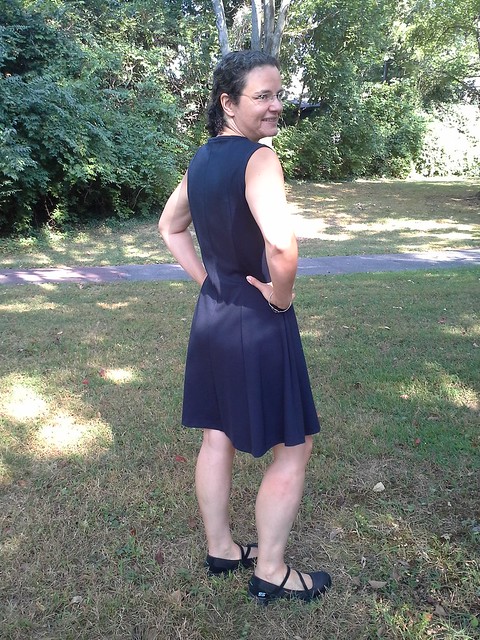
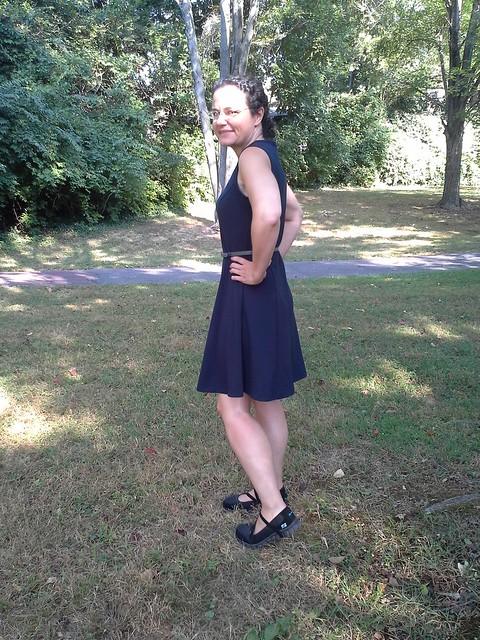
"Ok, now I'm going to twirl"

(I made some ridiculous faces while twirling. Thankfully she deleted those pix for me. Then we took the twirling pix again)
Finishing the twirl
Thanks Ellen D for being my photographer this morning!
Saturday night:
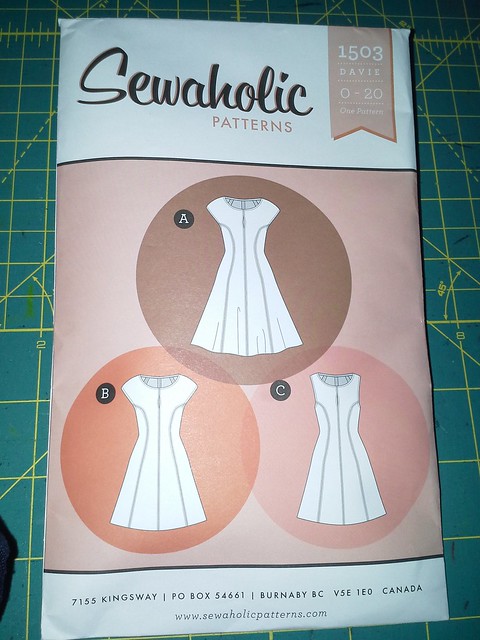
- I traced view C, the sleeveless version.
- Traced the 10 based on the finished pattern measurements, except for the length which I cut as a size 20.
- Since I don't like keyholes, I traced the CF on the fold and eliminated the keyhole. This means there is one less seam! (There are princess seams front and back.)
- Cut it out single layer
- Basted it all together.
- Tried it on, found wrinkles/drag lines
- started clipping like a mad woman
Sunday, 10am to 5:30pm, maybe 75 minutes break total:
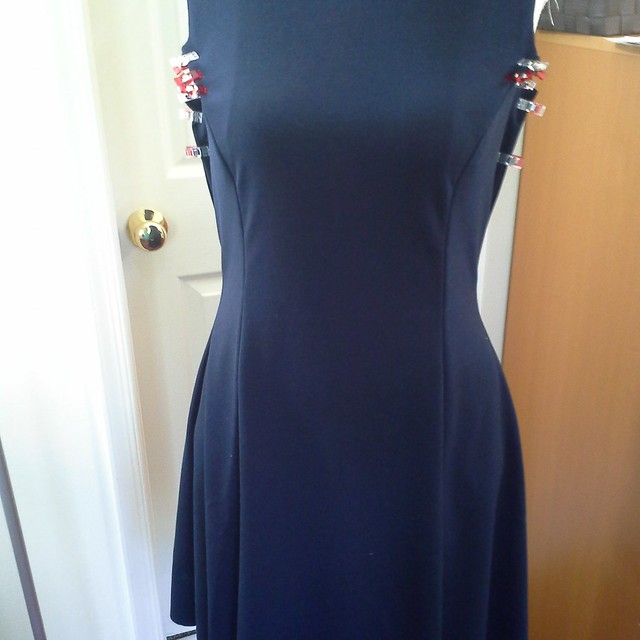
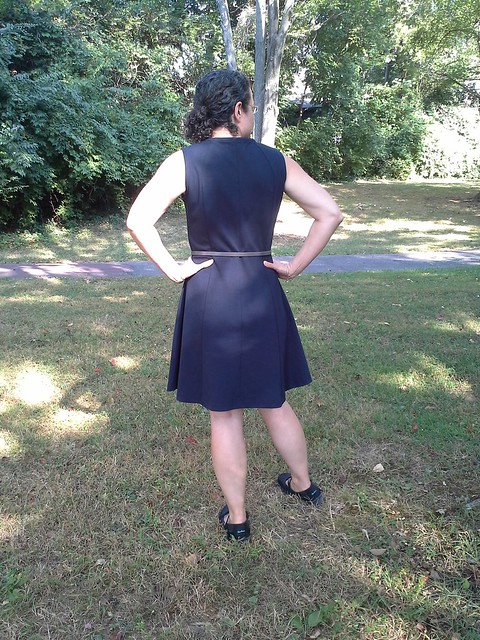
- unbasted and carefully sewed the princess seam to eliminate pulling which is on full display in the photo above, watching Angela Wolf's video about sewing princess seams on craftsy many times in the process.
- sewed from the armhole to just about the waist with wider SA to eliminate drag lines on the side front panels
- sewed the CB in another 1/2" or so to try to get the back a closer fit.
- sewed the shoulder seam an additional 3/4" to get the princess seam fullness to be where my bust fullness is.
- spent time clipping, basting, unbasting, reclipping the SB to CB seam; gave up and decided I'd just wear it with a belt to provide the remaining shaping.
- stabilized shoulder seam
- serged all seams.
- bound the armholes (one of them twice)
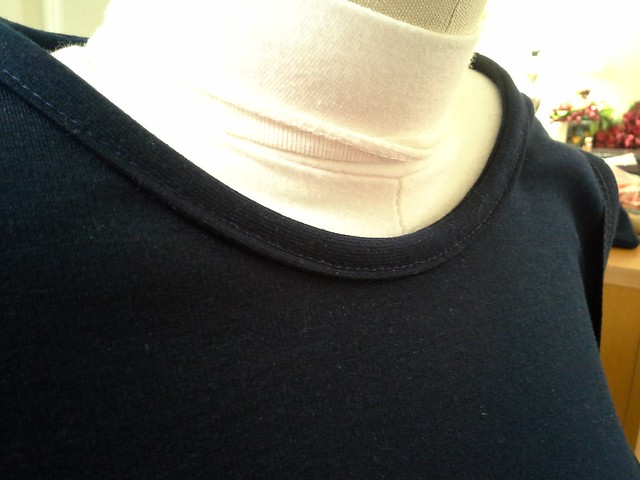
- bound the neckline
- pressed throughout the process and again at the end.
Monday night:
- serged the raw edge of the hem.
- Pressed up 1" with my Elna Press
- blind stitched the hem
- pressed again.
I really really love how this dress turned out. I was unsure on Saturday night into Sunday but now I love it. I don't usually wear a skirt this full, but it felt fun and swishy.
Also this fabric is a dream--it's a really luscious ponte. I bought it at Gwen Couture in May 2013 with Elizabeth from Sewn blog. The store owner said it would never pill and so far it has not. Even on regular ponte it usually starts pilling right away but so far so good. Sadly Gwen no longer sells fabrics but I would buy this again in every color if I could.
Also this fabric is a dream--it's a really luscious ponte. I bought it at Gwen Couture in May 2013 with Elizabeth from Sewn blog. The store owner said it would never pill and so far it has not. Even on regular ponte it usually starts pilling right away but so far so good. Sadly Gwen no longer sells fabrics but I would buy this again in every color if I could.
I bound one of the armholes too tightly so there is a slight amt of puckering but not so bad. Note to self: on pontes where the binding is turned under, I don't really need to stretch the binding much/at all.
I took a bunch of pix on my dressform this morning but my camera on my phone could not handle it. Here are some of the better ones:
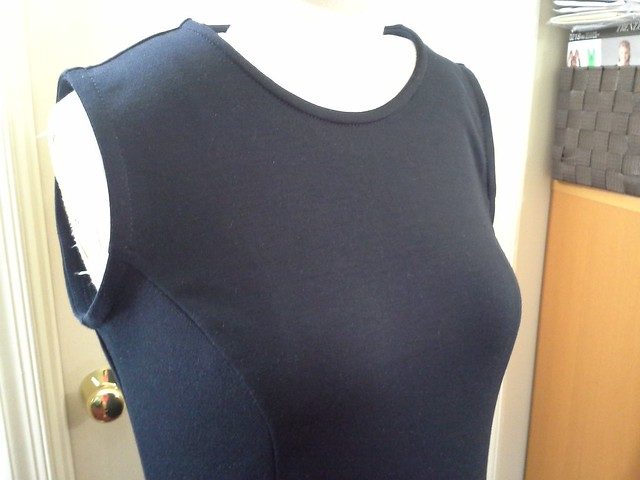
Closeup of bust
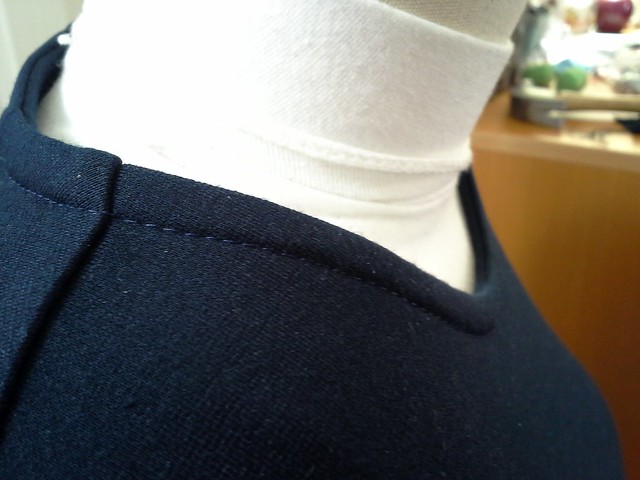
Closeup of bound neckline
I sewed one of my new labels in but those pix all came out terrible.
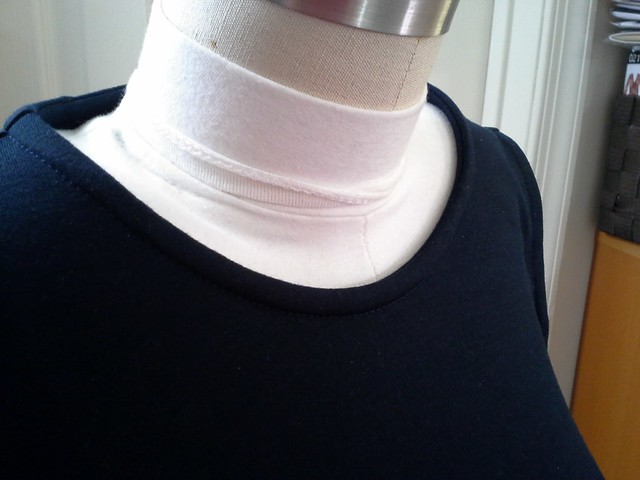
What the neck binding looks like on the inside.
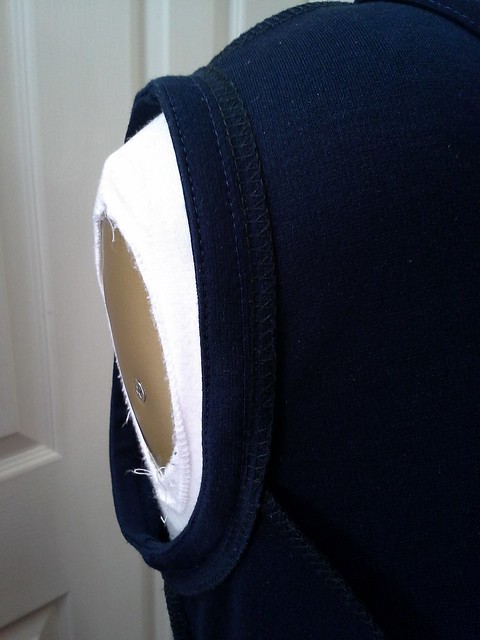
What the armhole binding looks like on the inside.
I definitely want to make this again in a few colors. But I have another dress in mind first and then I'll get back to this pattern. I kind of feel like trying it one size smaller and seeing if that helps with the overall shaping or not. Hmmmm...
Be well!!
Nice! The fit is amazing, what a lovely dress on you. Can't believe you made it all in a weekend!
ReplyDeleteIt's beautiful worn and on the inside!
ReplyDeleteReally nice fit - thanks for lots of great tips.
ReplyDeleteI love this dress on you, it looks amazing.
ReplyDeleteBeautifully made, both inside and out. It looks lovely on you! :)
ReplyDeleteBeautiful! The twirling picture really shows off the fullness of the skirt. I like the cut of the skirt.
ReplyDeleteThis dress looks great on you!!!
ReplyDeleteLove this dress on you. It fits you beautifully. I like it with the belt. Bravo!
ReplyDelete