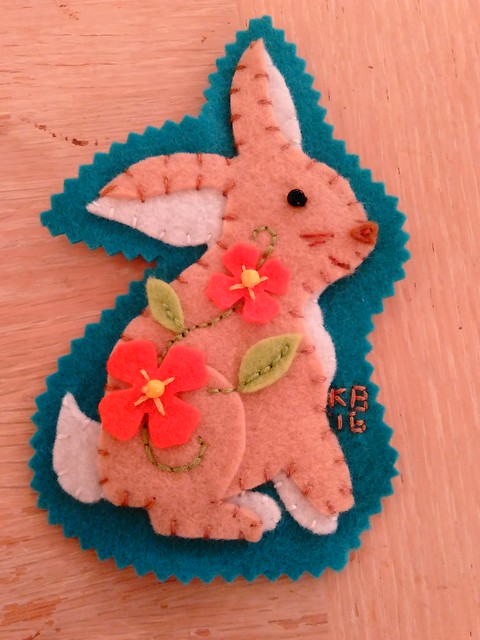
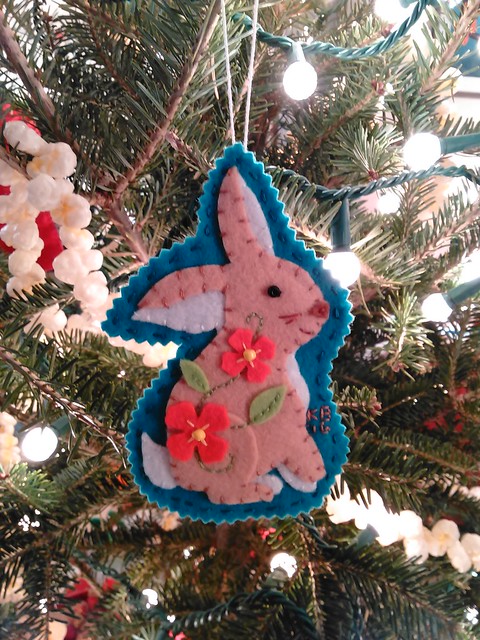
Merry Christmas! I bought the Woodland Animals Ornament kit by Heidi Boyd Crafts just for the fox, but I wound up stitching them all....all the animals and the fungus (the mushroom) too. :) If you follow me on Instagram, you saw I started the fox right before Thanksgiving and finished the last ornament this week.
The kit came with the felt, twine, beads, pins, a needle, floss, and pre-cut flowers and 2 circles for the owl's eyes (you have to cut out the rest of the felt pieces yourself, using a separate PDF pattern). I did wind up switching up some of the background colors for felt I bought at Stitch Lab in Austin earlier this month. And there's not enough felt with the kit if you want to cut a second background layer to hide your stitching--which the perfectionist in me totally wants.
I got into a rhythm with them--cut out the pieces, arrange and stitch. By the fourth ornament, I decided to stitch directly onto a rough cut piece of felt, and then cut around it, instead of cutting the background out before stitching. That way if my animal shifted, I could cut it to still have a nice border around the animal.

stitch onto rough cut felt
Cut around it with pinking shears (I hadn't used pinking shears in forever!)
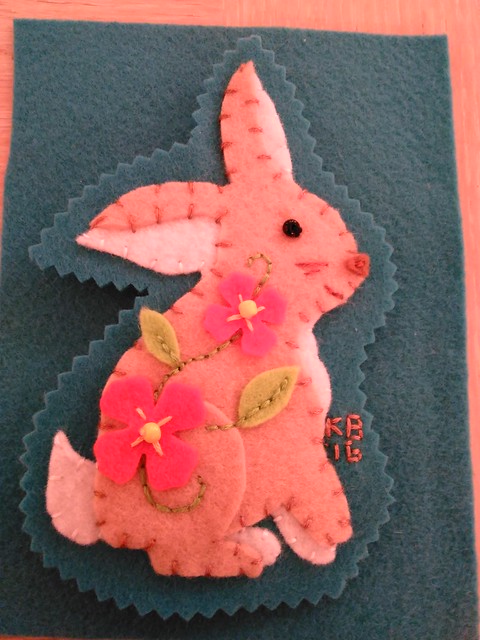
Layer it on a second layer of felt.
I used tape to temporarily join the two layers so they wouldn't shift too much as I cut the second layer, trying to get the pinking to be in exactly the same location as the front.
Then I removed the tape and used the running stitch to stitch the two layers together along the perimeter, stitching the twine hanger to the ornament at the appropriate position. This second layer hides the stitching on the first layer (except for the running stitches of course!)
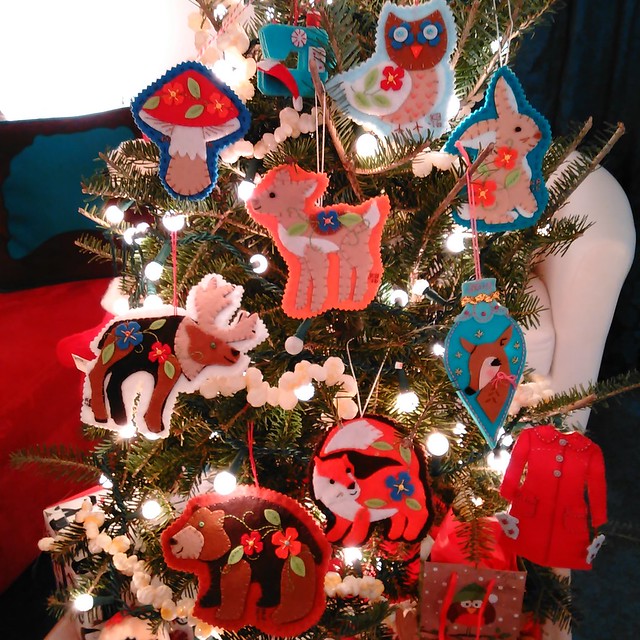
Close-up pic of the 7 ornaments in the kit, but the sewing machine is from a Betz White PDF (stitched/glued this year), a handstitched Mollie Makes "deer head on bauble" from last year, and an A. Paulson red coat ornament, also handstitched this year.
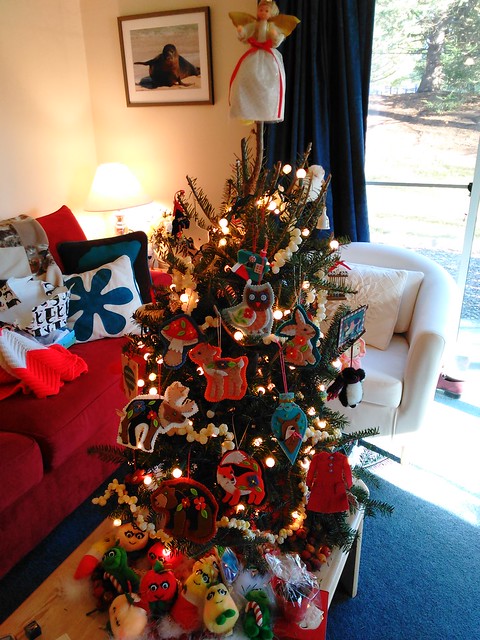
The full effect, after I opened presents this morning...should have taken this long range view before opening presents!
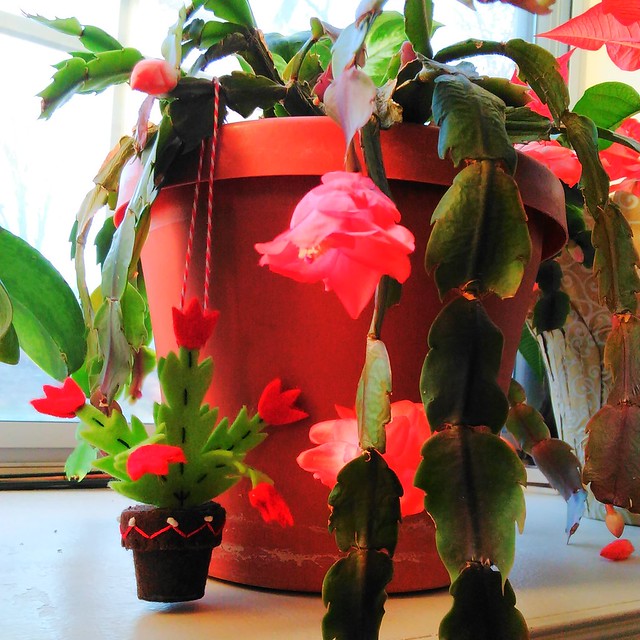
The Betz White Christmas cactus ornament, stitched/glued this weekend, hanging from my Christmas cactus. My note to self is that craft glue only dries clear in the places where it wasn't overly used. If I used a lot of it, it dried white and then I spent a lot of time trying to peel it off, ultimately taking part of the felt with it.
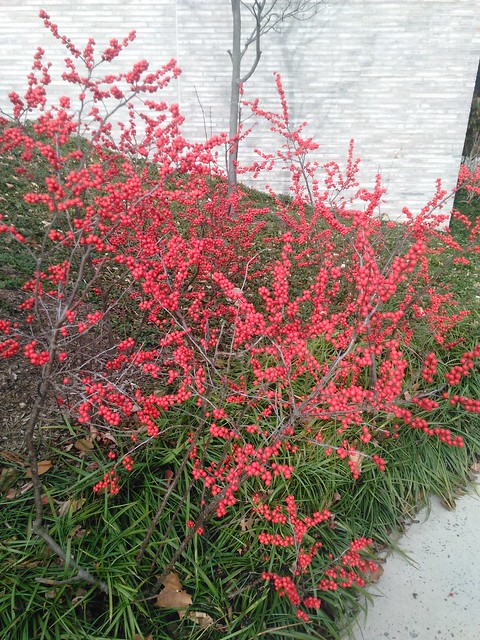
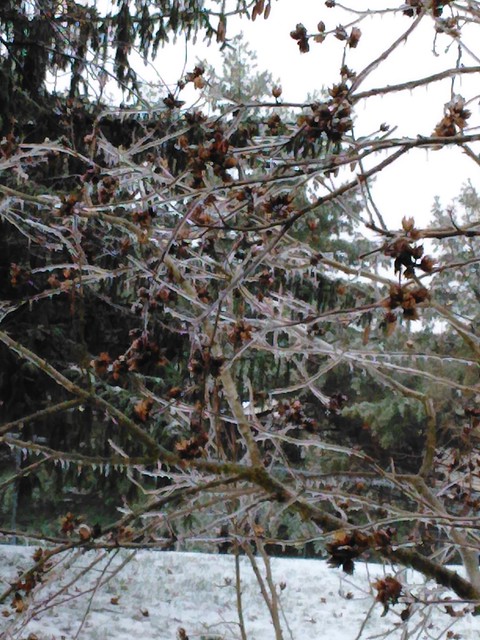
Red berries
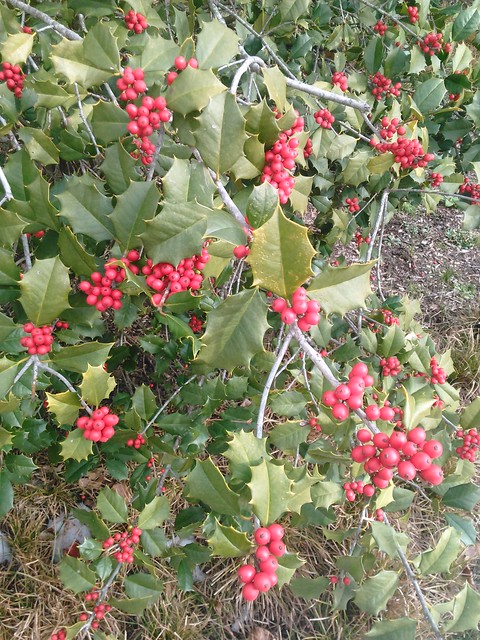
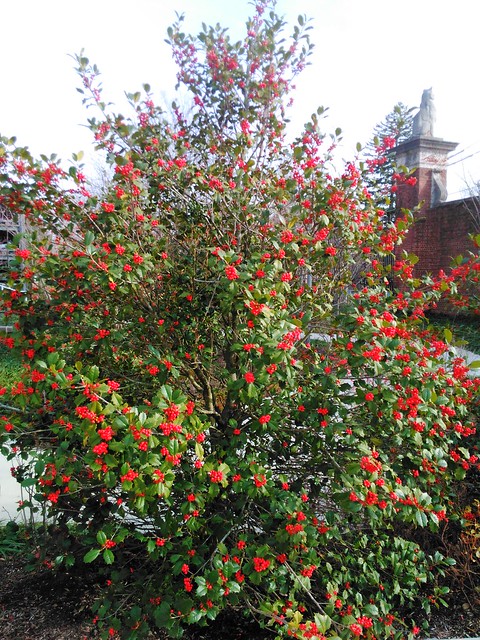
Holly!
Merry Christmas y'all!
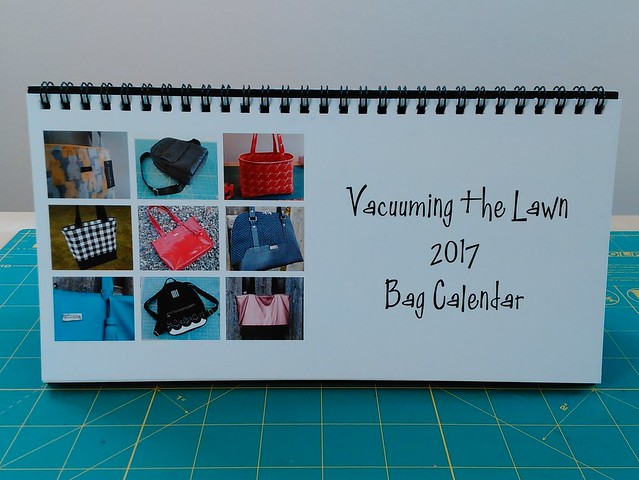
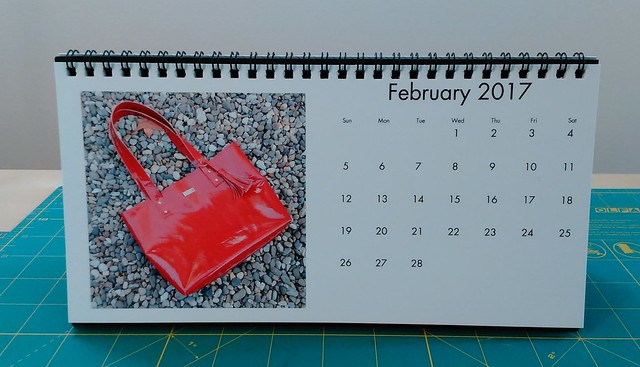
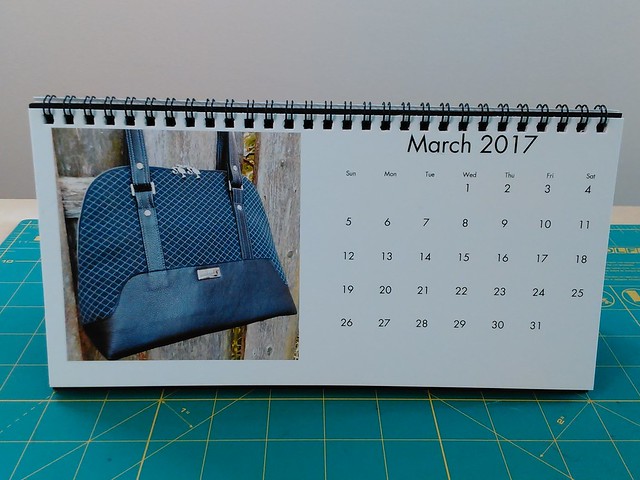
And a reminder, if you'd like to win a Vacuuming the Lawn 2017 bag calendar, enter here. You have until Tuesday morning at 7am EST to enter.
Be well!