
(ETA 7/21/13: I actually went back last weekend and put in a new zipper and wore it to work, and all is well. :) )
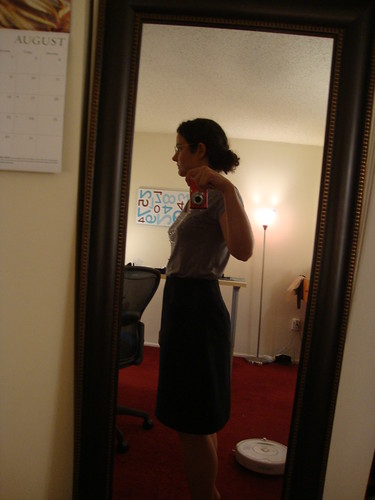
I started over with black denim, and put the zipper on the side. MUCH better.
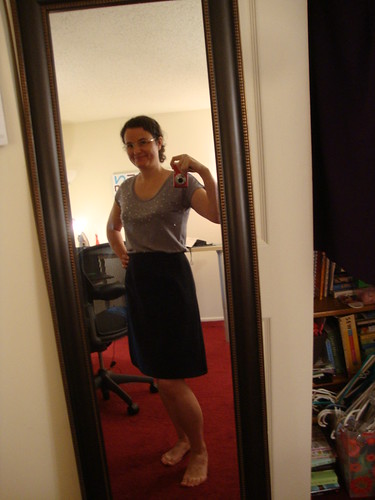
The side view is MUCH better now.
My darts are a little pointedly crazy. Need a tailor's ham. Will order one of the custom ones that y'all recommended. (I stitch on the fold for half an inch at the end of the dart and don't backstitch, then press to center, but a ham would definitely help...).
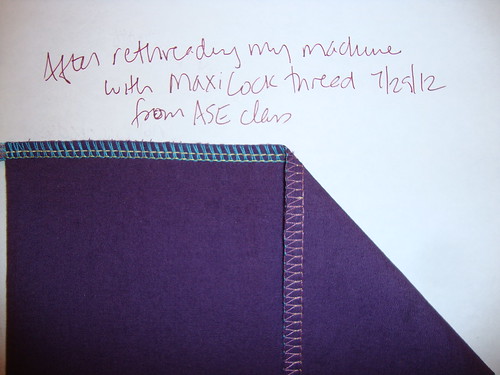
The more exciting thing is I Am Actually Using My Serger. Yes!
I took the "break your serger out of the box" class on patternreview.com with Jennifer Stern and accomplished my main goals:
- Determine if my serger actually works (it's secondhand). Yes, it works!
- Get it to stitch properly on wovens so I can finish the inside of garments to prevent raveling. Yes, I can do that now!
- Learn how to thread it from scratch without doing that "knotting the new threads to the old ones and pulling them through" trick. Ok, I've only done this once since taking the class but I did it!
- Know which thread is which on the finished product. Yup, I got it! Left needle, right needle, upper looper, lower looper.
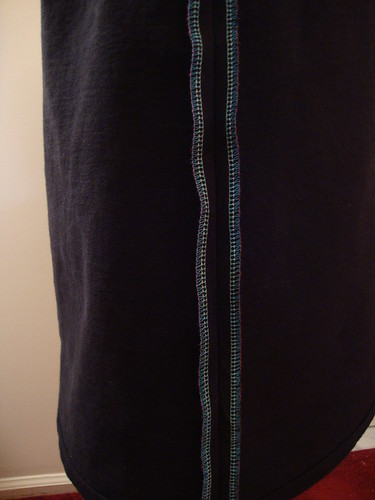
I'm still getting used to guiding the fabric at an even width through my serger, hence the uneven craziness above. I'm still new at this...but I am super excited!
As a bonus, I also learned how to gather on my serger!!
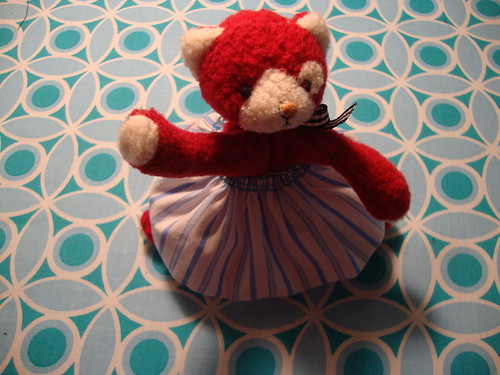
If I had a Barbie doll I would have used that as my model instead.
(By the way, there's lots more covered in the class but those are the main things I wanted to learn for now.) The class took away from my sewing time but it was time well spent.
Other stuff:
Male pumpkin flowers:
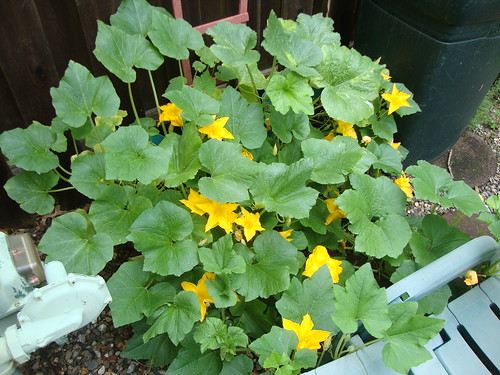
Today I discovered two females budding up!!! I have been looking every day for female blossoms.
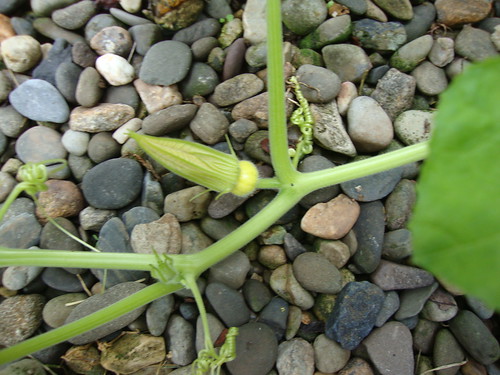
Here's one. The baby pumpkin is attached to the vine and the bud is attached to the pumpkin. If the female flower is properly fertilized when it opens (which is only for a few hours), then the pumpkin should start to grow. Otherwise the baby pumpkin will fall off or decay or whatever.

Here's the other female:
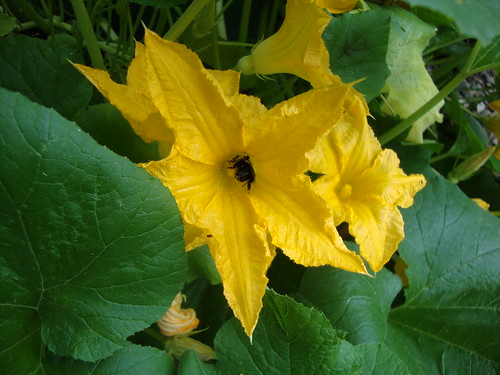
Here's a bumblebee on the hunt for pollen:
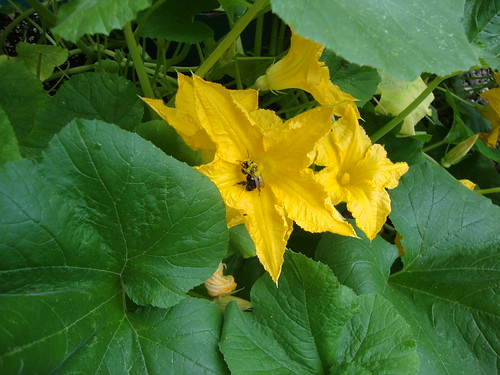
And here's the bumblebee in the male flower:
I'm a bit worried for the safety of the pumpkin vines. One reason is these vines are illegal in my townhome community; the other is they are powerwashing the houses this week and I'm afraid the vines will be trampled or otherwise destroyed during the washing. I've done the best I can to protect them short of bringing them inside (they are growing in pots).
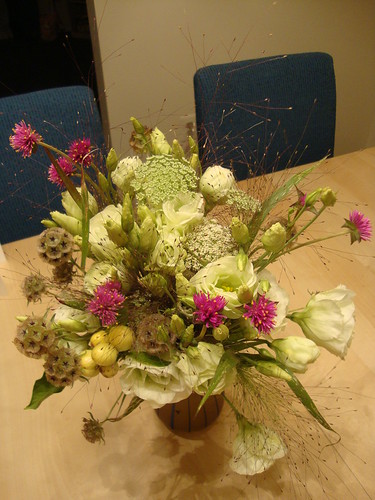
Princeton Farmer's Market flowers this week:
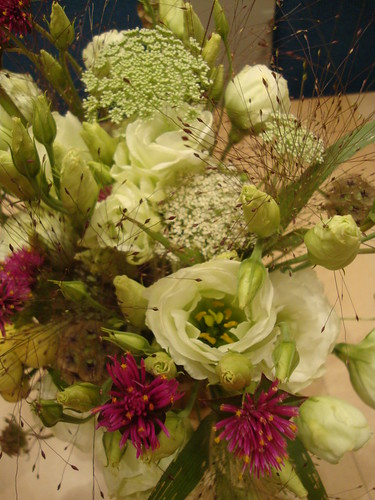
Really gorgeous lisianthus.
And finally, my hair. This was taken first thing in the morning one day this week...

It was so humid it started curling on the ends.
It was fun while it lasted but it's also good to get back to my regular curls.
Be well!
Those pumpkin flowers remind me of stuffed pumpkin and zucchini flowers Mum used to make for us.
ReplyDeleteCongrats on the serger success.
Now that you have conquered the serger (or overlocker in my language) you won't know yourself.
ReplyDeleteOh, and I thought I was the only one without a tailor's ham. If you get one, so will I...
I'm glad to hear you're using you serger! Keep it up. The more you use it, the easier it gets.
ReplyDeleteGood for you on your serger breakthrough! While you dream of a ham, you could try rolling up a towel into a cylindrical/ham-like shape. I sometimes do that for sleeves and pant legs, but I think it could pinch hit for a ham too. You could secure it with some masking tape to make it hold together better.
ReplyDeleteYay for using your serger! Boo for not being able to grow pumpkin vines!! Why are they not allowed??
ReplyDeletecongrats, just a little more time and patience and you will be a pro at using it.
ReplyDelete'Bout time you used that serger, girl! You will *not* regret it. Tying knots to re-thread the serger never worked for me. The thread would either break or not feed through properly. It's easier and much quicker to just re-thread from scratch every time.
ReplyDeleteThanks for sharing the flowers!
Aren't the ruffles great? I was so excited when I made mine correctly!
ReplyDeleteWhat beautiful flowers! I visit my farmer's market every week but they don't have flowers.
Congrats on getting your serger to work!
ReplyDeleteWay to go with the serger! You will continue to find new uses for it. Flowers - beautiful!
ReplyDeleteDon't you just love the way it finishes off the insides of your garment???
ReplyDeleteYay serger!!!!!!!! What a great testimonial for the class!
ReplyDeleteYay Kyle! Major breakthrough with the serger. Good job! And, curly hair just wants to do it's own thing. Hard to tame the beast! I know cause I've been trying for years.
ReplyDeleteI have a feeling you will wonder how you ever sewed without a serger, LOL! You will not regret learning how to use it, that is for sure. So glad the black skirt with the side zipper worked out. Yay! Black skirts are such an important part of a versatile wardrobe. I hope your pumpkins make it! The flowers you have available at the Princeton Farmer's Market are so pretty!
ReplyDeleteMy serger came threaded with 4 different colored threads - I did some test swatches and save them - noting what color thread was what part (left needle, right needle, upper and lower loopers) - now when I'm just hitting a wall at what to adjust I can refer back to that swatch and its easy to see which is which and how it all interacts and works together. I also keep a detailed notebook of each project I used the serger on, a scrap of the fabric with a serged edge and the settings I had on the serger for each part - this way if I only use it once in a while I don't have to do a lot of practicing to figure out "how I had it setup the last time" - it really helps especially when I sew the same types of fabrics. I love the rolled edge feature on mine. I use that a lot.
ReplyDeleteYou're never going to look back now you've got the serger going, yay!! And I LOVE your hair this new long length. Beautiful!
ReplyDelete