
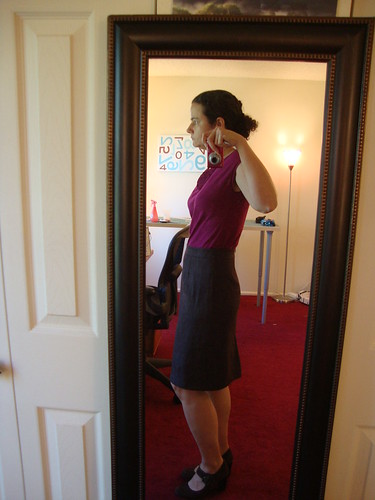
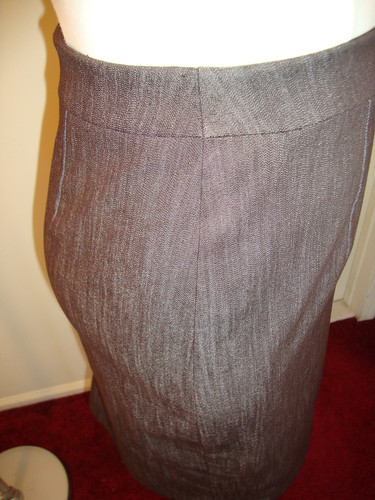
Side:
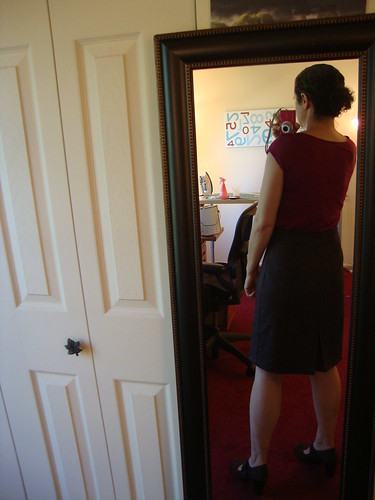
back:
Thank you for all your fitting advice. You gave great feedback. I also tweeted at Suede to ask for help, and he suggested emailing info@simplicity.com. It was the first time I ever asked the Simplicity folks for help, and it was useful too!
Generally there were 4 schools of thought as to what was causing the rippling:
- Suggestion: Because it was a stretch denim, the fabric was stretched (by me or machine) as I sewed. Either a walking foot OR fusing some interfacing on the seam OR placing tissue paper between the fabric and presser feet would prevent stretching.
- What I did: I wound up undoing the seam and ironing the fabric again. Then I fused interfacing in a 3 inch strip down each side. I noticed though that even in its flat, unsewn state with the interfacing on, the edges were already slightly wavy. I think this may be because I ironed instead of pressed the fabric, and then pressed interfacing on, instead of pressing the fabric and pressing the interfacing on. SIGH!
- Anticipating waviness with the hem, I fused a 2 inch strip of interfacing on the bottom of the skirt which made sewing the hem much easier. It was flat and not wavy.
- Suggestion: Iron the seam like there's no tomorrow on a tailor's ham.
- what I did: I still don't have a ham but intend to fix that when I come back from the ASE. But I did press what I could of the side seam.
- Suggestion: Removing fabric in various ways: Pull the skirt up at the side seams where it intersects the waist band, pinch some of the fabric out of this area, tighten the area between the waist and hip, or cut down the seam allowance here.
- what I did: I think pulling the skirt up at the side seams where it intersects the waistband is exactly what I need to do on the first dress I sewed this year. But for this skirt I took in the area between the waist and hip more and I took in the waist more generally to get the skirt to sit at my waist. I also cut more of the seam allowance. I serged the raw edges. and then I pressed to the front! Yes, pressing to the front seemed to make this less wavy than pressing to the back!!
- Suggestion: Sew with a different needle, or smaller stitches
- it is true, I basted and I think using the 2.25 stitch length helped. I still used a universal needle but I could have tried a stretch needle.
As for the length, everyone agreed, above the knee is more flattering, so that is what I did. I cut almost 2 inches off the bottom (this was already after taking out 2 inches from the pattern at the cutting stage) and hemmed to above the knee.
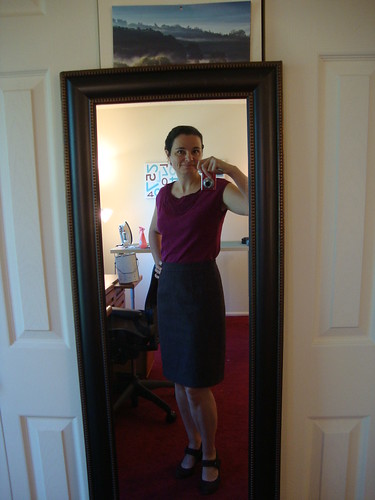
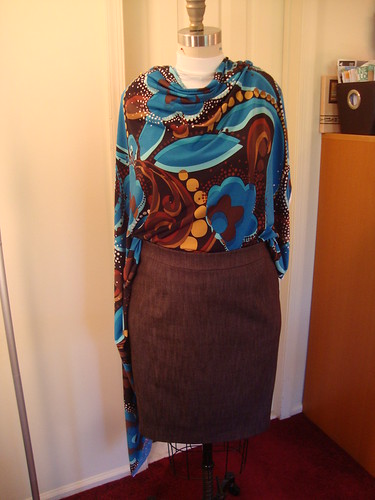
The verdict: When I'm just standing there, after a fresh press, the side seams are fine, but once I sit, move around, etc (you know, live!) that area gets wavy. But not as wavy as last week. If I tug that area down, it then looks less wavy. So I will wear it to work and see what happens. The Simplicity folks said that there will be some waviness due to the nature of the fabric. This is what it looks like after walking around and sitting in it:
Back of skirt on dressform:
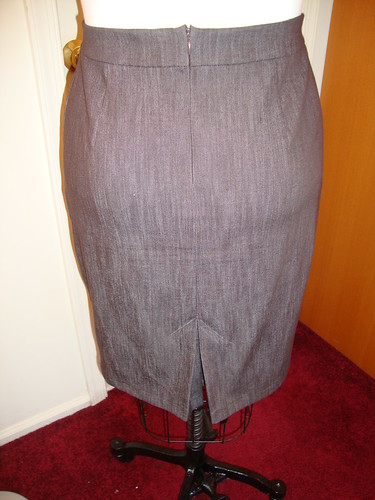
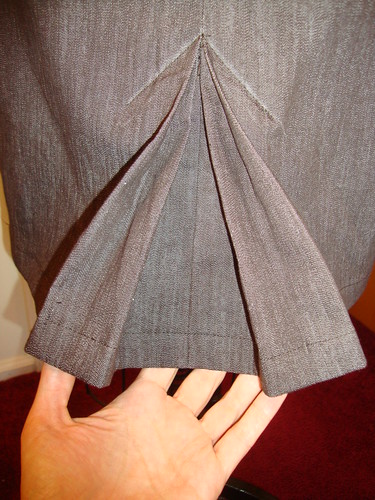
The kickpleat has this really neat pleating detail. I think I'm going to use starch to try to make the creases stay in...
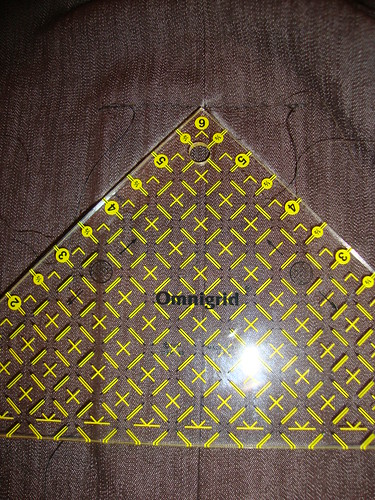
I used this to mark the stitching for the kickpleat. The horizontal basting was later removed. The tailor's chalk will come right out.
So on Pattern Review folks are taking pix of themselves, mimicing the poses of the models on the pattern envelopes. Right now Vogue has a crazy series of poses on their new pattern envelopes. For this SuedeSays pattern, the pose isn't crazy but the background is kind of wild.
Here's the envelope:
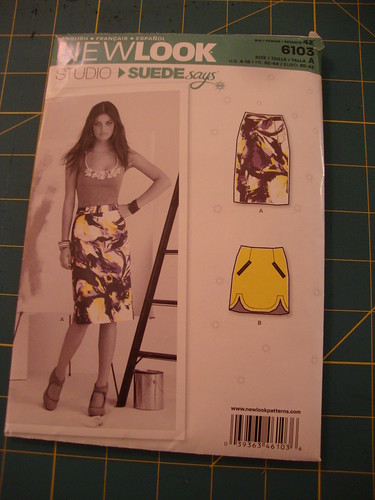
I don't have a ladder easily accessible (read: it's buried in the shed) but I do have a paint can! I don't know what the camera was focusing on in the photo, though. It looks like I purposefully blurred the photo, but I didn't.

I used some of my leftover 2" strip of interfacing to make the "bracelet" on my left hand to match the model.
You can see the rippling here, though I am standing funny...

Also I might make a shirt out of this fabric to go with the skirt...but there is a dress I'd rather work on today instead!
I also braced myself and rethreaded my serger with black thread, so that I could serge the raw edges (the skirt is brown but black was what I had in stash). I know, it was scary but I did it anyway. It took two attempts and I lost one of the needles in the process and now I think the lost needle is inside my serger but it works!
I still haven't ordered the MaxiLock thread yet, but I had some black Toldilock thread from Joann's in stash. It's made by Gutermann so I figured it can't be bad. It worked fine.

Here I ironed on the 2" strip of interfacing and then serged the raw edge. All I had to do was fold the interfaced part in half and sew down.

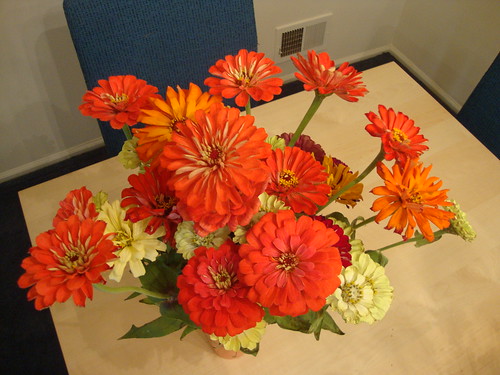
Farmer's Market flowers this week:
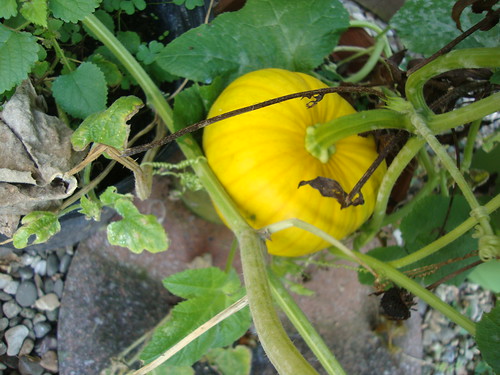
My pumpkins!! This one is 16 days old and turning from greenish to yellow.
I will be at the American Sewing Expo this weekend, will you? If yes, see you at the 9am bloggers meetup on Saturday!!!
Be well!
So cute!! It looks great with that top. You did really nice work on this.
ReplyDeleteThat's a great outcome. You did a lot of work to get it to this state but now it's really worth wearing - a lot.
ReplyDeleteThe fabric for the top is wonderful. I love the print and colours.
The overlocking stitch looks perfect too.
Have a good week.
Love the pose - paint-can and all! I think the skirt looks great, and how good was all the advice you received? Think we all learnt a few tricks and tips from you...
ReplyDeleteWhat a good looking dress! Hope you have a wonderful trip to ASE!
ReplyDeleteI love the way this turned out and your patient perseverence! I just got a cutom ham from the Stitch Nerd (online) and I love it: way bigger and better made than the commercial ones. A good ham is necessary for good pressing I think. You inspire me with what you make!
ReplyDeleteAhh, I almost forgot about ASE. I live in Ann Arbor and have promised myself that I would go this year.
ReplyDeleteI infrequently blog about my sewing, so perhaps I should go to the blogger meetup??
Allison
glad you figured out how to fix the skirt, it looks great and I got a good laugh from your pose with the paint can. those Vogue photos are craaazy (and fun to mimic).
ReplyDeleteWhat a fine looking skirt to have in your wardrobe! Your persistence really paid off. I love the kick pleat.
ReplyDeleteThe skirt looks good! How clever to use the triangle to match the topstitching for the pleat, I'll have to keep that idea in mid.
ReplyDeletewonderful digg weblogs insomnia guidelines,insomnia relief,insomniac games,insomnia pattaya,insomnia in teens,insomnia mac,insomnia 39 weeks,insomnia definition
ReplyDelete