I was really having difficulty with blind hemming last Sunday. It was my first attempt and I could NOT get the hang of it. I tried for about 2 hours on scraps while watching YouTube and Craftsy videos.
I tried again Thursday night with limited success.
I tried again today after a two hour nap. BINGO!
So I'm calling this a mini-tutorial because it's all the things the videos I watched didn't mention or didn't emphasize enough.
Most tutes show how the blind hem stitches straight for about 3 stitches, then zig zags once to catch the folded fabric. And the tutes show "the flip" multiple times. I'm not showing that here. I'm just showing the additional "goods".
First, have a two hour nap or be otherwise well-rested. Don't be in a hurry to finish the item you've been working on for 40 hours. Stretch. Then, pin up the hem. The pin heads should be directed like this (see, on the serged/raw edge of fabric):
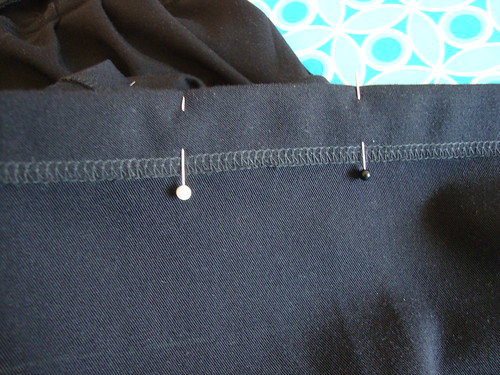
Why? So that when you make "the flip", the pins are easy to remove.
Then I ironed the folded edge and used a clapper to set the fold.
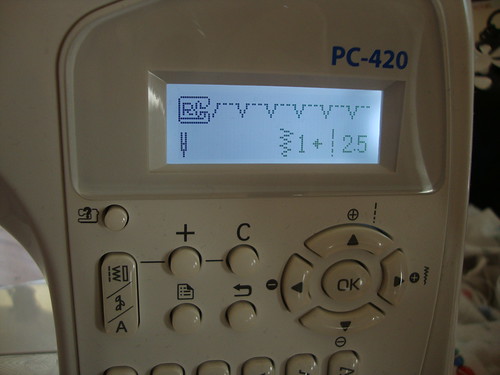
Take some deep breaths. Put your blind hem foot on your machine. Set the stitch length and width. On my new machine, it's stitch 17, and once I select that stitch, my new machine is showing me I need to use foot R, and it started as 0 width and 2.0 length. I changed this to -1 and 2.5. Honestly you have to practice to see how far over the zig zag should be to catch your fold but not too much of your fold. Just pressing the left arrow once resulted in -1 which is fine for me, as long as I keep everything else "straight" (see below). I had experimented with -2 and -3 but that was when I didn't know what I was doing.
Very important: Put the raw/serged edge of fabric at the edge of the foot (no one said this on the videos I watched, but if I use the foot edge and fabric edge as a guide, it keeps things straight. I guess you can use some other landmark on your presser foot or machine. The edge of the foot worked for me).
The "fold" in the fabric should be kissing the flange. At the same time, you're opening up the fabric to lie flat. It makes more sense when you're doing this.
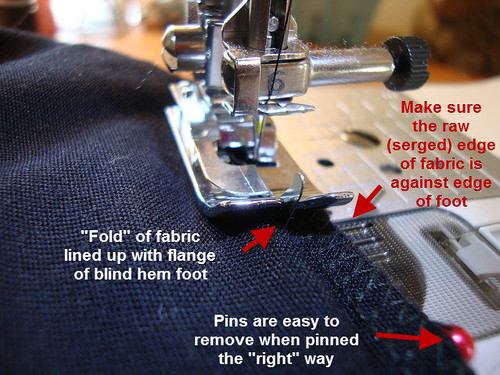
Here's another view:
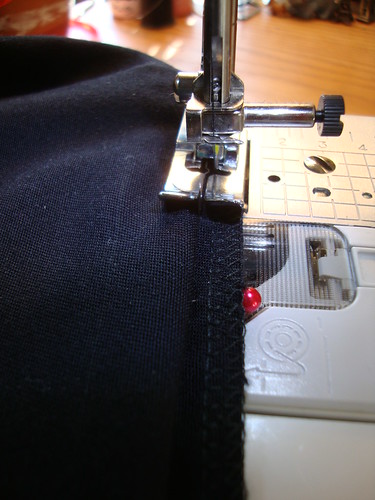
Now go slowly. It's not a race.
Before you know it, it's done. My machine wouldn't reverse on this stitch, it would just stitch in place if I tried to reverse.
So then it looked like this from the outside. There are little tiny stitches from where the zigzag caught the folded edge.
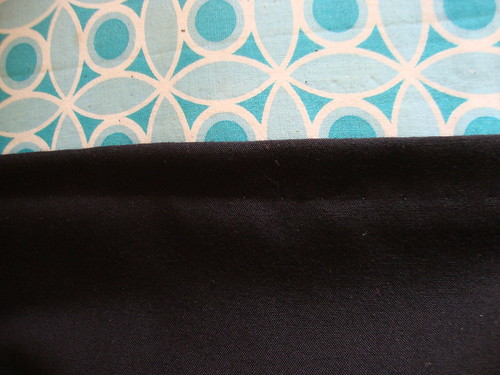
I then ironed and used the clapper and the stitches disappeared quite a bit:

This is what it looks like from inside. You can see the ___^___^___^ stitching just above my serged edge.
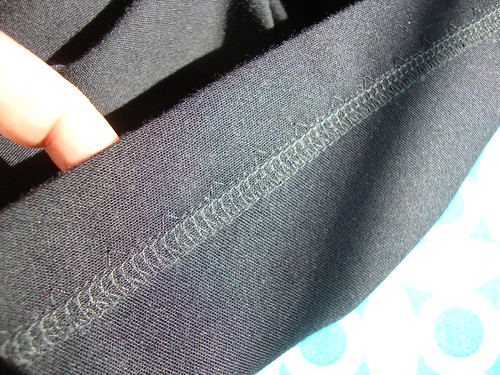
The dress is nearing completion! I have some hand sewing to do on the inside to tack the bodice lining to the bodice and sew the bodice lining to the zipper. So the final post on this dress should be tmw night!
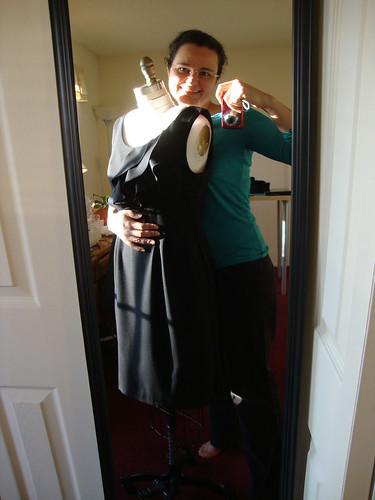
You can see the blind hem in this photo of Izzy and me. I think in real life, it's not as noticeable:
Oh, and here's something so good, I ate it up without freezing any of it:

Hand-torn pasta alla bolognese from Now Eat This! Italian by Rocco DiSpirito
Good night and be well! Final dress post coming tmw! Because I *am* finishing this dress before the weekend is over!

This is a great tutorial! I tried to blind hem using my machine about 2 years ago, with the directions from my instruction manual. It was a total waste of time! I never got the hang of it, and I just gave up. I would love to give it a try again with the instructions you gave. It seems like it would be much simpler.
ReplyDeletePS--That dish looks so yummy!
Congrats on working the blind hem. I love this stitch and use it often on a-line skirt and pants hems.
ReplyDeleteExcellent tut... very clear and easy to follow. ... I'm an italian food fan too :) + I love the way the dress is turning out!!
ReplyDeleteNice demonstration and it is so informative. I love the way you enjoy that pasta after doing your sewing demo.
ReplyDelete