Showing posts with label dressform. Show all posts

Saturday, March 9, 2013

Machine blind hemming mini-tutorial

This is the penultimate post about McCall's 6518, I swear!

I was really having difficulty with blind hemming last Sunday.  It was my first attempt and I could NOT get the hang of it.  I tried for about 2 hours on scraps while watching YouTube and Craftsy videos.

I tried again Thursday night with limited success.

I tried again today after a two hour nap. BINGO!

So I'm calling this a mini-tutorial because it's all the things the videos I watched didn't mention or didn't emphasize enough.

Most tutes show how the blind hem stitches straight for about 3 stitches, then zig zags once to catch the folded fabric. And the tutes show "the flip" multiple times. I'm not showing that here. I'm just showing the additional "goods".

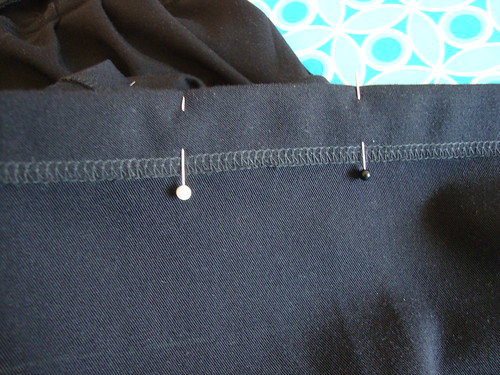
First, have a two hour nap or be otherwise well-rested.  Don't be in a hurry to finish the item you've been working on for 40 hours.  Stretch.   Then, pin up the hem. The pin heads should be directed like this (see, on the serged/raw edge of fabric):
Blind hemming....
Why?  So that when you make "the flip", the pins are easy to remove.

Then I ironed the folded edge and used a clapper to set the fold.

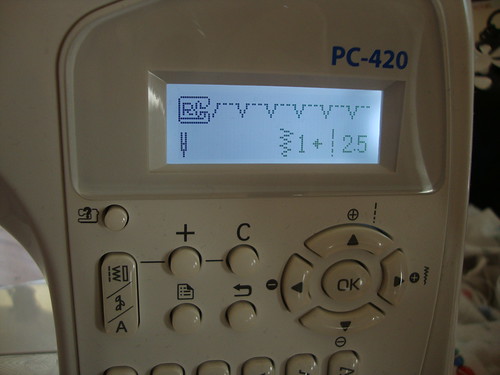
Take some deep breaths.  Put your blind hem foot on your machine.  Set the stitch length and width.  On my new machine, it's stitch 17, and once I select that stitch, my new machine is showing me I need to use foot R, and it started as 0 width  and 2.0 length.  I changed this to -1 and 2.5. Honestly you have to practice to see how far over the zig zag should be to catch your fold but not too much of your fold.    Just pressing the left arrow once resulted in -1 which is fine for me, as long as I keep everything else "straight" (see below).  I had experimented with -2 and -3 but that was when I didn't know what I was doing.

Blind hemming....

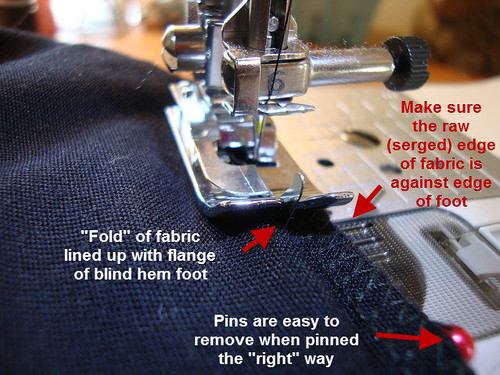
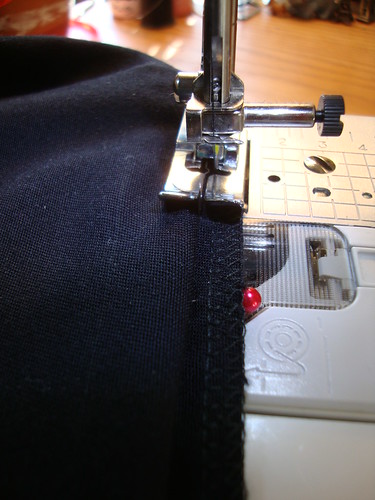
Very important:  Put the raw/serged edge of fabric at the edge of the foot (no one said this on the videos I watched, but if I use the foot edge and fabric edge as a guide, it keeps things straight.  I guess you can use some other landmark on your presser foot or machine.  The edge of the foot worked for me).

The "fold" in the fabric should be kissing the flange.  At the same time, you're opening up the fabric to lie flat.  It makes more sense when you're doing this.
detailed-blind-hem
Here's another view:
Blind hemming....

Now go slowly. It's not a race.

Before you know it, it's done.  My machine wouldn't reverse on this stitch, it would just stitch in place if I tried to reverse.

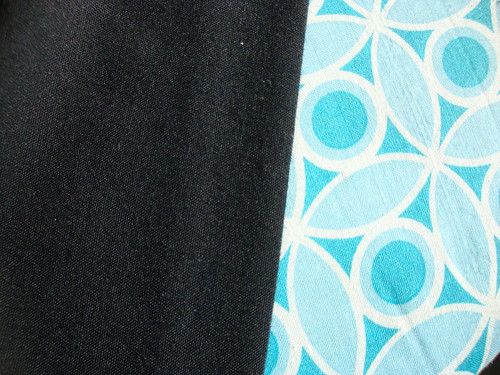
So then it looked like this from the outside.  There are little tiny stitches from where the zigzag caught the folded edge.
Blind hemming....
I then ironed and used the clapper and the stitches disappeared quite a bit:
Blind hemming....
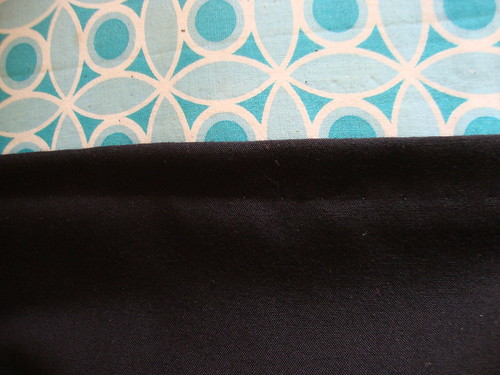
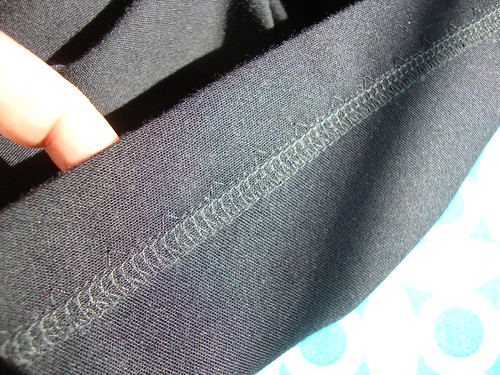
This is what it looks like from inside.  You can see the ___^___^___^ stitching just above my serged edge.
Blind hemming....

The dress is nearing completion! I have some hand sewing to do on the inside to tack the bodice lining to the bodice and sew the bodice lining to the zipper. So the final post on this dress should be tmw night!

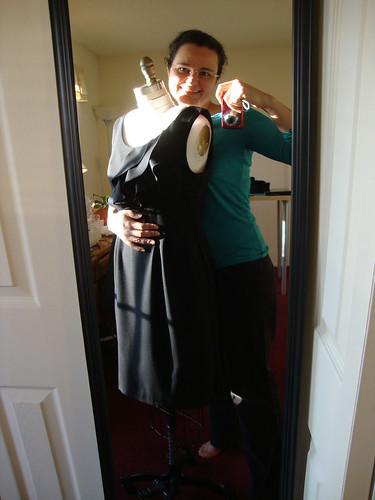
You can see the blind hem in this photo of Izzy and me. I think in real life, it's not as noticeable:
Izzy and me
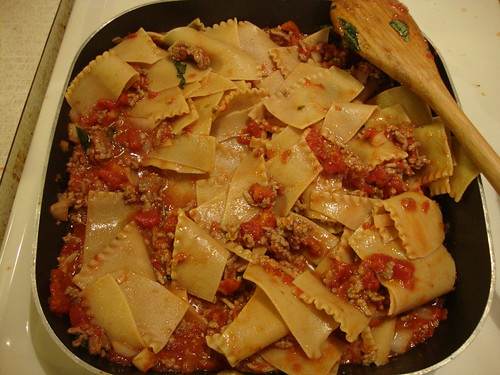
Oh, and here's something so good, I ate it up without freezing any of it:

Hand-torn pasta alla bolognese
Hand-torn pasta alla bolognese from Now Eat This!  Italian by Rocco DiSpirito

Good night and be well!  Final dress post coming tmw!  Because I *am* finishing this dress before the weekend is over!

Sunday, March 3, 2013

McCall's 6518 *still* in progress, but nearing finish...

So my mission for today was to finish this dress, before the sun goes down, to get some good pix, and so I can move on with my life (er, rather, back to my Sewaholic Thurlow and Renfrew muslins).  And LinB, thanks for the cheerleading!  It turns out to not be too small, yay!

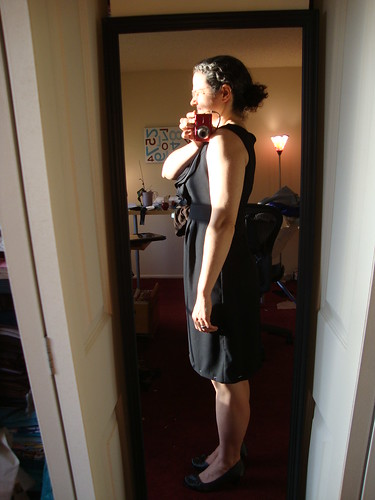
So, tossing all chores to the side, I started sewing at 9am and it still isn't done.  I decided to learn the blind hem technique on my sewing machine but it is not happening for me.  And there is some handsewing to be done on the inside.  And maybe some shaping to do... But I took some pix anyway....while the light is good...

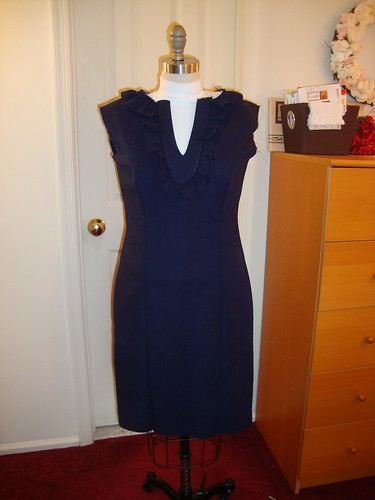
McCalls 6518 *still* in progress
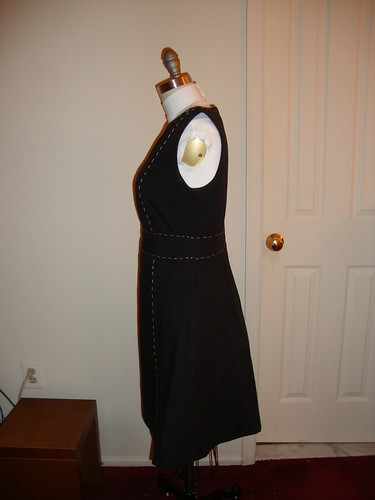
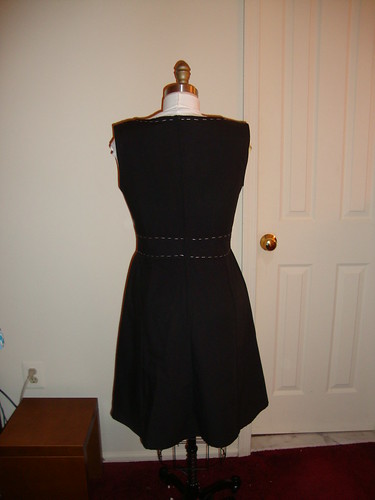
The hem is pinnedfor the photos.
McCalls 6518 *still* in progress
The light was bright!
McCalls 6518 *still* in progress
And the stash was deep....

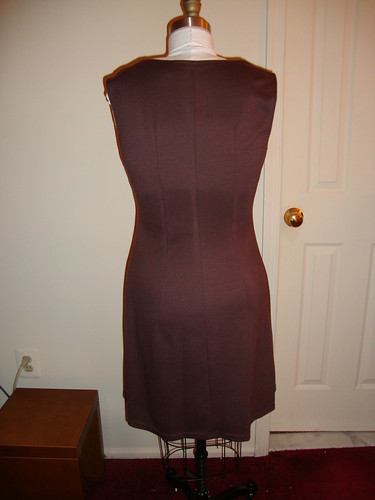
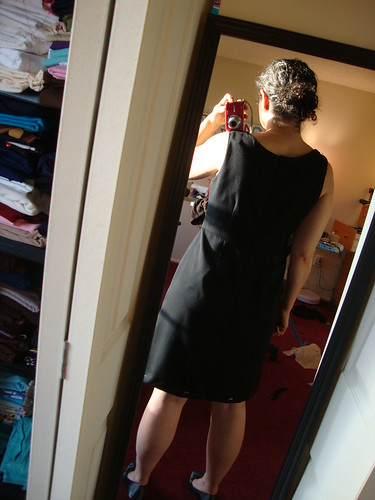
There is some funkiness going on in the back of the dress...but I'm done playing with the back. I took a 1.25 wedge out for my swayback...
McCalls 6518 *still* in progress
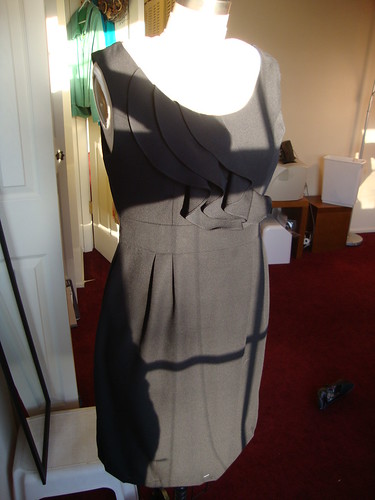
On Izzy..
McCalls 6518 *still* in progress
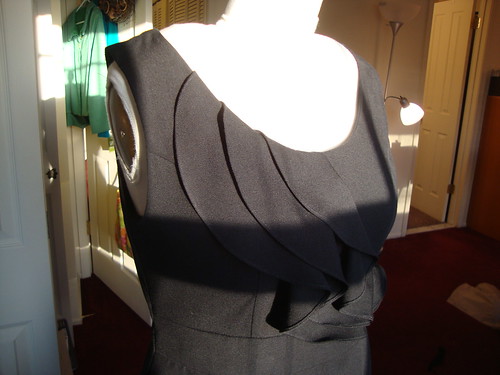
Still loving the ruffles.
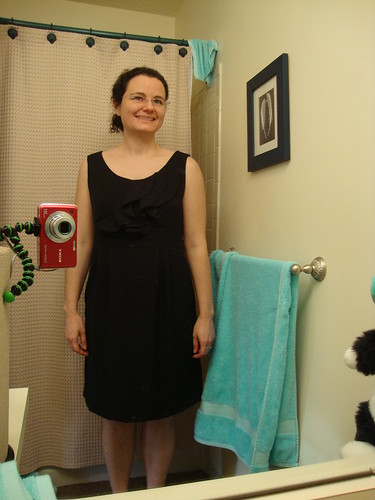
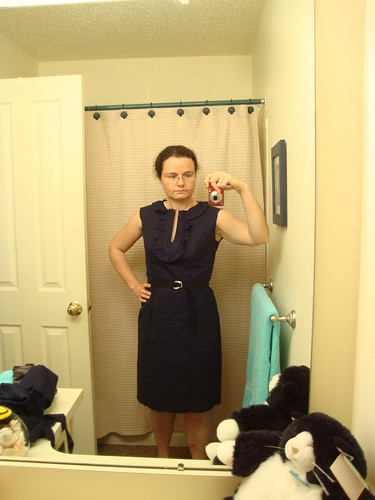
Ok, the bathroom shots...
McCalls 6518 *still* in progress
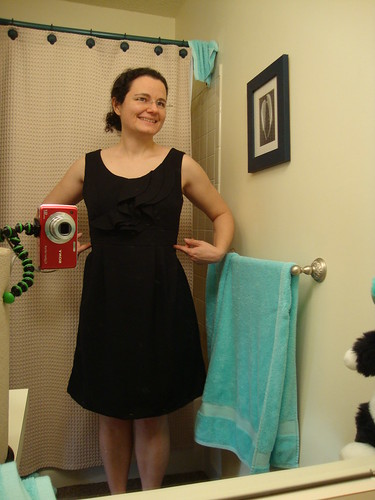
I think it needs some shaping to make it cuter.
McCalls 6518 *still* in progress
I thnk this goes to show, A-line is the way to go for me. Straight sheaths do not look as good on me as the A-line...but I don't think I'll be able to breathe sitting down if I shape it, ha ha.

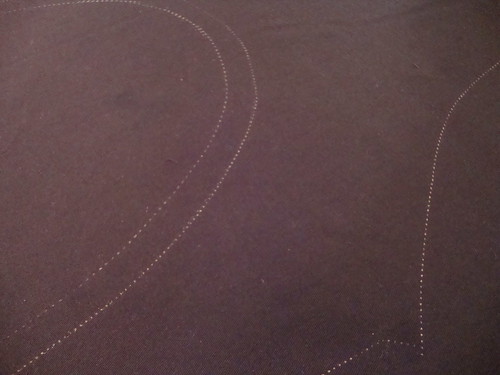
Oh, so  I had added 5/8 to the neckline and here's how I did it...by taking my new clover double tracing wheel out for a spin.

McCalls 6518 *still* in progress
Seeing double!
Above I am tracing the pattern onto the black lining (so I'm using white wax tracing paper) and raising the neckline by 5/8 at the same time.  It's adjustable...I could have raised it up to 1.25" in one swoop.  Pretty amazing.

The wax tracing paper is the biz.  Leslie first wrote about it on her blog, and I bought it from Richard the Thread (rolled up, must buy 9 sheets of paper, 3 of 3 colors) but you can also buy it from Fashionable Stitch (comes folded, but you can buy one sheet at a time).  There is a HUGE advantage to using the wax tracing paper, which is that the sheets are huge and the markings actually transfer, unlike the little strips of paper from Joann's.  However, you have to be careful with the wax, it is marking your fabric and while I have seen the iron remove the white dots from black fabric, I have some red markings on the right side of my turquoise fabric because I wasn't careful....

Here you can see the two lines of the neckline on the left side...the original cutting line and my new raised cutting line...
McCall's 6518 *still* in progress
So I think I will do some chores or whatever now, and go back to the blind hem-ness later tonight or next weekend....
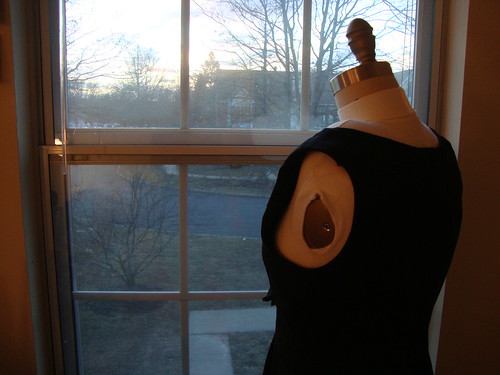
So as the sun sets on Izzy..
As the sun sets on Izzy...
Be well and good night...

Sunday, June 10, 2012

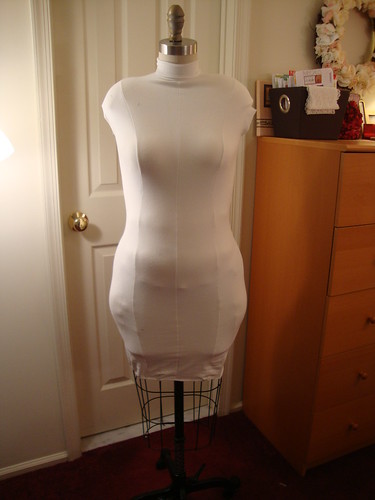
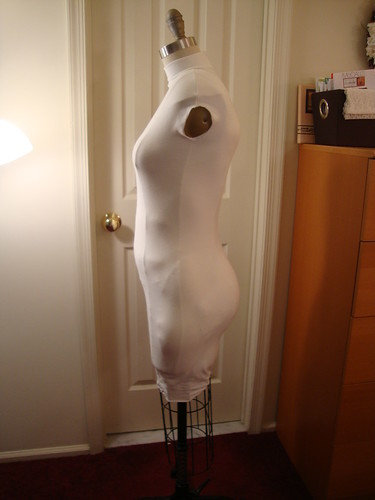
Dress form in its final padded state; B5638 in progress

Thanks everyone for sharing in my excitement about my new dressform padded out in the Fabulous Fit fitting system, as blogged here.
I spent about 2 hours today padding out the form again and creating the sway back curve, so I think I've finally worn myself out on the excitement of it all.

It really makes you take a long, hard look at yourself....

Front:
my dressform final padding
Side:
my dressform final padding
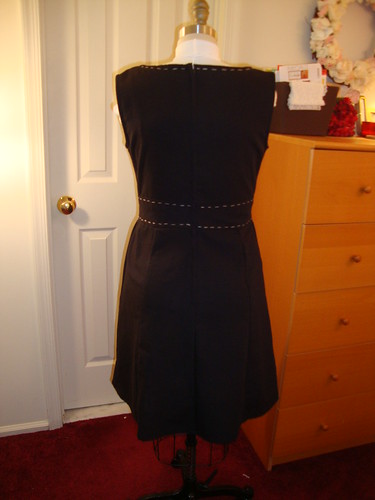
Back:
my dressform final padding
Here's what I did:
  • Bought the FF system again, as I wasn't sure what pieces I would need, and figured I could replace pieces as needed.  (The FF website has an a la carte option so you can buy individual pieces instead of buying the whole system again.)
  • I wound up using a thigh pad for the upper back to create the swayback curve. Looking at these pix, maybe that bit in the upper back is too much???   I had tried the side back pad which was definitely too thick.
  • I didn't use the upper hip pads at all this time as the form was getting a bit bootylicious.
  • I used an old mattress pad cover (i.e. essentially batting) I found in a closet cleanout last weekend, and cut squares to create the extra padding for the hip area, and also a bit for the derriere. That way I had more control over the size of the pads, since the filler pads were just too much.
So here's my best-fitting-on-me dress, again, S2473, with my repadded out dressform:
final padding of dressform wearing S2473
Yes, it's looking like the upper back curve is a bit too big... I mean, I don't have a hump there...final padding of dressform wearing S2473
final padding of dressform wearing S2473
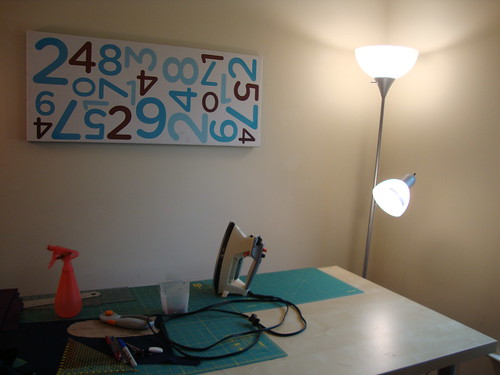
In other news, the Princeton students moved out this week and I scored two matching floor lamps with little side lamps, left at the dumpster I walk by practically every day. Finally, the illumination my sewing room needs!!!
my new lighting!
B5638 marches slowly onward:
B5638 in progress
The V is too deep for my taste; I'm thinking I might redo that front inset panel again (and also find a decent tutorial on how to make a v that is not Becky-homecky)
B5638 in progress
B5638 in progress
B5638 in progress
Be well!!

Saturday, June 2, 2012

My brand new Roxy dressform, padded in the Fabulous Fit Fitting system

Roxy dressform foyer
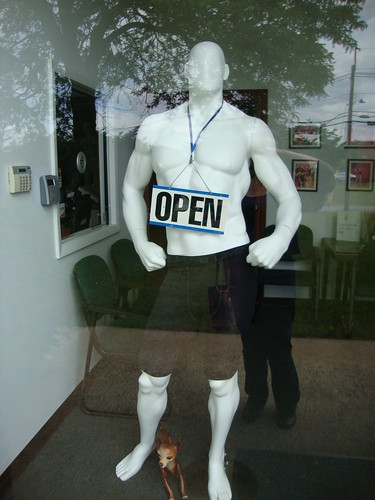
In the window of the Roxy foyer.  The model is wearing 2exist boxer/briefs.

So I think it was for my birthday 2 years ago, mom gave me $$ to buy a dressform.
I started my diligent research about 2 months later.
I hit up dressform websites and read pattern review of dressforms.
I measured myself, I compared to measurement charts.

And I hit a wall.
I'm a pear shape.  Smaller on top than I am on bottom.
Adjustable forms would manage that, but the reviews were mostly bad.  They're cheap, flimsy, fall apart (or over) easily, hard to turn the dials, can't pin into them, etc etc etc.

Professional dressforms are standard sizes throughout.  Get one that matches my measurements on top, and it will be too small on the bottom.  Buy one that matches my measurements on the bottom, it will be too big on top.

I had read about Fabulous Fit but had not gone further with it.  Their dressforms were $700-ish (now they have some in the $300 range too) but they had a fitting system that would let you pad out the form to look like you.  Gain weight? Pad it out more.  Lose weight?  Remove some pads.  Weight stays the same but moves around?  Move the pads around.

So that's where my research ended.   In the meantime, mom bought a mannequin for me from a consignment shop for $20.  I named her Emma. I can actually pin into her!  She's smaller than me but incredibly helpful for many things. But she ends under her waistline, nary any hips, thighs, or derriere to speak of.  Her back is flat as a board. 

Fast forward to PR weekend in NYC, and Jill Ralston gave a demo of what her company sells--the Fabulous Fit Fitting System.  This was one of the most interesting parts of the weekend for me.  I was super interested in the system.  You can buy the system off amazon for $69 and use it with a dressform (any dressform--I had not realized it can be any dressform) that is smaller than you are--you pad it out to look like you.  She demoed it for us and it was amazing.  She made a dressform look like a real person.

I bought the system and tried it with Emma.  It didn't work because of Emma's aforementioned non-existent hips, thighs and derriere.

I had asked, in the course of the research, where Clever Girl bought her dressform.  Antoinette is an incredibly petite woman, and was having trouble finding a form.  She found her size 2 form from Roxy Display Co...in NJ.  This made my eyebrows shoot up.  NJ? 

Roxy happens to be located in East Brunswick, NJ.  Like, 15-20 min from my home.

So after FF didn't work with Emma, I went back to the Roxy site.  Their professional dressforms are $250.  And they are open on Saturdays.  I mean, really, could the stars and the moon have aligned any better?  A dressform company practically in my backyard?  With the backing of trusted sewing friend?  For $250?  And open on Saturdays?

I planned to go there last Saturday but they were closed for the holiday weekend.  Today was the day.

It's in an industrial park off the turnpike (exit 9, if you are in with that Jersey joke) and  easy to find.
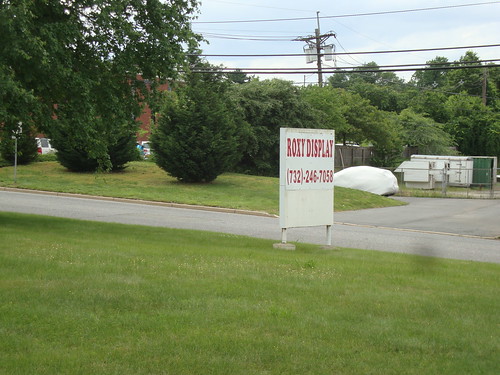
Roxy sign
Picture taken from the front door of the showroom.  I meant to take the pic again from the road but forgot.

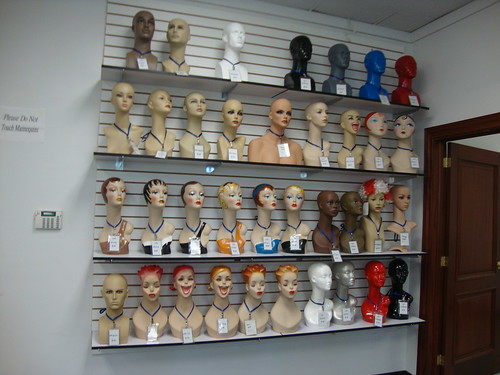
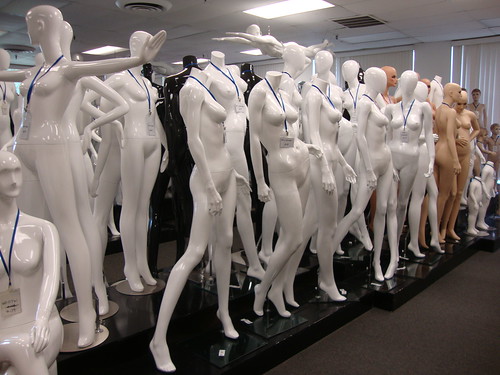
Their showroom is a  hoot.  They sell some dressforms but tons of mannequins, in all shapes, sizes, colors (want an entirely red mannequin?  how about a blue one?  a silver one?), forms (hands only.  head only.  upper torso only.  with/without heads, arms, legs?)  flying like superman?  Positions (sitting?  standing,  arms straight out?  How about on all fours?)    Men?  Women?  Children?  Pets?  it goes on and on).

It was less creepy once the clerk turned the lights on.   I had predetermined that I would get the size 6.  My bust is a 10 on the Roxy chart (remember, I usually sew 12 or 14 at the bust grading to 14 or 16 at the hip), but with FF I needed to go smaller, so I went two sizes smaller based on how much FF padded out Emma (Jill had recommended going one size smaller but after seeing how much it padded out Emma, I went two sizes smaller).

In person, a 6 is incredibly tiny.  But I remembered I was padding her out and ordered the 6.

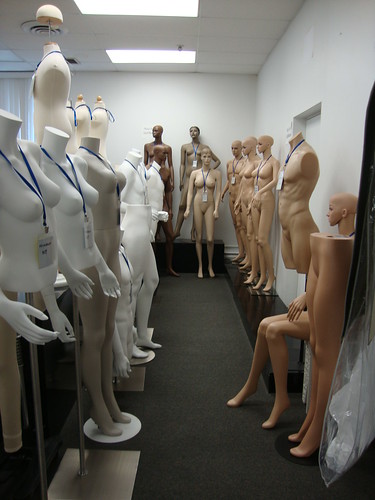
Here's the dressform section of the Roxy showroom.  I had always wondered how the full size dressforms are suspended and now I know, it's like this:
Roxy dressform showroom

Here is just one row of several rows of mannequins.  Love how they're all wearing their conference lanyards:
Roxy dressform showroom
Here are some busts:
Roxy dressform showroom
Roxy dressform showroom  
I really wish I took pix of the all-silver mannequins.

My new dressform fit easily in my little car after folding down the seats.  I was freaking out a little on the way home because the box said "half size 6" and I was afraid that maybe that meant "half size 6 dressform" instead of "half body size 6".  But it was really a half body size 6.  Phew!

the boxes my dressform came in

Here are the boxes, after I opened them.

So then I brought the pieces upstairs to my sewing room.
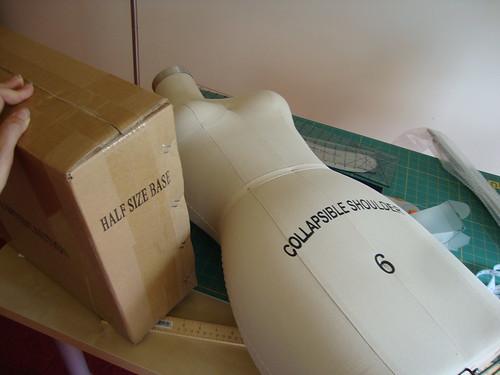
time to put her together!
I struggled with the written directions when it came to the part about the spring. But thankfully their website had a youtube video and then it was all clear!!  So it was about 20 min start to finish, but would have been faster if I had just used the video and not the written instructions.

So here she is in her naked, just-born nascent glory:
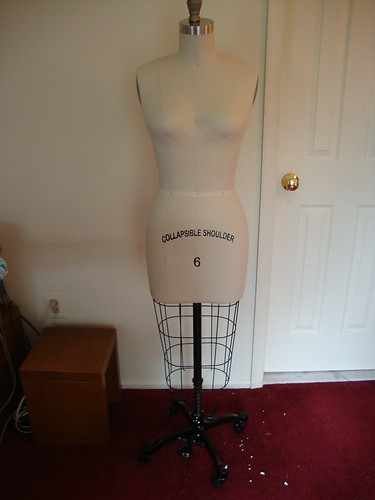
Roxy dressform size 6
The white bits on the floor are from the styrofoam the base was embedded in.

Then I started padding her out with FF.

I was glad I had the brochure handed out at PR weekend as the FF box did not include instructions.  The brochure has all the details on padding, and measuring.  Thankfully I had been measured at PR Day Austin's pants fitting workshop (as a bonus we had ALL of our measurements taken, phew!)

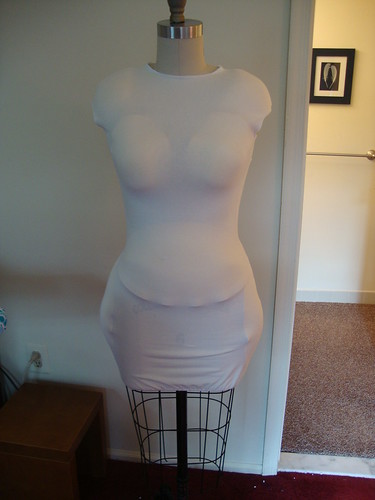
The pads are labelled  (i.e. shoulder, stomach, upper hip, bust, side back, etc etc etc) and there are filler pads too for areas that need extra padding.  First you start to put the FF bodysuit on the form, like just below the shoulders, then put the shoulder pads in.  Then roll it down under the bust, and put the bust pads in, etc etc etc.  Then when you're done, you put the princess seam body suit over that and it smooths it out.

So here's where it was at before I put the princess seam bodysuit on it....
Roxy dressform padded in Fabulous Fit fitting system
At that point, I had the extra filler padding in the hips. But it doesn't need quite that much padding. It needs more than the hip padding but less than the hip + filler padding. So for that area, I will probably use tissues or something for the little bit more padding.

Here's the side view:
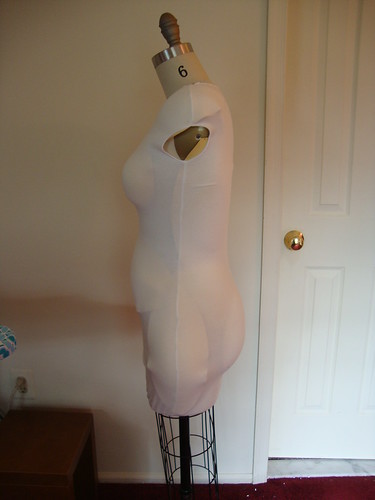
Roxy dressform padded in Fabulous Fit fitting system
I love how it has the little belly like my little belly.  But it doesn't have a sway back.  I need to get more padding to pad out the upper back to create the swayback curve.  I will probably buy another stomach pad and some thigh pads a la cart from the FF site and use them pad out the upper back to make the sway back curve.
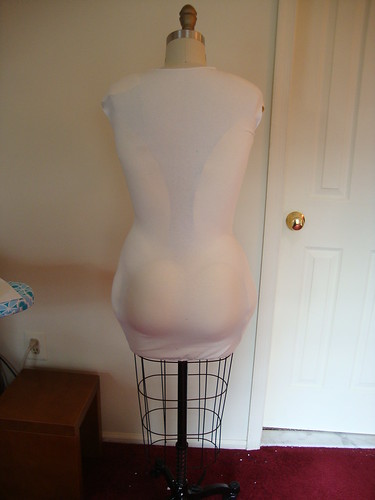
Roxy dressform padded in Fabulous Fit fitting system
Again needs slightly less padding in the hips.

Here's what it looks like without the filler pads in the hips, but with the princess seam body suit.  Hrm, her hips don't look symmetrical here, but I'll have to move them anyway when I go back to make the swayback....
Roxy dressform with Fabulous Fit Fitting System
And here she is in one of my favorite and best-fitting-on-me dresses, Simplicity 2473:
One of my favorite dresses: S2473
And in another favorite dress, NL 6071:
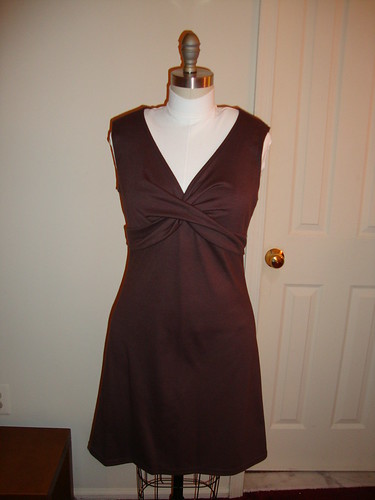
One of my favorite dresses:  NL6071
It is a kick to see the form actually fill out the dress!
And here she is with Emma
My yet-to-be-named dressform, and Emma my mannequin
I will let you know how she works out (and what her name is, once it comes to me! I was originally going to name her Emme so my form and mannequin would be Emme and Emma, but now I'm not sure she looks like an Emme to me.)

My cleaning mood continues. I found this in my bedroom closet.  I bought it at TJ Maxx 2 years ago for $5.   I think it looks pretty cool in my sewing room now.
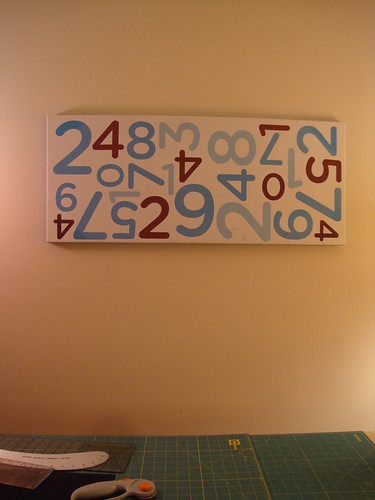
new wall hanging in my sewing room
My second rose of the year from my "garden":
 second rose of the year
Flowers from the Princeton Farmer's Market.
My favorite flower farmer has returned for another year!
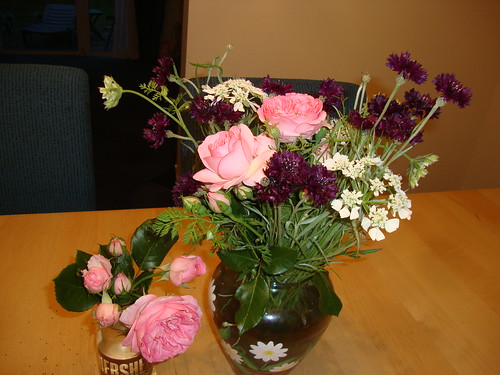
first Princeton Farmer's Market flowers of the year!
Be well!