

Emma, left, wearing last week's McCall's 6078 with loops;
Big sister Izzy, right, wearing tonight's McCall's 6078 with reduced cowl depth (reduced so much, loops are not possible)
Lots of interesting responses regarding changing cowl depth from my last post.
Thanks to all who left ideas. I went with debbie's advice....here's the photographic evidence:
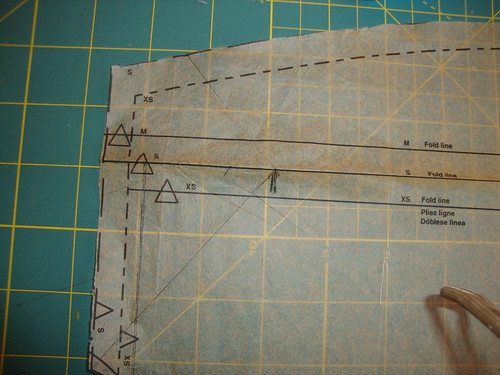
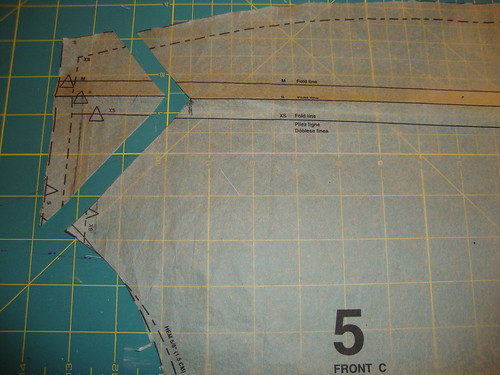
Here's the pattern piece for the front of view C:
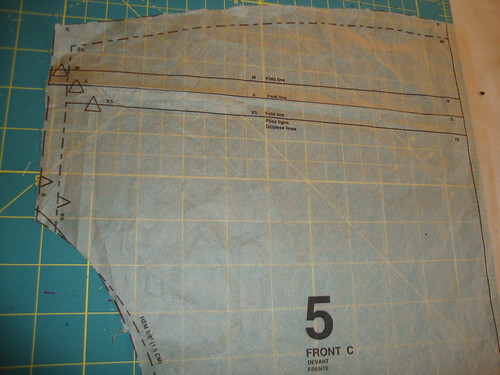
Fold along the fold line:

I drew a mark at 2 5/8" (5/8" for SA; 2 inches for reduction in cowl length).
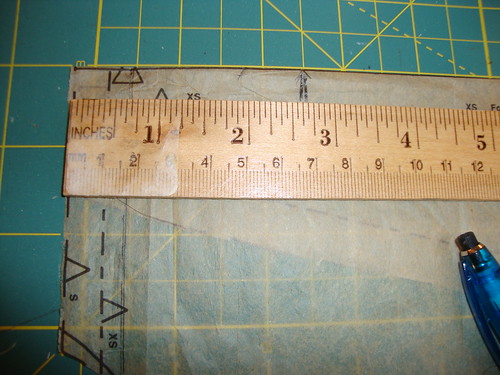
Draw a line diagonally across:
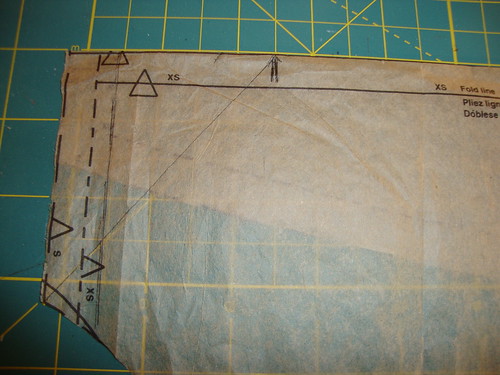
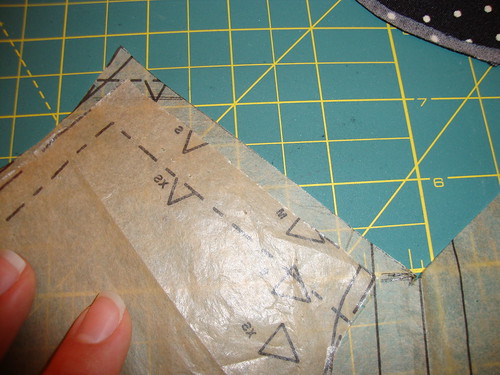
I folded on the newly drawn line:
Opened and drew on the fold:
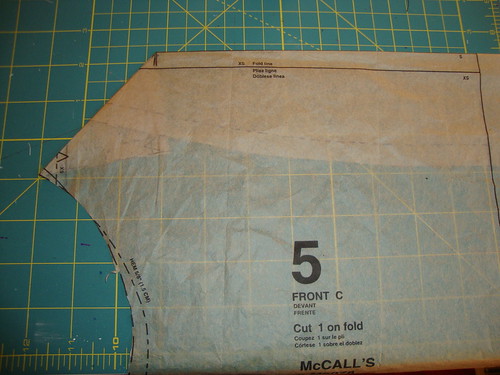
I cut that bit out:
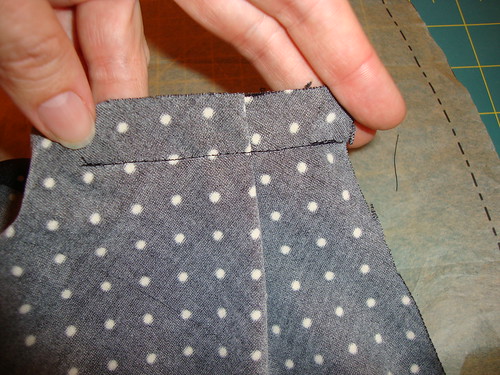
Ha ha ha, so now the shoulder seam is longer on the front than the back. Sadly, i had already cut out the back, and no more of this fabric remained.
It was a 'make it work' moment:
View B has pleats; so I took up the extra length on the front SA by pleating it out:
Now the cowl isn't plunging:
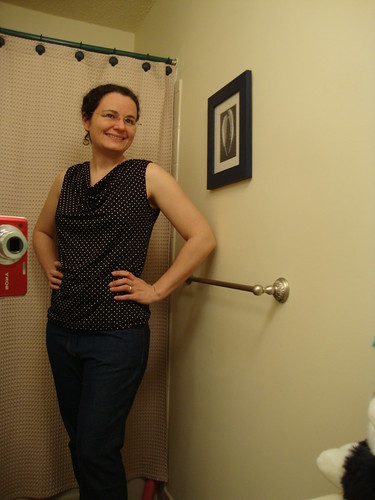
But it's not long enough to put the loops on. Maybe next time I will try with 1" instead of 2" and see if that leaves enough for the loops but isn't too plungetastic.
I do like that my bra straps are covered. and bending over doesn't put on a show.
And it was less than 2 hours cut to finish. When was the last time I sewed a garment in under 2 hours? Hrm.
I think it's cuter with the shrug:
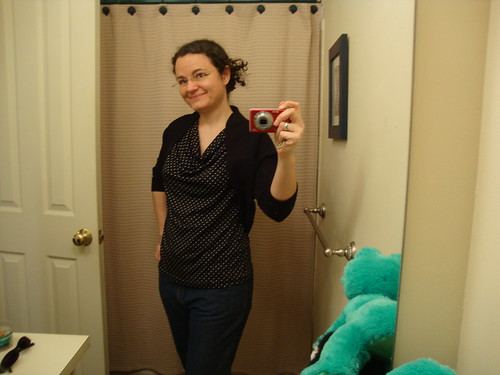
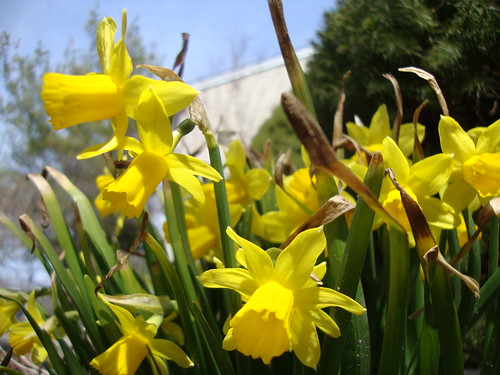
Happy Spring!!
Be well!!
Good save, I think the pleating at the front shoulder seam probably added even more drapiness to the front too. Thanks for sharing your photos, I would never have worked that out otherwise - your changes make the cowl an entirely work appropriate top
ReplyDeleteWanna come to my house and give me a one on one lesson?
ReplyDeleteOops on the shoulder length not matching. I don't remember having that problem but it was two summers ago that I did it so maybe I did adjust the shoulder length in back.
ReplyDeleteIf you redo it so it's less than the 2" you used just adjust the back shoulder length so they match unless you want to keep the pleats.
Cute top anyway.
Thank you, thank you! I've made this top 3 times and have always wondered how not to "put on a show." I will definitely give this a try on my next top. Oh and 'plungetastic' is officially a part of my vocabulary!
ReplyDeleteI'm the same. I reread this so it sunk into my head. The pictures really helped.
ReplyDeleteA nicely sitting cowl is what I can do now thanks to your post!
Thanks Kyle.
I love your modification! Can't quite figure out why that works yet in my head but it sure does. thanks
ReplyDeleteThanks for posting this - very clear and useful! Lovely top.
ReplyDeleteGreat fix.
ReplyDeleteI will try to remember this.
I have some cowl neck patterns that need this adjustment so thank you for showing the step by step pics! See you SF!
ReplyDeleteI don't get it! :) But, my brain is fried, so I will come back later to re-read. Glad the strategy worked out. It looks much more modest!
ReplyDelete