
First I want to say that I'm really disappointed to find out that I've been spelling ruching wrong all these years. I really think ruching should have an "o" in it ("rouching") but the dictionary says it's "ruching". WHAT?
Honestly, I am not a huge fan of PDF patterns in general. Their main selling point is that you can print them out right away and not pay for shipping, but I don't own a printer so there's nothing immediate about them for me. I'm also not excited by taping together a bunch of paper but this one was so so so cute, it's free for Friends of PR members and it wasn't too many pieces so I decided to give it a whirl. Thanks Deepika for the free pattern!
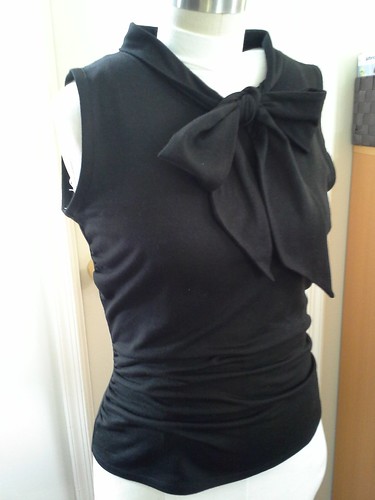
I think I was also intrigued by making a shirt that is supposed to have lots of intentional lines and wrinkles in it. That's all rouching! Sorry, ruching.
Ruching ruching ruching. The ruching does move around a lot. This may be because after I made my size M muslin, it felt a bit too tight overall so I went with the L sewing with 3/8 seam allowance grading to 5/8 seam allowance. Maybe I need to make the seam allowance wider in the stomach area to make the ruching more taut.
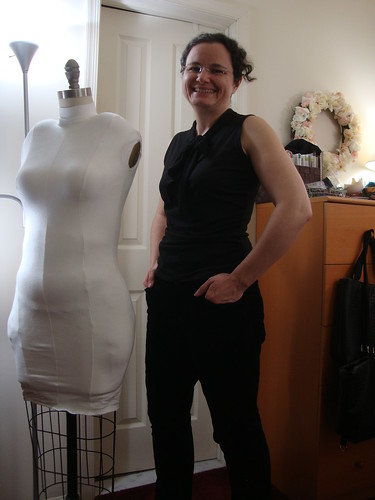
It was a nice chance for my perfectionist side to ease up a bit and not get obsessed about wrinkles. They're all intentional!!! Even my sway back....design feature!
The easy way to make the ruching
After watching the free Jalie 3131 bra making video, I learned an amazing tip I have never seen anywhere else about how to stitch the two rows of gathering stitches....(specifically from 1:01 to 1:28 in the video, though I recommend watching the whole thing--you get to see the full construction of a wireless bra without padding in under 13 minutes.):
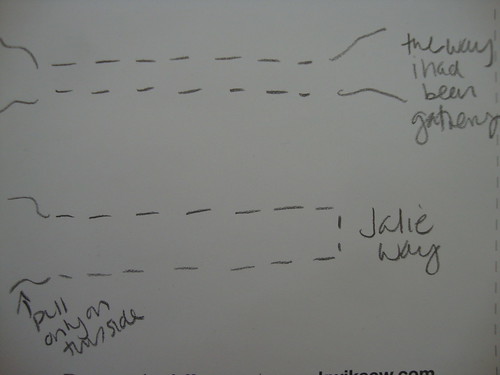
The way I had learned was make two separate rows...this leads to many annoying problems (for me at least).
But the Jalie way is to make two rows with one continuous stitch!!! Then you pull both threads, but only on one side. I know, it is mindblowing and makes it so easy to make nice gathers.
I have also gathered before on my serger but I might prefer this way for short stretches...
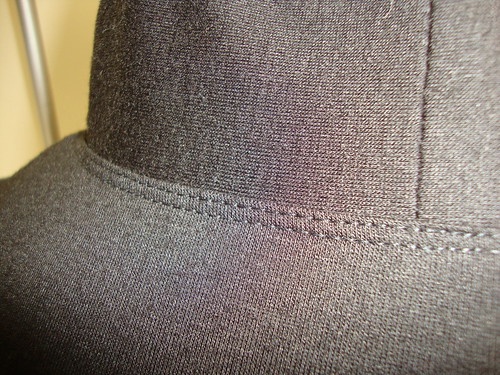
The Shoulder Seam
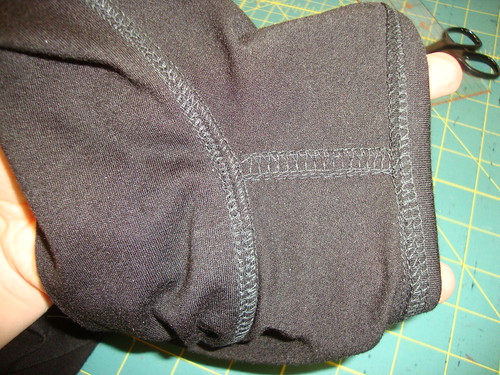
The directions call for optional elastic for the shoulder seam; I like to use Stay Tape instead, serge and press to the back so it's hidden underneath the seam.

Doesn't that look profesh?
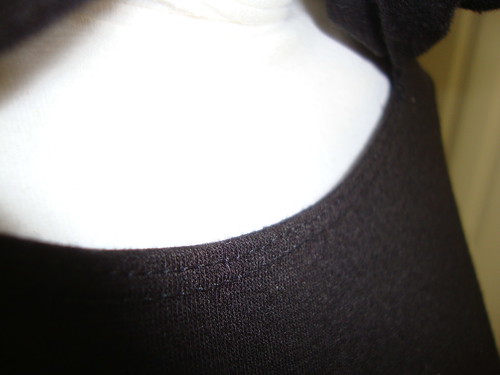
The Armhole Binding
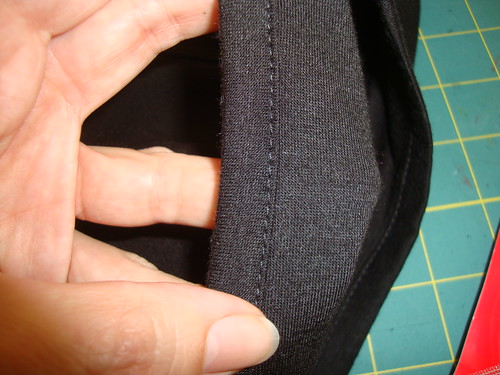
For the binding, I serged the raw edge first even though it wouldn't fray because I like how it looks (see above).
Deepika likes to sew her bindings in the ditch; I prefer the stitching line to be seen. For this step I used my edgestitching foot. I bought it for my BabyLock but it fits on my Brother too.
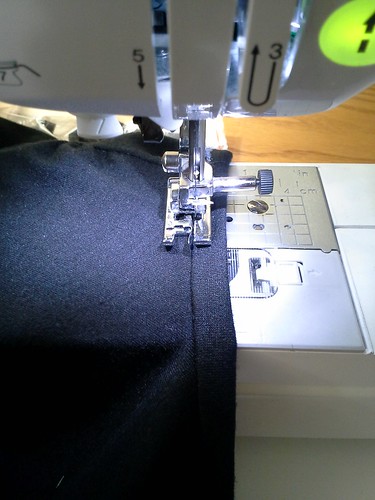
Just keep the flange along the seamline and stitch.
It produces a beautiful, even stitch
My Twin Needle Workout
I used my twin needle to keep the seam allowances toward the shirt as pressing was not enough...
Both around the collar and....
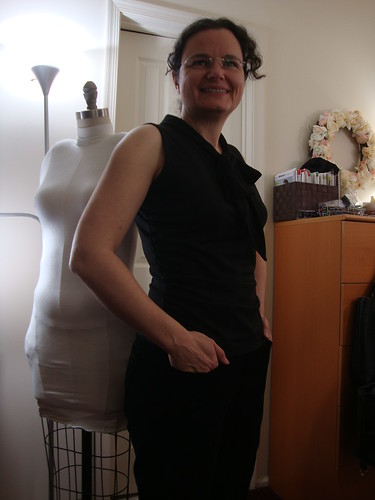
At the gap that is left so the bow can be tied.
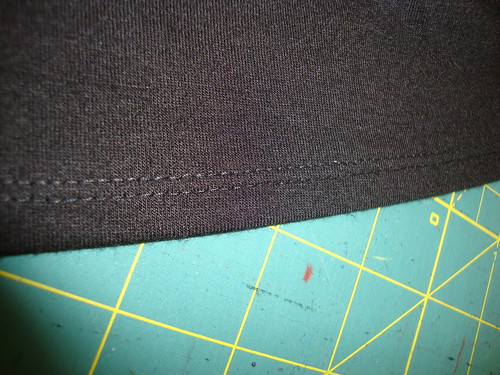
For the hem I serged the raw edge, pressed and stitched the hem down.
Outside:
Inside:
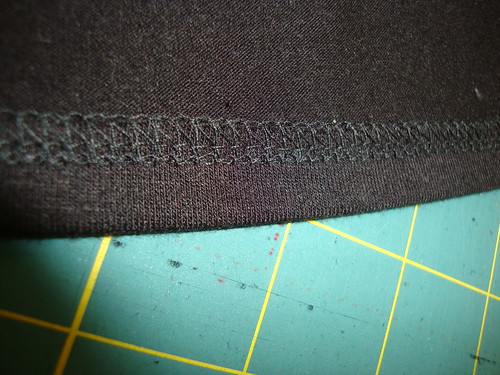
The hem is actually nice and stretchy! Someday I will get a coverstitch.
The ties
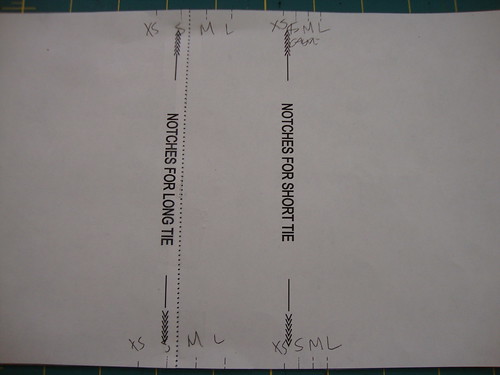
I wish the markings for the different sizes had the sizing marked instead of using the dashes. The only way I really knew was because size S was gray and the other sizes were black.
Incredibly funny story about this fabric
I have been labeling my fabric as I buy it with where I bought it and if I have wash/dried it. Usually I wash/dry all my fabric right after I buy it so it is ready to go.
For this fabric, I labeled it "PR weekend Austin 2014. Wash and Dry?"
Hmmmm...question mark?
Well, I had cut out my 4" square to test for shrinkage, but that wasn't attached.
I forged on ahead anyway.
I think I must not have pretreated it because this happened:
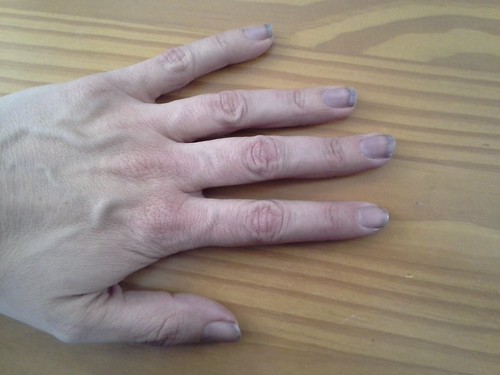
By the end of my sewing session on Sunday, my fingernails were stained from the fabric dye, especially underneath my fingernails.
I did not consider this fact when I wore the shirt to work on Monday.
I go to work, I go to the gym, I take a shower at the gym.
I come home and as I take off my shirt and bra to change into my pajamas, I catch a glimpse of myself in the mirror.
OMG I can see the outline of my bra.....the dye rubbed off onto my skin....it is especially noticeable on my side and back.
Sorry, no photo available of that, but I *howled*. And am glad I wore the shirt with a black bra and black pants.
Be well!
I can relate to the dye rubbing off! I really like your top and haven't come across that pattern before - time to go check it out.
ReplyDeleteWow! It's amazing how much dye rubbed off. Thanks so much for sharing your tip about gathering. I will have to give that technique a try. All of your stitching is beautiful. I feel like you do about PDF patterns. I once pieced together 30 pages for the Grainline Archer shirt. I haven't purchased a PDF pattern since. Your top is sooo cute though. Great job!
ReplyDeleteThat's an awful cute top Kyle!
ReplyDeleteThank for the tips! Cute top and you did a wonderful job making it. Re; the finger/body staining--this happened to me recently and I HAD washed the fabric. Two more washings and I think the extra dye is finally all come out==I hope!
ReplyDeleteLMAO!!!!!!!!!!!!!!! Sorry, that wasa great visual!
ReplyDeleteThat top is cute and I didn't know it was free! I'm gonna buy it!
Many moons ago as I was teetering on the line between regular sizing and plus, I was told to try a ruched top (I knew it had no 'o', sorry Kyle!). I told the sales lady I was "too fat" for all that fabric. She promised. I have been in love with ruching ever since! It should be taut and the intentional wrinkles and lines :) will take care of the rest!
Off to download it!
Rouching. Just pretend it's the British/Canadian spelling and go with it. I will join you and do the same. I don't really like pdf patterns either. I usually open them in illustrator and rearrange the pattern pieces so they fit in even fewer sheets. It takes a while but I really hate wasting paper and taping sheets together. Your top looks great as usual. Thanks for all of the tips!
ReplyDeleteThis is a beautiful top with interest!
ReplyDeleteThis top is gorgeous and I think it looks so you!
ReplyDeleteKyle, you look so chic in your new Linda Top. And yes, the ruching should be taught. In my first test version there was too much tummy ease, so we made it a little snug. If its loose it will give the exact opposite of the desired effect. It will accentuate that area. Snug is better. Just take it in from the sides. I'll have to look at that Jalie method of ruching. Sounds interesting. Will you be bringing this to PR Weekend? I have a black one too. We can take twin photos :)
ReplyDeleteI love the top! Great job :)
ReplyDeleteJ
I am afraid of waist ruching, too. I thought it would add volume in an area that's thick enough. Your top is cute and looks very profesisonally made. Nice job!
ReplyDelete*professionally
DeleteVery nice versatile top Kyle!
ReplyDeleteI have a pair of jeans I made that not only stained my fingers every time I handled them, but also slightly now whenever I wear then. My car seats also have a weird blue tinge as well. This after 3 pretreatments and many washes after including some commercial and home colour setting treatments.
Very cute top! And so sorry to read about the dye -- I've had that happen to me while knitting certain dark yarns, which led to blue fingers! Your details look very professional.
ReplyDeleteGorgeous! I love your fingertips. I have had the same thing happen even after washing. Unfortunately, it stained the stitching on try tan, leather car seats.
ReplyDelete