

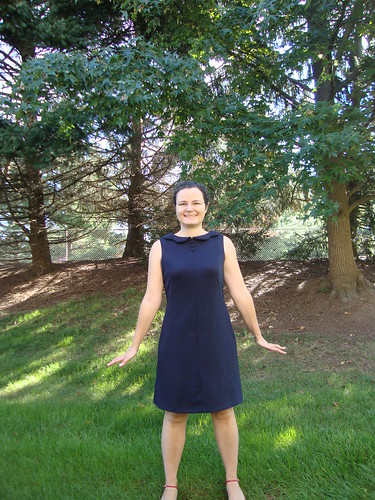
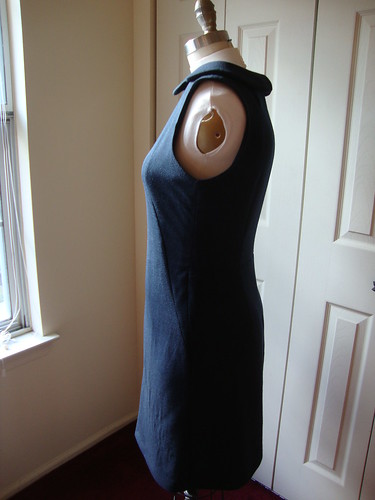
Look at the lift on that collar!


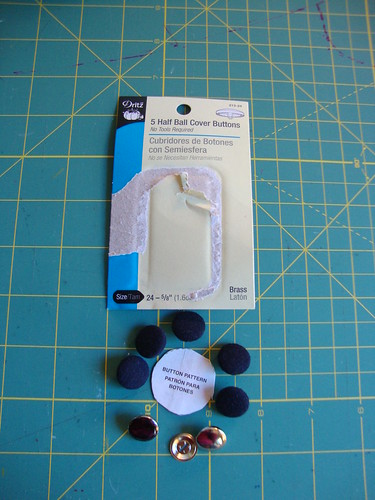
To recap, L from You Sew Girl suggested covered buttons, an idea I loved, but I didn't have the covered button kit in the right size. A quick jaunt to Joann's after work on Friday, and one Covered Buttons tutorial (by Gertie) later, and I was covering up some buttons.
I actually used a mix of the Dritz instructions and Gertie's instructions, and something that I came up with on my own (though it has probably been done before).
General gist, after realizing how much of the shiny button covered shined through the fabric, even though the fabric was interfaced! I read that putting another layer of fabric between the button and the outer fabric would help but I didn't want another layer of fabric and potentially make it harder to snap that button together.
- Sharpie marker the immensely shiny silver button. (I tested this by markering then letting it dry and running it under water in the sink. The ink seemed to stay put.)
- Cut fabric per template on back of button kit.
- Follow Gertie's instructions for making a basting stitch, pulling up the bobbin thread to make the cup,
- and put the button inside the cup. and pull up the strings.
- At this point, follow the Dritz instructions for pushing the fabric onto those little prongs
- Still deviating from Gertie, I then I cut the strings off
- Now pop the back of the button onto the button. I was able to do this pretty easily on the 5/8 buttons and I could hear the "snap". I also got the (smaller size) but I could not get the button to snap on (note the smaller sizes do not have any additional tools like the larger buttons do. Dritz recommends using a spool of thread to helop push the back of the button on but it did not work for me. I also tried a hammer which still didn't work AND it dented my button so I wound up using the 5/8" buttons)
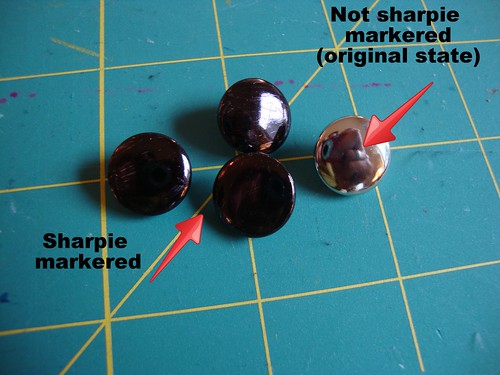
I'm really pleased that the buttons are no longer shining through the fabric. When I wash my dress in the washing machine I'll let you know if the buttons stay as no-shine or not.
The other bit of note is that when I first made the muslin I dismissed the extra fabric at the ends of the darts as the result of quickly sewing the darts and not for what it really truly was--there is too much space in this dress for my bust. So when I sewed the real deal, I was mighty surprised.
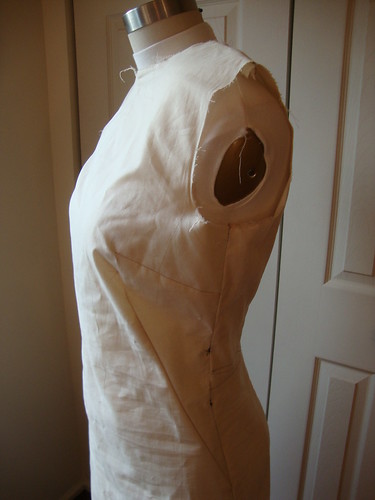
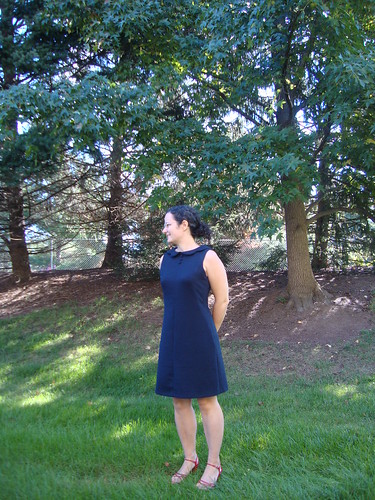
I wound up ripping out the side bust dart and extending the french dart up into some hybrid of french dart/princess seams for a faux french princess seam ("french-ess"?). Princess seams should go over the bust apex and what I did does not, but I'm calling it a "style line" and leaving it be.
The result is there are some drag lines on the side of the dress in the bust area BUT I prefer that to having bagginess under the bust area.
Also Gertie raised the armhole on hers and I wish I had done that on mine--but at that point I thought I was going to raise the whole dress from the shoulder seam and wound up not doing that...

I used Gertie's tutorial for the collar but cut most SA down to 1/4" instead of 1/8" to make it easier to use my new point presser.
I am excited to finally own a peter pan collar dress--I love peter pan collars--another dream realized. Hee!
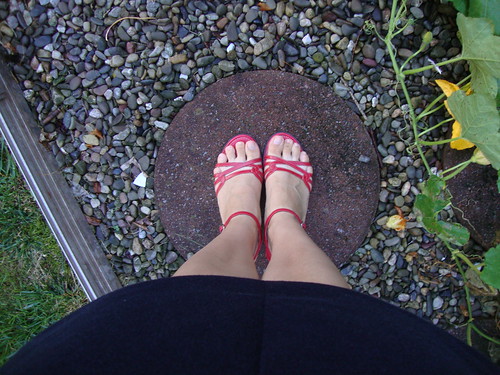
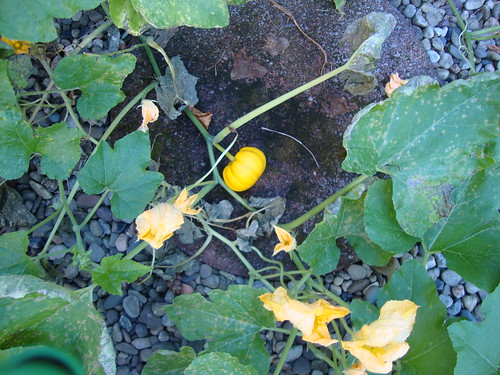
Good news! My Jack Be Little mini-pumpkin is growing on the vine. One this year, instead of seven like last year, but it's something!!
Be well!
You look super cute in that dress. And I love the red sandals!
ReplyDeleteGreat pictures! and an awesome dress. Thanks for the hints about the buttons. You have really gotten fitting you down pat. Your dress fits you very well and is very flattering. I love the scalloped peter pan collar too!
ReplyDeleteThis is such a beautiful dress on you and I am with your love the peter pan collar.
ReplyDeleteThis is wonderful!! I love the style with the color you chose.
ReplyDeleteThe collar is really lovely and the style lines on your dress work well. Covered buttons are a treat and you've done a good job on them too.
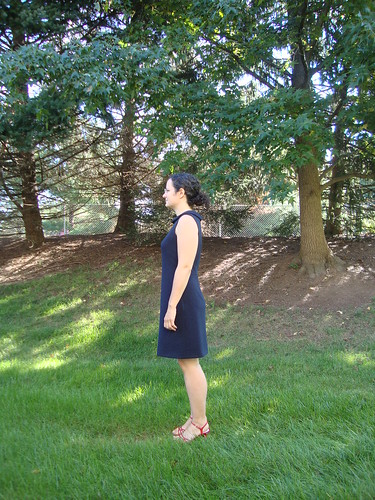
ReplyDeleteGreat dress - I don't think the armholes sit too low from these photos. And you got a great fit at the back (I'm a bit obsessed with sway backs!)
ReplyDeleteSuper cute! I love it!
ReplyDeleteVery nice. I like your new outdoor pix. Cute shoes, too.
ReplyDeleteGood on you, for your creative solution to The Dart Problem and The Shiny Button Problem! You can cover regular old buttons, too. Essentially, you make a yo-yo (Suffolk puff) for the button, and then use the button's own holes or shank to sew it onto your garment. This is really helpful when you want to re-use giant coat buttons, but they are the wrong color and/or have a brand-name incised into them.
ReplyDeleteWow, you triumphed over several challenges in this project, and you look lovely in your new dress. P.S. love the li'l pumpkin.
ReplyDeleteGreat job!
ReplyDeleteWhat a wonderful dress and you look happy and justifiably proud.
ReplyDeleteThis looks fantastic! I have to have this pattern now.
ReplyDelete