Showing posts with label dresses. Show all posts

Sunday, May 1, 2016

Sparkly New Look 6071

IMG_20160501_141430
I sewed a dress for the group dinner at the upcoming Pattern Review weekend.  I've never sewn specifically for the PR dinner before, because I really have no other occasions to wear a sparkly dress and my sewing time is limited.  If I'm going to sew, I generally want it to be something I have a chance at wearing a lot.
IMG_20160410_171956
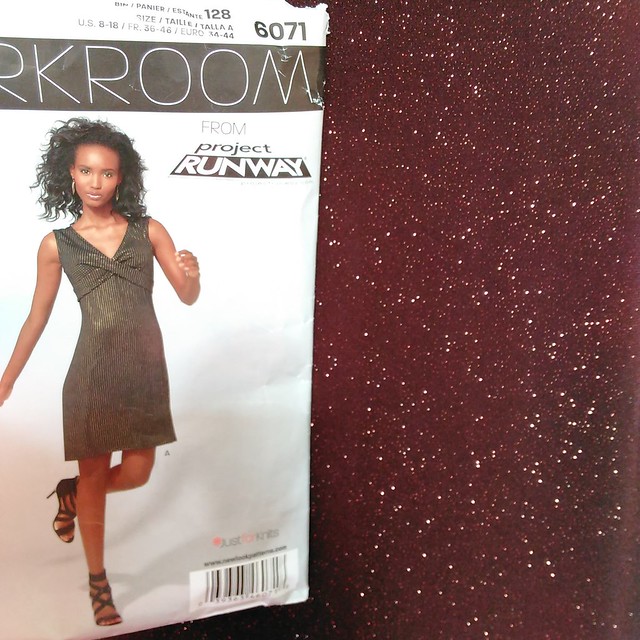
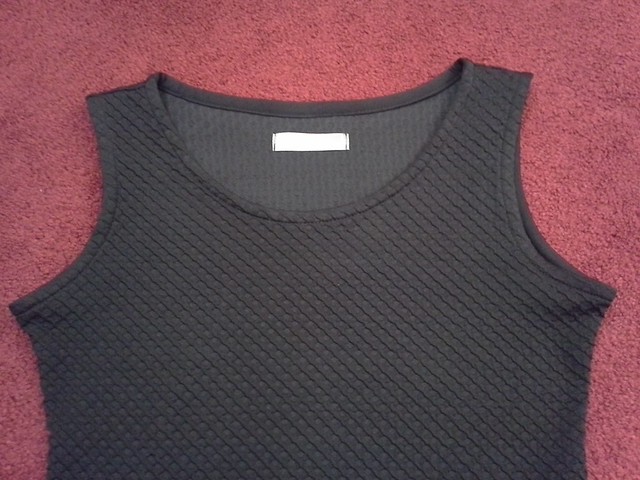
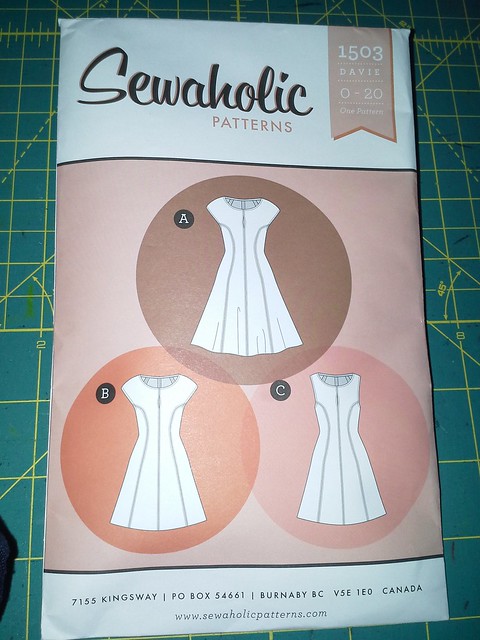
Pattern + sparkle fabric

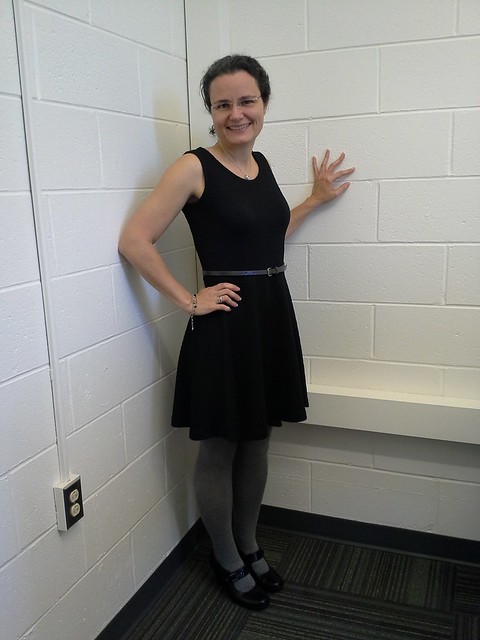
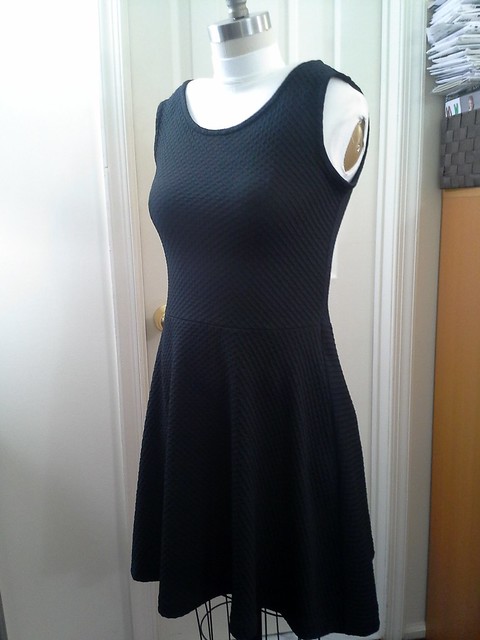
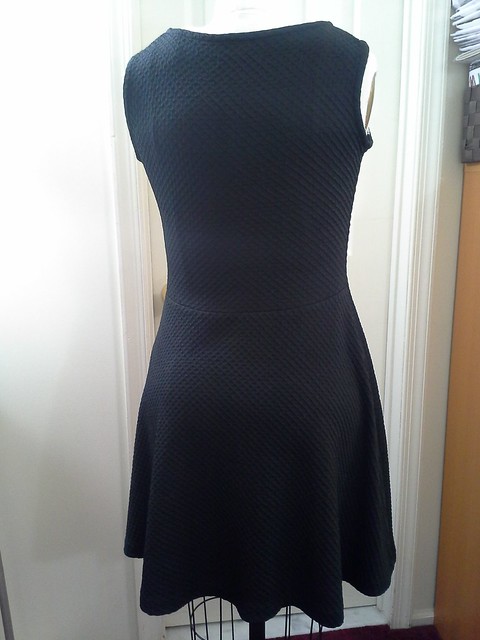
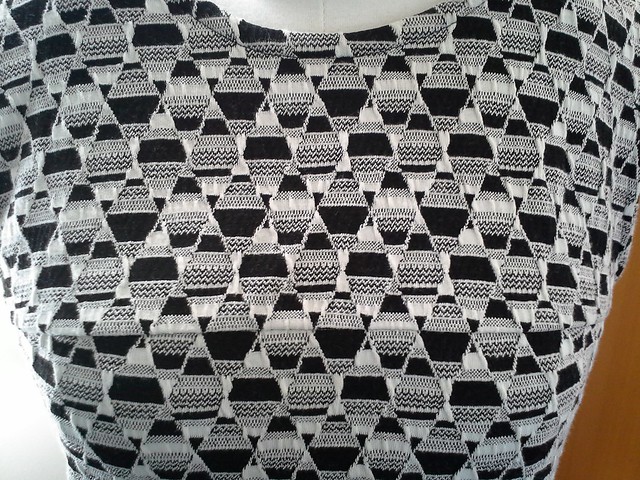
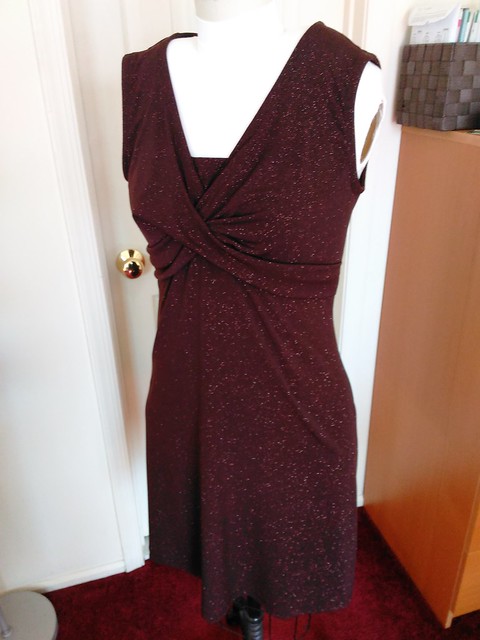
Somehow I felt differently this year and decided to make one of my favorite dresses, New Look 6071, out of this sparkly brown and entirely non-natural fabric I bought at the ASE, I think all the way back in 2012, with the intention of making this very dress.  Who knew it would take 3.5 years to live the dream?


IMG_20160501_141419


IMG_20160501_141221
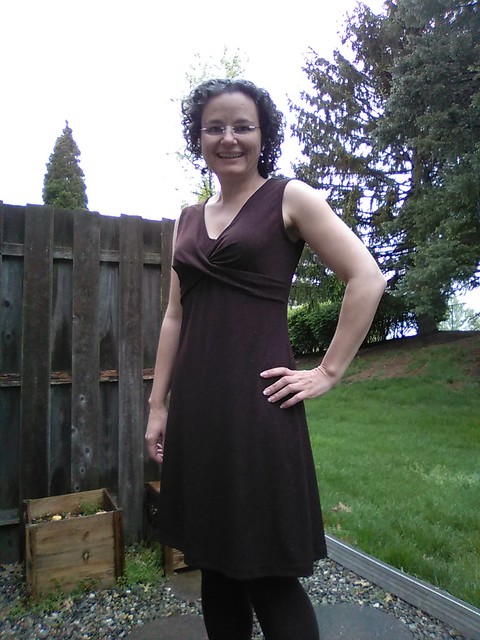
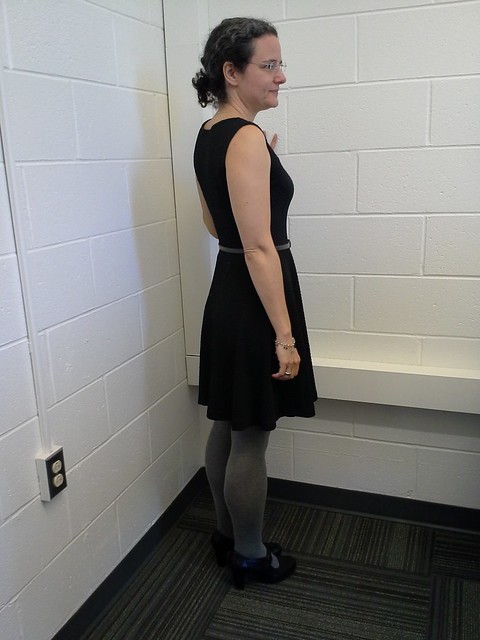
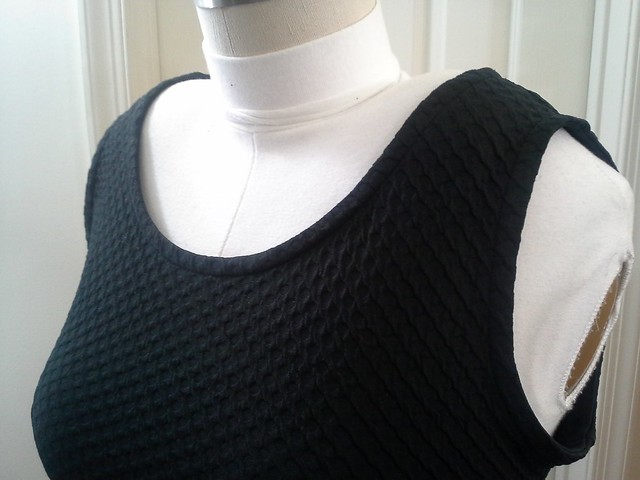
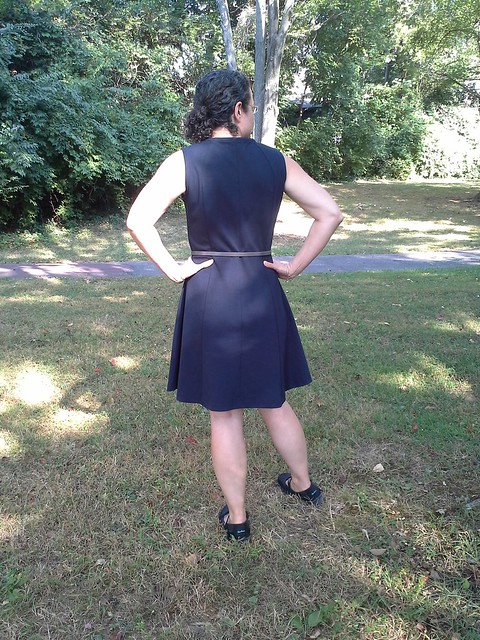
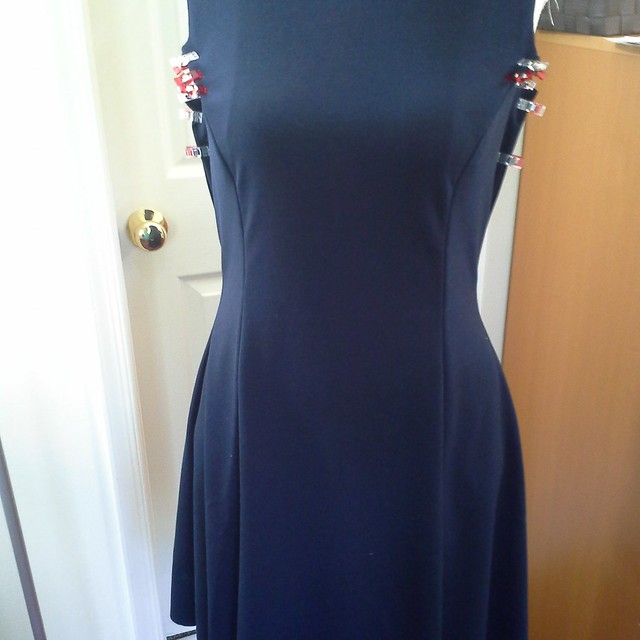
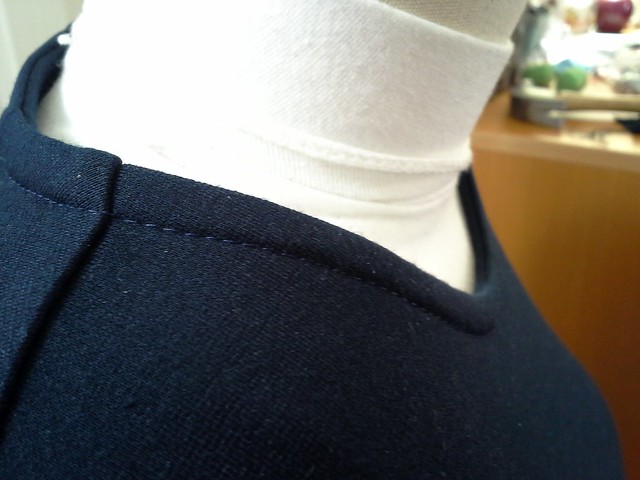
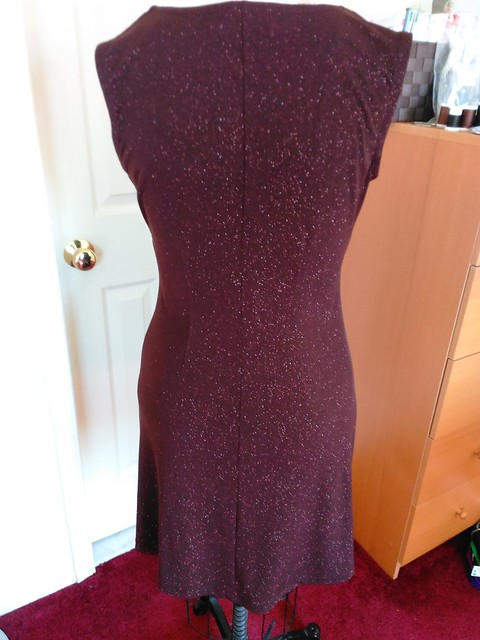
I added darts in the back for a better fit.
IMG_20160412_230114
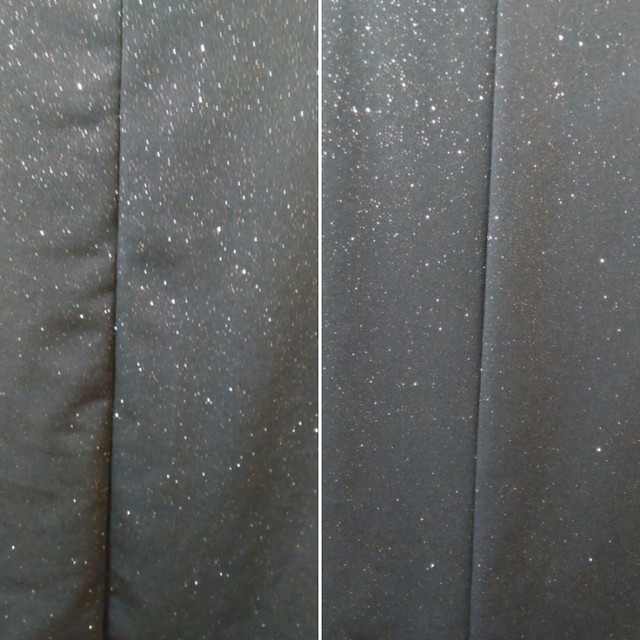
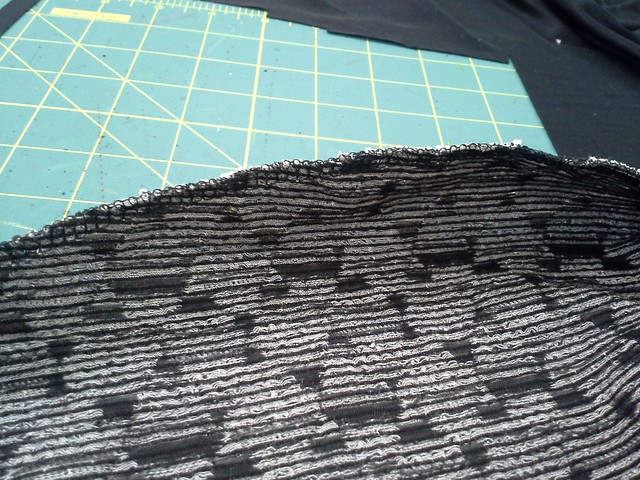
CB seam before and after

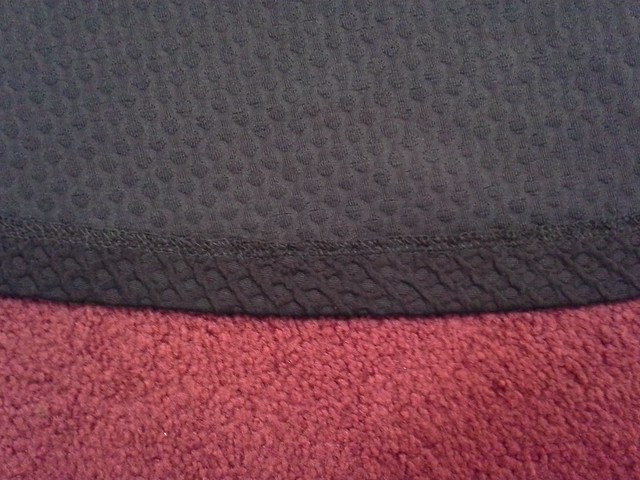
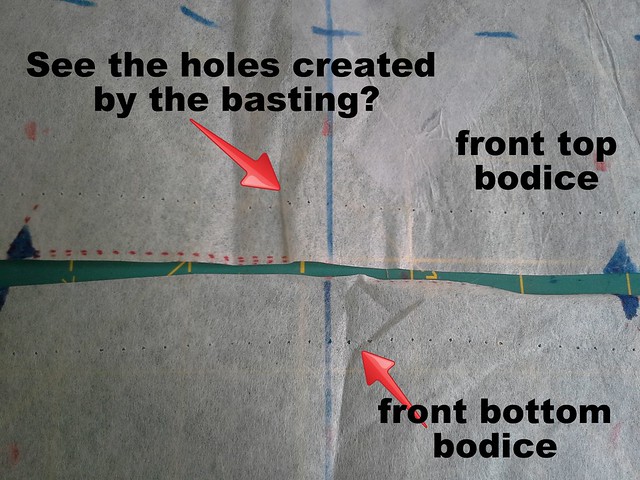
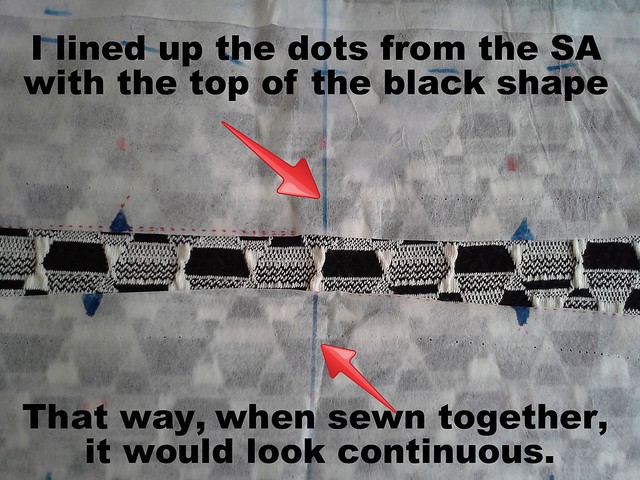
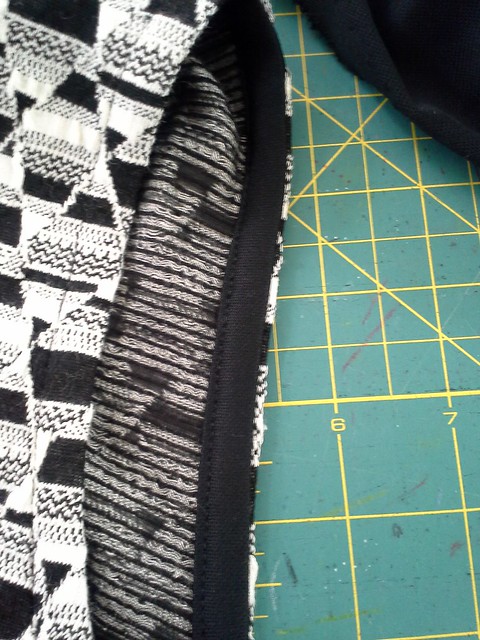
I've written about my first and second versions of the dress.  This time I cut it entirely in a 12.  I had to cut the back twice, because I couldn't stand how puckered the back seam was and I wasn't about to unpick the serging when I had enough fabric to cut the back again..  I had to lower the DF on my serger down to 0.6 and then use my Elna Press.  Together they created a nice, flat seam.  I also used the EP on the side seams and on my hem.  I added a little modesty panel that is sewn in.
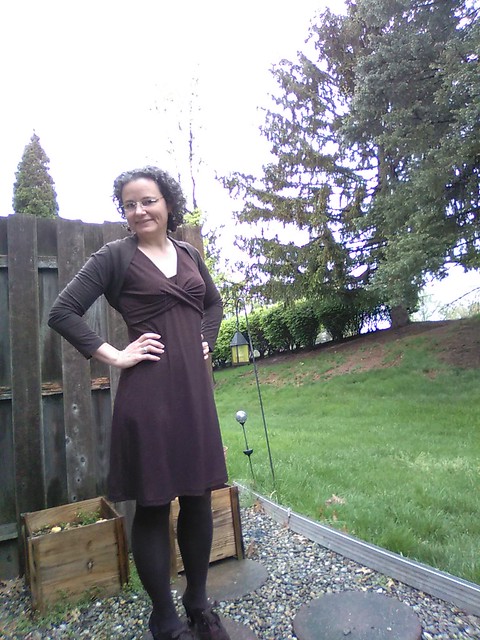
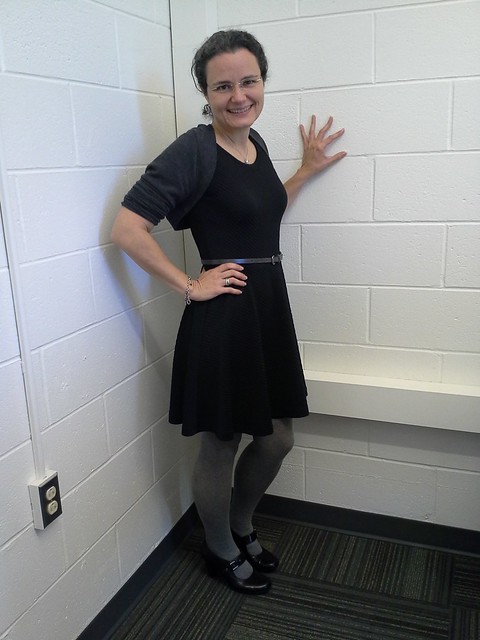
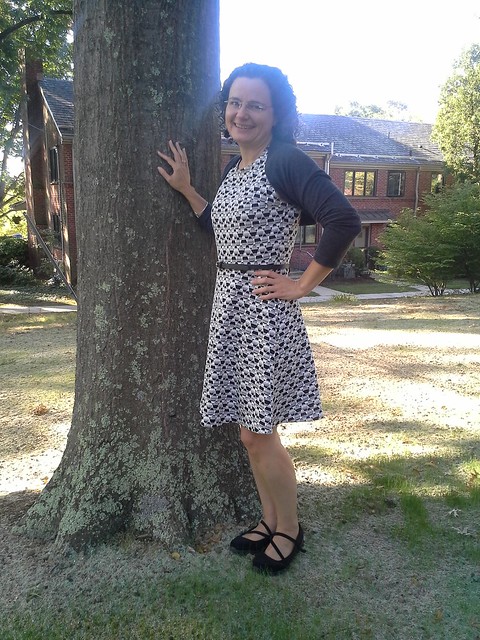
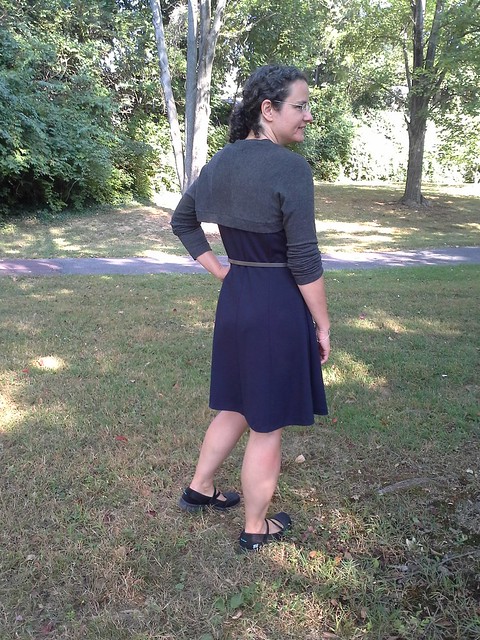
sparkly NL6071 with shrug
With a shrug

It's impossible to see the sparkle at a distance.
sparkly NL6071
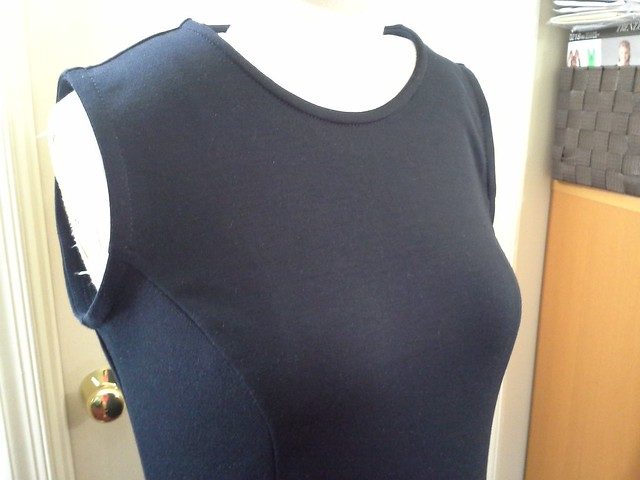
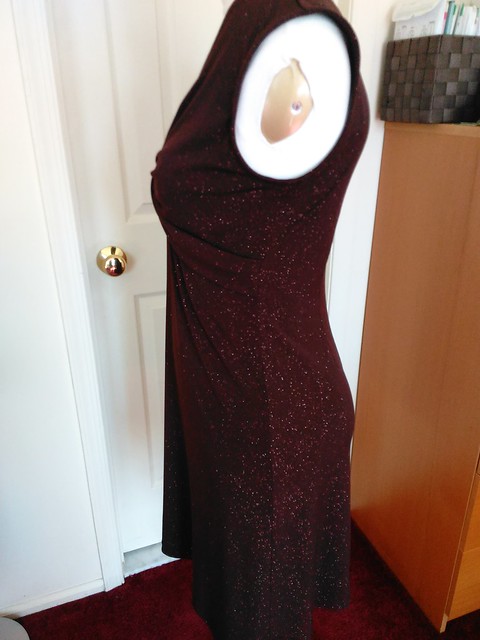
These are some dressform pix taken on a sunnier day.
IMG_20160417_151924
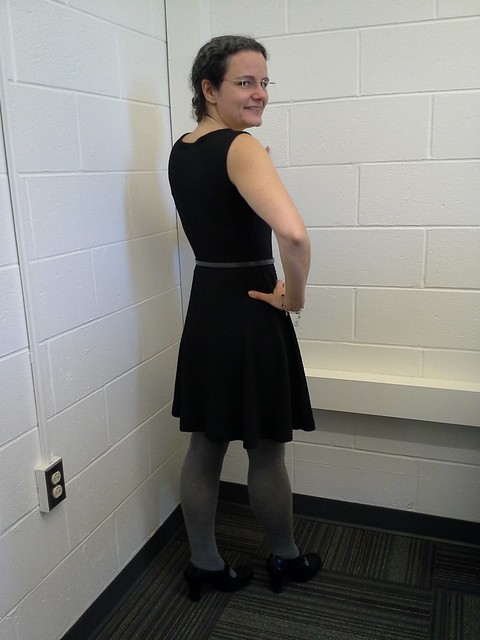
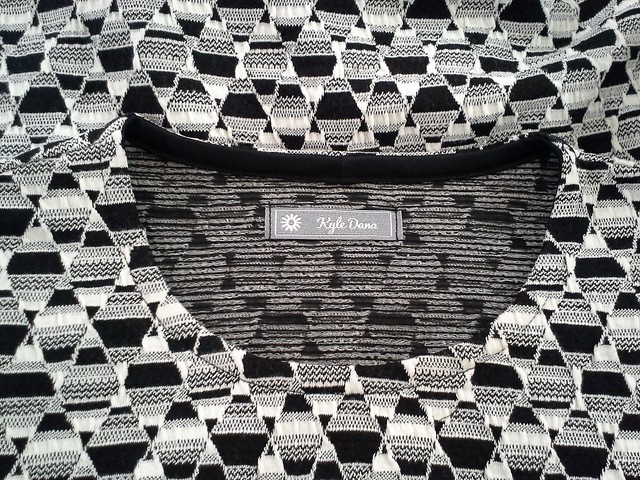
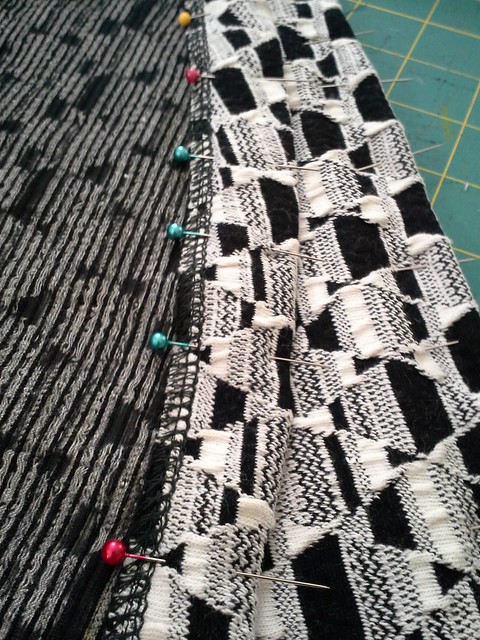
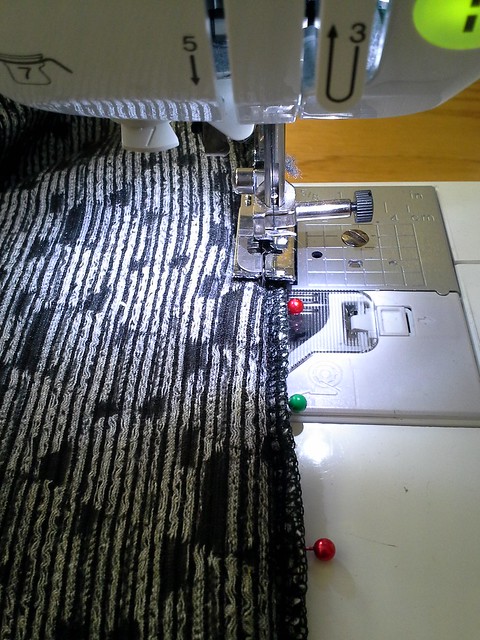
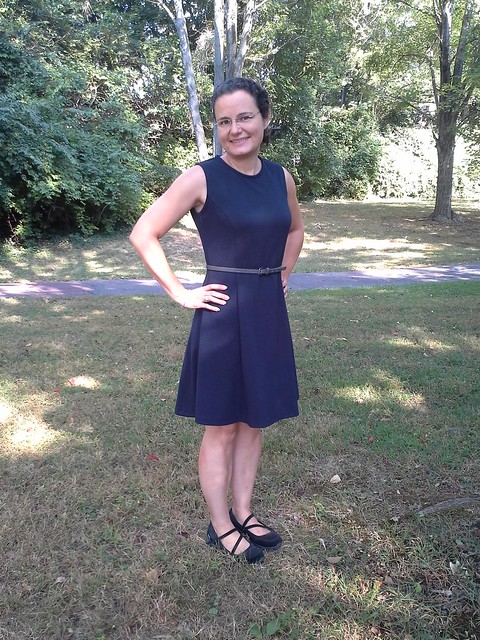
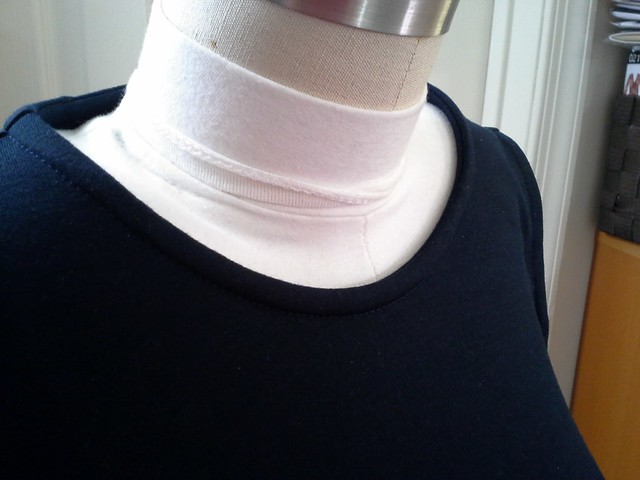
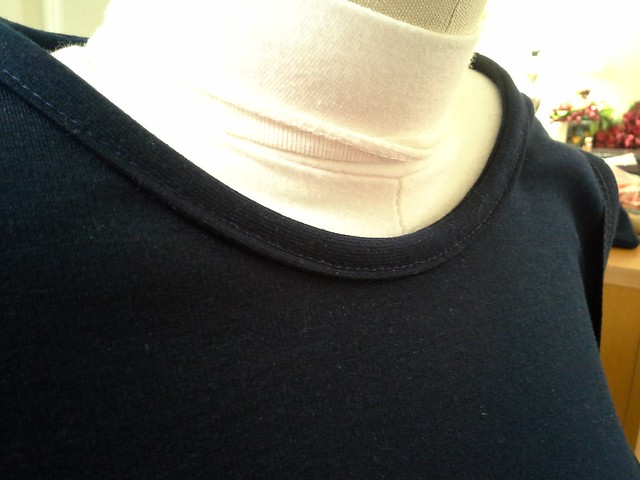
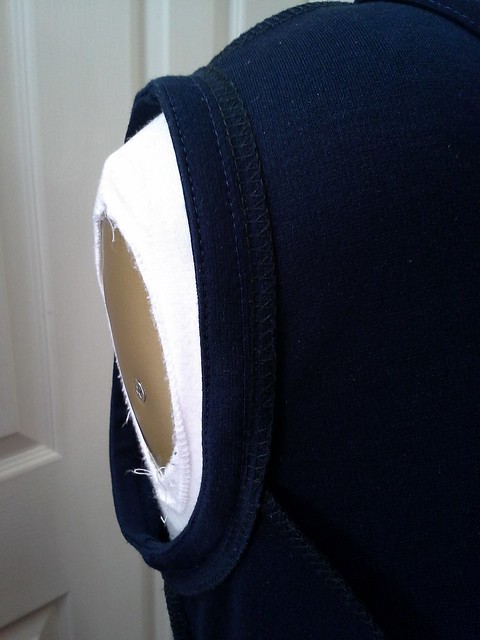
I bound the armhole and neckline, and twin needled the hem.
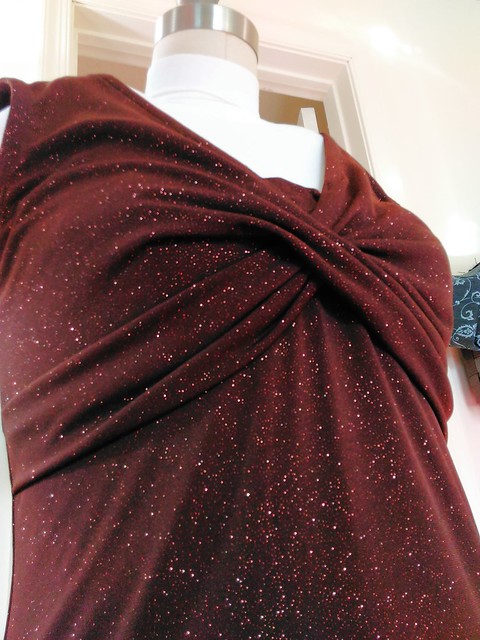
IMG_20160417_151855

sparkly NL6071
Sparkle!!
IMG_20160416_081907
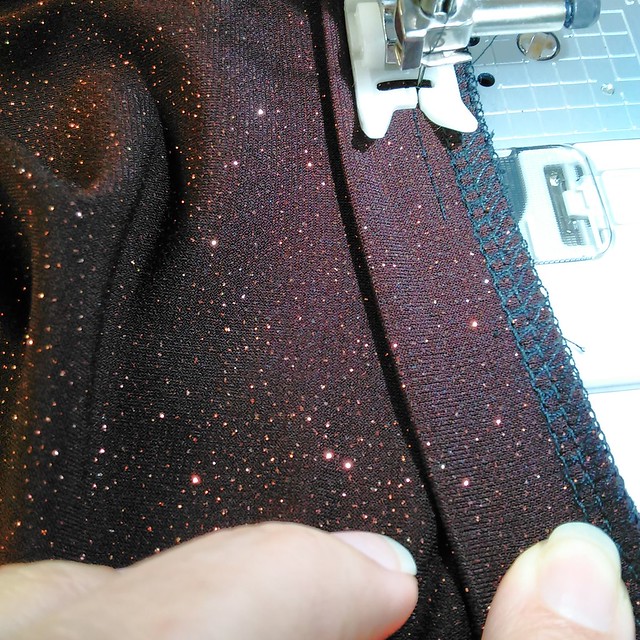
While sewing the binding
IMG_20160501_142134
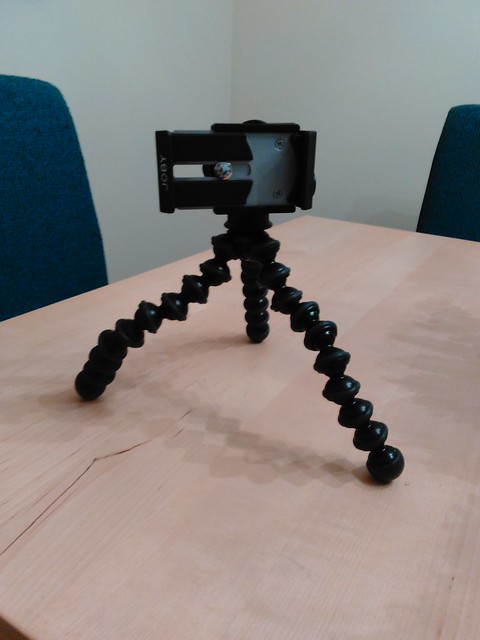
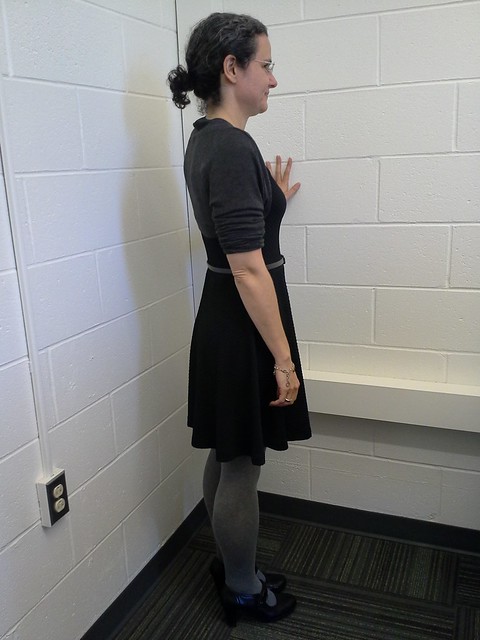
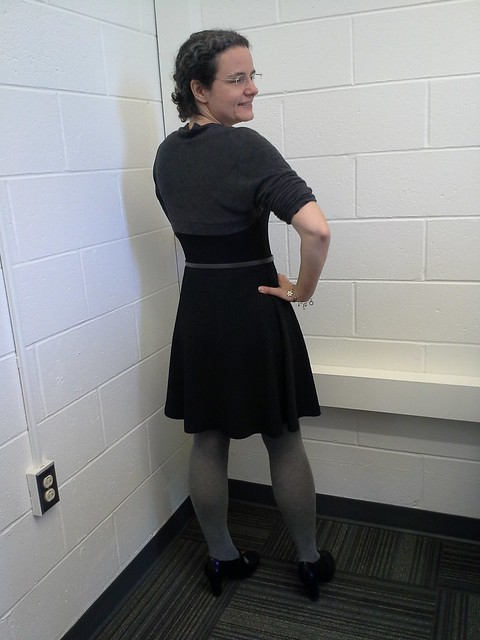
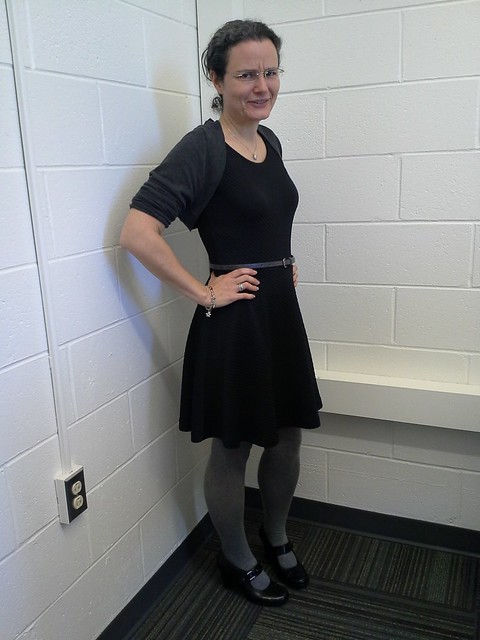
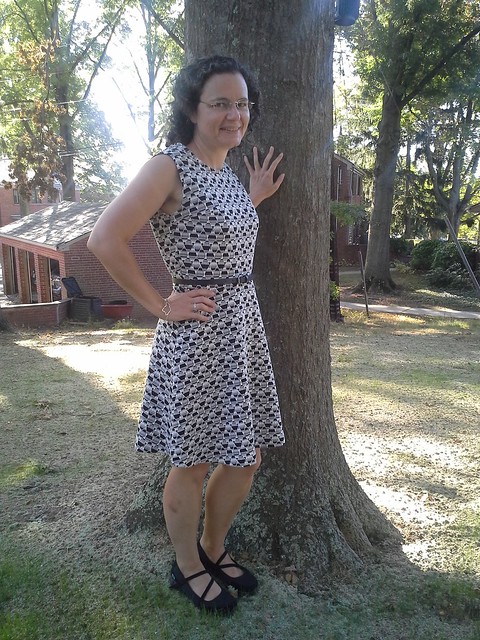
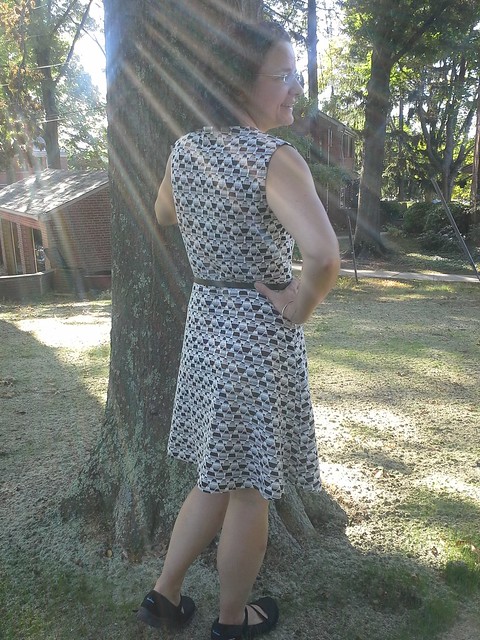
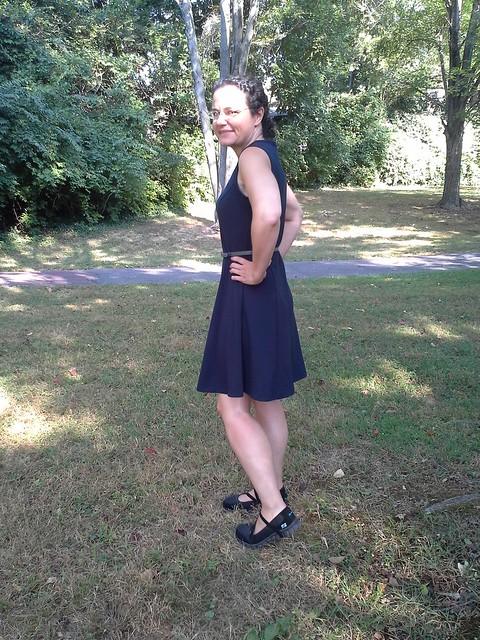
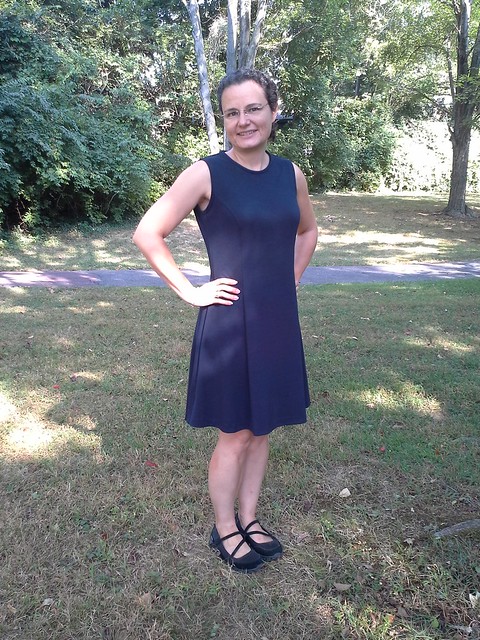
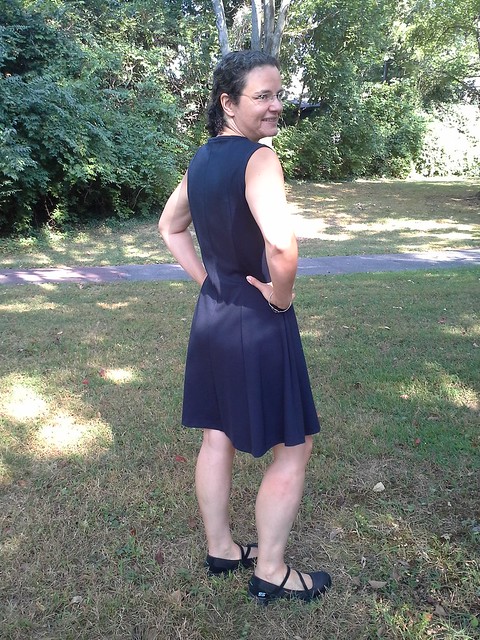
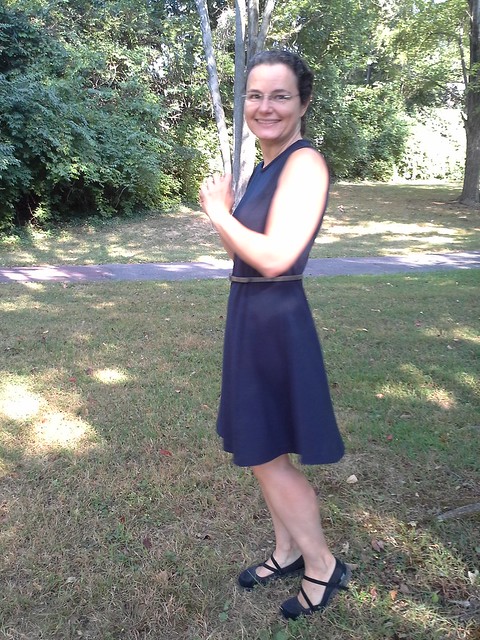
I finally bought a tripod for my phone.   My new phone is still a generic Android, but it has a lot of neat features like it will automatically take a picture if it detects that I'm smiling!  This smile feature means I took over 60 pictures in my photo shoot today in a matter of minutes.  And I love that I can actually see myself as I take the picture.  No more guessing about where I am in the frame, though I could do a better job of centering myself in the frame.  Baby steps.
sparkly NL6071


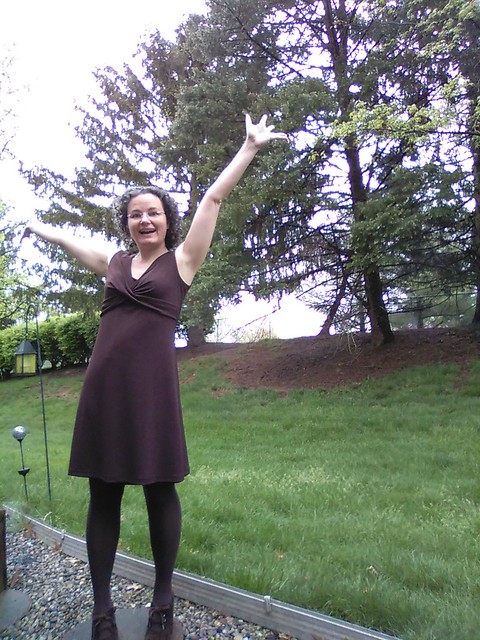
I took these photos in a very gentle rain.  Everything's getting that leafy green Jurassic Park look outside.
IMG_20160501_140853
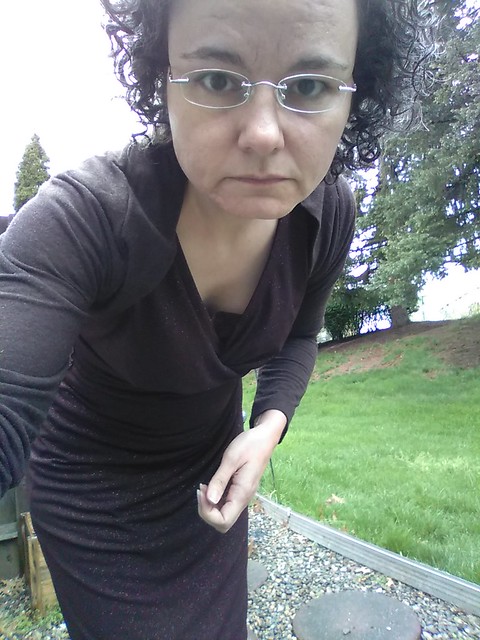
I can stare deep into my camera phone.

Be well!

Saturday, December 5, 2015

Kitschy Coo Lady Skater

20151130_134457<
This was going to be a muslin, then it turned out to be wearable so I kept going....
20151130_134502<
And finished it off .
20151130_134508<

I've purchased a lot of knit fabric with texture lately, and I wanted to sew it up in dresses with as few seams as possible so that seam lines don't break up the lines of the texture.  The lady skater has no bust darts (no darts at all) and no vertical seams.  It does have a horizontal seam to attach the bodice to the skirt.

The sizes were 1 through 8....I went with the 4 based on the instructions to use my high bust measurement.  The recommended stretch is 40% and my fabric had 75% stretch.  It's a little too tight so I will go with the 5 next time....and depending on the stretch in the fabric I will have to go larger than that.

My fabric also had vertical stretch.  I had to remove 2" from the shoulder seam and 1" at the horizontal seam to get the waist seam to be in the vicinity of my waist.

This meant it wound up a bit shorter than I like it, but it's fine with tights.  Next time I will take the inches out of the bodice before cutting.

20151130_073017
The armholes and neckline were bound with Nike Dri-Fit.  (That's my gray label but my cell phone camera can't handle photographing those labels.
20151130_073000<
The fabric is sooo stretchy that it doesn't create any drag lines; it just conforms to the body.
20151130_073115<
Interior hem shot.  The raw edge was serged and hemmed using the blind hem stitch.

20151130_072908<
I love the fluted skirt.

20151130_072854


The back waist seam is lower than the front waist seam and I'm not sure if that was my tracing and/or cutting error or just the way the pattern is designed.
20151130_072727<

The fabric is from Joann's, and I bought it in teal too.
20151130_134405<
Here it is with my Jalie shrug. I wear that shrug all the time.
20151130_134413<
20151130_134419<

I finished it on Sunday and wore it to work twice this week.   I don't know if anyone noticed.   :)
20151130_134340 <
Caption this picture. :)

I don't like PDF patterns but this one was worth the time it took to tape it and trace it.  I will have to trace it again for the larger size bodice.  I will definitely make it again especially in super stretchy fabric.  :)    I don't think it would look as good in not-so-stretchy knits.

Be well!

Sunday, October 4, 2015

Vogue 8944

20150916_091848
Do you read the McCall Pattern Company blog?  Last year they started doing videos of their new collections and posting them on their blog.  One of the women in the video was wearing this dress and I was instantly smitten.
20150916_091920
One of their blog commenters pointed out that it was also in their Fashion Fusion magazine, Fall/Winter 2014, on page 18.  Fashion Fusion combines Joann Fabrics with McCall patterns.  I have to give credit to Joann's; their fashion fabric is getting better.  No, it's not like going to the NYC Garment District, or downtown LA, but they are getting some better fabrics.
20151004_135801
It's a spongy knit with 25% crosswise stretch.

Here's the pattern envelope:
20151004_135744
I went by the finished pattern measurements and started with a 10 grading to 12; by the end it is probably a 10 all over. (The dress is supposed to be "very loose fitting" so it starts with a lot more ease, plus I was using a knit not woven fabric. I usually start with a 12 or 14).

I was totally intrigued by that above-bust seam.  It basically is taking the place of a dart.   I wanted to match the fabric print at that seam, so that it would be as invisible as possible.

I traced the pattern onto swedish tracing paper first, so that I would have full pattern pieces.  Have you used swedish tracing paper before?  An advantage is that you can sew on it and use it as a muslin!  Of course it is not stretchy like my fashion fabric, but I wanted to get a rough idea of where that seam was going to fall.  I basted that seam, the shoulder seams, and one side seam, then put it on (where the neckline promptly ripped--again, not stretchy--I just taped it back together again later) and used binder clips to hold it shut.

This gave me the idea to take 1/2" out of the top, to raise that seam up a bit.  I didn't want the seam to fall across my bust. I then removed the basting stitches from the tracing paper.
20151004_135913
When it came time to cut out the real fabric, I realized that the holes from the basting line gave me the perfect positioning of where I should place the pattern on the fabric.  I also had to tug on the fabric to grain it to get the lines in the fabric to be horizontal.
20151004_141334
The above picture was taken afterward, on a scrap, as a not-so-dramatic reenactment.
20151004_135712
If you stare at this picture long enough, you will see where the seam is.
20150914_214624
Instead of lining it as recommended, I bound the armholes and neckline with Nike Dri-Fit.  I love love love the effect.  Since the fabric turns out to be a little scratchy inside, I wear it with a full slip, and use a belt to nip it in at the waist.  Next time I make this dress, I might try lining it completely in Nike Dri Fit.
20150914_203111
The hem is very rounded and instructions for hems like this usually say something about basting that raw edge so you can gather it up to hem it.  A big tip (sorry, I don't remember where I learned this) is that if you crank up the DF on your serger to finish the raw edge, it will start to gather your fabric up (kind of like a fitted bed sheet corner) and naturally curl inward.  
20150914_203538
It worked like a charm.    Well, my first attempt I only brought the DF to 1.3 which wasn't enough to get the curl, so I went around again, over the existing serged edge, with the DF up to 1.5 and then it worked like a charm.  (I will note that it worked quite well on my serger (BabyLock Enlighten), but when I visited Lynn last week to show her this tip, it did not work on her serger at all, even when the DF on her serger was all the way up at 2.  Probably the tensions would have to be adjusted too on her serger to get this to work.)

20150914_205049
Then I press it with my Elna Press.
20150914_205629
Then I set it up for blind hemming.
20150914_210203
Then I blind hemmed it on my sewing machine with the stretch blind hemming stitch.    Usually I use a setting of -1 but I had to change it to -2 because this fabric is so thick and spongy.

20150916_092035
Overall I love this dress!  I like black and white combinations; I love this fit and flare style.  It does not wrinkle. My boss said that it looks expensive.  High praise!
20151002_164656
Flowers from the Princeton Farmers Market this week.

Be well!

Tuesday, September 8, 2015

Sewaholic Davie Dress 1503 view C: We have a winner!

Sewaholic Davie dress view C
Conversation with my photographer this morning:  "Let's find a spot without shadows or too much light"
Sewaholic Davie dress view C
"Ok, I want to do four sets of poses.  With the shrug and the belt..."

Sewaholic Davie dress view C
"Without the shrug but with the belt...."
Sewaholic Davie dress view C
"Ok, now without the belt"
Sewaholic Davie dress view C
"It's better with the belt, isn't it?"
"Yes."
Sewaholic Davie dress view C

"Ok, now I'm going to twirl"
Sewaholic Davie dress view C
(I made some ridiculous faces while twirling.  Thankfully she deleted those pix for me.  Then we took the twirling pix again)
Sewaholic Davie dress view C
Finishing the twirl

Thanks Ellen D for being my photographer this morning!
20150908_071950
Saturday night: 
  • I traced view C, the sleeveless version.
  • Traced the 10 based on the finished pattern measurements, except for the length which I cut as a size 20.
  • Since I don't like keyholes, I traced the CF on the fold and eliminated the keyhole.  This means there is one less seam!  (There are princess seams front and back.)
  • Cut it out single layer
  • Basted it all together.
  • Tried it on, found wrinkles/drag lines
  • started clipping like a mad woman
Sunday, 10am to 5:30pm, maybe 75 minutes break total:

IMG_20150906_093007

  • unbasted and carefully sewed the princess seam to eliminate pulling which is on full display in the photo above, watching Angela Wolf's video about sewing princess seams on craftsy many times in the process.
  • sewed from the armhole to just about the waist with wider SA to eliminate drag lines on the side front panels
  • sewed the CB in another 1/2" or so to try to get the back a closer fit.
  • sewed the shoulder seam an additional 3/4" to get the princess seam fullness to be where my bust fullness is.
  • spent time clipping, basting, unbasting, reclipping the SB to CB seam; gave up and decided I'd just wear it with a belt to provide the remaining shaping.
  • stabilized shoulder seam 
  • serged all seams.
  • bound the armholes (one of them twice)
  • bound the neckline
  • pressed throughout the process and again at the end.
Monday night:
  • serged the raw edge of the hem.
  • Pressed up 1" with my Elna Press
  • blind stitched the hem
  • pressed again.
I really really love how this dress turned out.  I was unsure on Saturday night into Sunday but now I love it.  I don't usually wear a skirt this full, but it felt fun and swishy.

Also this fabric is a dream--it's a really luscious ponte.  I bought it at Gwen Couture in May 2013 with Elizabeth from Sewn blog.  The store owner said it would never pill and so far it has not.  Even on regular ponte it usually starts pilling right away but so far so good.   Sadly Gwen no longer sells fabrics but I would buy this again in every color if I could.

I bound one of the armholes too tightly so there is a slight amt of puckering but not so bad.  Note to self: on pontes where the binding is turned under, I don't really need to stretch the binding much/at all.

I took a bunch of pix on my dressform this morning but my camera on my phone could not handle it.  Here are some of the better ones: 

20150908_071115
Closeup of bust
20150908_071240
Closeup of bound neckline


20150908_071248

I sewed one of my new labels in but those pix all came out terrible.

20150908_071746
What the neck binding looks like on the inside.
20150908_071804
What the armhole binding looks like on the inside.

Yes, I used two methods for binding!

I definitely want to make this again in a few colors.  But I have another dress in mind first and then I'll get back to this pattern.  I kind of feel like trying it one size smaller and seeing if that helps with the overall shaping or not.  Hmmmm...

Be well!!