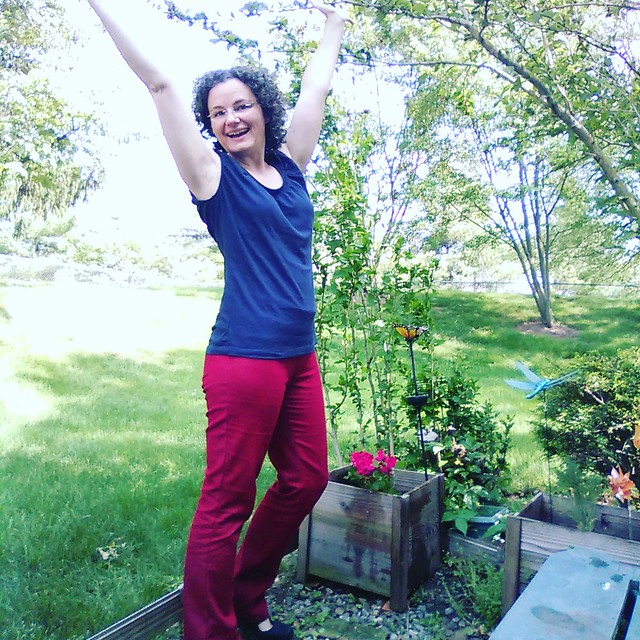
When I saw Deepika wearing the Deer and Doe Reglisse Dress at PR weekend, I totally wanted her dress. Since I was pretty sure she wouldn't give me hers, I came home from PR weekend, bought the paper pattern from the Deer and Doe website and bought the fabric from Fabric.com.

Does this random truck match my dress?
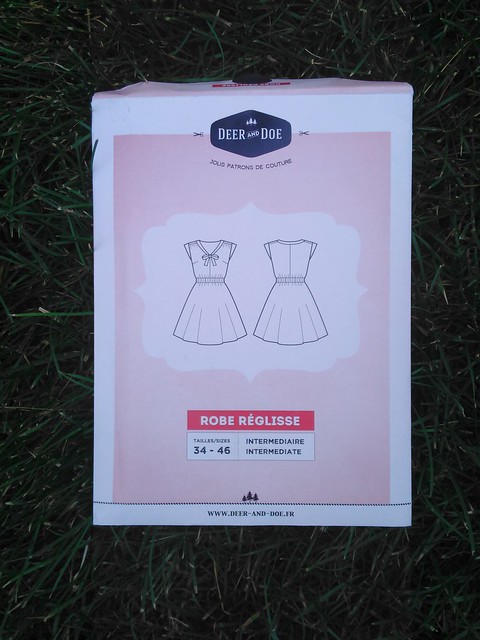
Reglisse means "licorice" in French (and la robe is dress).
This is a pattern I never would have purchased based on the line drawing alone. It looks too young for me and too sweet in this line drawing.
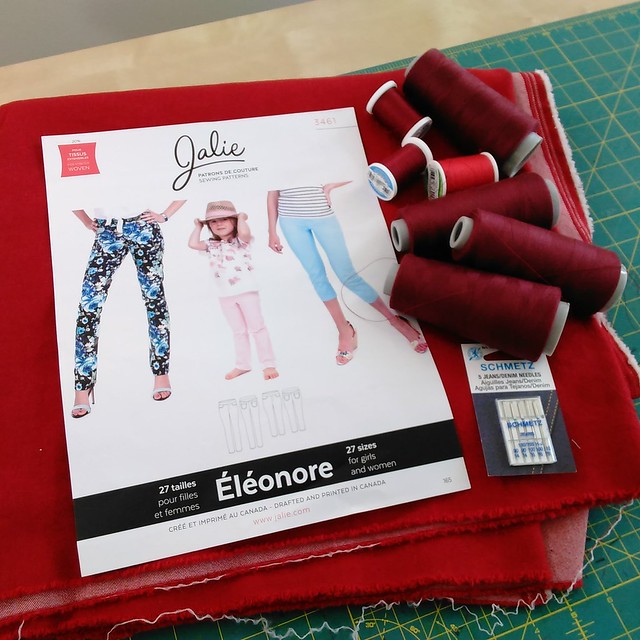
The Fabric
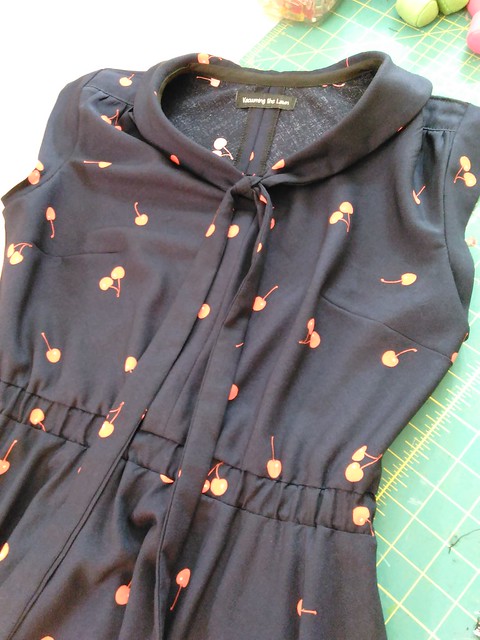
This rayon fabric is Cotton and Steel Fruit Dots in the navy blue and red colorway. The pattern calls for 3.25 yards of 60" wide fabric. The fabric is 45" wide and I wound up buying 5 yards in 3 yard and 2 yard increments because I didn't realize when I first bought it that it wasn't 60" wide. This proved to be a wise decision because I was able to use the actual fabric for my muslin of the bodice. I have nothing in my stash quite like this rayon so it was great to use the real fabric for the muslin.
When I prewashed and dried a 4" square sample of this fabric, it frayed like crazy!!! So I serged the cut edges of the fabric when I prewashed and dried the real deal. (I never dry my dresses in the dryer--I air dry instead--but occasionally something will slip through so best to have preshrunk the fabric).
Deepika's PR review mentioned that this fabric really picks up shine marks from the iron so I only used my Elna Press on a low setting with a press cloth and did not use any water. No shine marks.
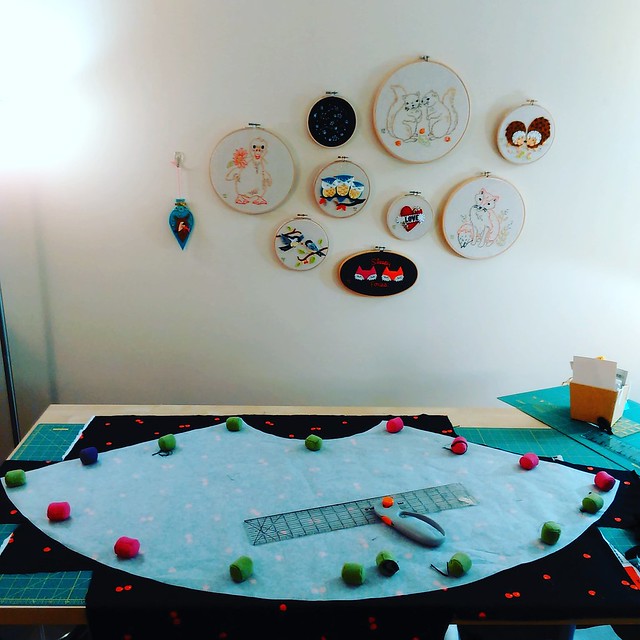
The muslin
I came back from my day trip to NYC on Friday night totally raring to go with the muslin! So that night I cut out a straight 40 bodice as the 38 bodice would be too small for my bust. I basted it all together and found, as Deepika did, that the neckline was way too deep. I also felt the neckline was also too wide and the armholes were too deep.
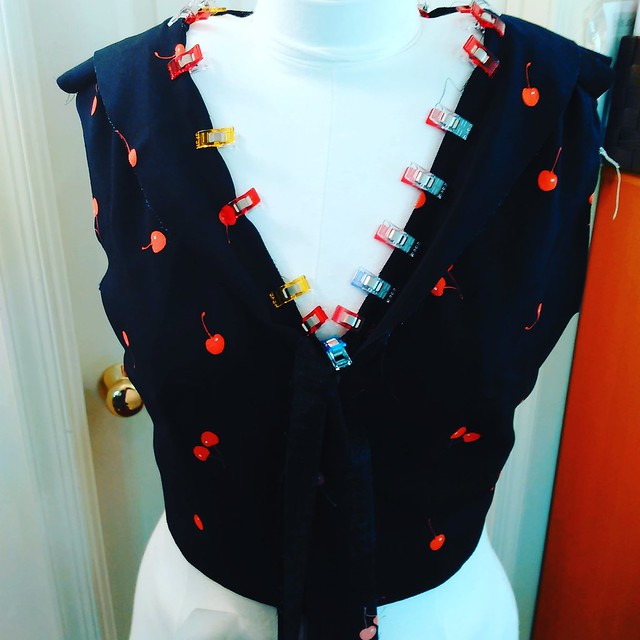
Lots of chest on display
Saturday morning I made the adjustments to the pattern pieces.
Raised the neckline "point" 2.5 inches, added 1" to the neckline and shoulder yoke edges grading to that point, and added 1" at the armhole. Also I should note that Deer and Doe are drafted for a C cup and I am more of an A/B cup but I didn't try small bust adjusting it. The blousey nature of this dress didn't make a difference.
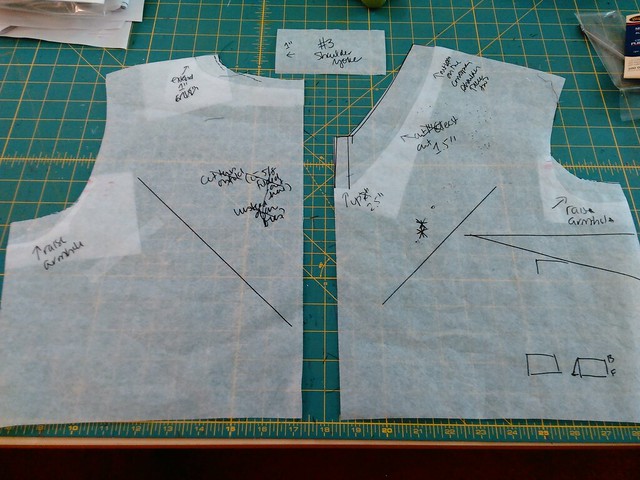
The back, the front, and the shoulder yoke. The front and back are cut on the bias.
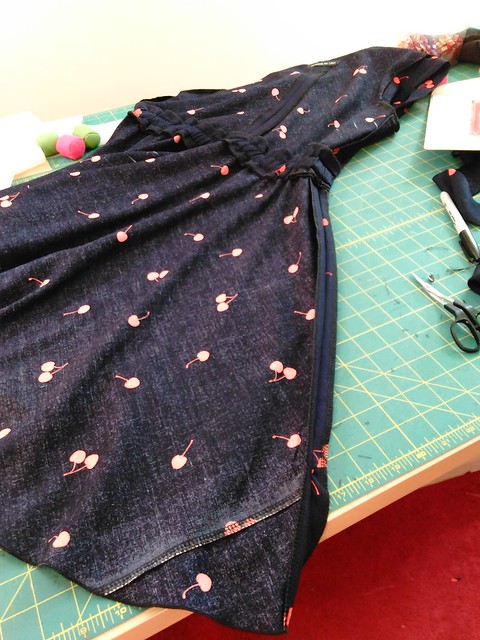
The dress
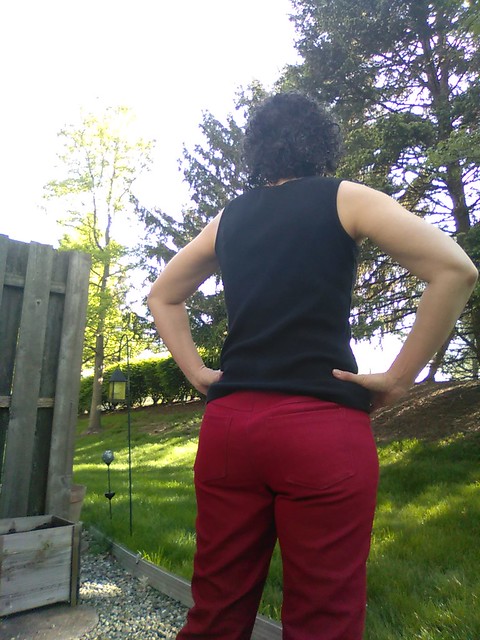
I cut a 40 in the waist and skirt as well (even though my waist and hips are more like the 42 on their chart) because the waistband, before adding elastic, is 36" and the skirt is incredibly full.
I made intensive effort to avoid a cherry on my bust apex. :)
I did the burrito method on the shoulder yoke as per another PR review to make a clean finish and also to provide some more stability in this area. (the shoulder yoke is gathered in front--a nice touch!)
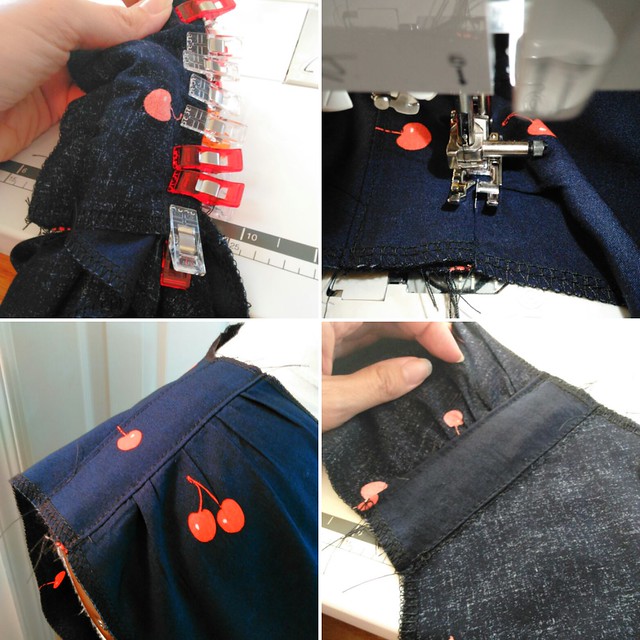
Do not do not do not try to go rogue and partially burrito the waistband as I did going for another really clean finish--I wound up undoing this because it means that 4 layers of fabric are on your waist plus the elastic. I undid the waistband to unburrito it, and also wound up making wider seam allowances there so that the waistband would be closer to my actual waistline.
Partially burritoed--do not do that!
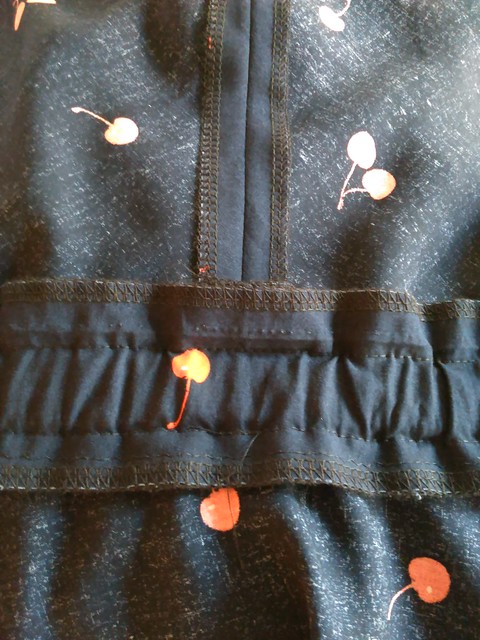
Unburritoed
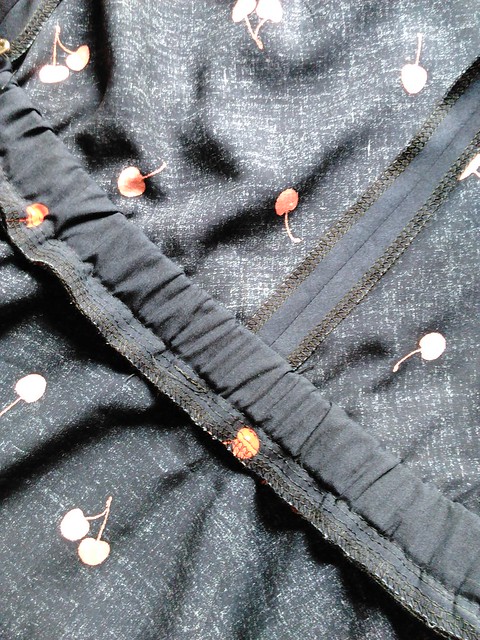
Use the thinnest elastic you have--originally I put some thick stash elastic in there and the whole thing looked lumpy. I took it out and used Pamela's elastic, which is thin, and cut it down to .75" wide (instead of the recommended 1") and the effect is much better. I also left a bit of extra length in the elastic with the intent of letting out the elastic if it felt too tight or restrictive--I wound up tightening it so that it doesn't sag in the waist.
Knot vs bow
It is supposed to be worn in a bow but I am really more a knot person.
Piecing the skirt together
Inside out and pieced together.
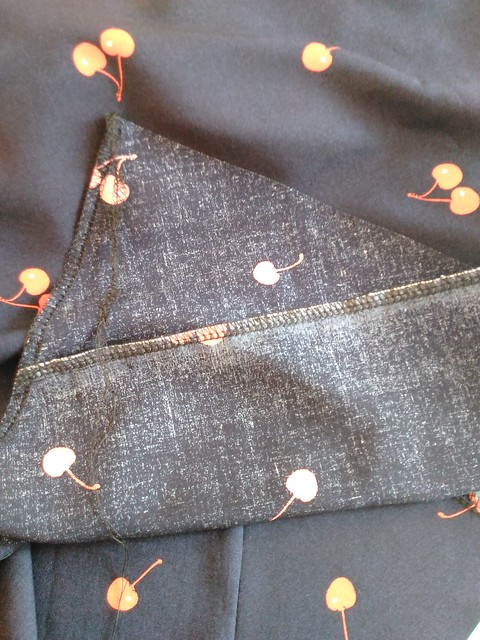
The skirt is really wide (wider than 45") and I wound up having to piece the skirt together in the lower corners at the end. That area is somewhat puckery from the outside and I wish I had redone it to please my perfectionist side.
The hem
I had read Deepika's review that the dress is short and she lengthened 4". When I held the pattern up to my body, I felt it didn't need 4", so I cut it out to the longest pattern length (size 46) which was only about 1.5" longer than the size 40 that I used for the rest of the pattern. This wound up being exactly the perfect length for me so I used the rolled hem feature on my serger to hem it (to preserve length) and I think it looks really good, especially in this drapey rayon fabric! I turned the DF down to .6 for most of the hem so that it would be flat and pressed with my Elna Press.
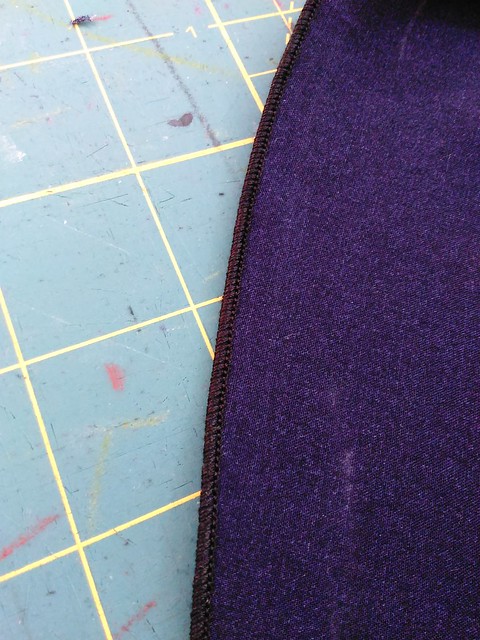
Rolled hem on my serger
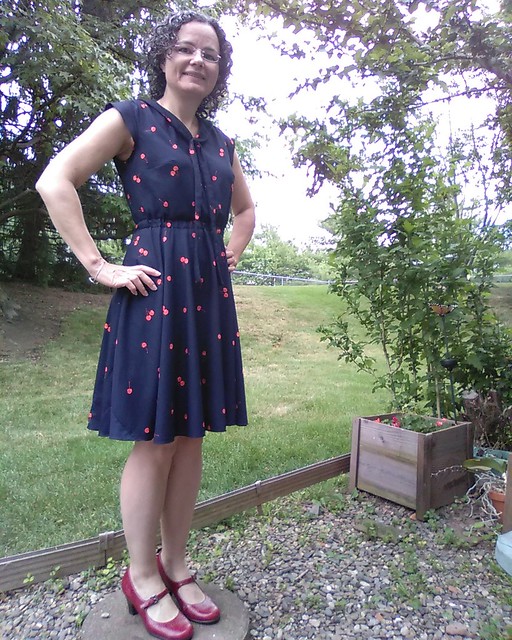
I finished most of the dress by Sunday night except the hem. Hemmed it Monday night and wore it to work on Tuesday. Got lots of nice compliments. It really is a fun and floaty dress to wear, and it's really effortless dressing. The fabric feels so soft and smooth. I just love it!
Full skirt
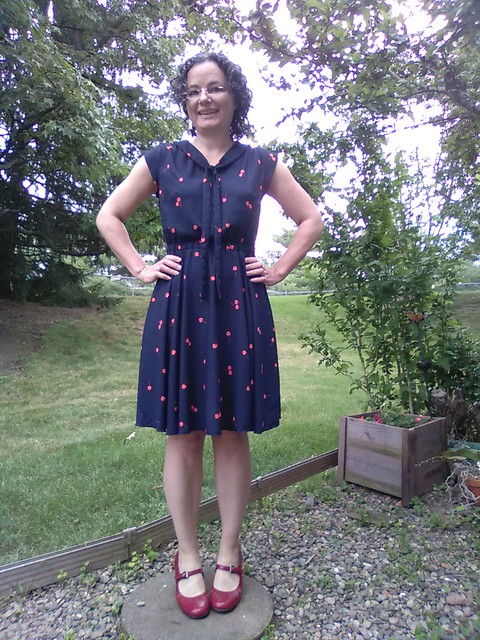
front
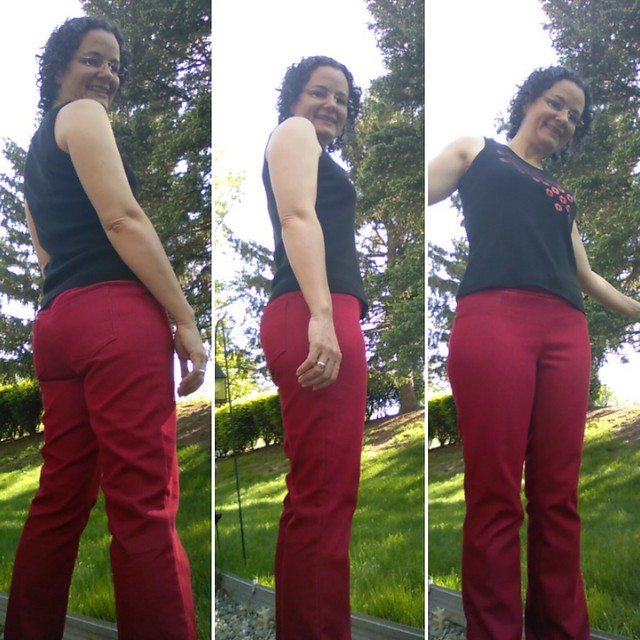
Back after sitting in it briefly--the rayon wrinkles up
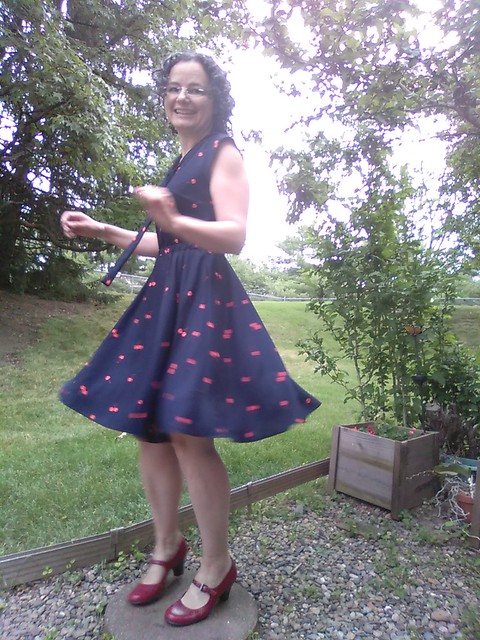
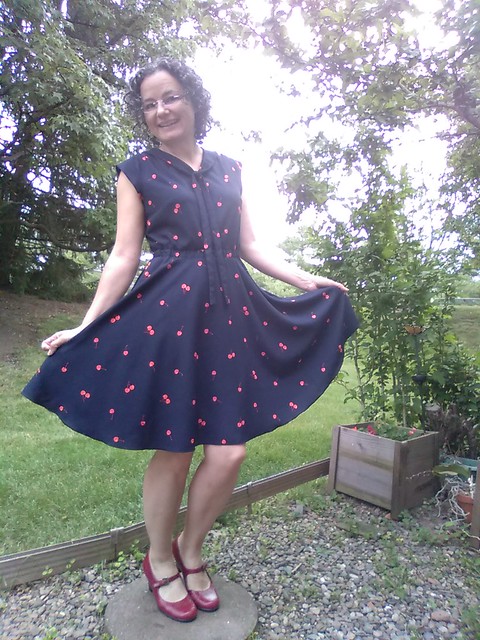
Obligatory twirling shot
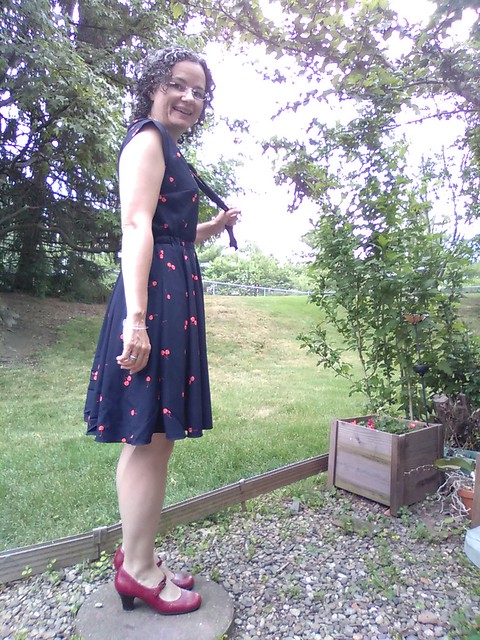
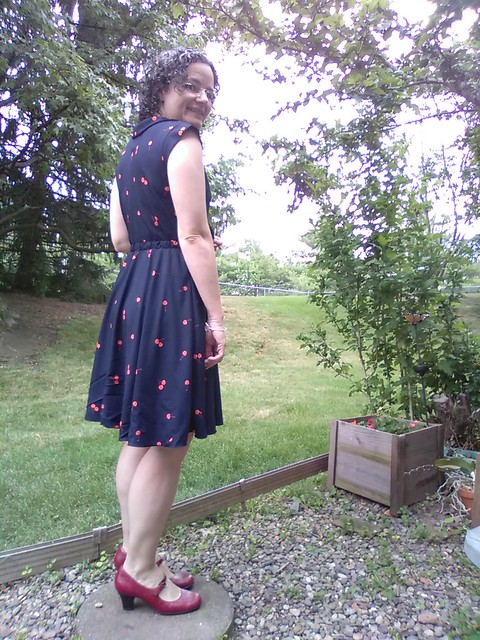
Side

Deepika was right; the bust darts are too high, but they didn't seem high in the muslin
Be well!