It's my usual New Year's Eve rush to write my sewing year in review!
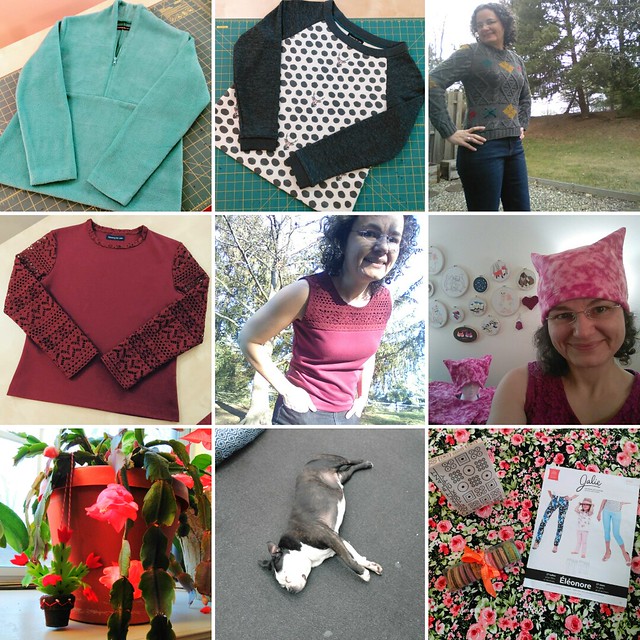
First, let's start with what I've sewn/done during my winter vacation but have not blogged as shown above:
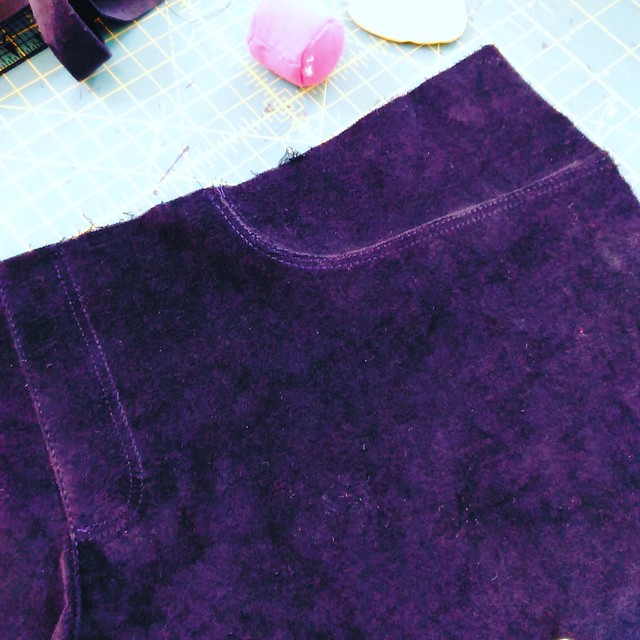
- Finished a Jalie fleece started the weekend before my vacation
- McCall's Echino Kokka French Terry sweatshirt
- Creatively cut apart a large man's cotton thrift shop sweater and used Simplicity 1283 to make it fit me.
- Used S1283 to make this lace sleeved shirt. Fabric was sent to me by goodmombadmom
- Used a hack of S1283 and the remnants from the long sleeved shirt to make a tank
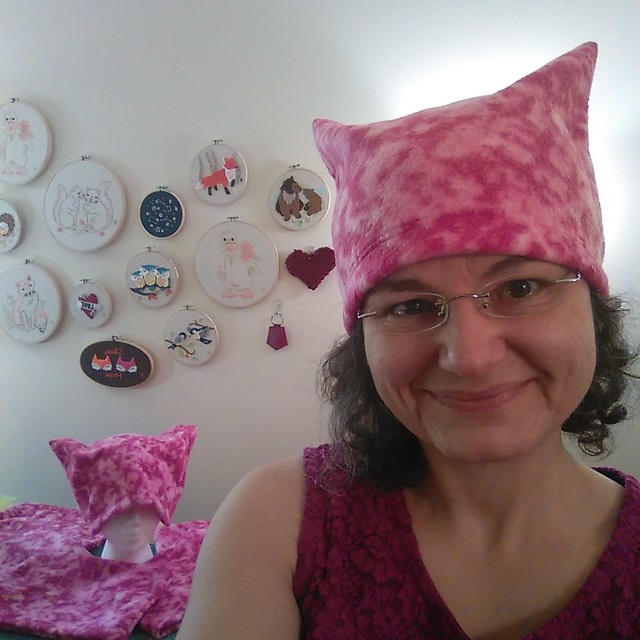
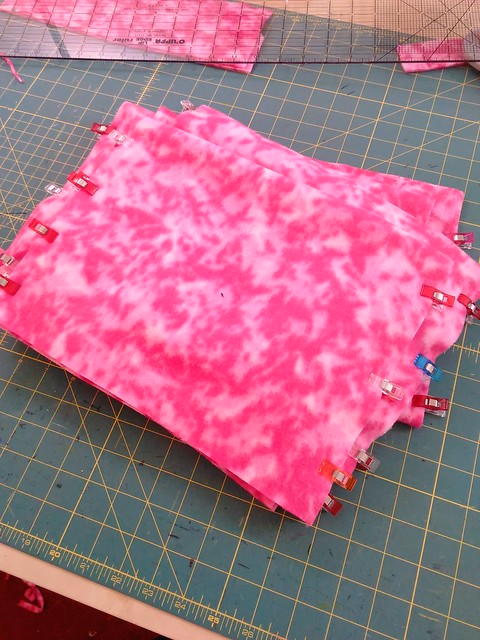
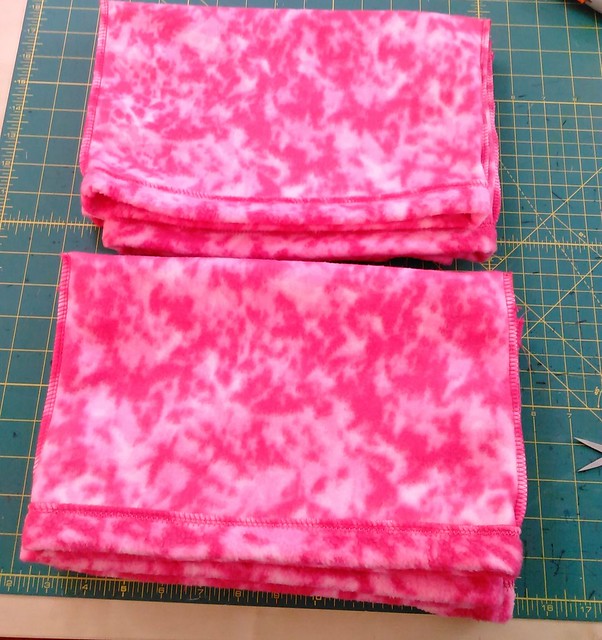
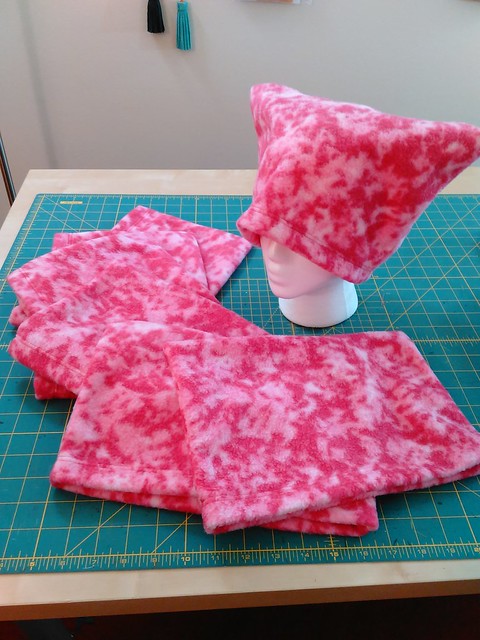
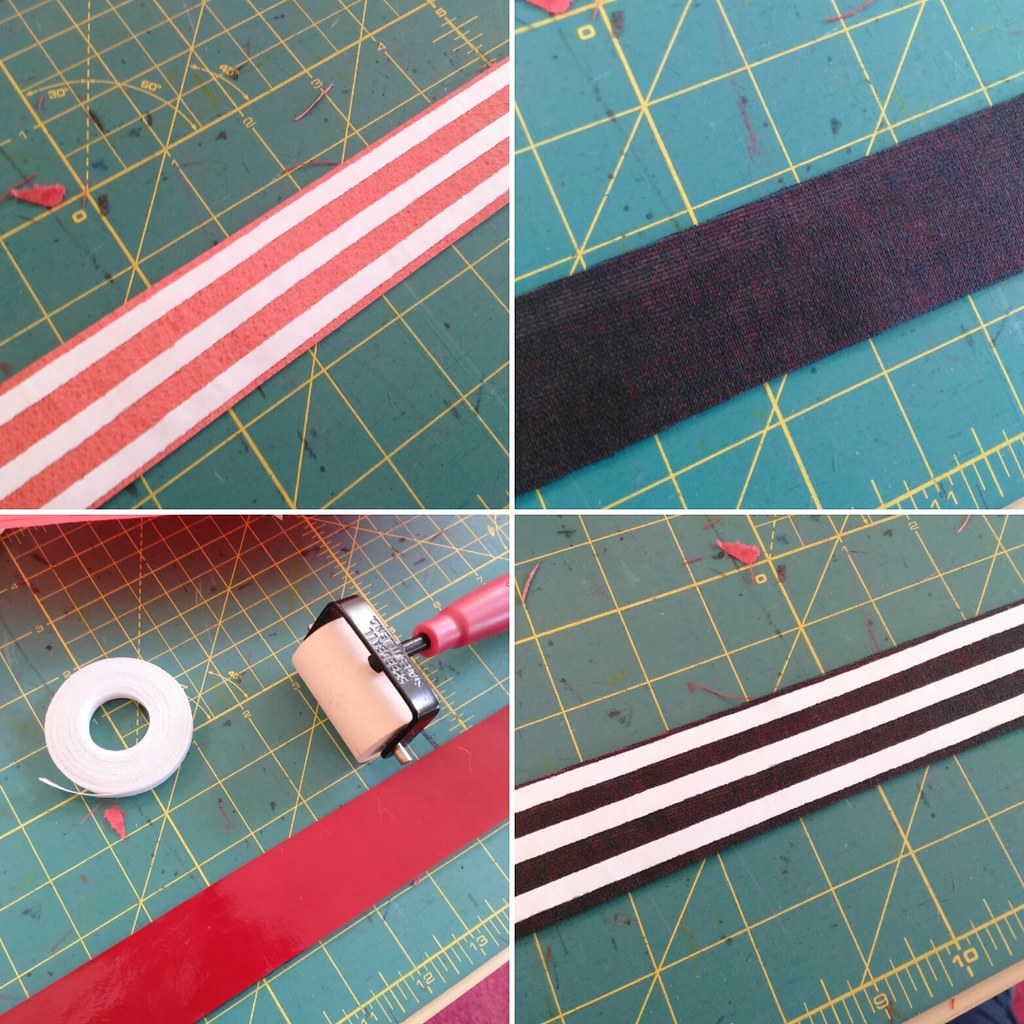
- Made 16 pussyhats (8 in this beetroot tie dye and 8 that aren't pictured in hot pink). I have a crazy goal of making at least 48 of them before the end of next weekend.
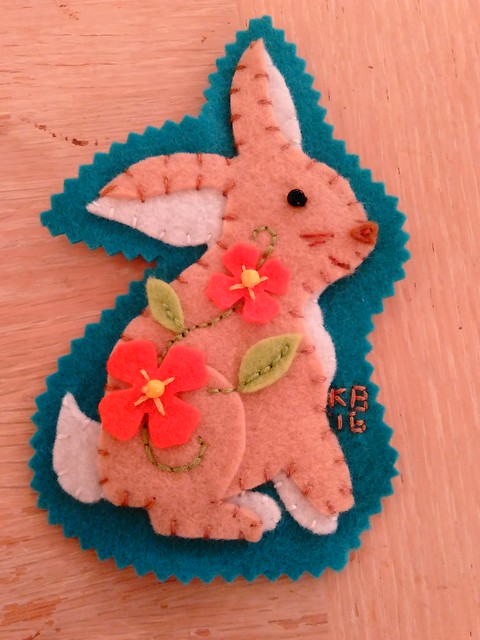
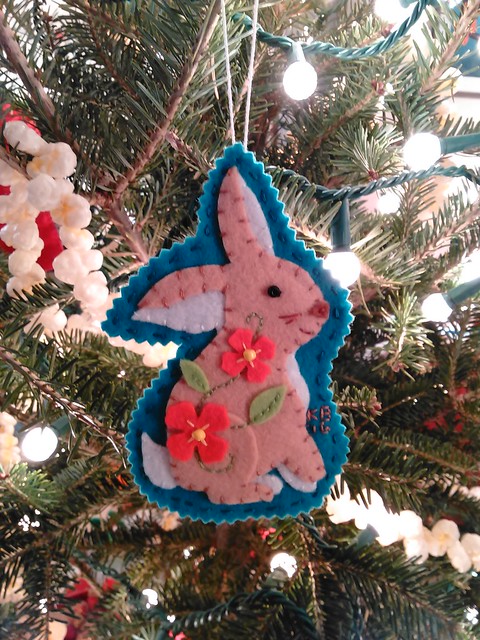
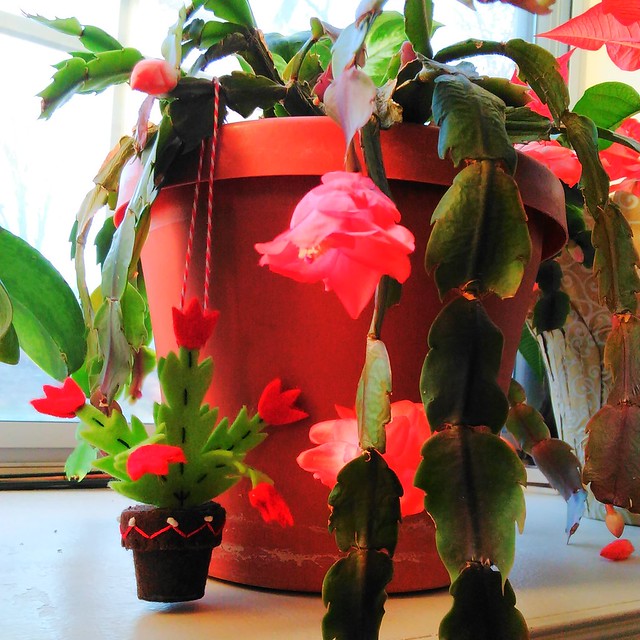
- Handstitched this Christmas cactus ornament and hung it on my Christmas cactus
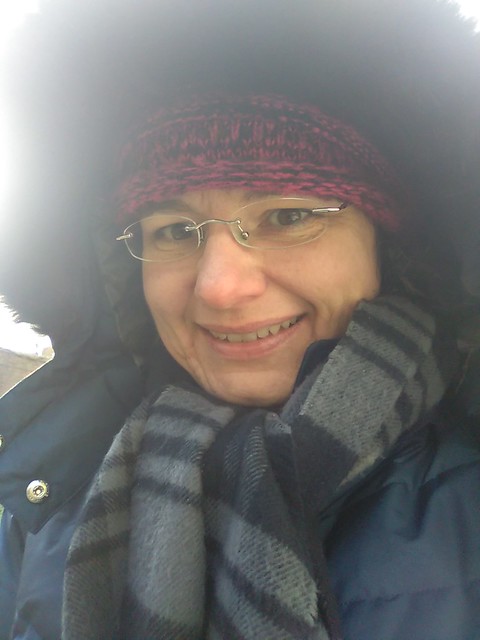
- Went to NYC to buy some supplies and visited Swatch at Mood Fabrics. He was totally conked out.
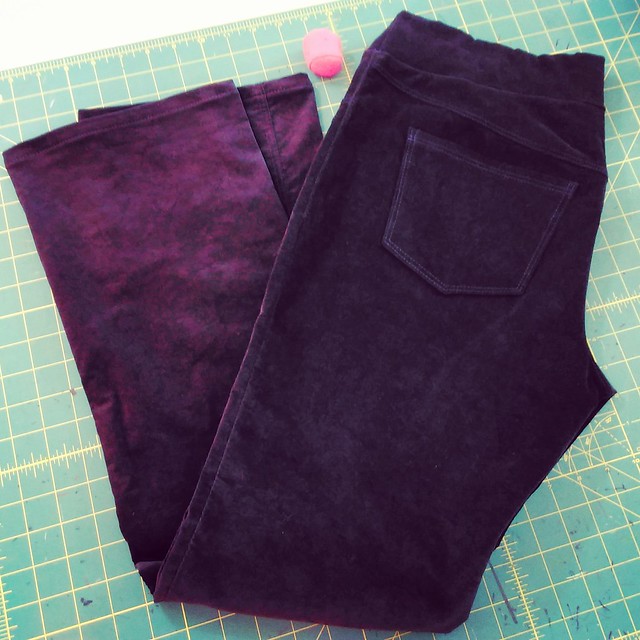
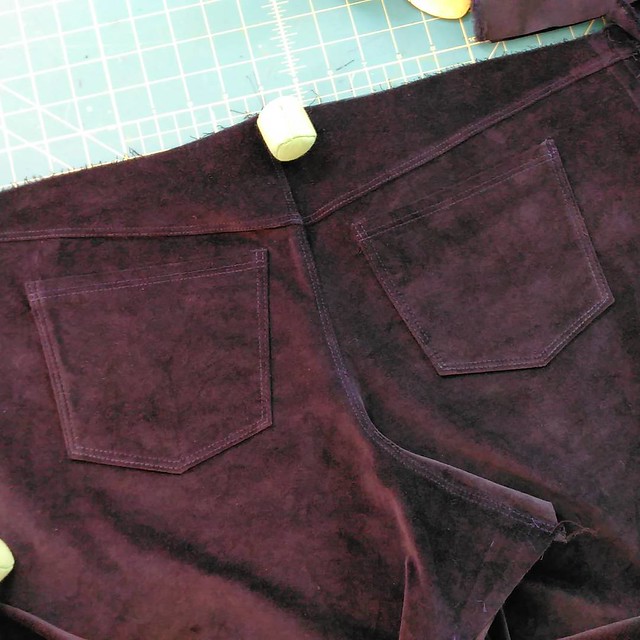
- Cut out these crazy floral pants. Yes, that's right, me, the solids and texture woman. Yes, me, I am going to make Crazy. Floral. Pants.
Here are my favorites:
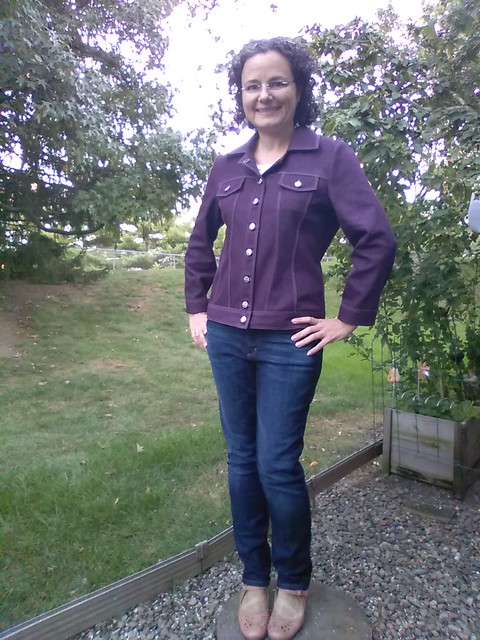
Favorite item all year: the StyleArc Stacie Jean Jacket
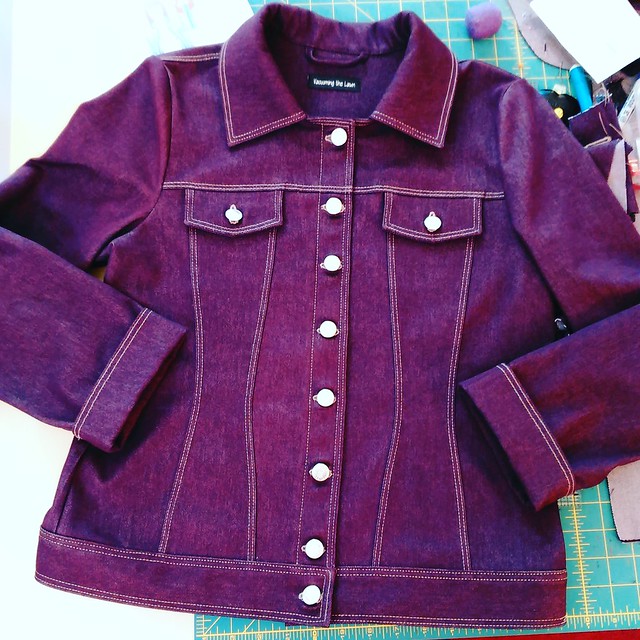
Close up view
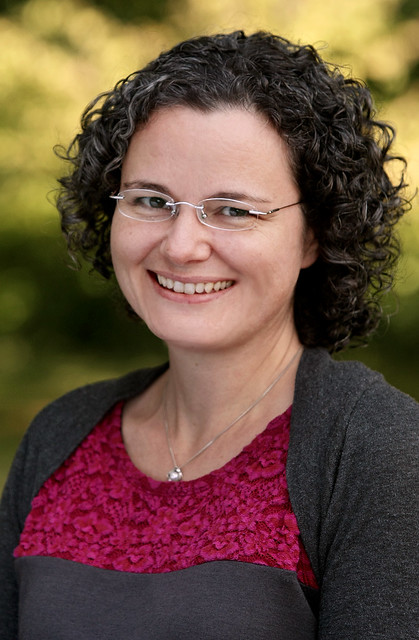
Favorite tank, which I wore, with one of my favorite shrugs from last year, for our professional photo day at work (I received permission from the photographer to use this photo across social media)
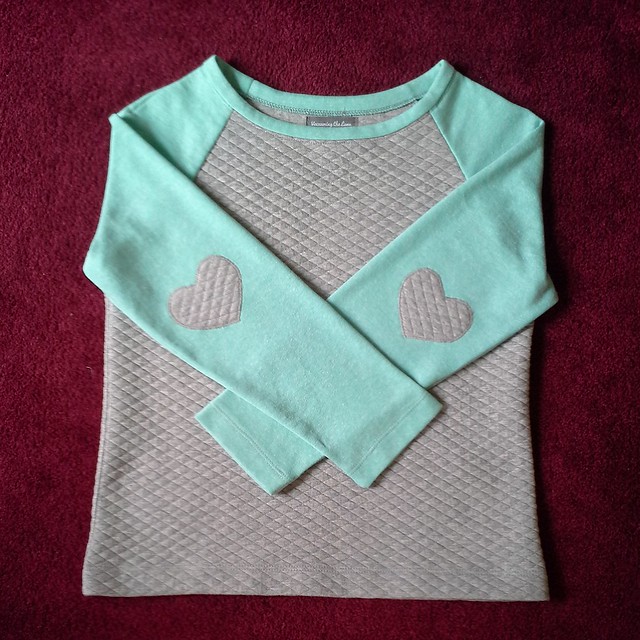
Favorite sweatshirt
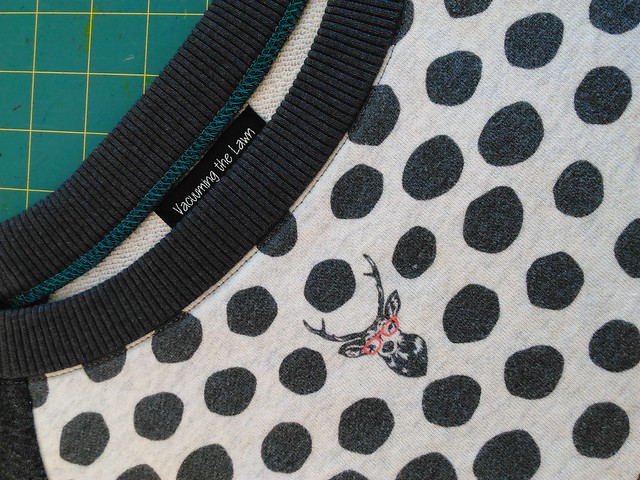
Or maybe this is my favorite sweatshirt
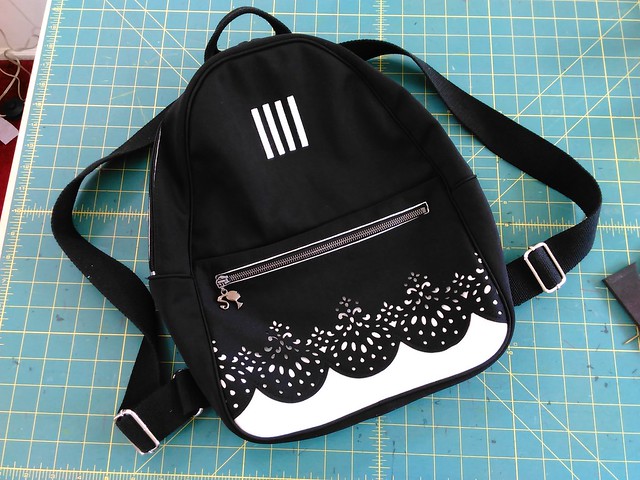
Favorite backpack
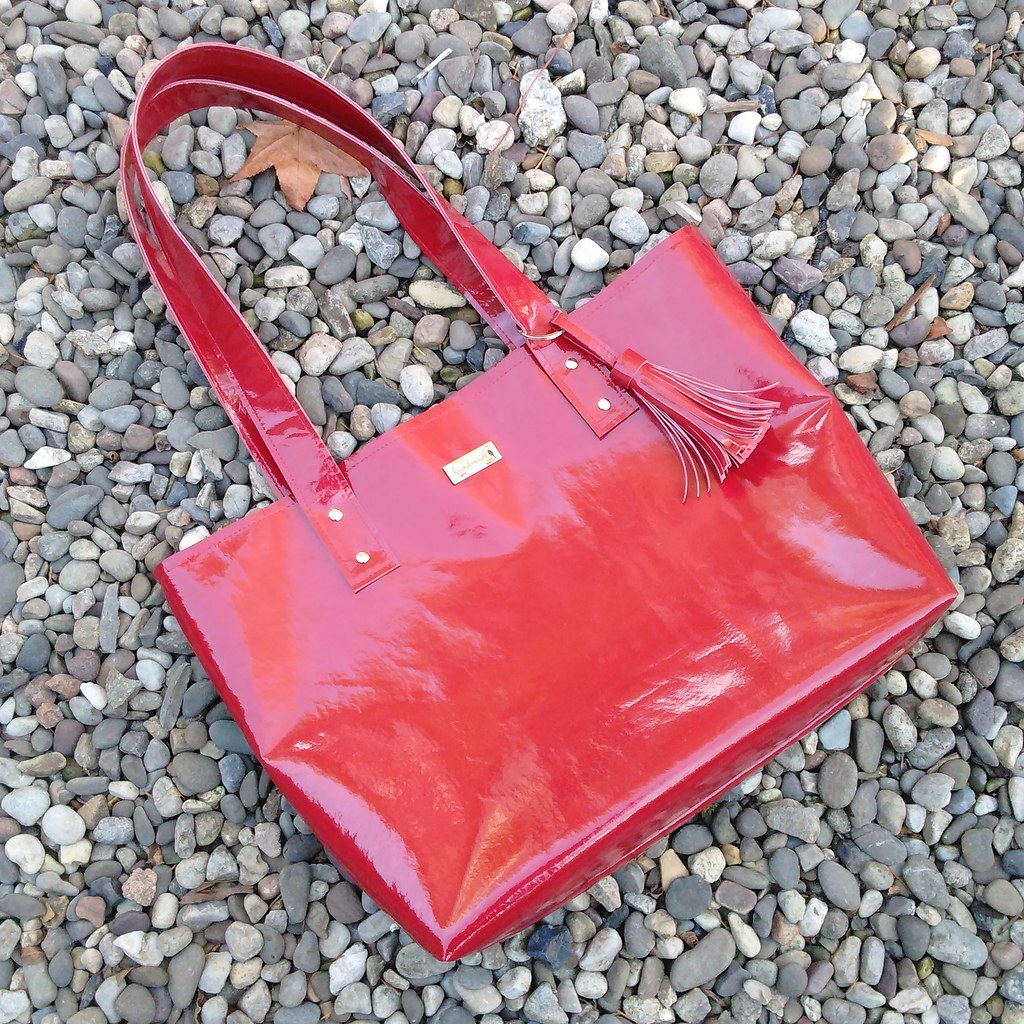
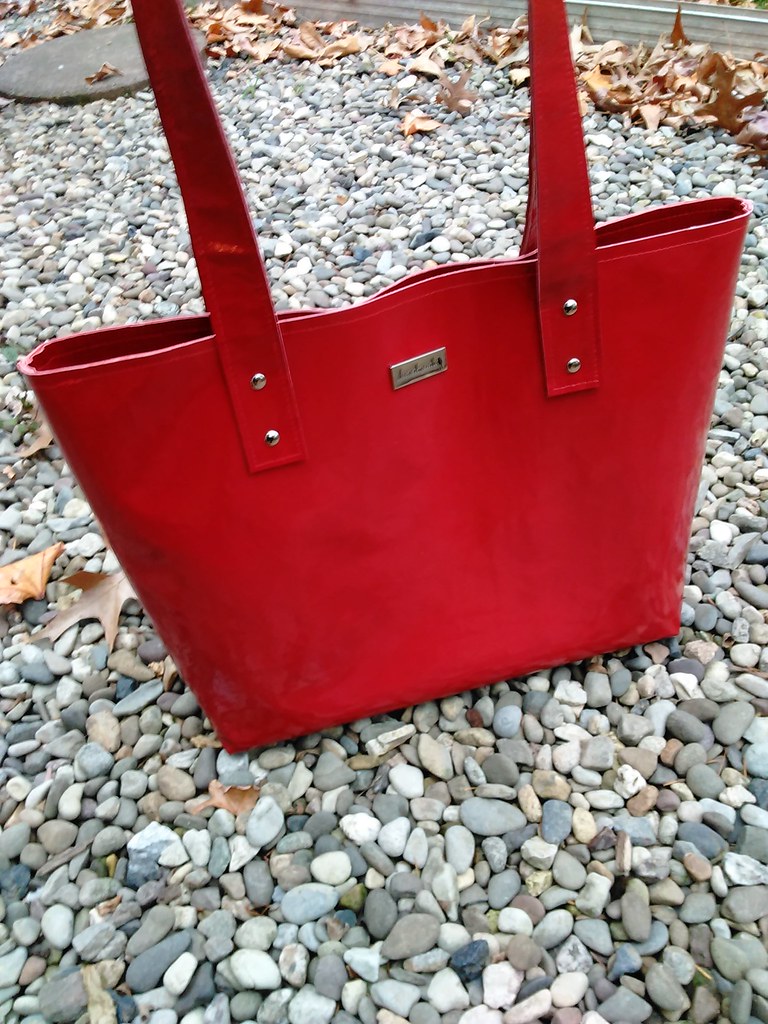
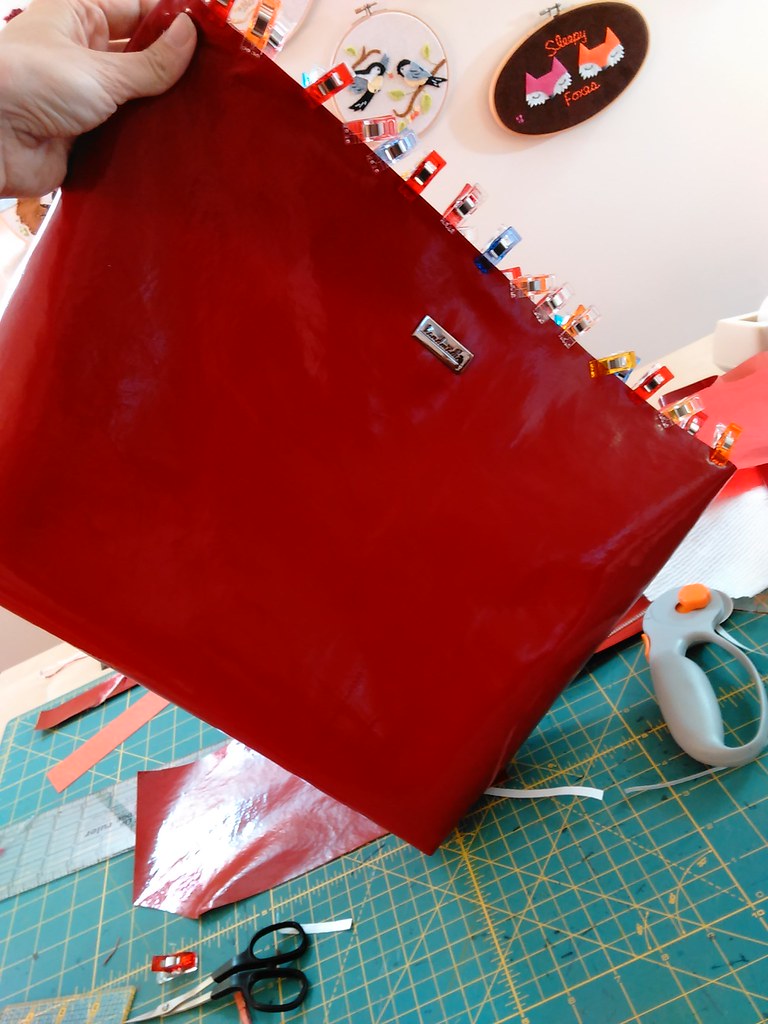
Contest winning bag

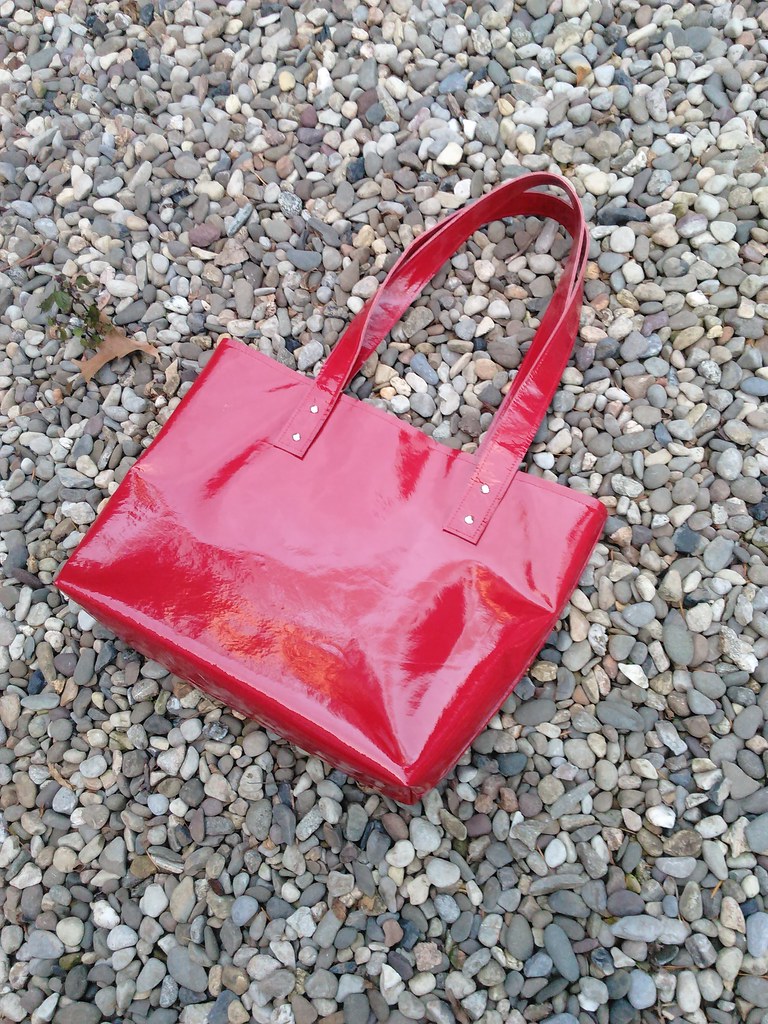
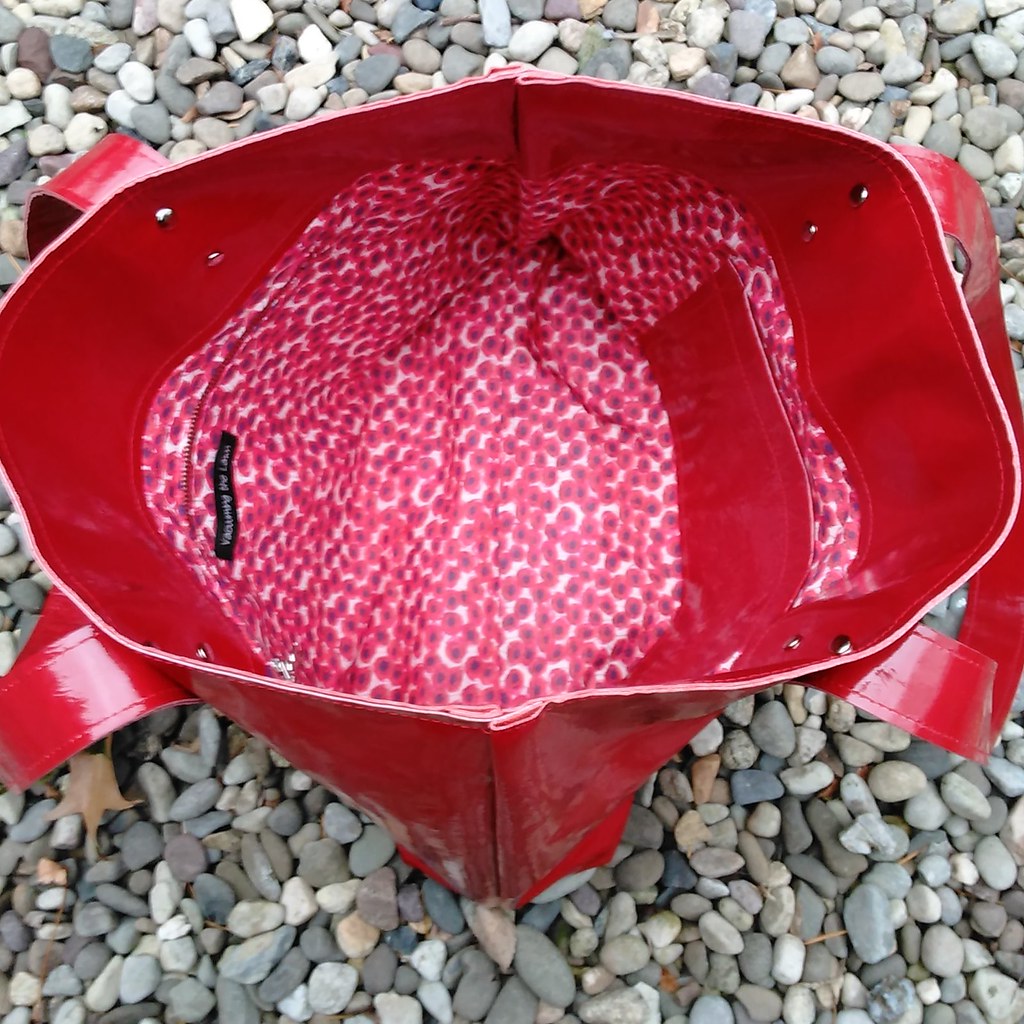
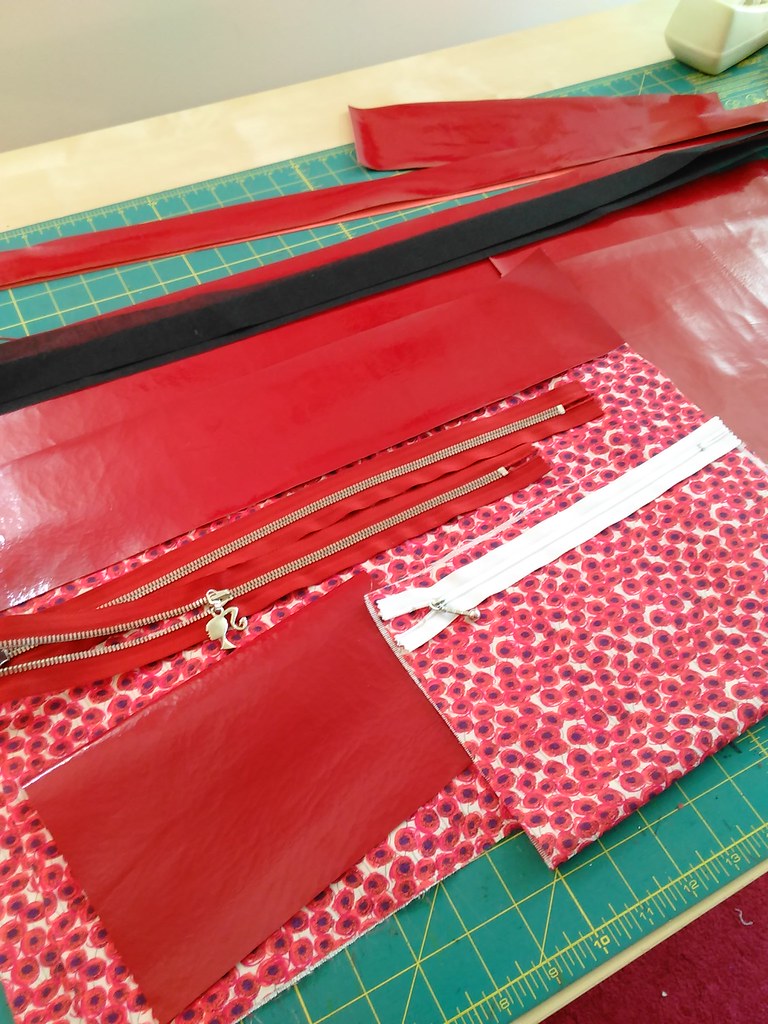
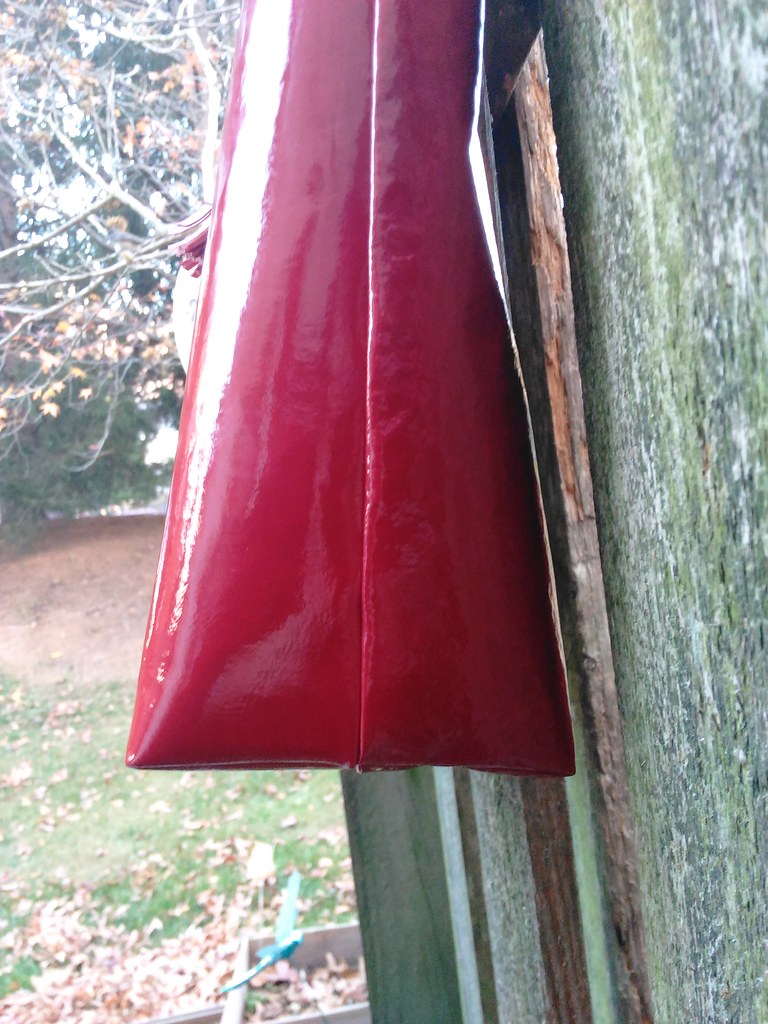
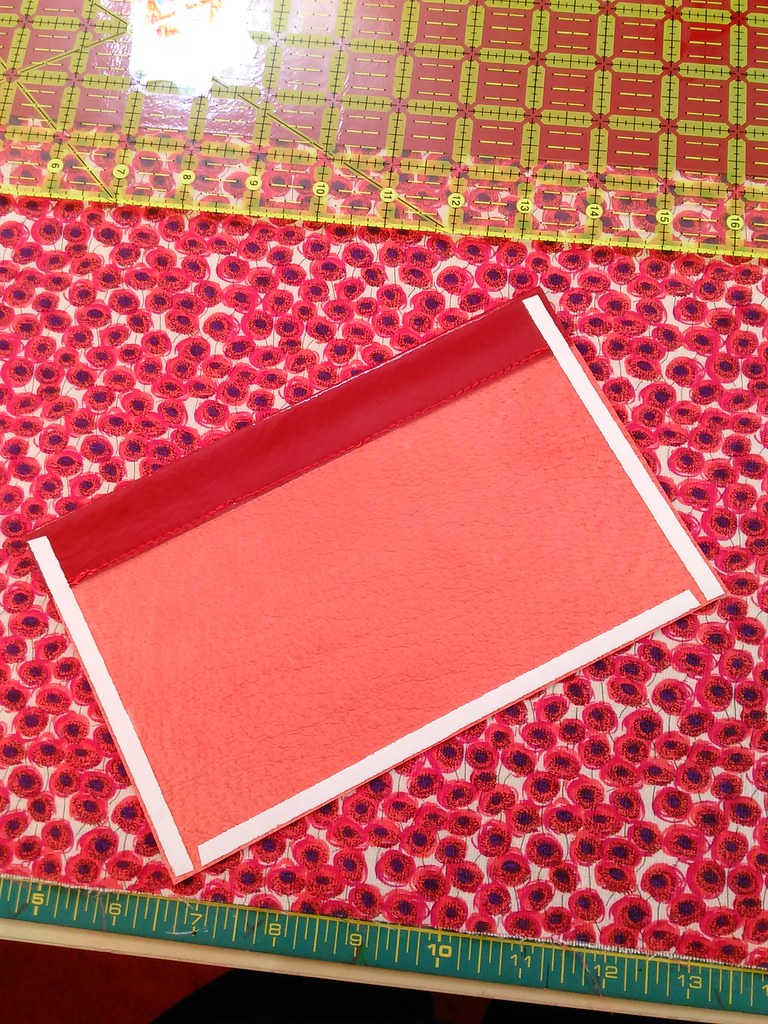
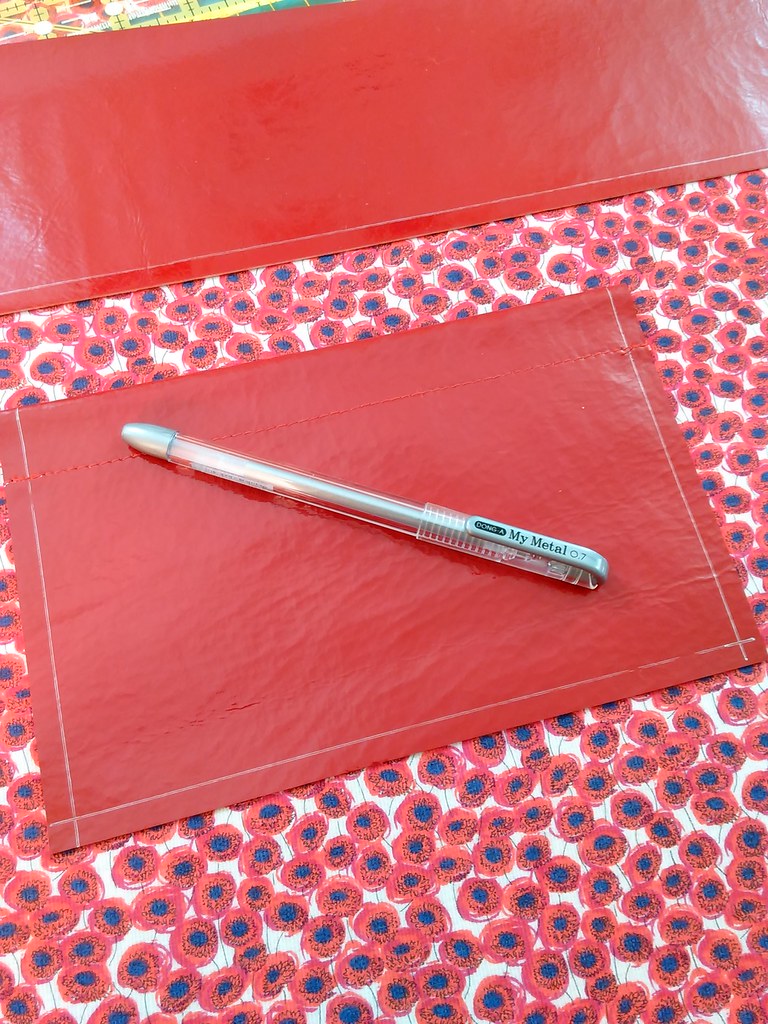
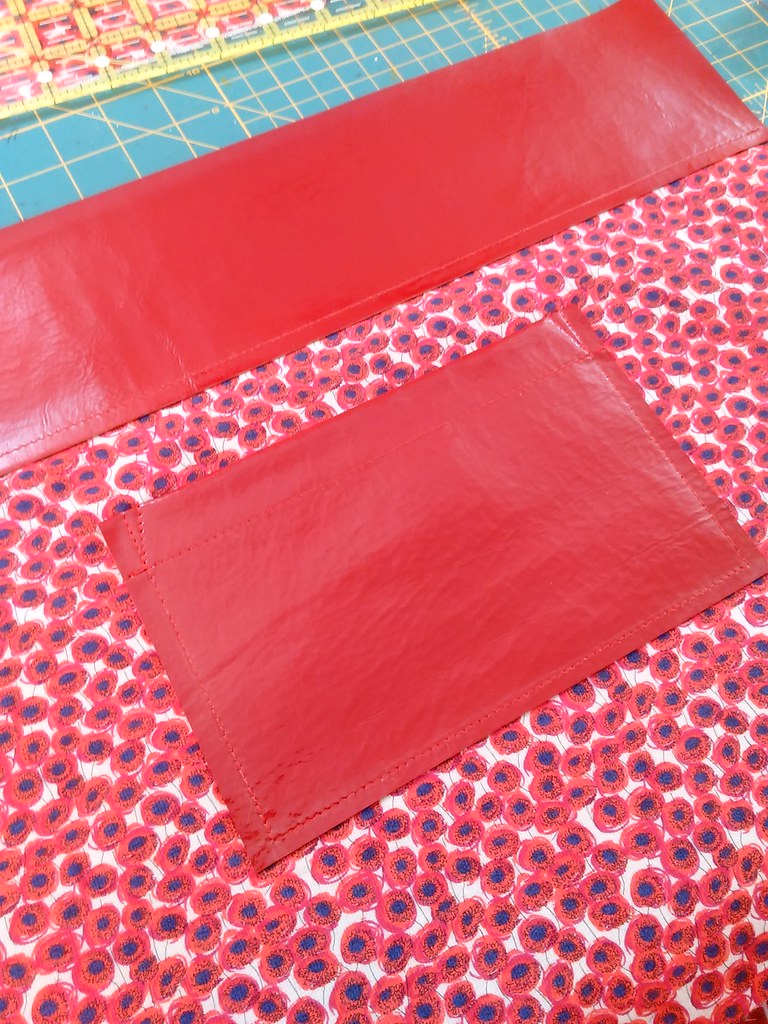
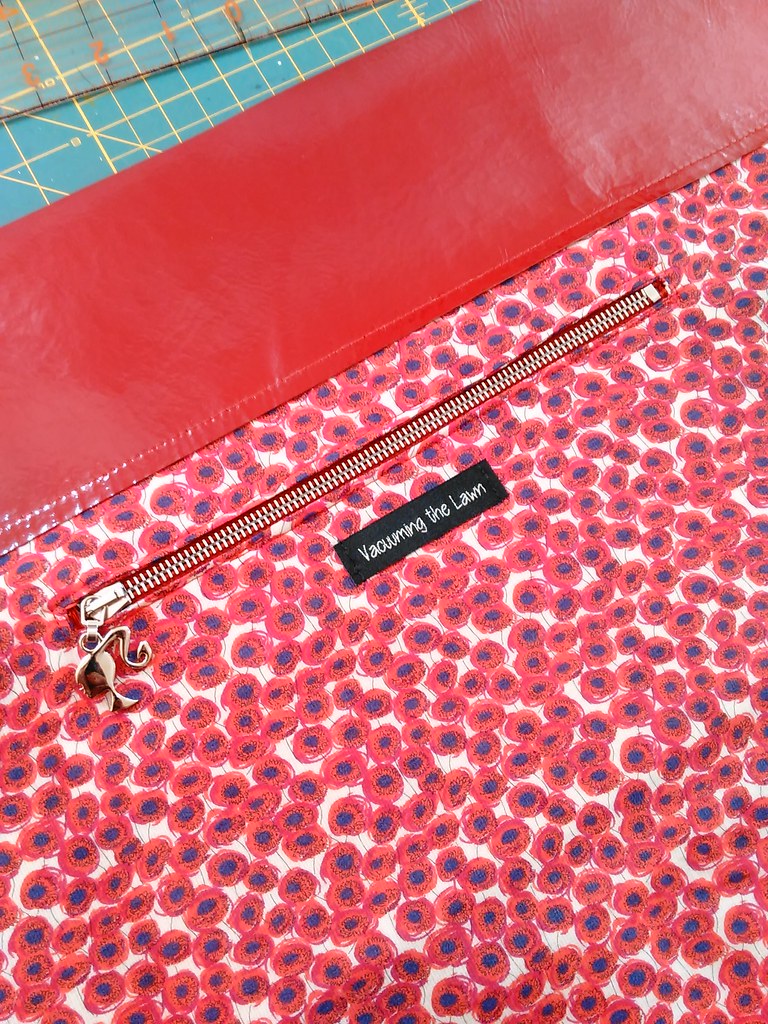
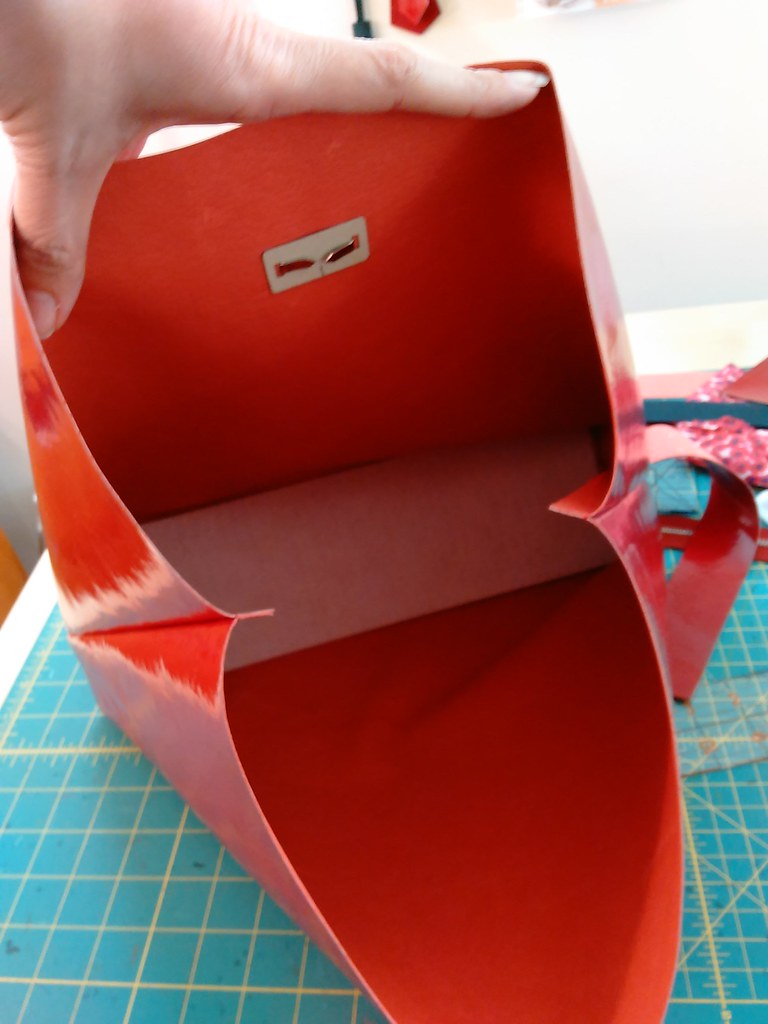
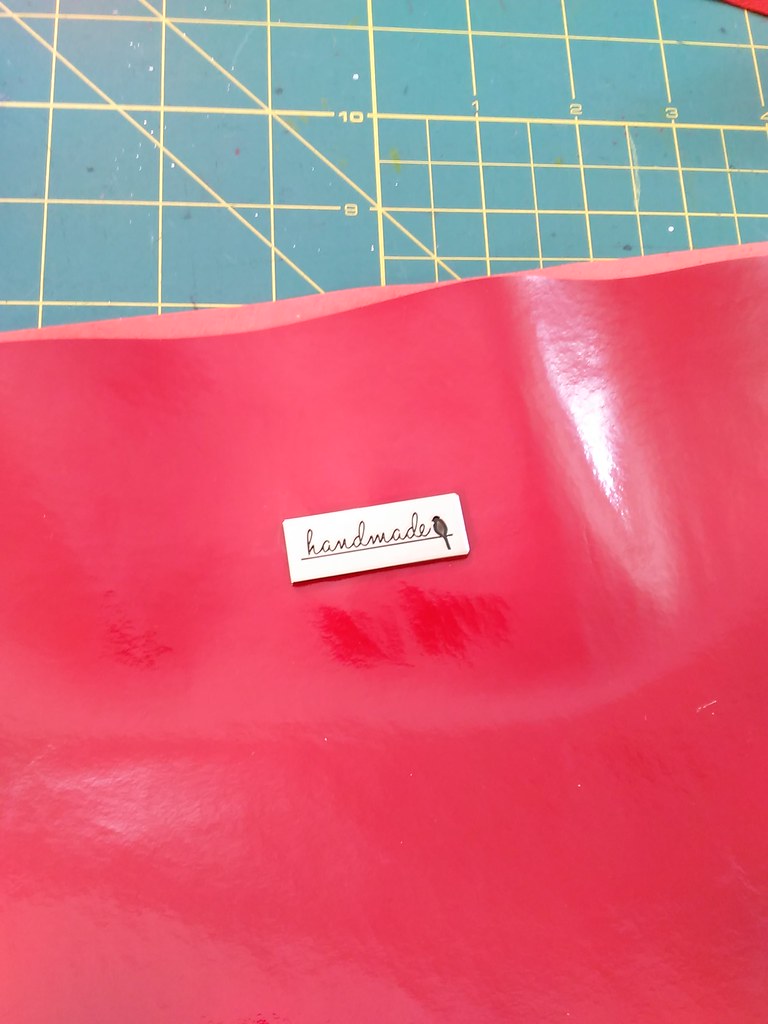
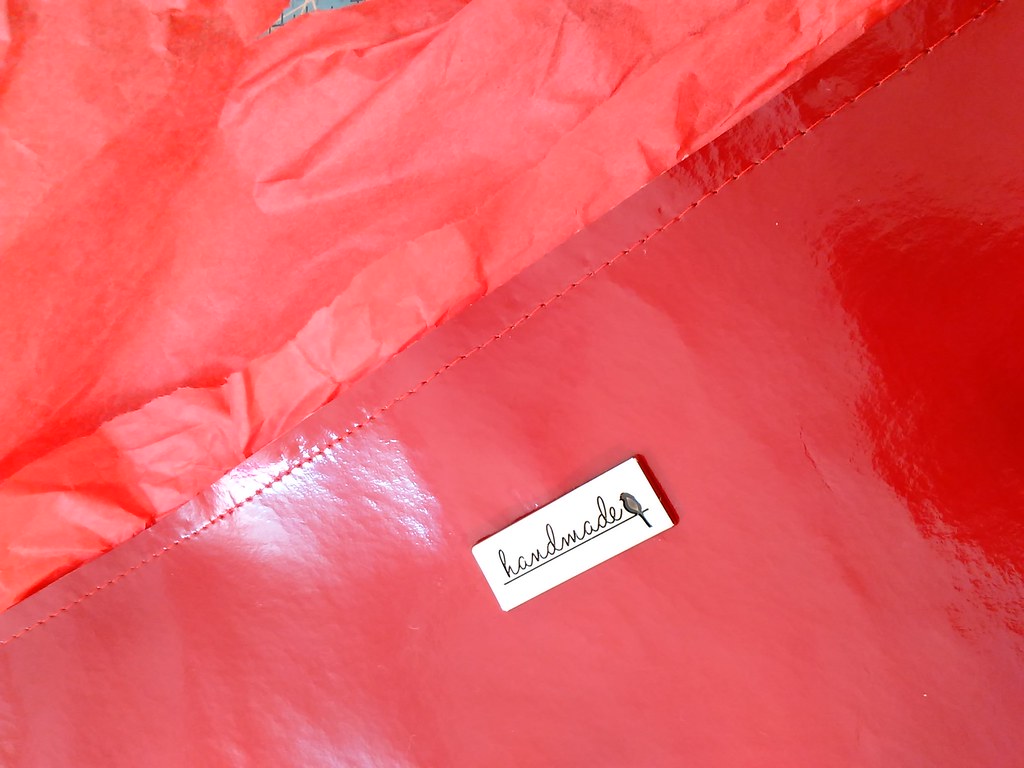
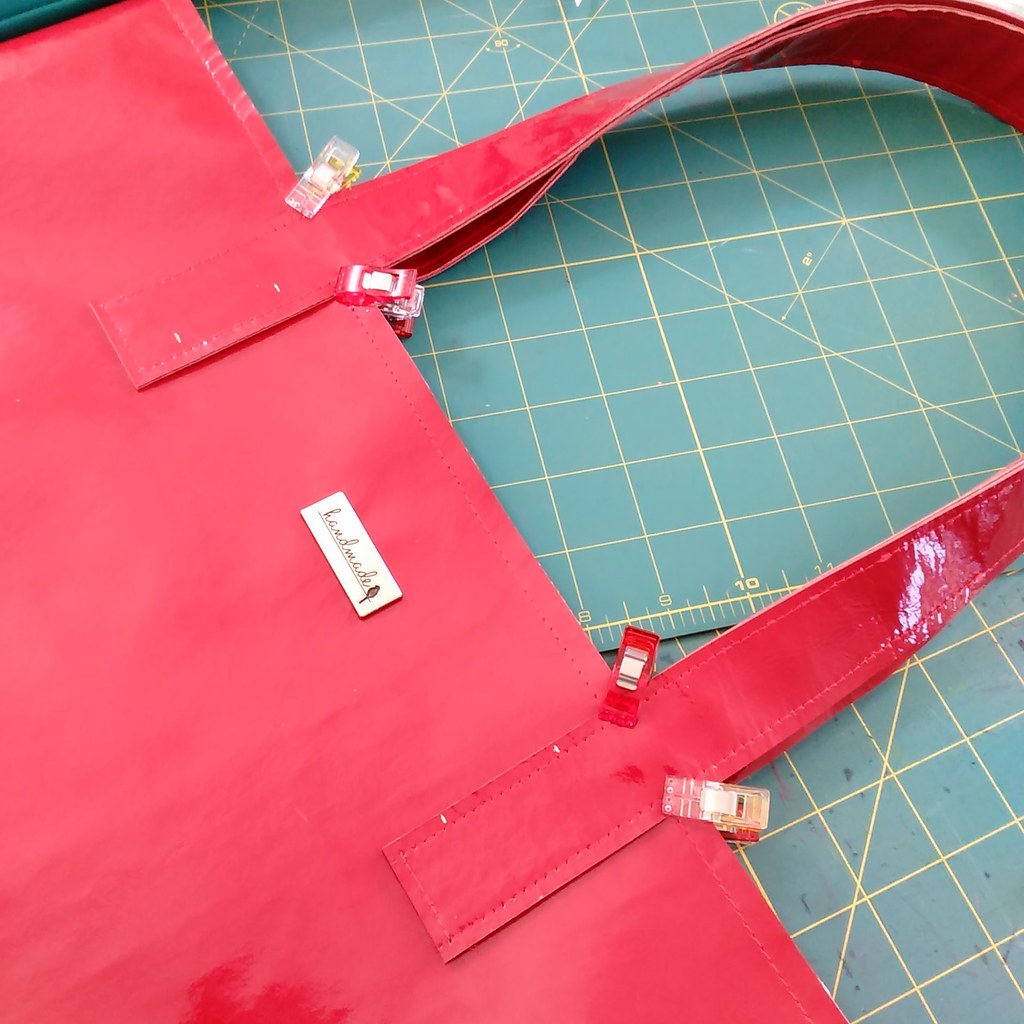
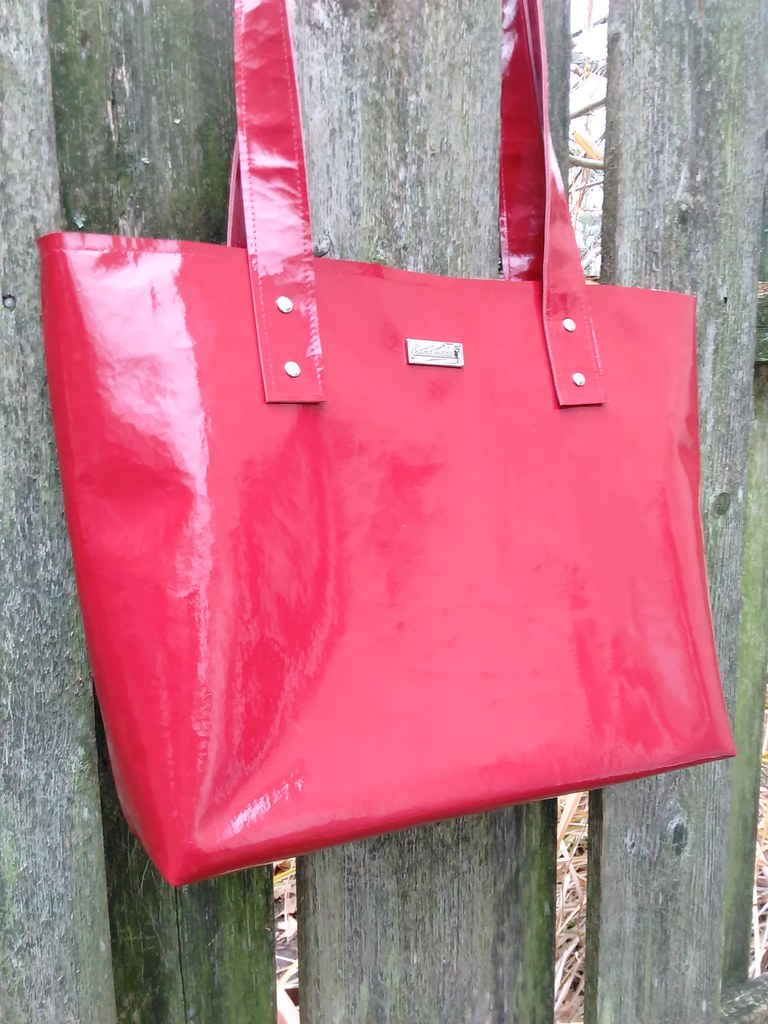
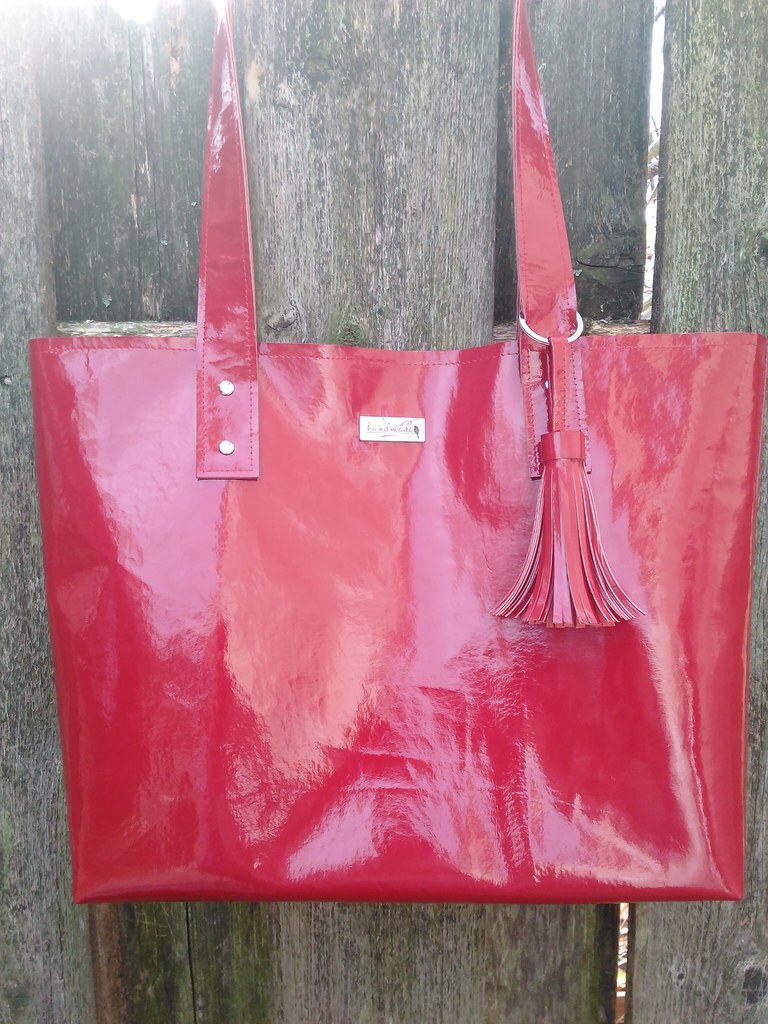
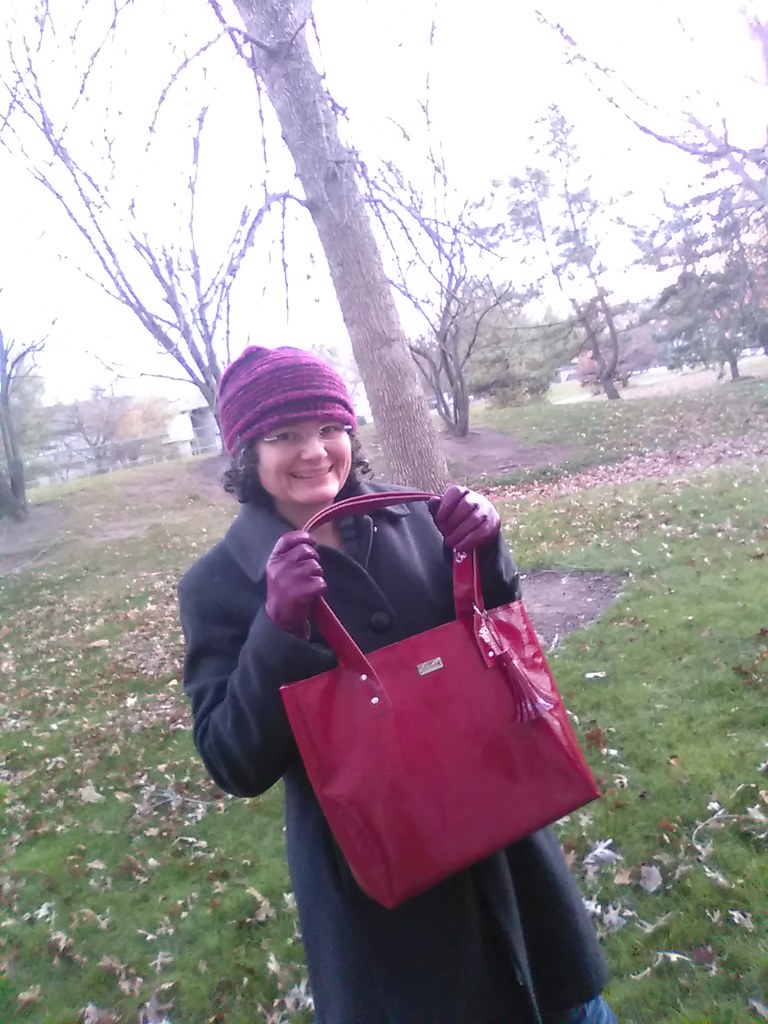
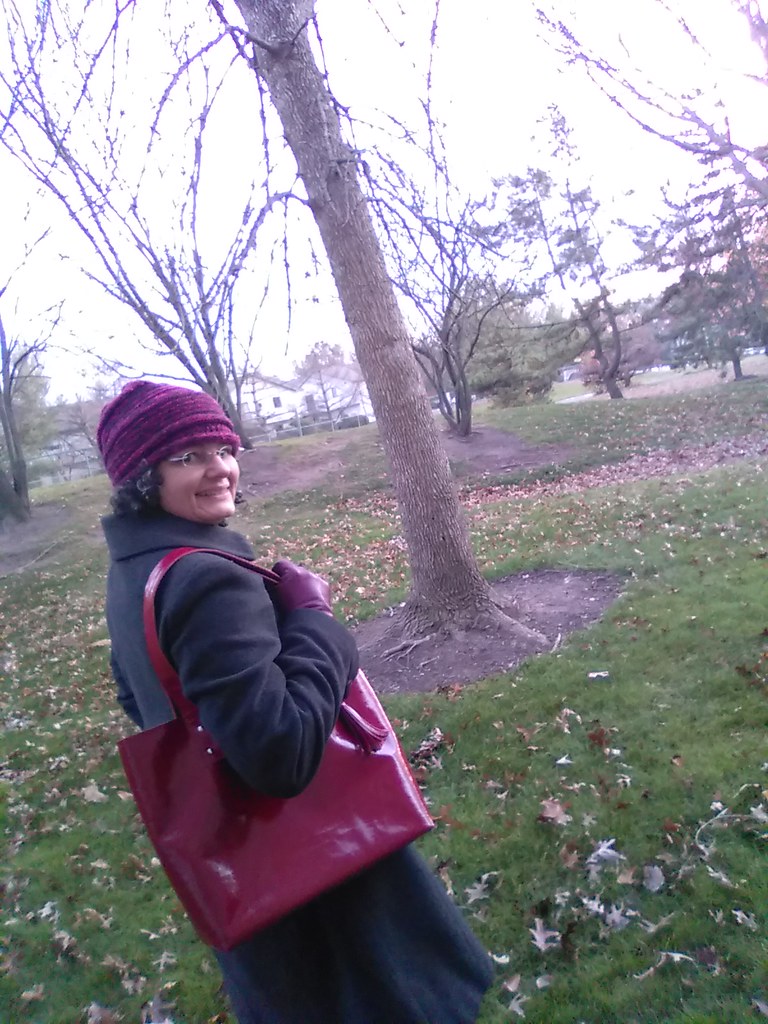
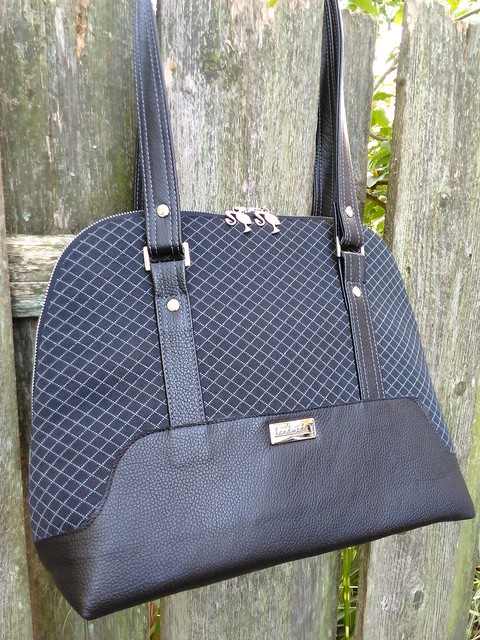
Favorite leather bag
What I've machine sewn this year
- 7 tops (includes tanks, tops, shells, sweaters)
- 2 shrugs
- 2 jackets
- 1 fleece
- 3 sweatshirts
- 1 sweatshirt dress
- 4 dresses
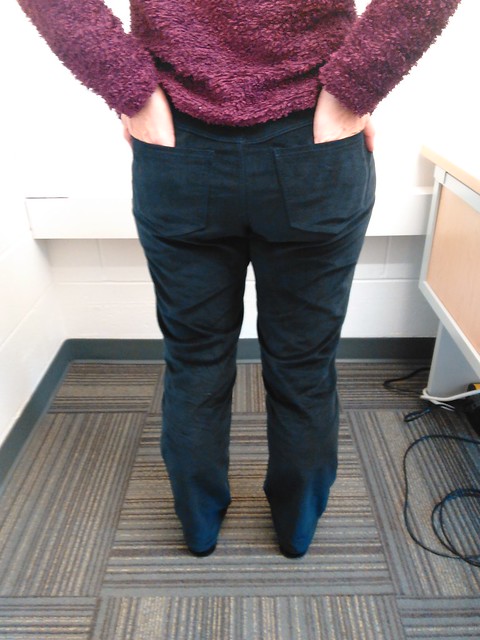
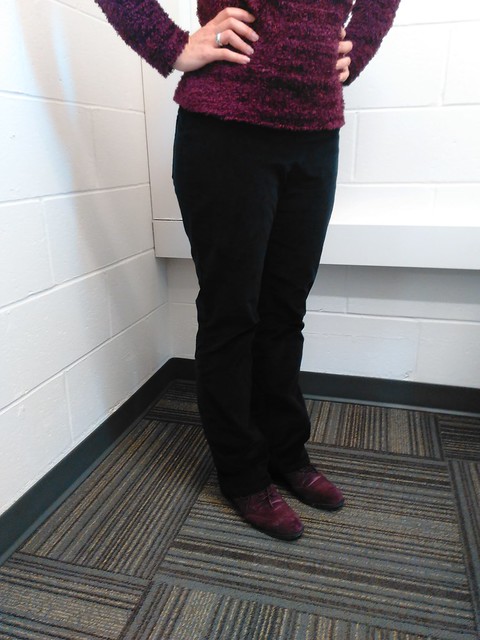
- 2 pants
- 2 skirts
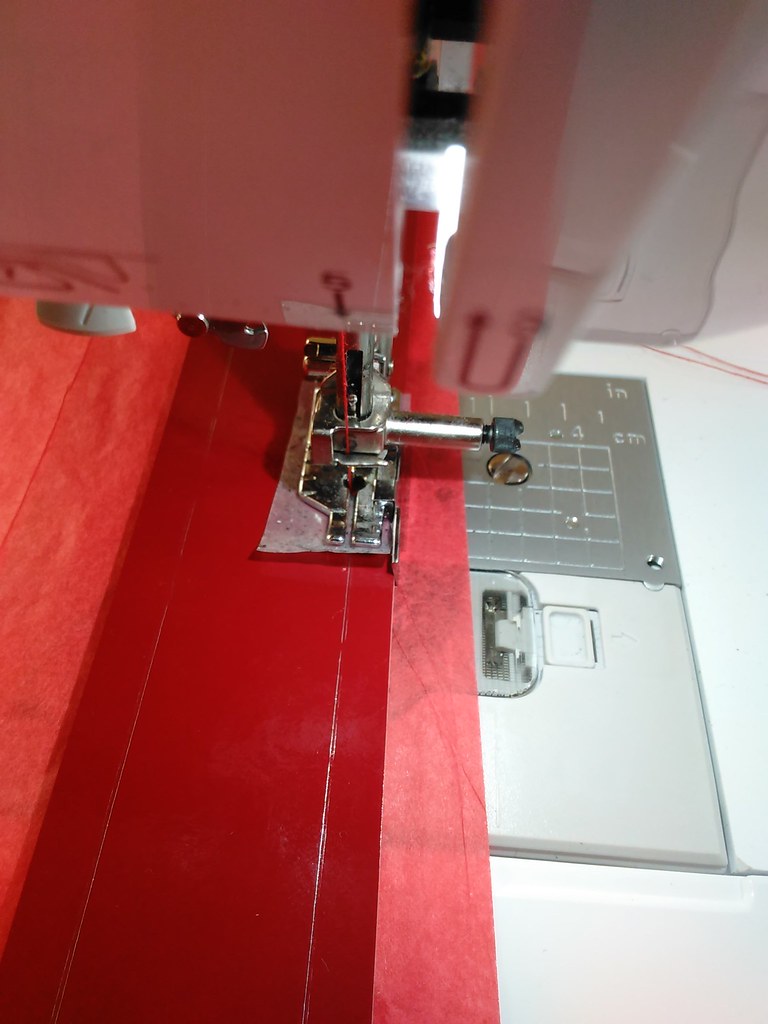
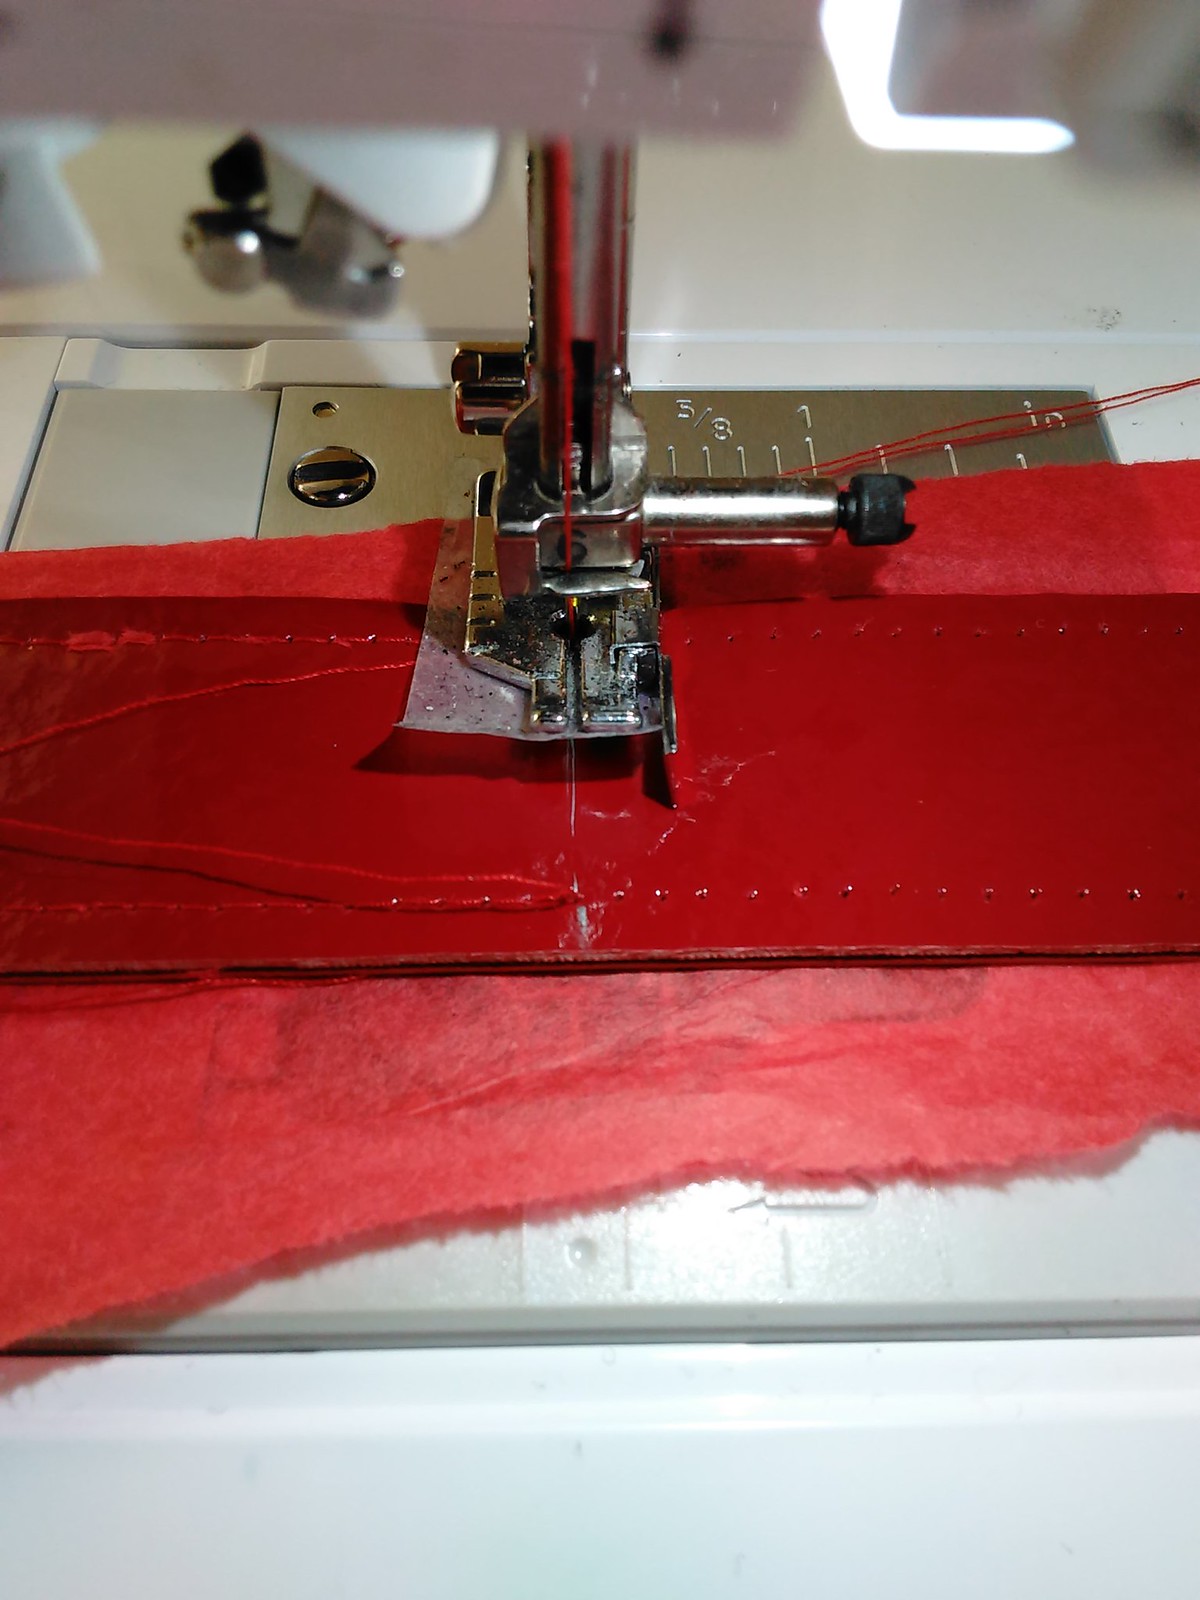
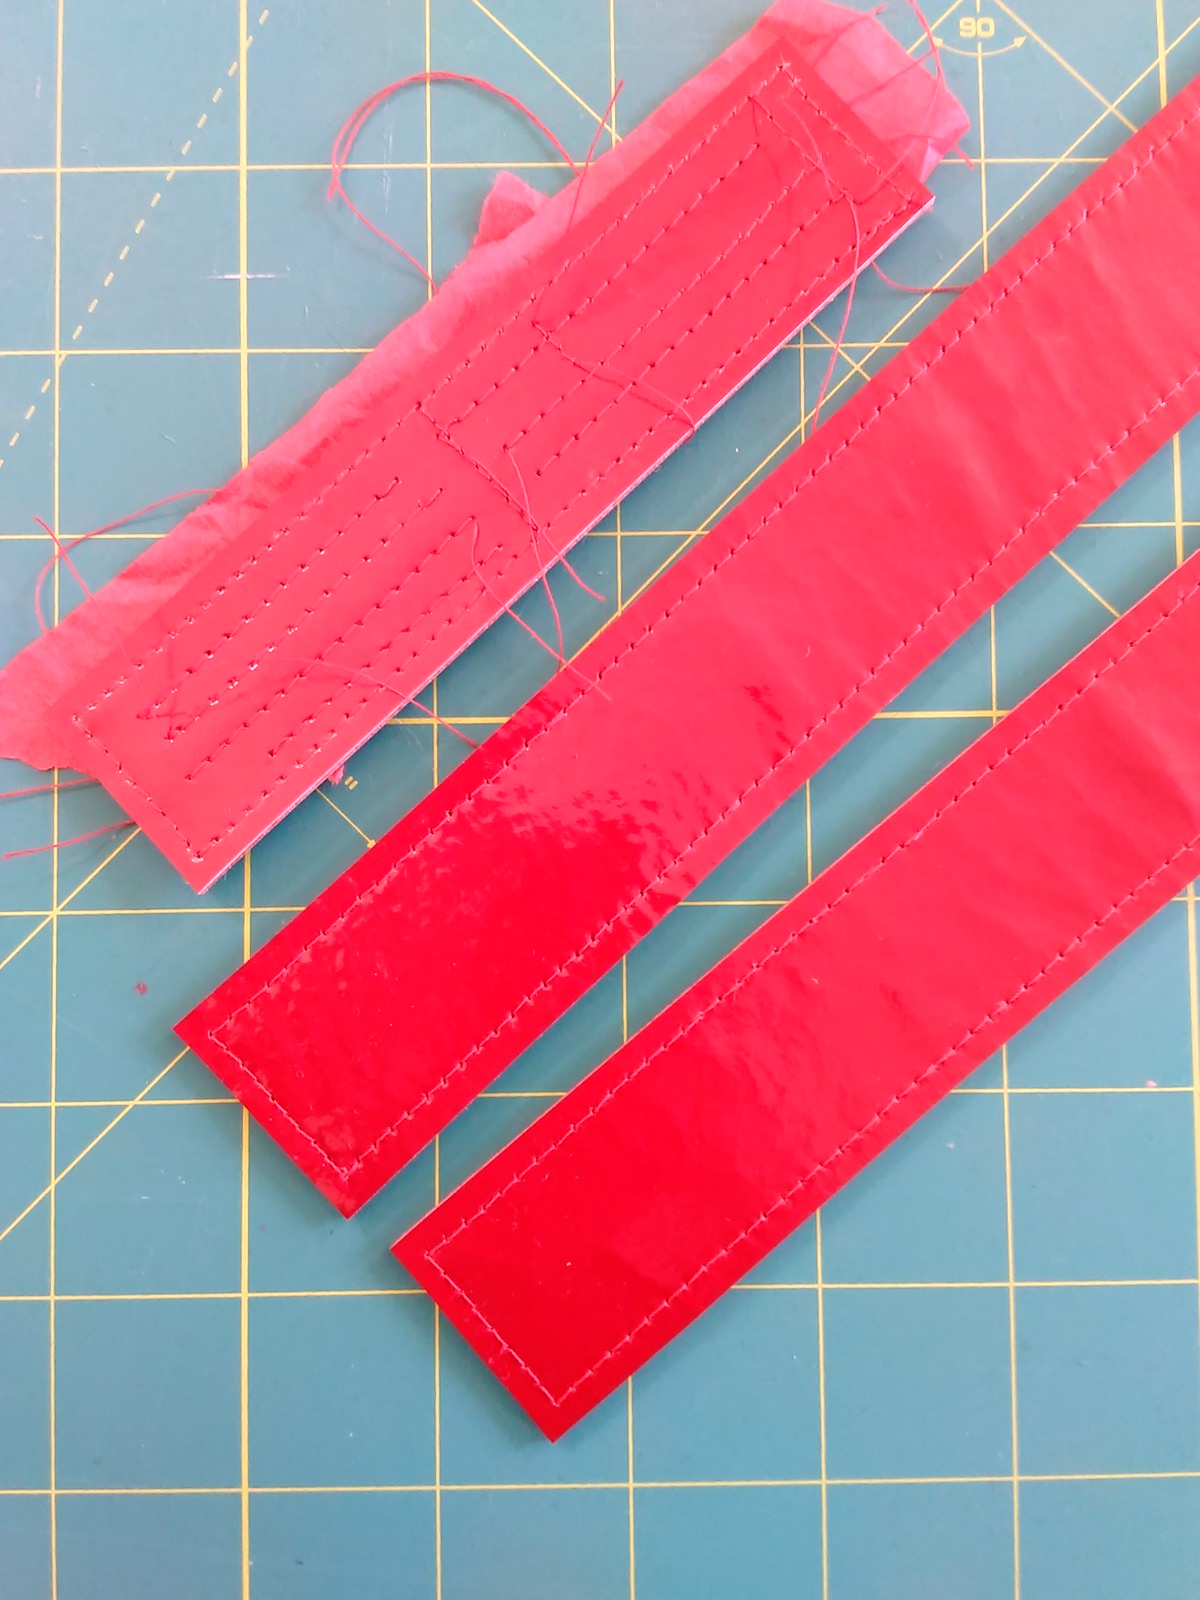
- 8 bags
- 1 pillow
- 16 fleece hats
- some keychains and business card holders
I didn't blog everything. I know of at least one dress and one bag that were not blogged, in addition to everything in the first photo. But, my entire creative life is on Instagram, all of it!.
What I've hand sewn or hand stitched this year
- Sublime Stitching
- Octopus
- Folk Foxes pillow
- Heidi Boyd
- Softies
- Half of the squirrel softies kit
- One bird softie
- Felt Hoops
- fox
- blueberry bears
- Embroidery kits
- 2 chicks
- squirrels
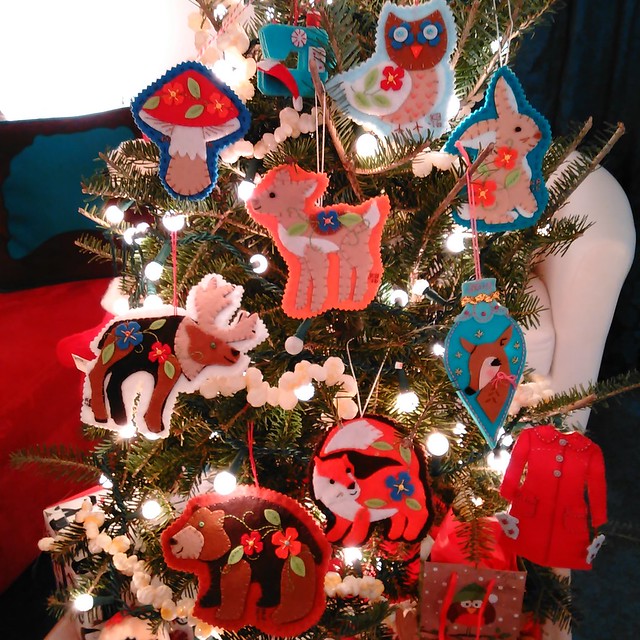
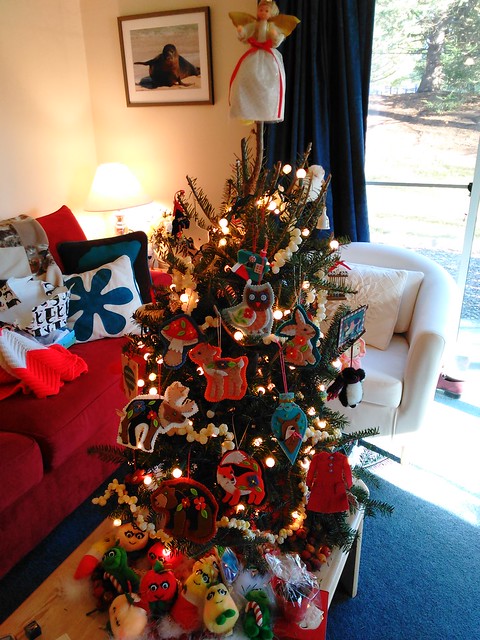
- The 7 ornaments in the Woodland Animals Ornament kit
- Paulson
- Red coat ornament
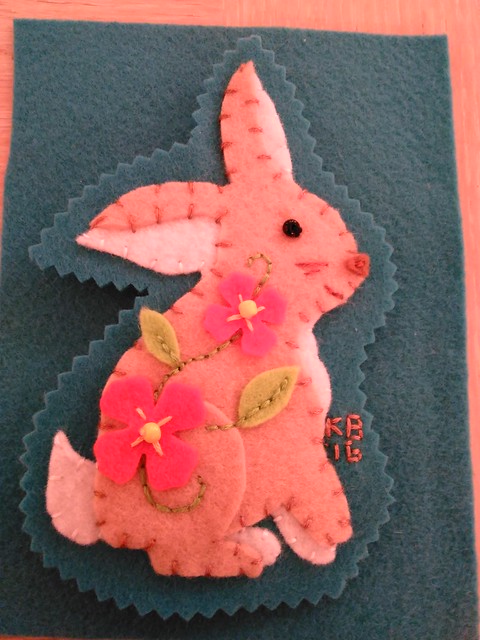
- Betz White
- Sewing machine ornament
- Christmas cactus ornament
- Mollie Makes
- Love heart hoop
- 2 foxes in a hoop
Dabbling with Quilting.
I'm not a quilter but I tried it a little...
- Mollie Makes potholder and coasters
- Fancy Fox II, just the top of the pillow size.
Drawing
- I've never been able to draw realistically, but I did enjoy the Creativebug draw a day challenges in January, March and July. They got me to see that drawing is not just about drawing realistically, that there are other styles of drawing too, ones that I can do. Thanks, Craft Space Continuum, for getting me into the drawing!
New sewing skills
- lined skirt with a kickpleat (not that I'd remember how to do that now--I'd have to go back to my blog post)
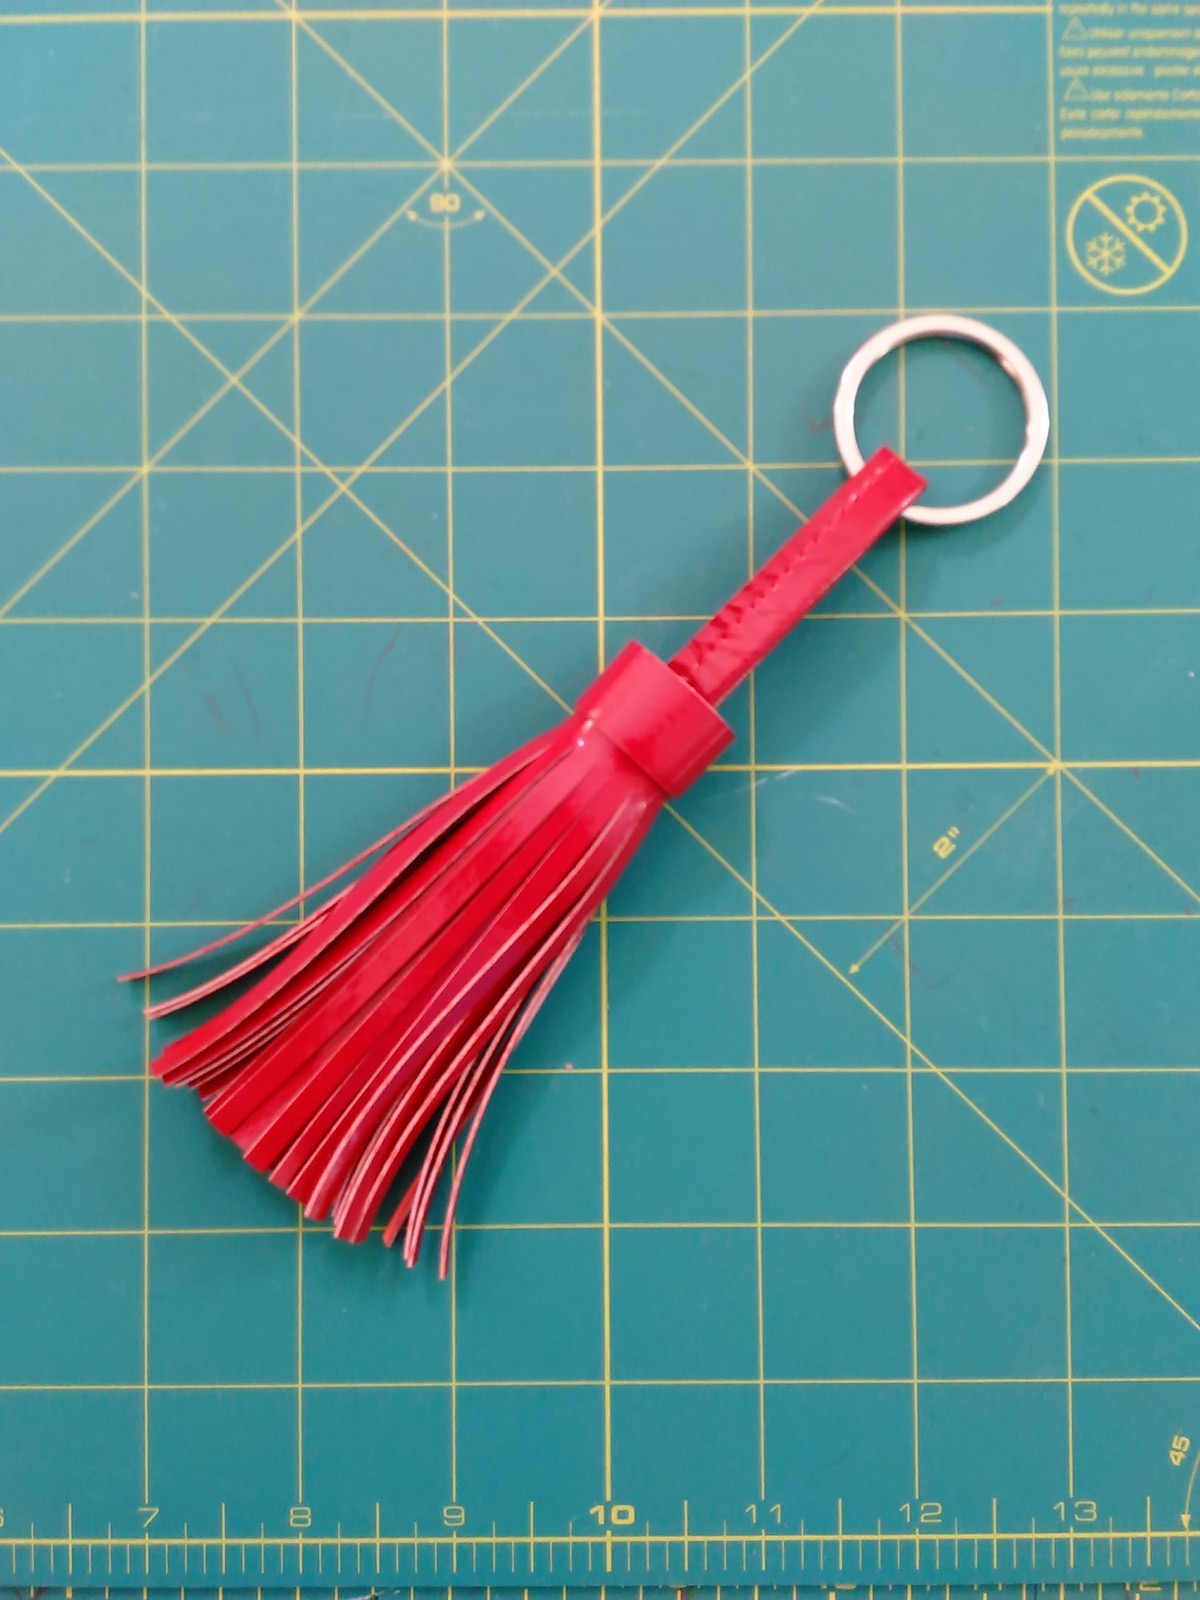
- leather bag and keychain techniques, including making a tassel keychain (so easy!)
- how to install rivets, purse feet, and bag bling
Contest wins
After entering 10 contests total in my sewing career, I won:
After entering 10 contests total in my sewing career, I won:
- 2nd place PR accessories contest at PR weekend
- 1st place PR handbag contest. Definitely a highlight of my sewing career! I've wanted to win a contest for a while now.
Sewing meetups
- MPB Winter Frolic, NYC, March
- PR weekend, Chicago, May
- MPB Day, NYC, August
- Lisa from As I Said, Philly, August
- Antoinette, NYC, September
- James from Craft Space Continuum, and Tomasa from Sew Much Fashion, NYC, November
- Antoinette, Austin, December
- Leslie from The Seasoned Homemaker, Austin, December
- I went to NYC 7 times in total, for meetups or on my own
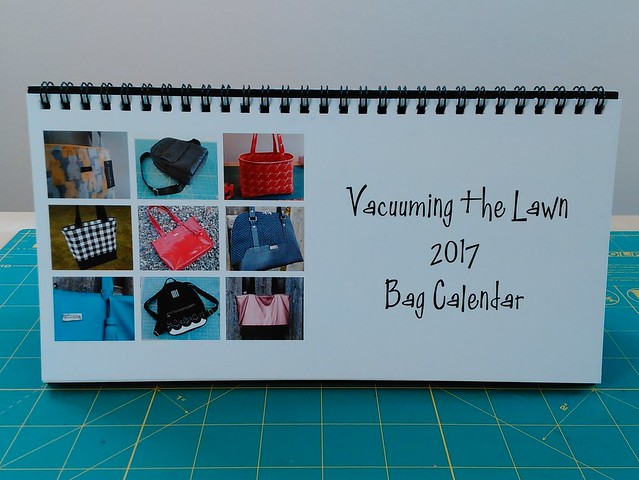
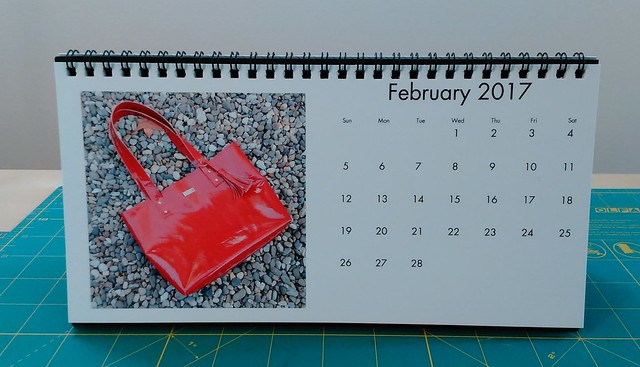
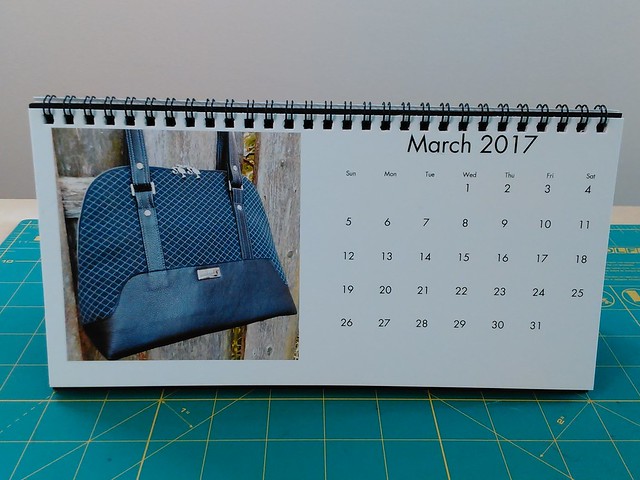
Calendar
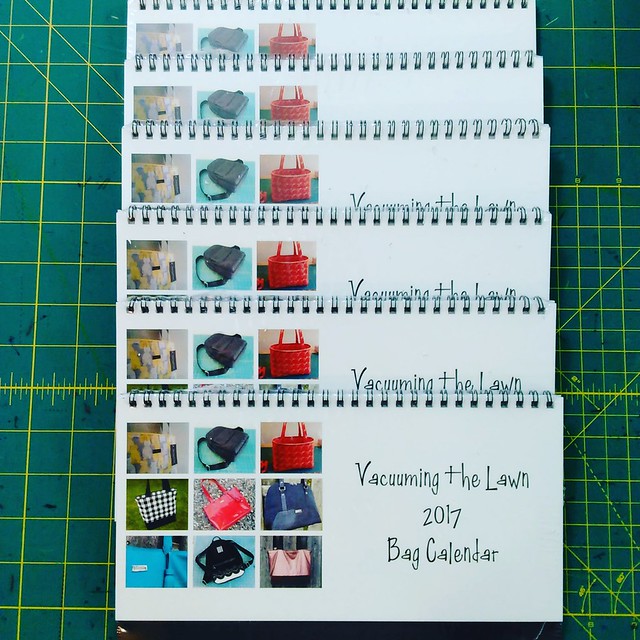
- I put together a calendar of 12 of the bags I made, which was a total hoot for me for the most part, but was also a total and utter bomb at the office white elephant party, ugh.
Store closures
- Paron, NYC, Sept--I will miss your curated collection, how every bolt was labeled with origin, fiber content, price, the mirrors in your store so I could hold the fabric up to me to see how it looked on me, your amazing collection of sweater knits....
- City Quilter, NYC, Oct (but they are still selling online)--you always felt like a place of inspiration even though I'm not a quilter. The CQ was where I originally discovered the Heidi Boyd kits
- Stitch Lab, Austin, potentially Feb 2017--another place of inspiration, love that little Craftsman style house full of goodness. I said goodbye in Dec but they recently posted on IG that there is hope that it will survive--fingers crossed!
Goals last year/this year
- Last year, and the year before, and the year before that, I said I should make a denim jean jacket, and this year, after 3 years of thinking about it, I finally made it!
- I also said last year that I should make some underwear. I didn't make any UW after all, but I did organize all my lingerie elastic during my sewing room reorg in the summer
- For next year, I'd like to make some more pants, maybe jeans, and another jacket. And sometime I'd like to learn more about fabrics--like being able to identify the different types on sight.
General sewing navel gazing
- I feel like I reached a new level with my sewing this year, especially with the use of leather and the amount of topstitching in my jean jacket. What am I now? Advanced intermediate?
- I am starting to see the benefits of experience (or just flat out getting older, however you want to spin it)--and also appreciate those benefits. I am a better sewist than I was when I was 12, 25 or 35. I am more perfectionistic than ever, but I'm also more patient and I have way better tools than I did at any of those ages (cue that line from Fried Green Tomatoes: "I'm older and I have more insurance"). 10 years ago, my sewing success rate was around 50% or less, and now it's more like 75-80%. It looks way more professional IMHO too.
- Hand stitching continues to be a way for me to feel creative each day without the effort involved in garment or bag making, and if I mess it up, it's easy to fix or start over because the scale is smaller.
- I still wish I had the time to do the same project several times in a row--like making 5 lined skirts with kickpleats, one after the other, to really get the technique down, but with a full time job and so many things I want to make, that's not going to happen
- I am utterly and thoroughly addicted to Instagram. I have met so many seamsters that way!
Post-election navel gazing
- The election did not go as I expected it to go (massive understatement there), but I'm getting involved in ways I haven't before.
- At the gym there is PB and J sandwich making event every Nov. In past years, I donated supplies but this year was the first year I actually made the sandwiches. We made 510 sandwiches and packaged them with snacks and juice into bags for the Trenton Area Soup Kitchen. My job was slapping peanut butter on bread for 2 hours, and it felt good to actually do something.
- This week I started making pussyhats for the Pussyhat Project, to be worn at the Women's March on Washington. So far I've sewn 16 hats and have a goal of at least 48 hats before the end of next weekend. Thank you to those who commented that you're also going to make hats too! Hurrah! Spread the word!!
- I realize, my contributions above are really, really small, but it is a start.
- I really loved all your comments on my post about Devastation and Doris. I should update the post to note, that while my father originally told me Doris passed the day after I saw her, she actually died the day I saw her, so I saw her in the last 8 or so hours of her life. She was 99. I attended her funeral, and it was amazing. Doris outlived her husband and both of her children, so her grandchildren talked about her life. They talked about her positivity, and how she liked to give the "thumbs up". She was a nurse for 40 years, and she took care of soldiers returning home from WWII. Apparently she made amazing cookies too, and I love it when women are remembered for things like that.
- I highly recommend subscribing to and reading ATP's blog. She has an almost-daily post with tips and recommendations on what to do now going forward post-election. Not all of her articles are on the blog though; for the early ones, you'll need to read the archive (highly recommend).
So, congratulations if you made it this far! Hope to see you in 2017, maybe at PR weekend in mid-May in NYC? Maybe at Sew Expo in Puyallup in March? (I'm seriously considering that one). Maybe on Instagram or on your blog?
Go forth, dear sewing ones, go forth. My best self honors your best self.
And of course, be well!