Wednesday, July 29, 2015

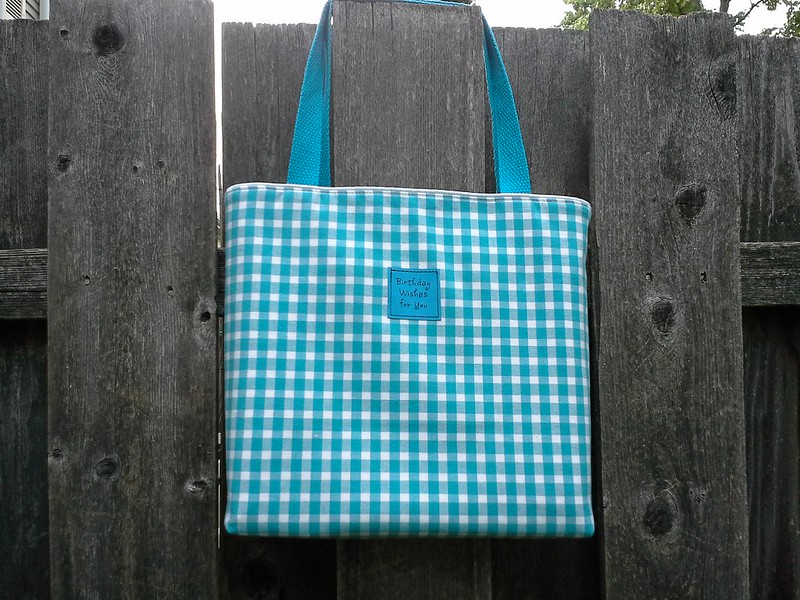
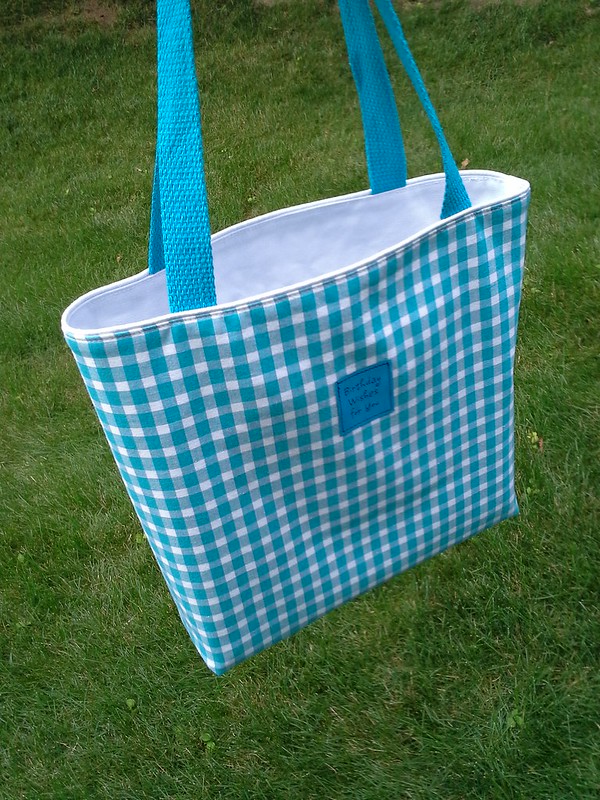
Turquoise and White Gingham Tote for Francesca

20150705_185705
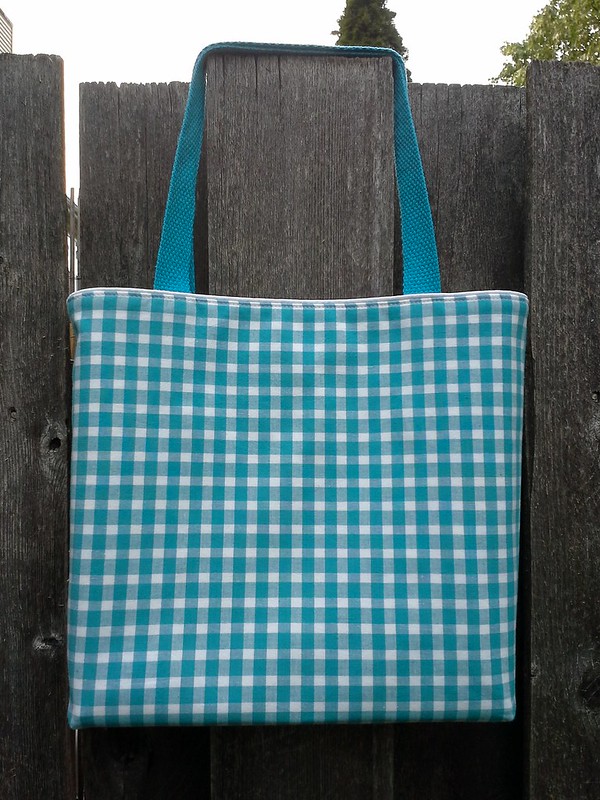
I made a tote bag for a friend from my meditation group over the July 4th weekend.  She turned 80 earlier this month and we threw her a sweet little surprise party where everyone brought something:  balloons, sweet treats, fruit, flowers, even a birthday crown!  I normally do not sew for others, but Francesca is extra special.  She is like a grandmother to me, probably because I feel like I'm still 20-something at heart.

Exterior fabric:  from my stash of cotton gingham
Interior fabric:  White duck cloth from Joann's.
Piping:  Joann's.
Cotton Strapping:  Joann's
Interior zipper:  my stash
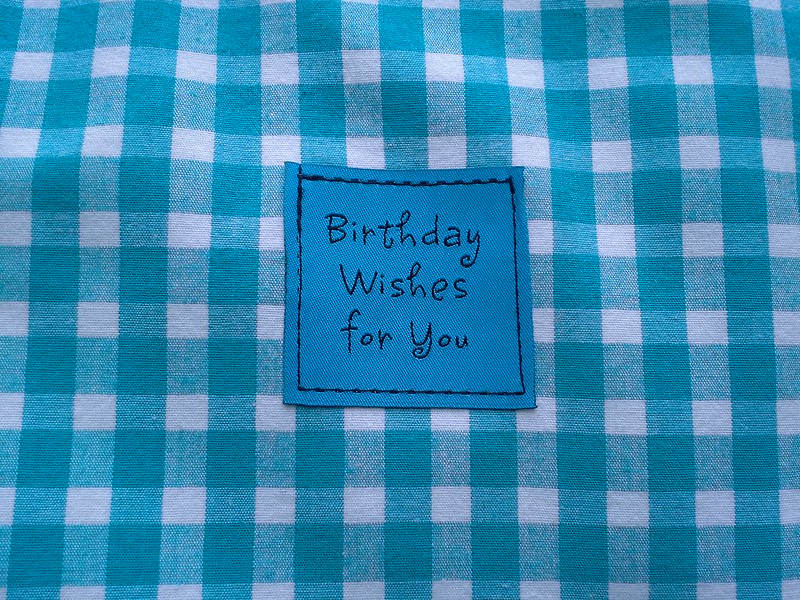
Exterior label:  from my stash of scrapbooking woven labels.  Someone recently asked where I find these labels as they no longer seem to sell them in stores.  I've been buying similar labels lately on ebay by searching for "Joann woven label" or "Threads woven labels" or "MAMBI woven labels"
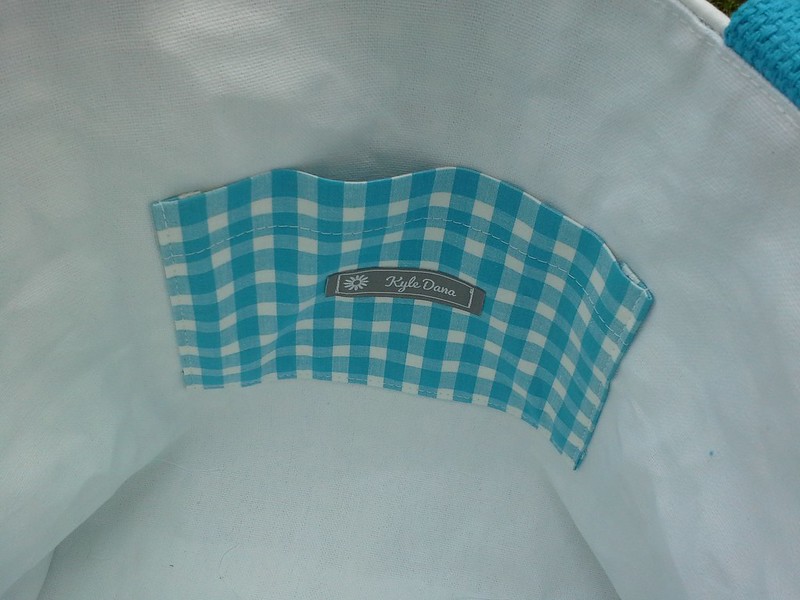
Interior label:  LabelsAndRibbon.com
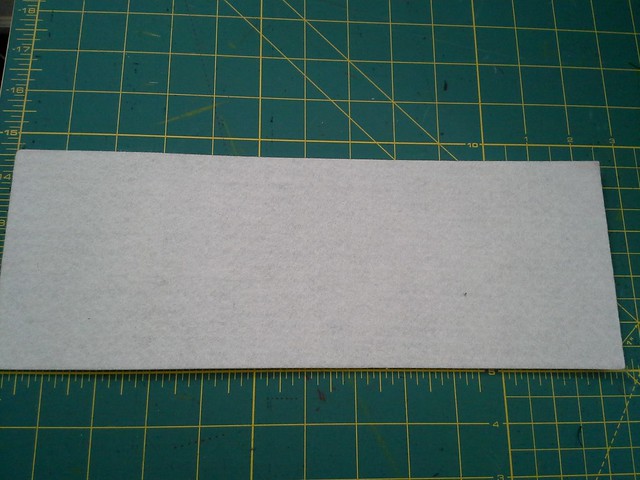
Peltex (in the bottom of the bag for support):  Joann's
20150705_190733
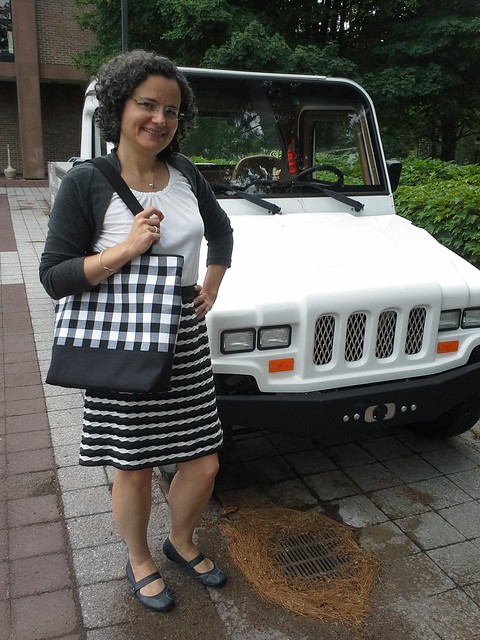
Front
20150705_190540
The back is unadorned.
20150705_181708
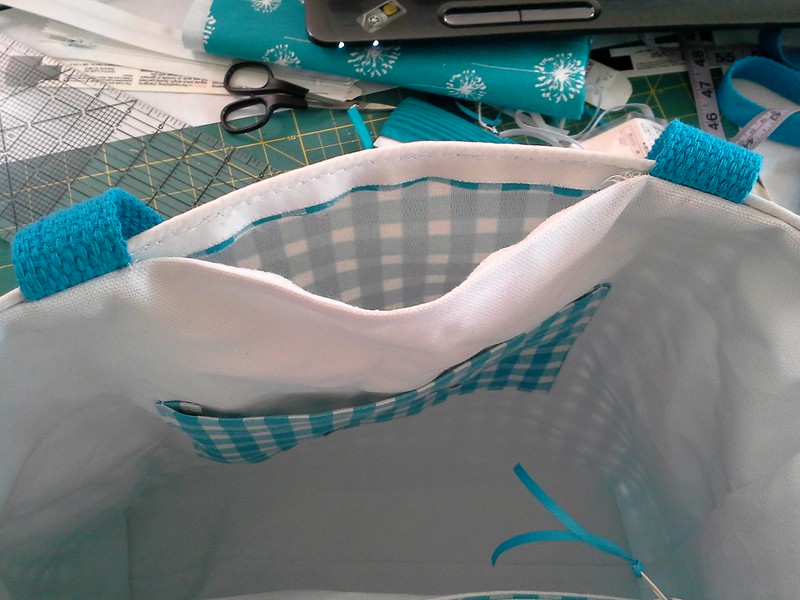
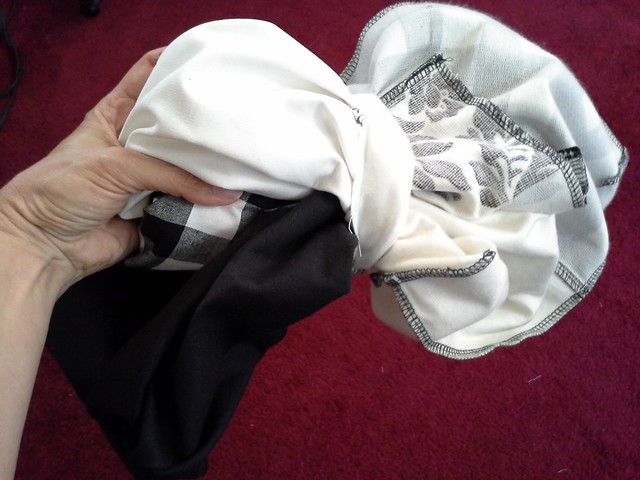
Unlike other bags I've made, this one was birthed through the top edge instead of the bottom seam in the lining.
20150705_183228
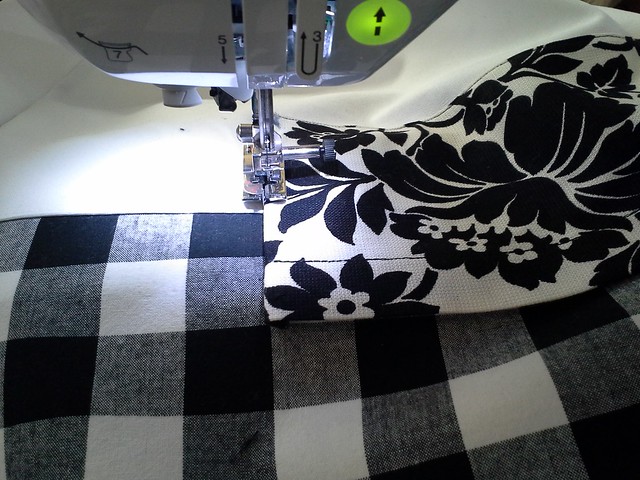
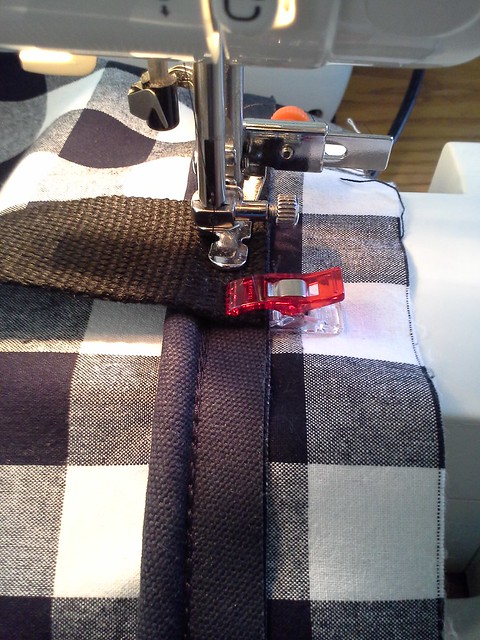
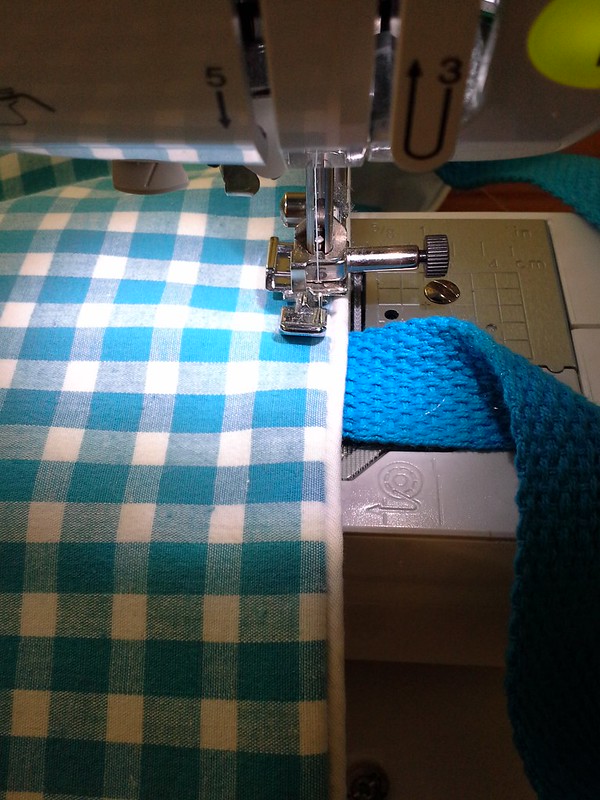
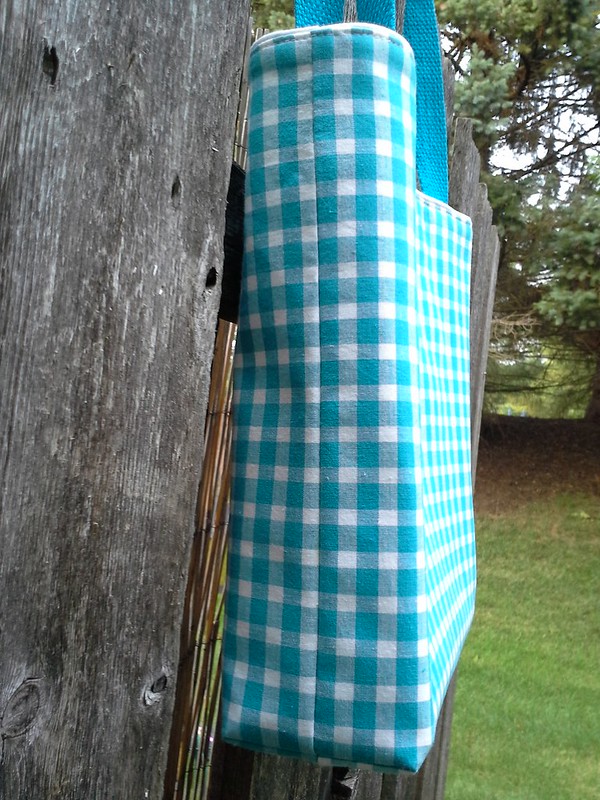
I made the bag in the "reversible" method, using this tutorial from the Seasoned Homemaker, which means having to topstitch the top of the bag. I was a bit afraid of this step as any uneven stitching would be immediately evident.  I lined up the edge of my presser foot with the top of the bag and used that as my guide.

20150705_185758
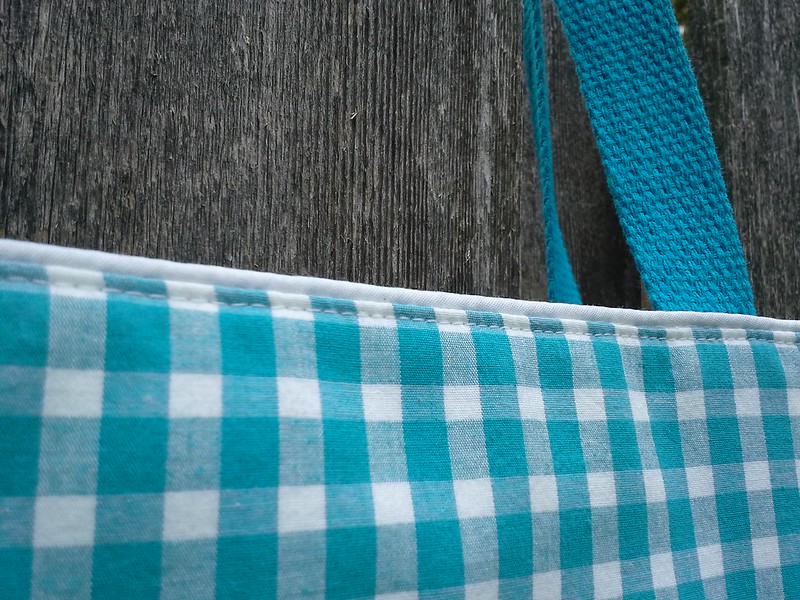
 It turned out fine!  And of course the bonus is that there is no evidence that the bag was ever "birthed".  It makes a completely professional and complete finish.


20150705_185820
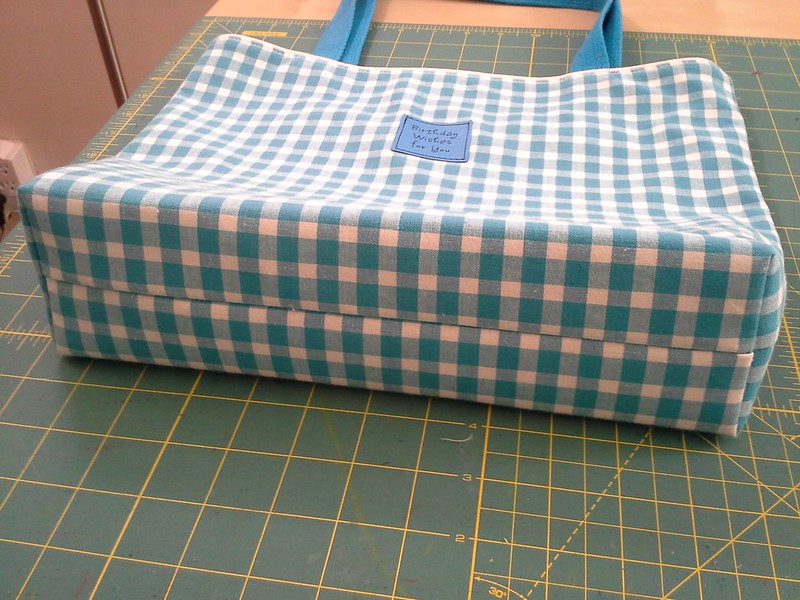
Having recently sewn my black and white gingham bag, I decided to cut the exterior out as one piece so there would be just one side seam instead of two.  That meant only lining up the gingham on just one side.
20150706_211310
If the side seam matches, it also means that the bottom will never line up.  I decided I'd rather have the side seam match instead.
20150705_151241
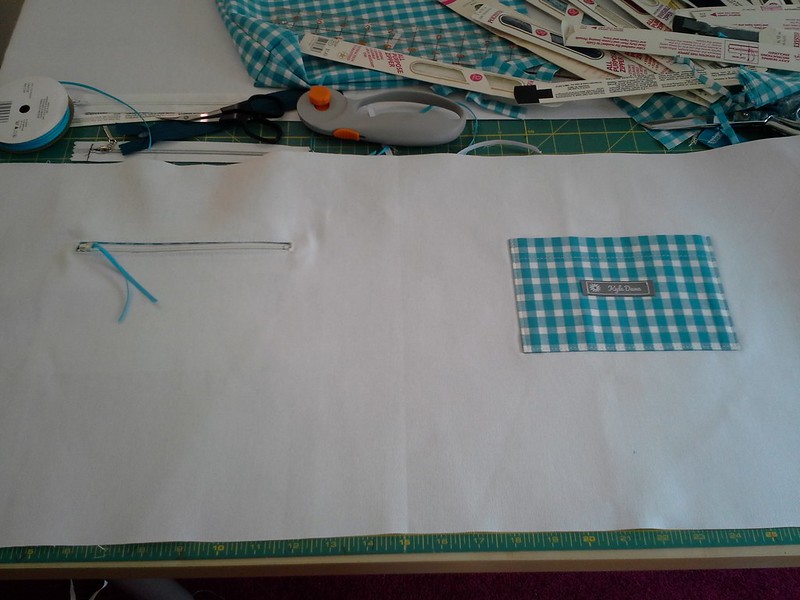
I also cut the lining as one piece, so it would also have one side seam.

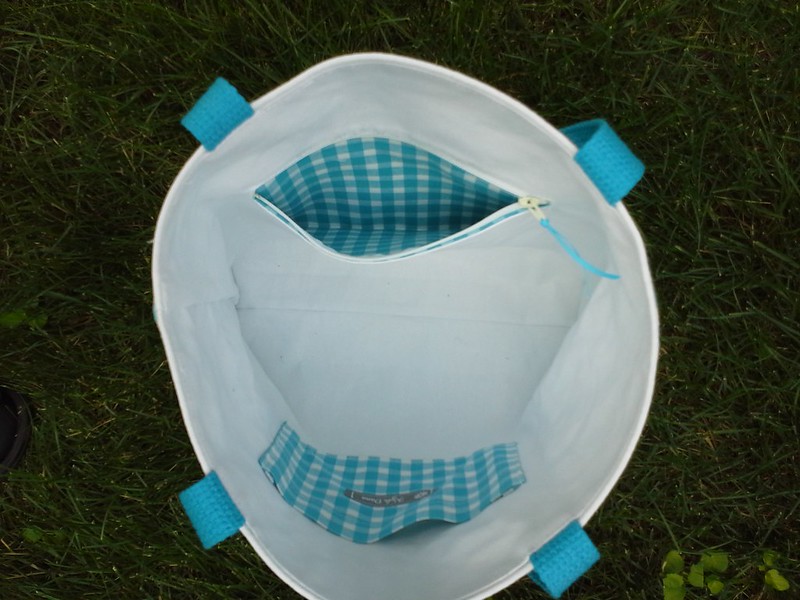
Since I didn't have an appropriate zipper for the interior zipper pocket in my stash, I added a grosgrain ribbon pull to a regular zipper.  Since then, I saw Jennifer Stern's tutorial on using an invisible zipper for interior zipper pockets.  I may try that sometime, though I just bought a bunch of zippers with foxtail pulls from the Emmaline bag site.
20150705_184854
The interior zipper pocket fabric is the same gingham.  I sewed the zipper pocket using this tutorial from the Emmaline site.
20150705_141255
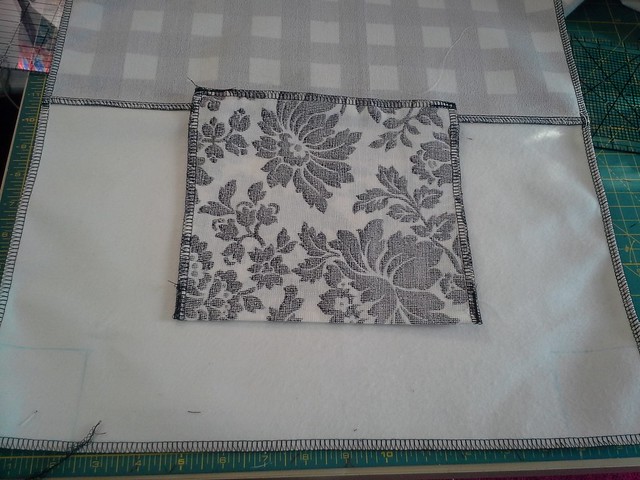
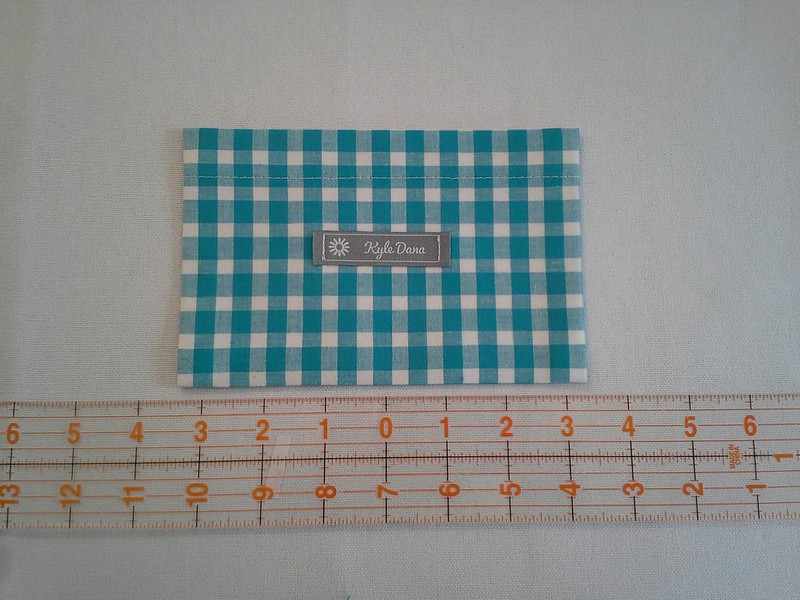
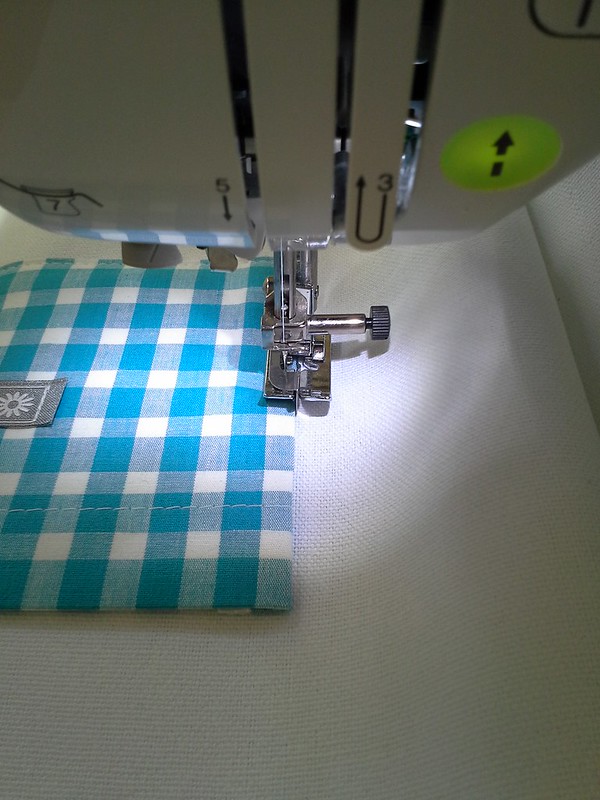
The patch pocket on the inside is about to be sewn on, above. I'm lining it up with this fun ruler that has 0 in the middle, to make it easier to center the pocket. I used Wonder Tape to anchor the pocket at first, then sewed it on using the flange on my blind hem foot as a guide.
20150705_141620
So then it looked like this:
20150705_184900
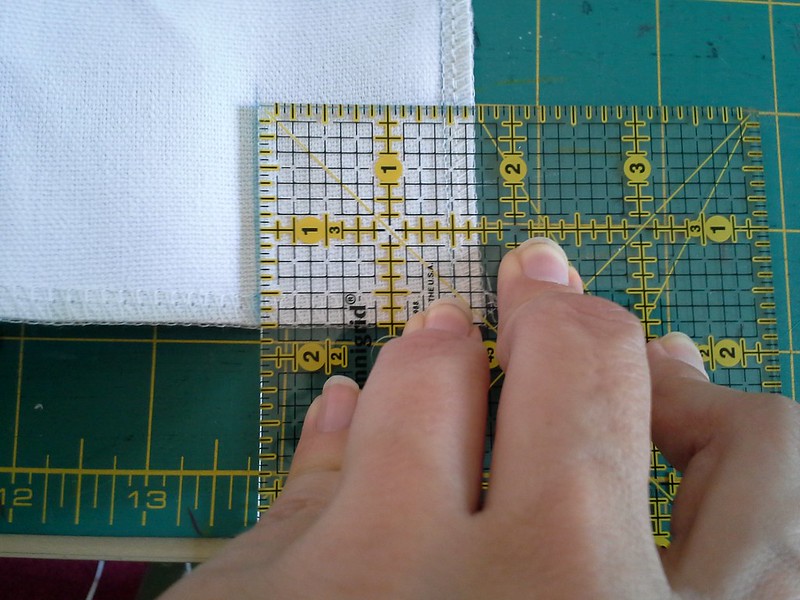
This time I boxed out the corners 1.5" from the seamline
20150705_152238
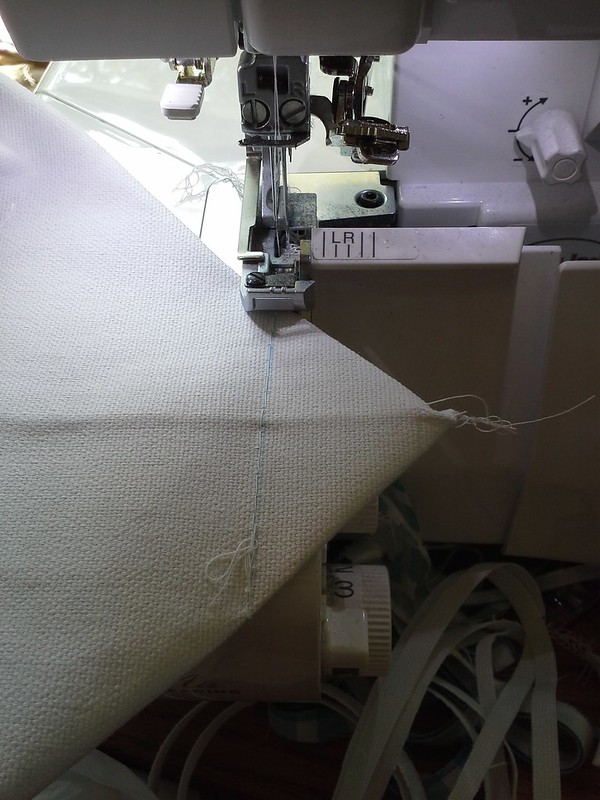
It was basted first and the excess was serged off.
20150705_152653
I definitely want to make one of these for myself!
20150705_185956
So there you have it, a fun bag for summer! This one took about 5 hours to make, and turned out ~12" high and ~11" wide at the base.
20150708_124544
Happy Birthday Francesca! Wishing you everything warm and wonderful!
20150729_072721
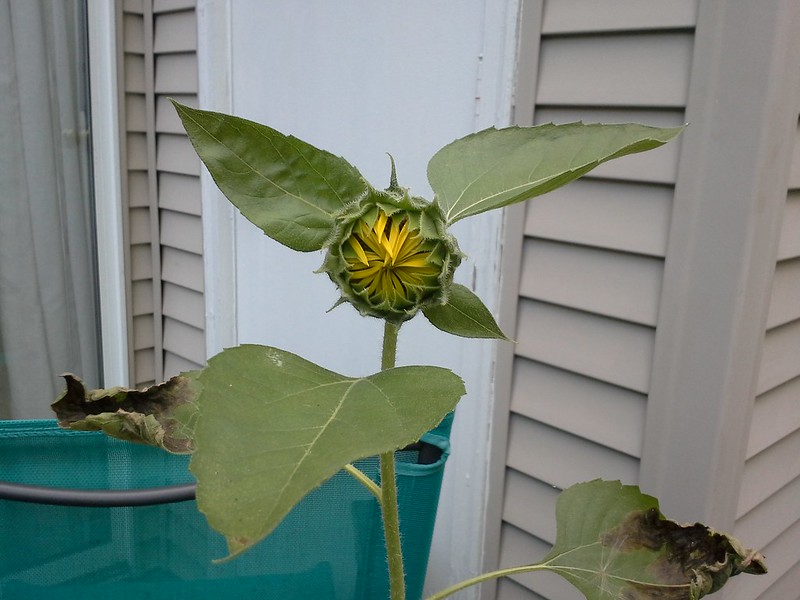
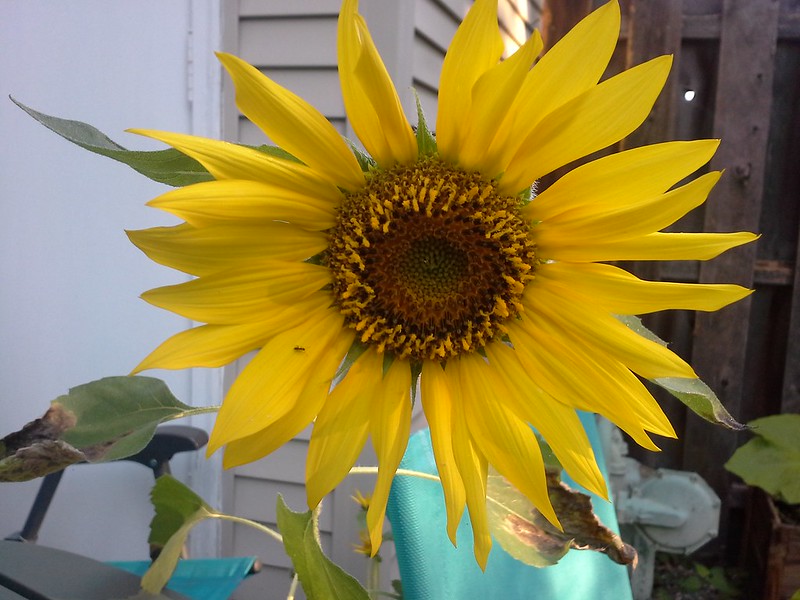
A volunteer sunflower in my backyard opened this week.

Be well!

Thursday, July 23, 2015

Lazy Graining, Fighting Fabric, and Other Sewing Dramas

20150615_094454
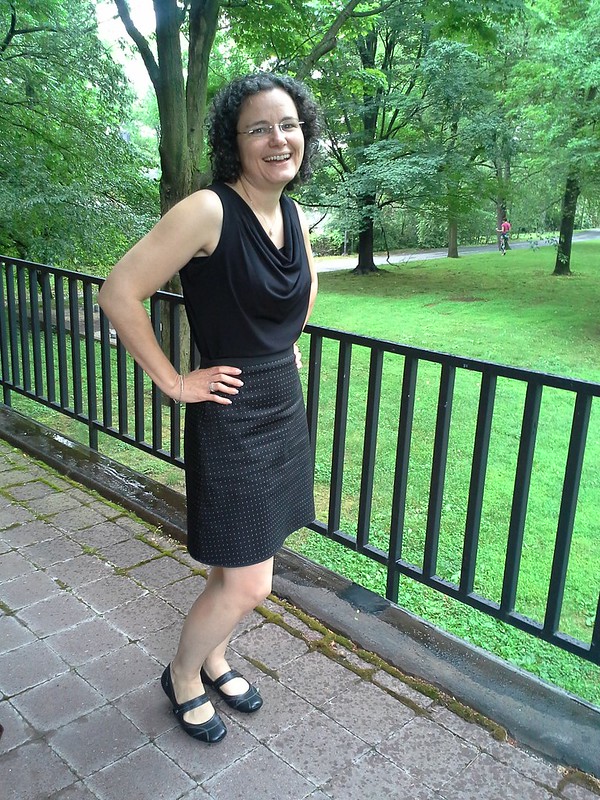
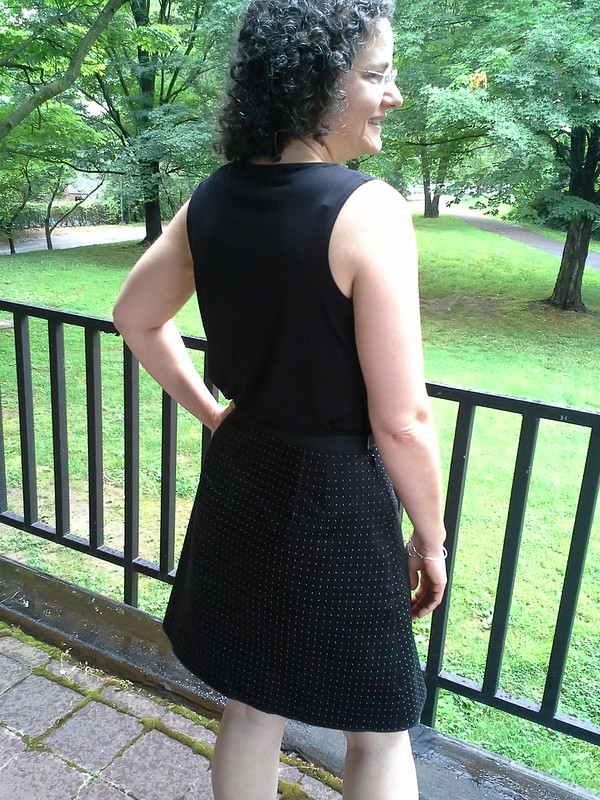
New Look 6847 skirt with RTW top

True confession:  I sewed for years without being aware of what a grainline is.   Then waaaay back in 2009 or 2010, Elizabeth (of Sewn blog, formerly of Sew a Beginner) wrote about how her sewing teacher emphasized how impt it is to grain fabric and I had no idea what she was talking about.  Since then I do something which sewing purists would not consider to be graining at all.  For woven fabrics, I make sure the grain line is parallel to the selvedge, or if it's corduroy, I make sure the grain line is right on top of one of the wales of corduroy.  This was "good enough" for me.

(Graining knits, I use the technique Sarah Veblen shows in her PR class "Understanding Knit Fabrics").

So my lazy graining technique totally backfired on me with this fabric.  Honestly I think this fabric, which is a stretch woven and somewhat plastic-y feeling, really really wants to be a bag.  However, I was utterly determined to make it into a skirt, and it became one of those projects where I made it three times and even then it's not quite right.

Issue #1 PROBLEM:  FABRIC NOT ON GRAIN
20150723_205212
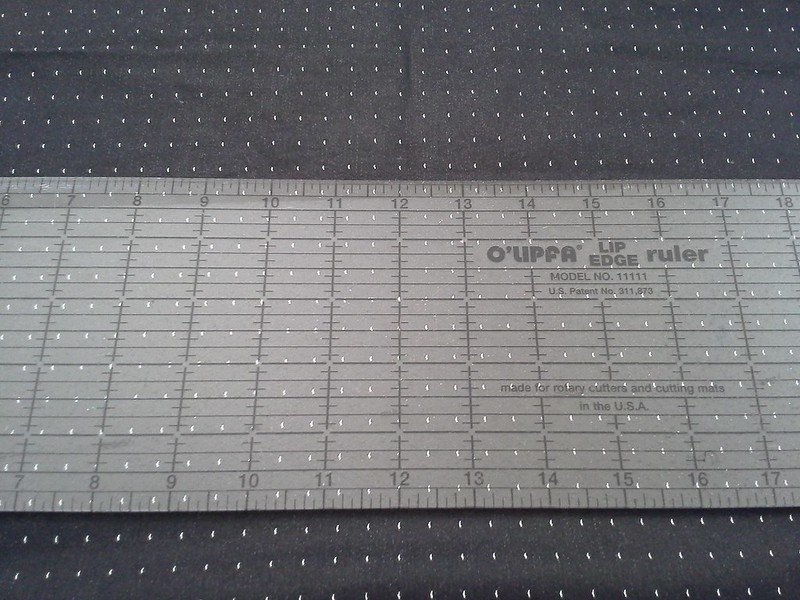
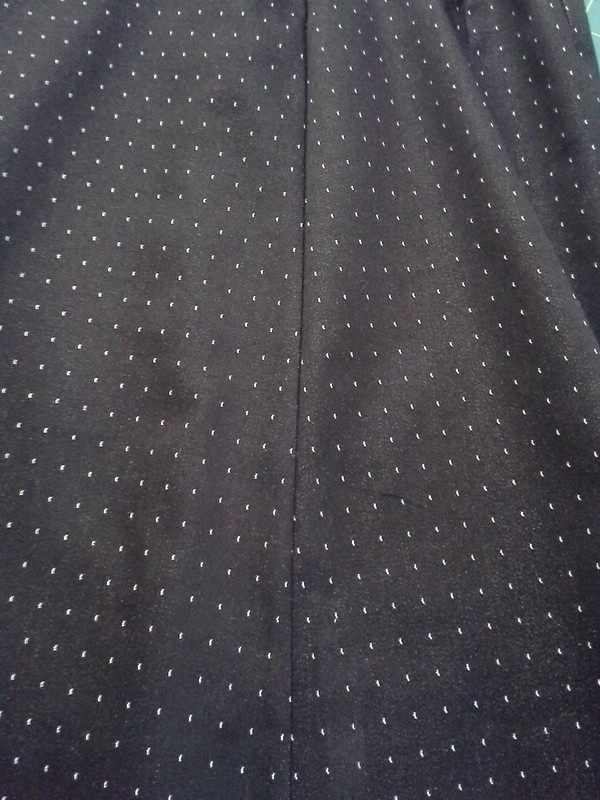
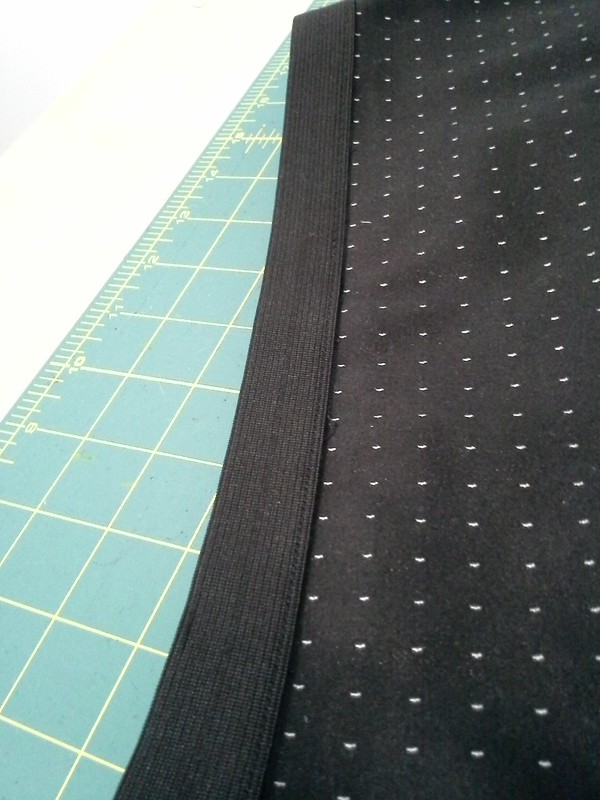
Look at the dots at 12". Vertically they're great, but horizontally.... 
One of my biggest issues was the grain.  I just assumed I could line the grainline of the skirt on top of the vertical dots and away I could cut.  However what I found is that while the dots looked vertically ok down the center of the skirt, horizontally they were totally OFF.  After cutting out the skirt, I could not get the dots to align on the side seam at all. I made the skirt anyway thinking I'll just ignore the side seams but there was NO IGNORING THE HEM.  There was NO IGNORING THE top of the skirt near the waistband either.  It was SO obvious the dots were not horizontal.  UGH.
20150723_205324
Issue #1 SOLUTION:  GRAINING the fabric: 20150613_150433
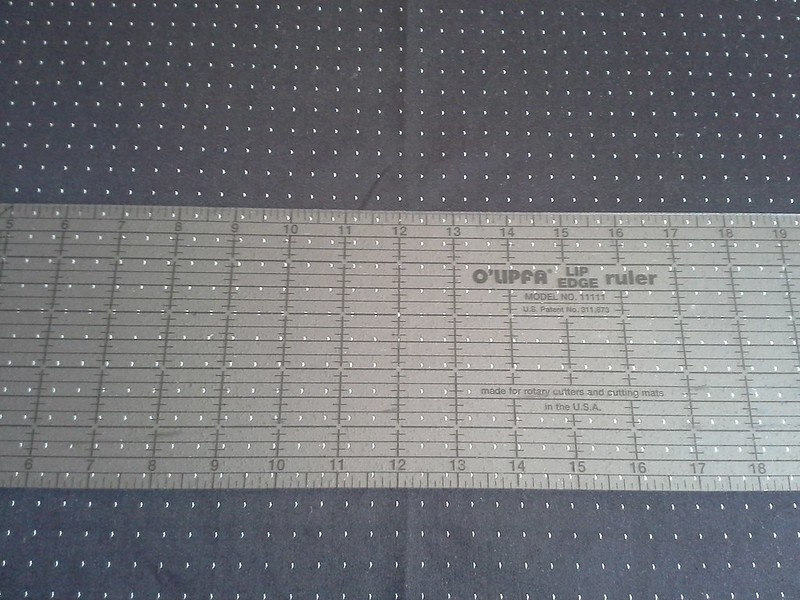
Now the dots are in alignment horizontally and vertically

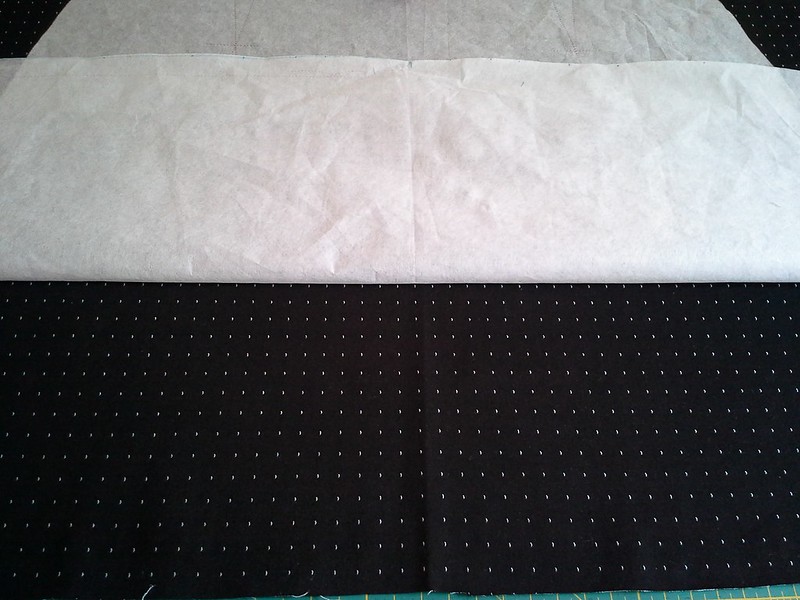
A while ago I started watching Lynda Maynard's Perfect Fit class on Craftsy and suddenly, as I contemplated my graining issue, an image of her tugging on the muslin like her life depended on it flashed through my mind. I bought the last of the fabric, and put a ruler on it.  If I aligned the dots vertically, I could see that they were off horizontally.  So I tugged on the fabric's bias until the dots aligned horizontally and vertically on the ruler.   Then I was able to cut and sew the skirt.
20150613_151155
Verifying vertical and horizontal alignment


20150615_072021
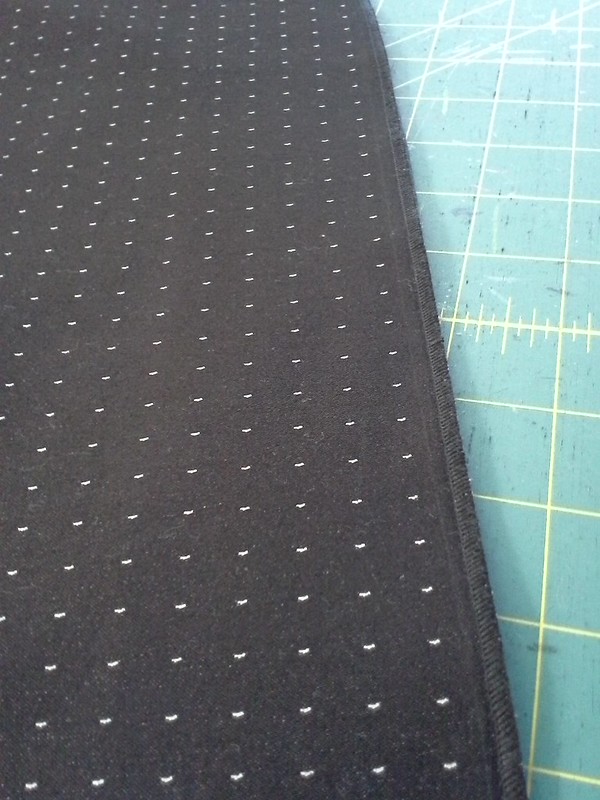
Dot alignment on the side seam:  close enough!

ISSUE #2 PROBLEM:  DARTS BREAKING UP THE PATTERN
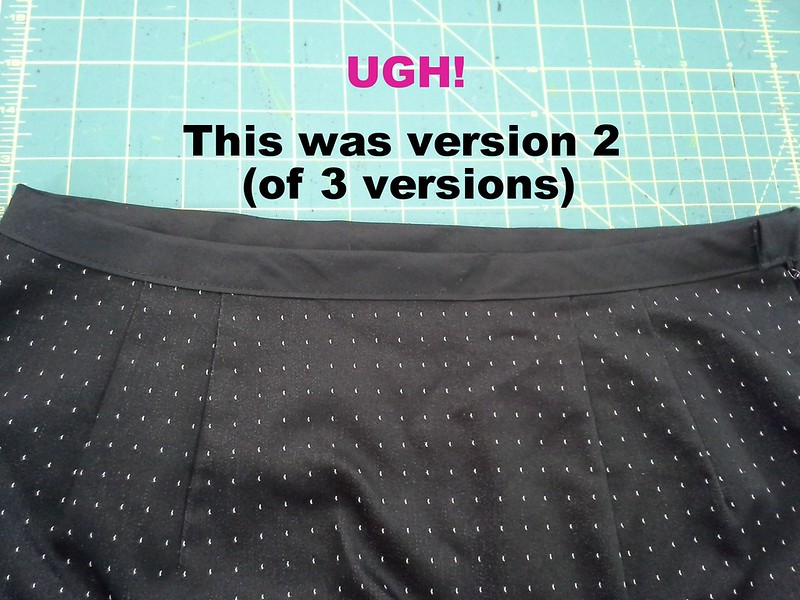
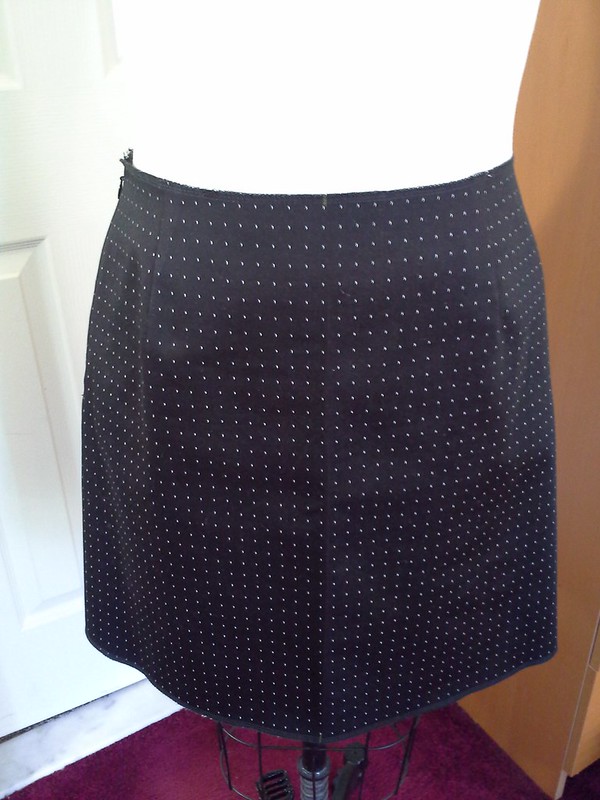
I used my favorite skirt pattern which has darts front and back, but they broke up the flow of the dots.  I felt it was ok in the back, but I did not like how they looked the front (They also seemed to stick out a bit even after pressing, so they were probably stretched out). Next time I will try what Tomasa recommends for stabilizing darts in knits.
 20150614_104351

Issue #2 SOLUTION:  Fold out the darts, but....
I have traced a version of this pattern where I folded out the darts for stretchy knit fabrics and it totally works, so I cut the front again using the folded out version.  However, this woven fabric does not have a lot of stretch.  So after folding out the darts, it is a bit too tight across the front.  UGH.  Since this is my third version and the fabric store has no more of this fabric, I'm done!
20150615_094527
Too tight across the front

Issue #3:  Fighting Fabric
Honestly I think this fabric is screaming to be a bag and I wanted it to be a skirt.

Issue #3: SOLUTION:  Lesson learned, never fight the fabric.
I may have enough left over from my two prior skirt attempts to piece it together to make a bag (you know, like those LL Bean tote bags, where the strap is sewn down the front and back--the fabric could be pieced underneath the strap).

OTHER ISSUES (4, 5):
20150614_164113
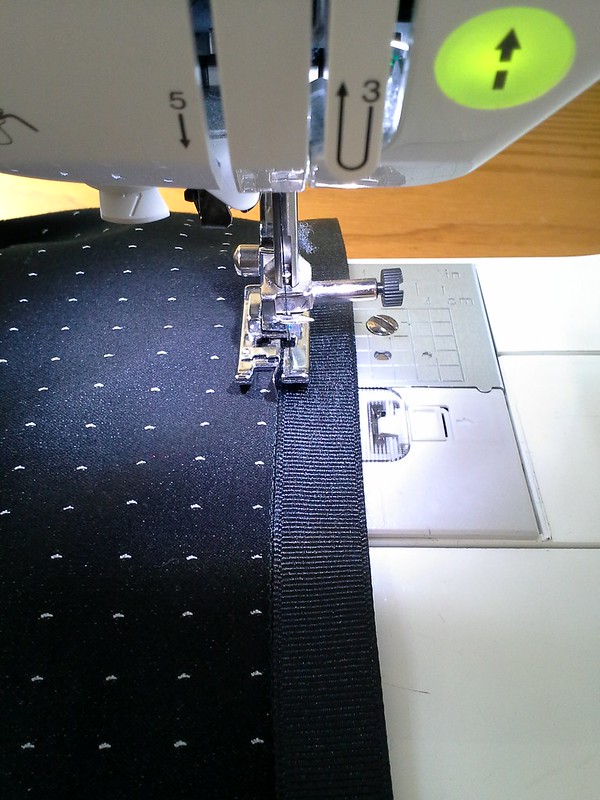
Carefully stitching a grosgrain ribbon....only to remove it later!

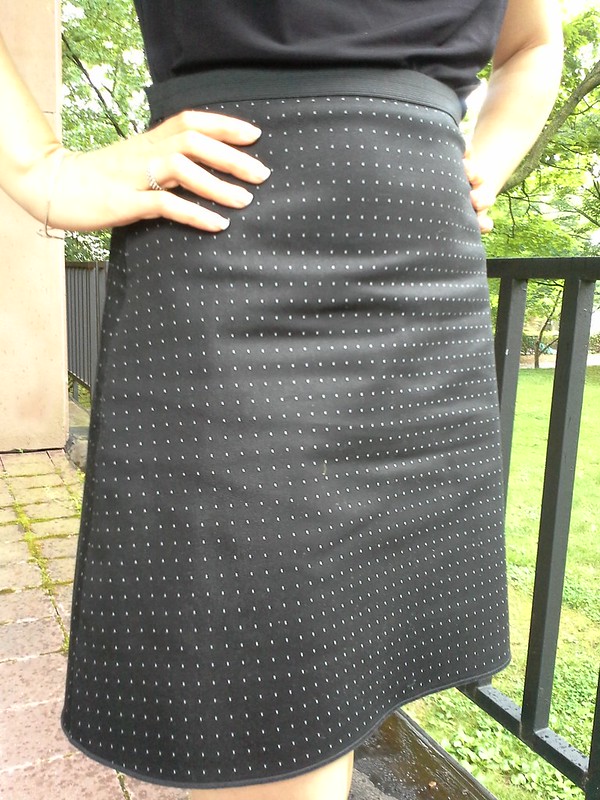
I used grosgrain as a waistband on the skirt, but it was way too tight for sitting in.  Again, it's not a stretchy knit, it's a stretch woven that's not very stretchy  I then removed the grosgrain waistband and sewed on an exposed elastic waistband instead.  Now I can actually sit in the skirt.20150615_071935
Elastic waistband

I intended to do a rolled hem and made a sample first.  I had not actually set the rolled hem feature on my serger so it came out looking like this.  I actually like how this looks so I left it like that for the real deal.
20150615_072005
Not-so-rolled hem
20150615_094646
I made this skirt way back in June....and have not sewn a garment since then, only bags!  Honestly I am enjoying my sabbatical making bags--I have two more to blog about that you haven't seen yet. I definitely don't get as frustrated since there isn't much fitting involved (fit the lining to the exterior, making sure the interior zipper fits in space created for it, that kind of thing).   But I would like to make at least one dress, as it is summer.

20150723_192440
Mother nature is such a tease....will this sunflower (totally a volunteer) open tmw???

Be well!
Saturday, July 18, 2015

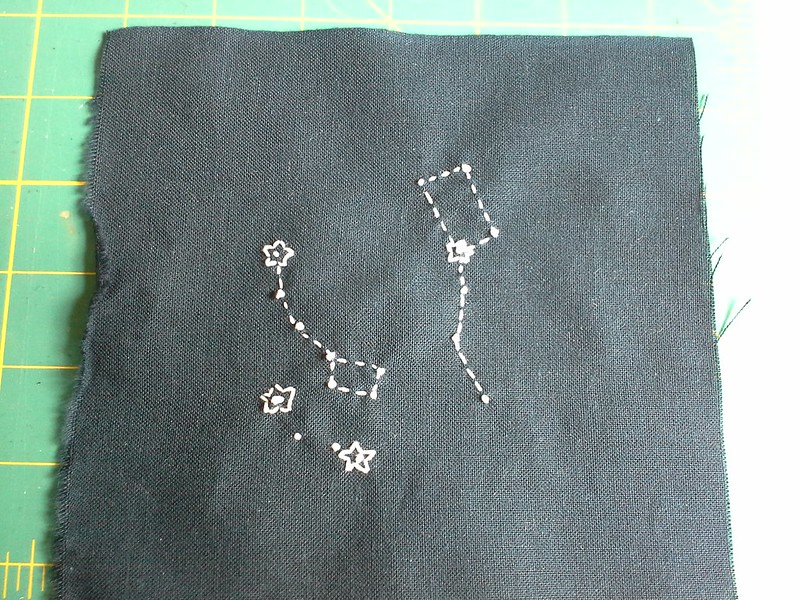
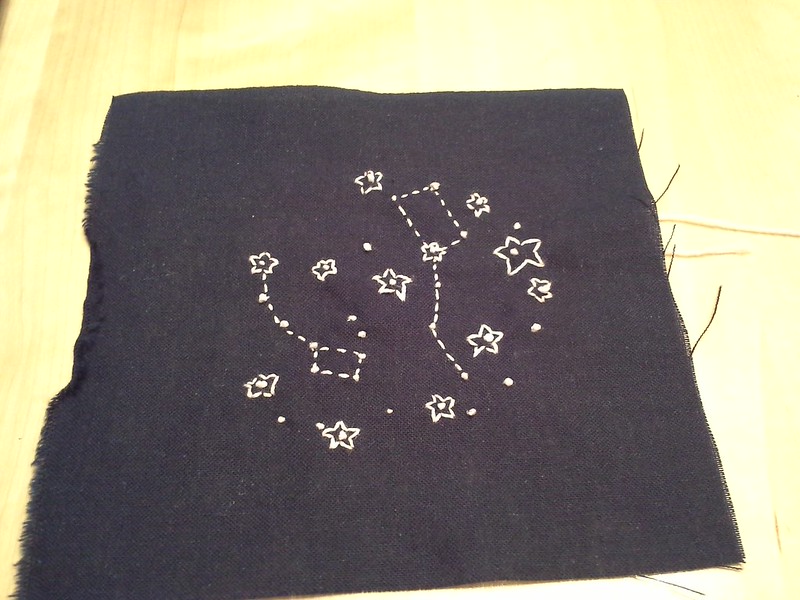
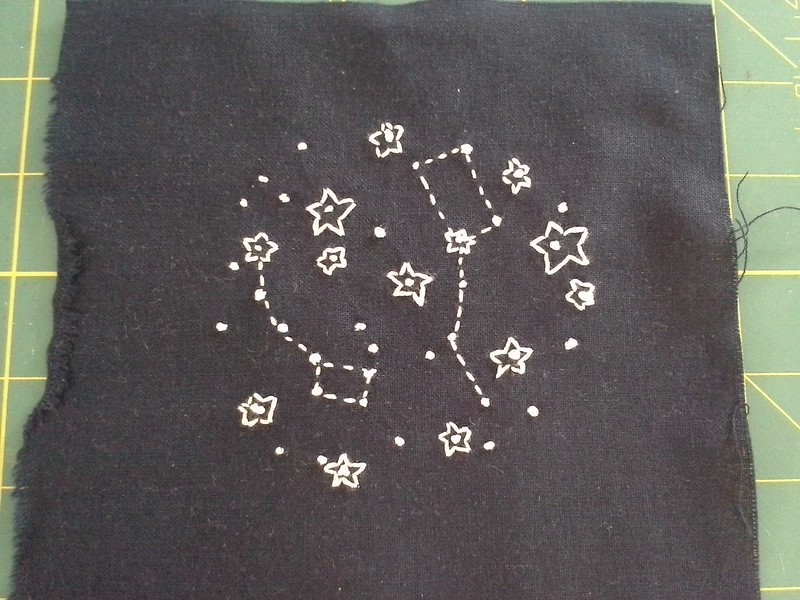
Constellation in Stitches

20150718_202250

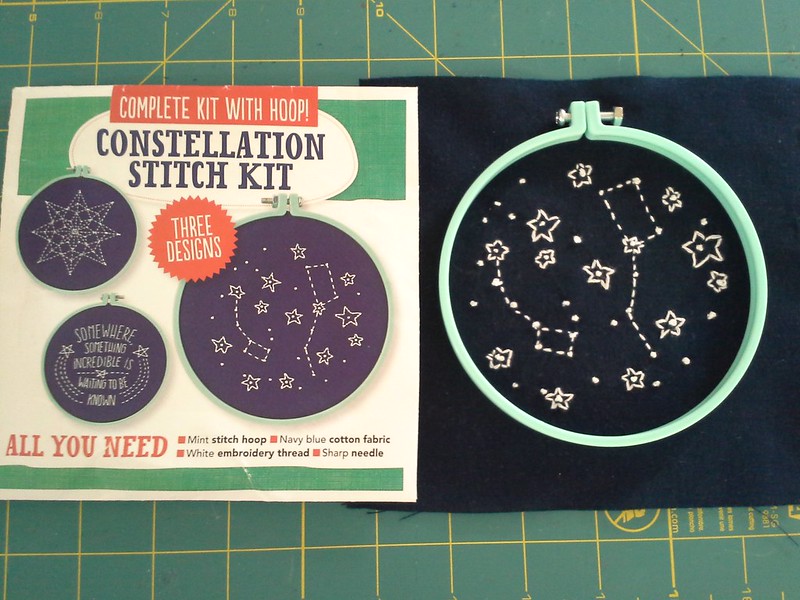
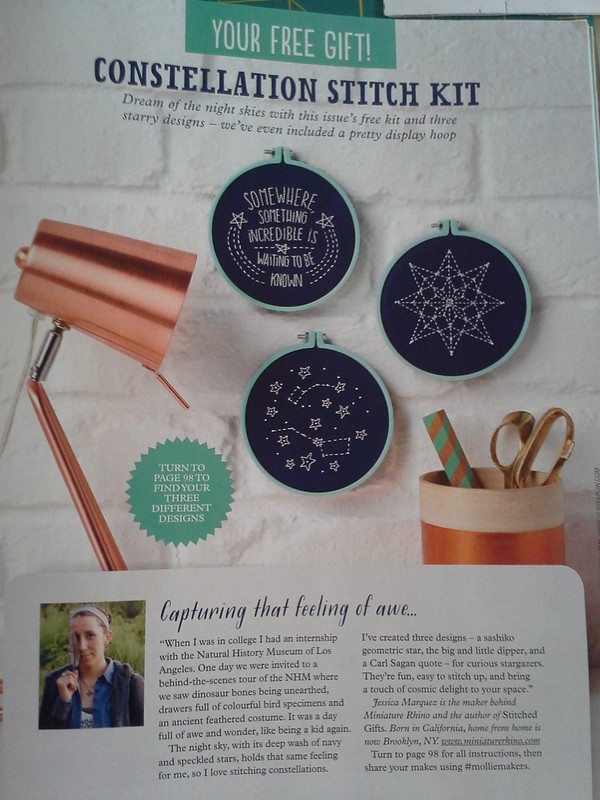
I saw this constellation stitch kit on Twitter over July 4th weekend, when Joann's retweeted someone else's tweet about it.  It's from Mollie Makes magazine (which I had never heard of before til this), issue #53.  I had to have it.  After checking my local Joann's, I went on ebay and bought a copy.
20150718_202406
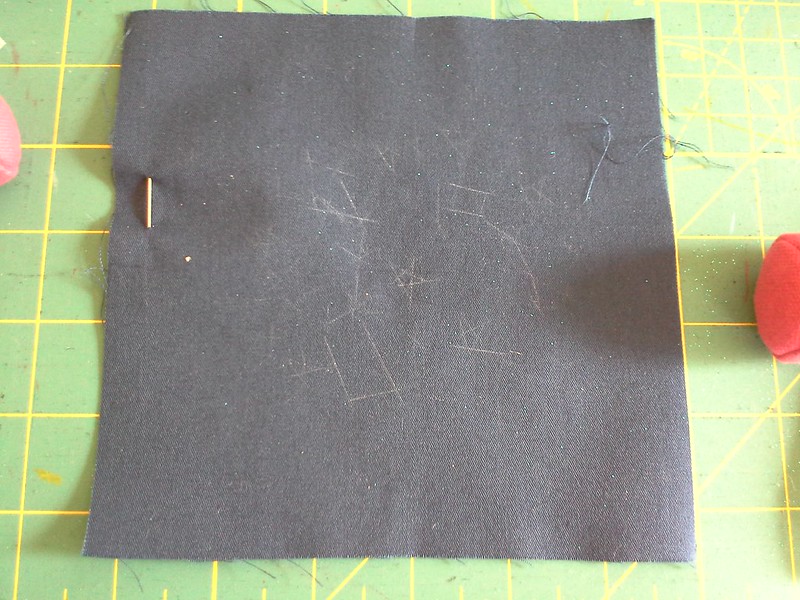
It's totally misleading that this kit is labeled as "complete".  It included just one tiny piece of fabric, enough to stitch one design, not all three.  There's just one hoop (which I kind of expected).  The design is not pre-printed--it's printed onto a magazine page and you have to manually trace it onto the fabric.  They recommended a particular kind of transfer paper, but I used some of my wax tracing paper and my smooth tracing wheel at first (do not use the smooth wheel, see below).


So it wound up looking like this (messy):
20150718_153314
I stitched for a bit and hated it, so decided to start over.  I had some sashiko cloth I bought on ebay or etsy a few months back, so I cut out a piece and used my serrated tracing wheel instead.  

It is totally pointless to try to trace the stars and dots; just trace the big and little dippers because after you  stitch both dippers, the stars and dot tracings will have magically disappeared (with wax tracing paper, at least).

Then I got to stitching again.
20150718_161926
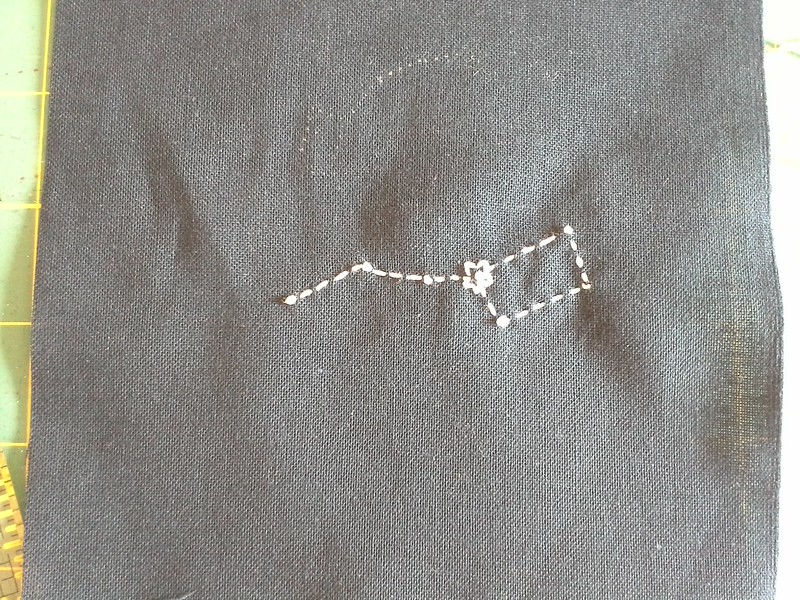
Big dipper!
20150718_172610
Little dipper!

I used the template as a rough guide for placement of stars and french knots.  After doing so much sashiko, which does not use a hoop, I did not use a hoop for this.
20150718_181329
Dinner time checkpoint
20150718_202350
Done!

So it's cute but of course it took me longer than my 30-60 minute estimate; probably 2 hours total.  Next time would be faster as I am better at French knots now (those French knots are all over the place above, I know many of them are too large).  I also know only to trace the big and little dippers with a serrated tracing wheel.   I wasn't precise about making stars symmetrical and even as that seemed to add to the "whimsy" but maybe next time I'll be more of a perfectionist.

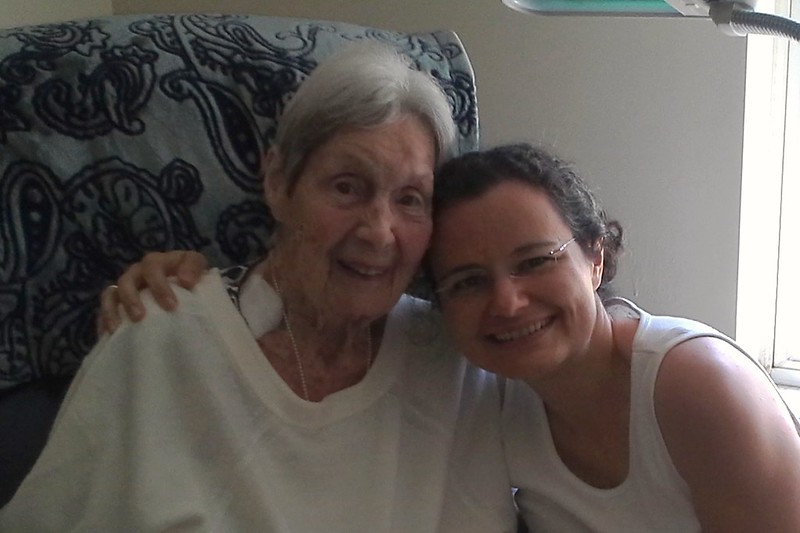
20150716_114728
Here I am with my great-aunt Iris on Thursday morning.  She is 99.5 years old!  I had a staycation this week which I somehow amazingly did not overschedule.  A good mix of social activities (lunch, movies, friends, Dad) and time spent alone in my backyard watching the world go by in the park next door.  The weather was absolutely perfect for it most days.  I ate as many meals outside as possible, and even took a nap outside one afternoon.  A little bit of reading (books and blogs), meditating, sewing and sashikoing, and did a few simple chores that I had been putting off too.  Highly recommend!

Be well!
Friday, July 10, 2015

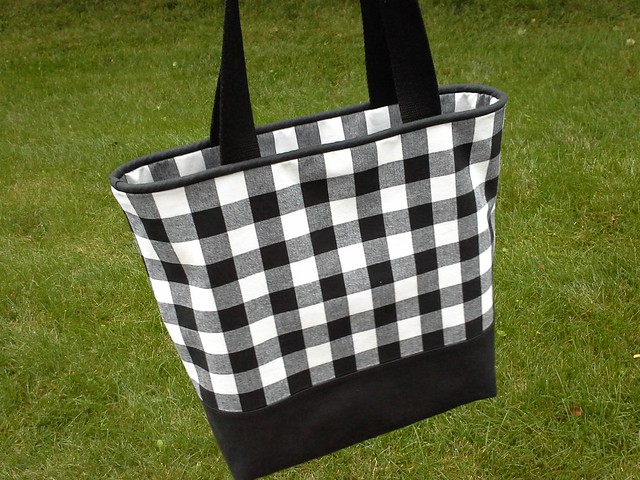
Black and White Gingham Summer Tote Bag

20150628_194838
Gingham gingham gingham!
20150627_165621
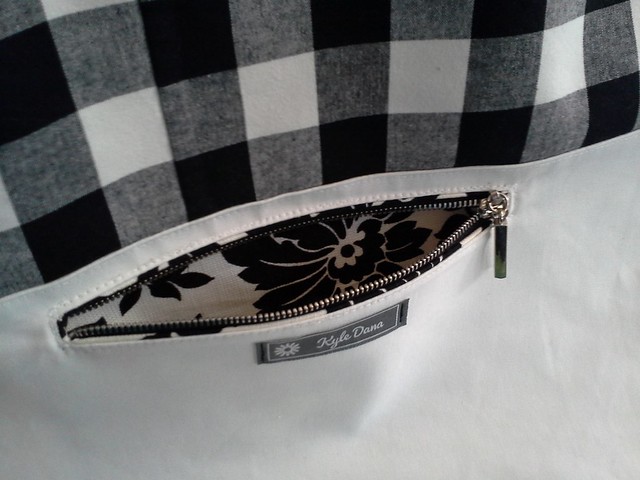
Zipper pocket
20150627_165533
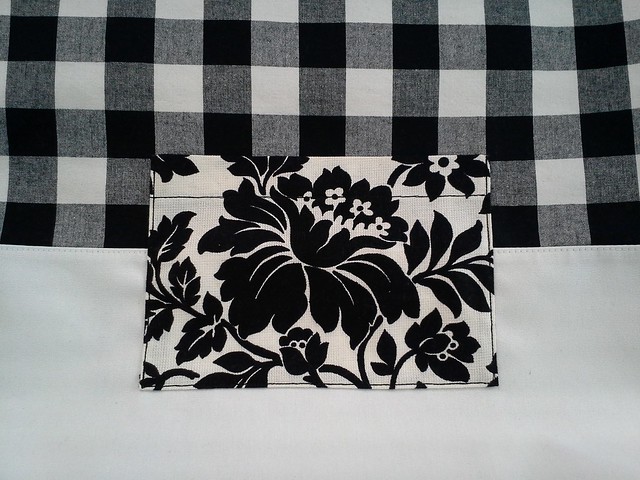
Patch pocket
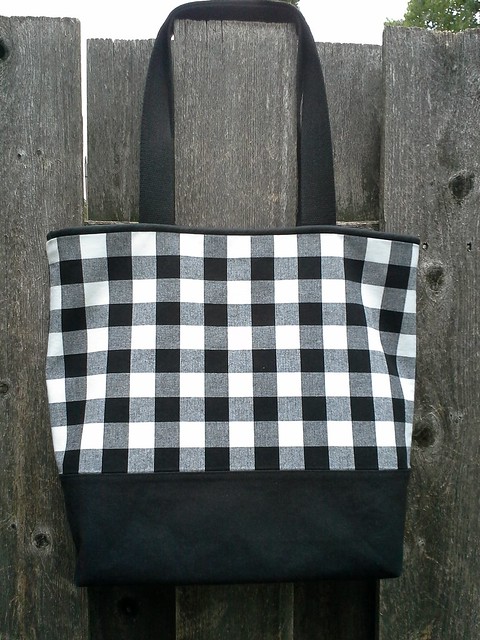
Gingham tote bag
Black and White Gingham!

Gingham tote bag
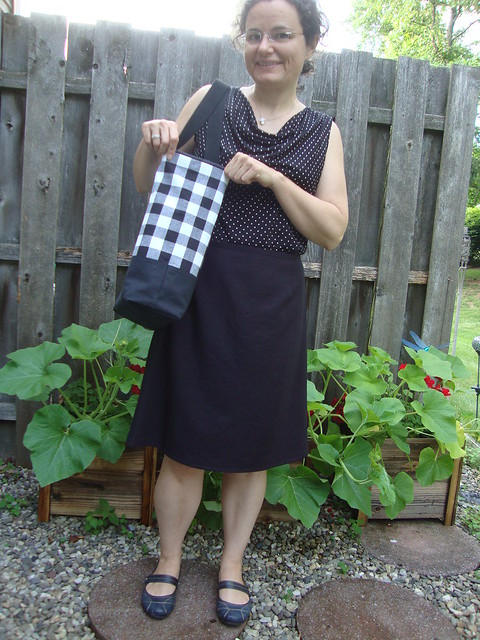
I love gingham and have quite a little stash of it but have never sewn gingham in the summer.    I was inspired by Dana's video tutorial on how to make a simple tote bag (where she used black and white gingham!), but wound up combining elements of multiple tutorials for mine:
Materials used:
  • Black and white gingham I bought at Joann's ages ago; I think it was from the Lisette fabric line from a few years back.
  • Black duck cloth in stash from Joann's (for the piping and the bottom contrast)
  • White bottomweight fabric from Joann's because my Joann's  didn't have the white duck cloth in stock that day and I had none in my stash.
  • Medium weight white fusible  interfacing from Fashion Sewing Supply, fused to both the exterior and lining
  • A piece of peltex cut 12.5 by 4.5, inserted between the lining and exterior fabric
  • Custom cut zipper from Botani, NYC for the interior zipper pocket
  • Contrast floral fabric purchased at a summer yard sale with my mom when I was a teenager!!! Lots of sentimental value there.
  • Cording from Joann's for making my own piping.
  • Black strapping from Pacific Trimming, in stash
  • Name label from Labels and Ribbons.com

Cutting and sewing the seams
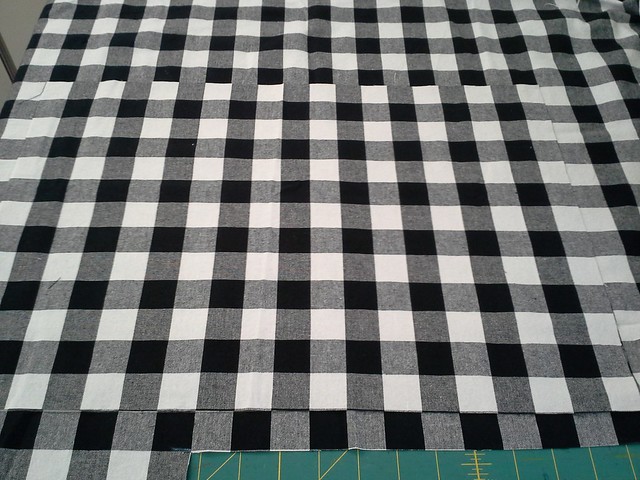
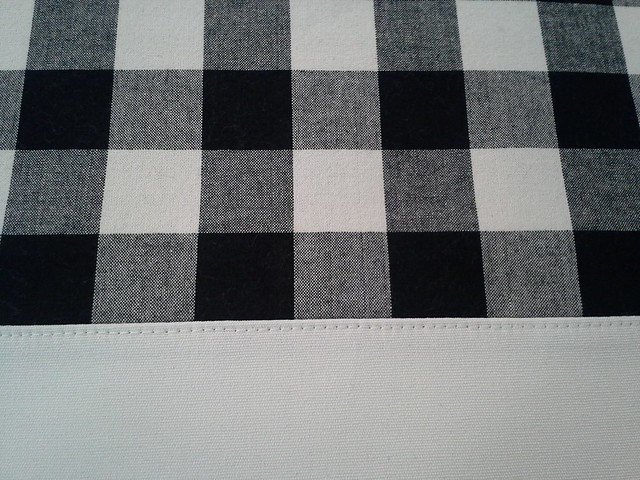
I cut out the bag so that the print would be continuous along both side seams.  I cut it 19 by 14 to keep the continuity.  This meant that one side is centered over the black stripe and the other is centered over the white stripe.   (I decided to use 1" seam allowances to try to make it easier to sew, since the gingham is 1" square.)
20150620_163432

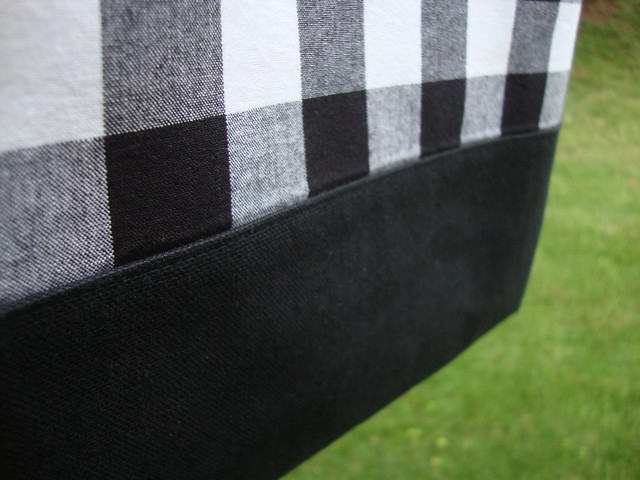
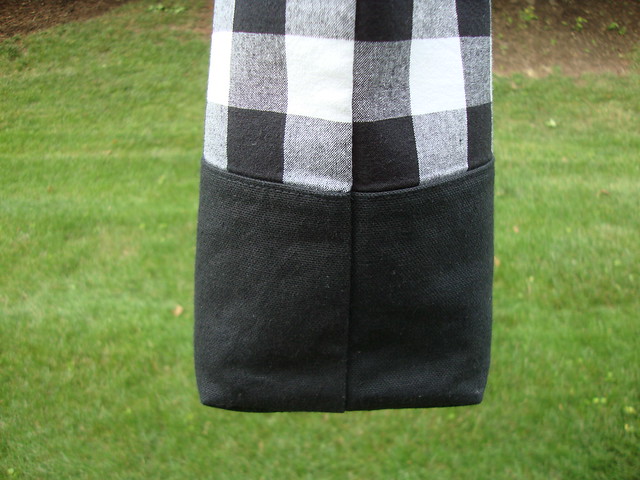
And I cut the duck cloth 19 by 8.5 then sewed it to the bottom of the gingham with 1" SA, serged off the excess and topstitched.
Gingham tote bag

 I also used my walking foot but redid the side seams or sections of side seams multiple times to try to make the seam as invisible as possible, then serged and pressed.  Oh, and the graining.  I tugged on the fabric quite a lot to try to grain it into submission.  You'll see what I did on my next bag to minimize this.

Gingham tote bag
From far away the seam is not noticeable
Gingham tote bag
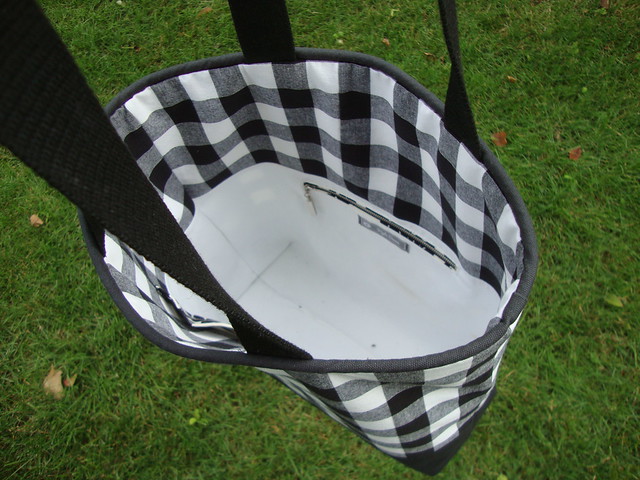
Interior
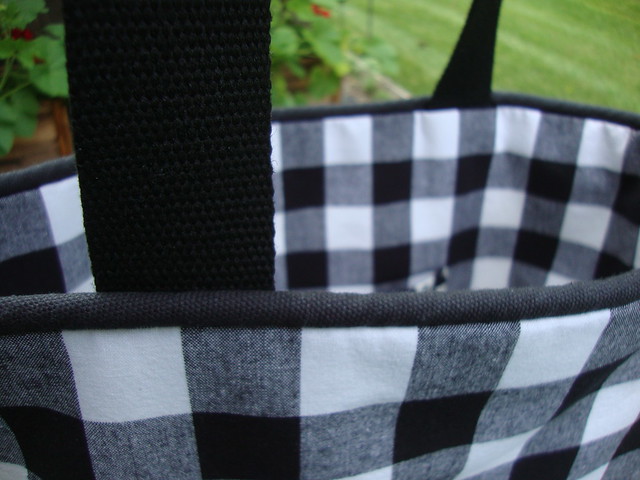
I decided to use just a little bit of gingham on the top and the rest in white for the lining. These pieces were cut 19" by 9" and 19" by 12.5" respectively, then also sewn with 1" SA, with the excess serged off and topstitched.
20150622_215445
Boxing the corners
The big "a-ha" moment regarding boxing out the bottom came from Dana's tutorial. Using her method, you don't cut the corner out.  Instead you cut straight down/across  and sew down/across.

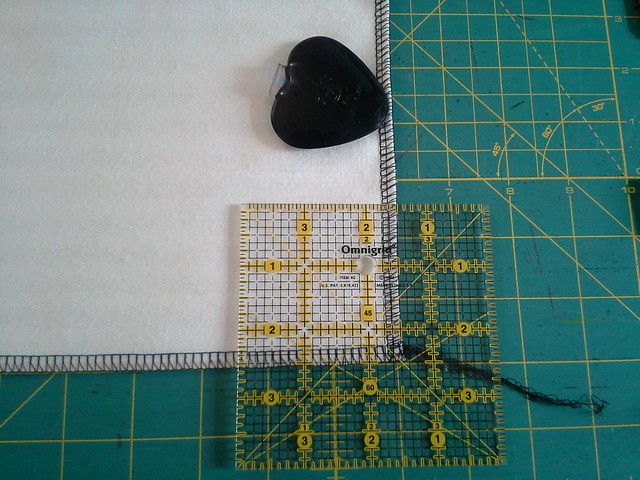
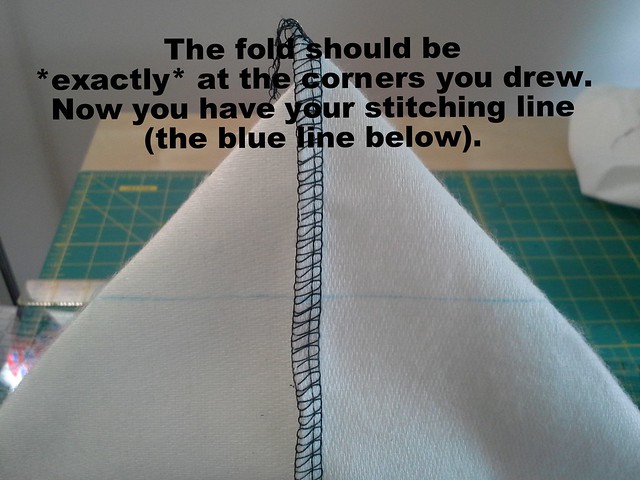
Next, you bring the side of the bag to match the bottom of the bag.   She says you should take your time to make sure the seams line up.  I thought about how to do this more precisely than eyeballing and feeling it--I took my square ruler and measured in 2.5" from the raw edge and mark with the chakoner.
20150626_172605
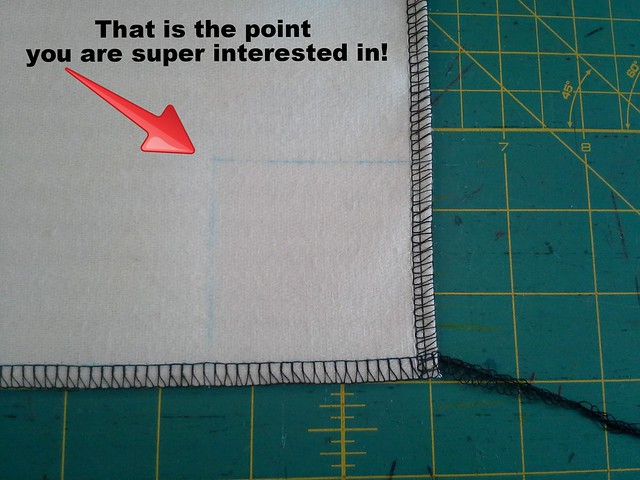
Then I marked it with the chakoner:
20150626_172623
Repeat for each side of each bottom corner. 20150626_172818
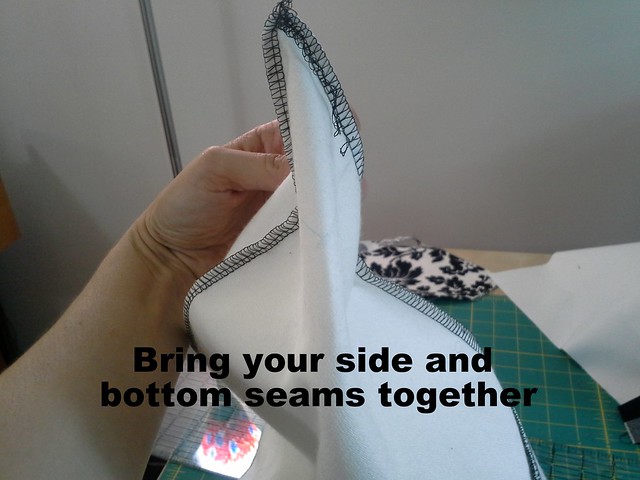
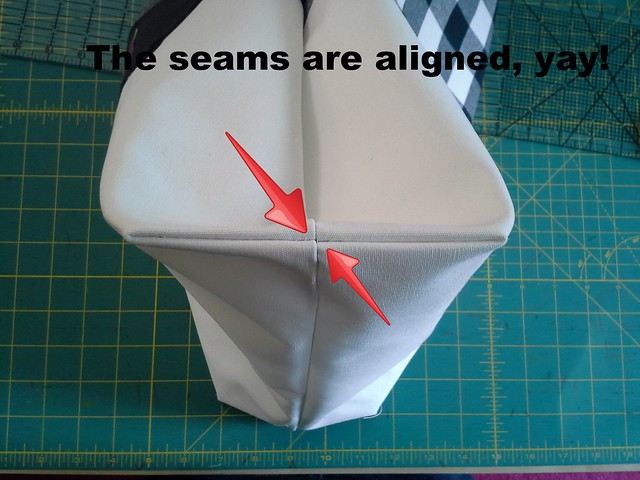
 Then, when you bring the side seam to match the bottom seam, you can fold it at the 90 degree angle that you have drawn with the chakoner!  This guarantees that your side seam and bottom seam will match up perfectly.

20150626_173001

Baste it first, check that the side and bottom seams do align perfectly.
20150626_173930
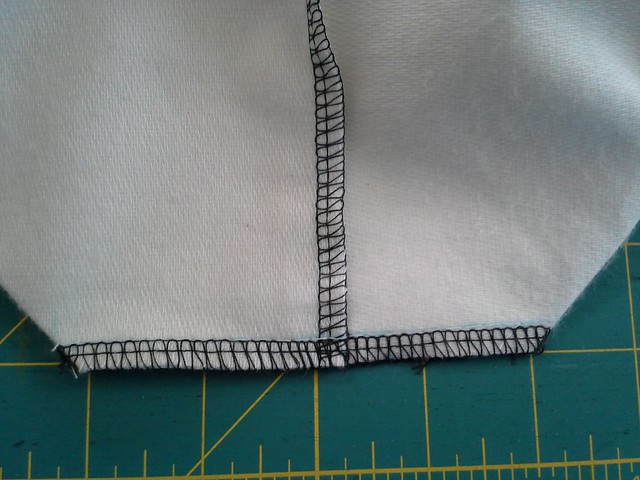
Then serge that corner off.

20150627_165835

Measuring in 2.5" from the raw edge, after subtracting the side/bottom seam allowance, results in a box that is 4.5" long (look at the stitching line, not the cut edge).  Nice!

Zipper pocket
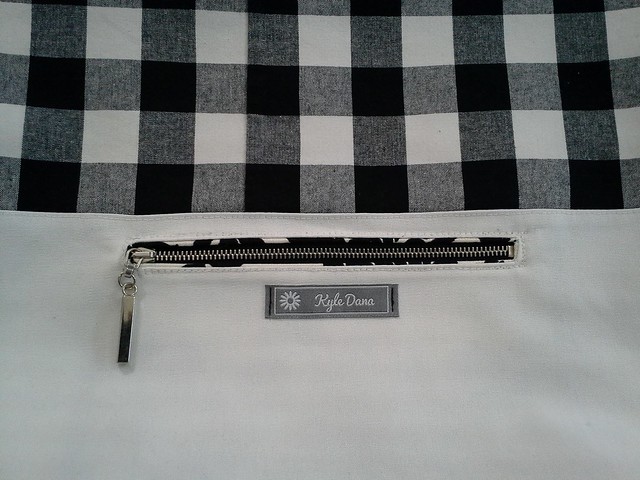
The zipper pocket fabric was quite thick and didn't want to stay pressed down!  So it is actually somewhat framing the zipper, which looks like a nice, albeit totally unintentional touch!

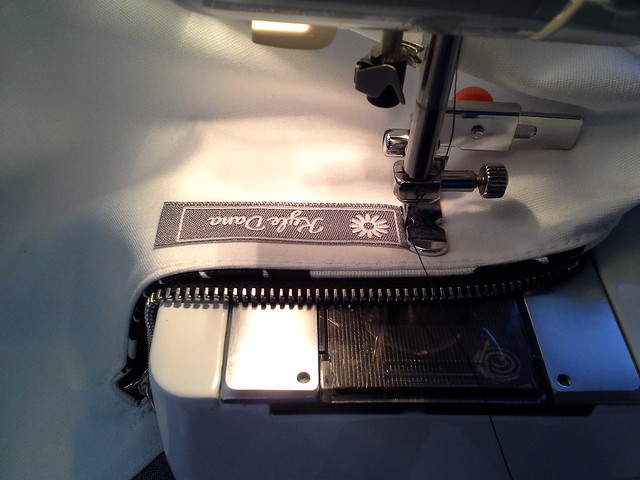
My new labels arrived after I had sewn the zipper pocket, but before sewing the lining to the exterior, so I was able to sew the label on this way:

20150627_164713
So then it looked like this zipped:
20150627_165607

And here's the wrong side:
20150626_172711
Patch pocket
I also made a patch pocket out of the same contrasting fabric.  I originally had a black pocket (with cherry patch) stitched on, removed it and added the new patch pocket after I had already sewn the side seams together, ha ha.  I live dangerously!

20150627_164301
Used my blind hem foot as a guide.


Piping
I made my own piping
20150626_210809


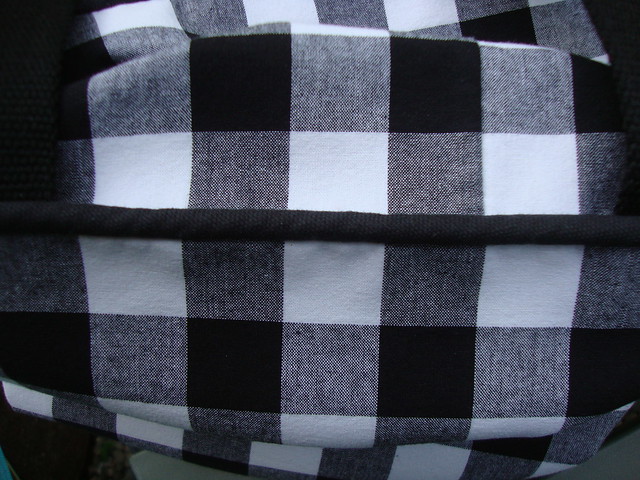
Then I decided to take 2" off the height of the bag, so it is sewn at the 2" mark.
20150626_203002

Strapping
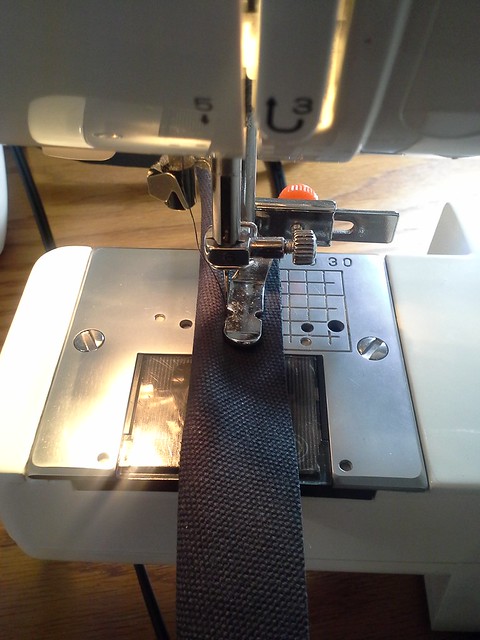
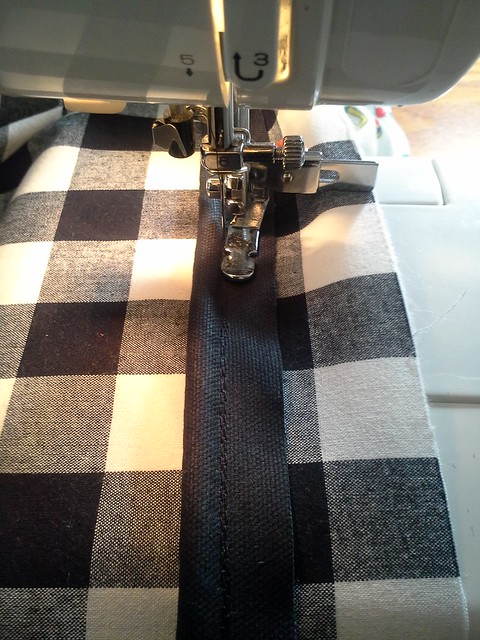
Then it was time to add the straps.
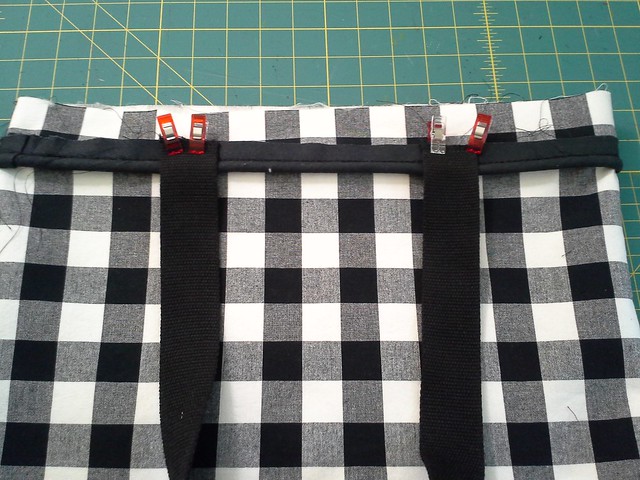
I figured out the placement first with Wonder Clips, as I can put it on my shoulder and test it out before cutting and sewing it down.  These straps are 27" each.
20150627_151744
20150627_152444
And sewed it on
Sewing interior  to exterior/ Interior gingham upper

Gingham tote bag
I decided I would also match the gingham upper lining to the exterior gingham so there would be no jarring mismatches.  This meant a lot of usage of Wonder Tape and much undoing and redoing.  It was worth it.

Birthing of the bag
I didn't want to sew the bag together via reversiblie methods because it means topstitching the top of the bag, and I didn't want to risk uneven topstitching (though you will see I overcame that fear on my next bag).

20150627_170944
Peltex
20150627_185239
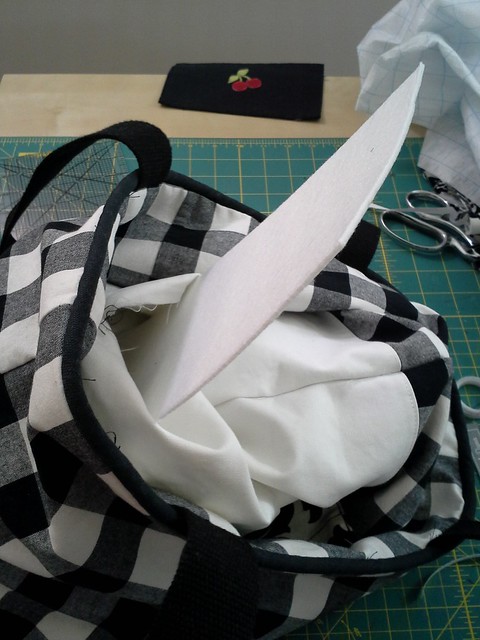
To help the bottom of the bag keep its shape, I inserted Peltex before sewing the lining shut. I could have inserted it along the sides and front too, but for this style tote I decided just the bottom was enough.

20150627_190132
(oh hey, the old patch pocket is in the background of this picture!)

Verdict
20150629_151205

I have used this bag almost every day since I made it.  It is on the large side so it holds a lot.  I would like to make it in a smaller size for days when I have less to carry.
20150705_095316
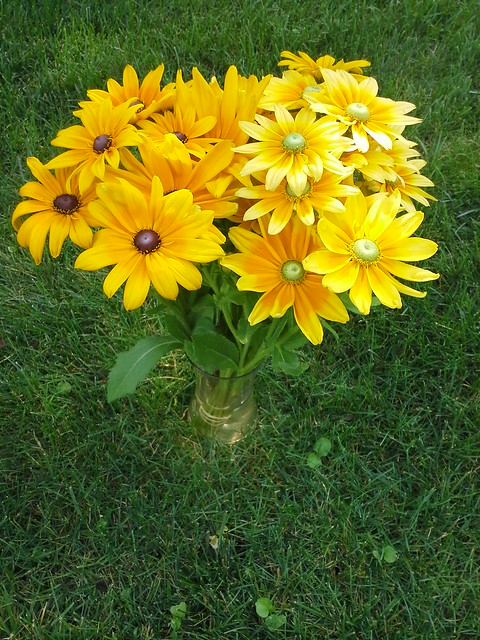
How do you like your "eyed susans"??? Black-eyed or Green-eyed??


Be well!