Showing posts with label bag. Show all posts

Wednesday, October 19, 2016

Construction photos of the Blue Calla Boronia Bowler Bag + Voting is Now Open!

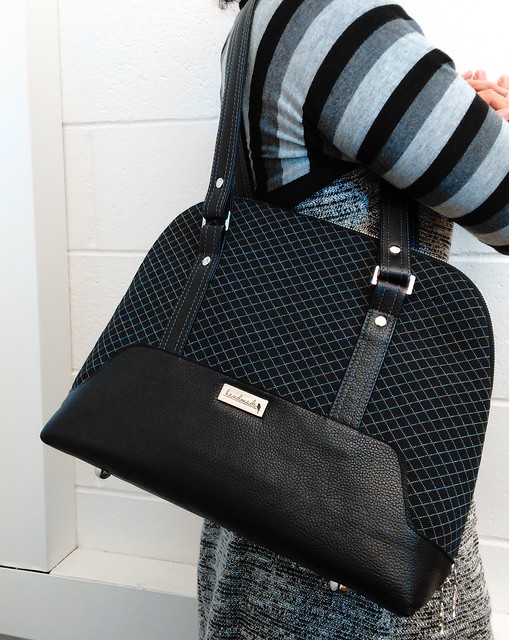
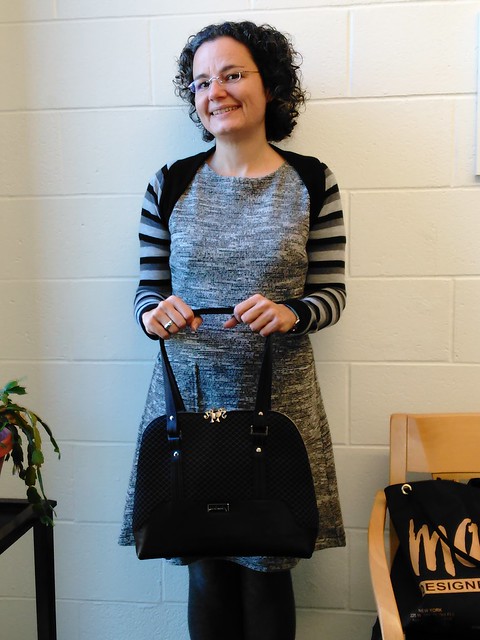
Blue Calla Boronia Bowler Bag Me Holding the Bag

Voting is now open til Oct 24!  I would be beyond thrilled if you would consider voting for my entry in the PR handbag contest. If you've been a PR member (free or paying) for at least 3 months, you can vote.  The gallery of all 33 entries is here.

Since my last post focused mainly on the finished bag photos, I thought I'd show some "construction" photos here.
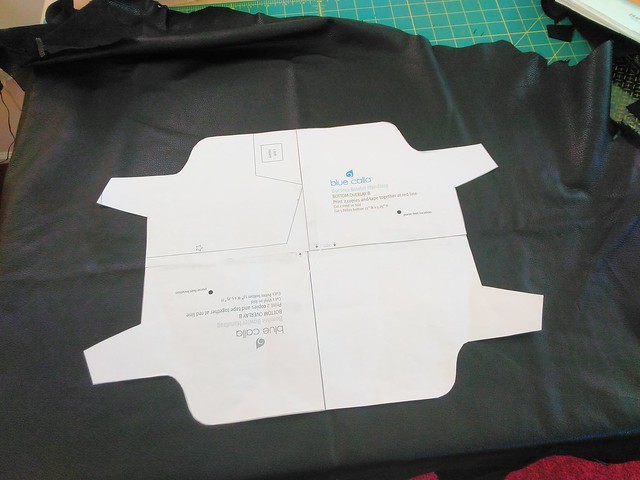
Blue Calla Boronia Bowler Bag: the embossed pig leather
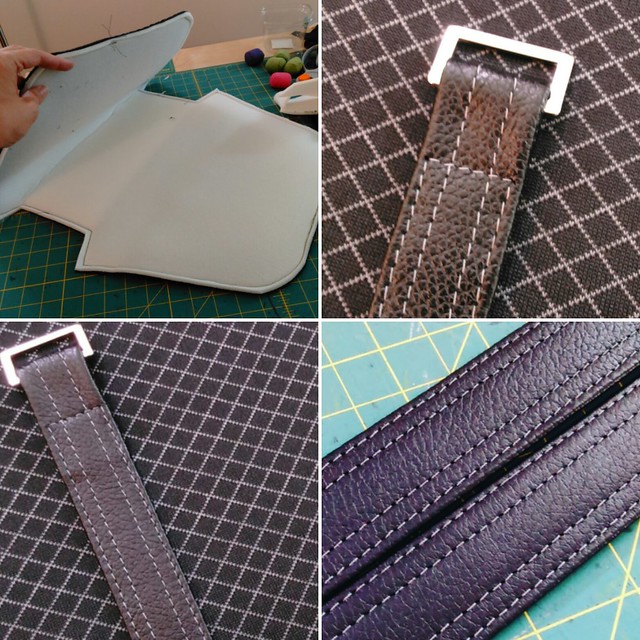
Printed the pattern 4x and taped it together....ha ha for printing pages double sided.  Here it is on the pig leather from Kashi
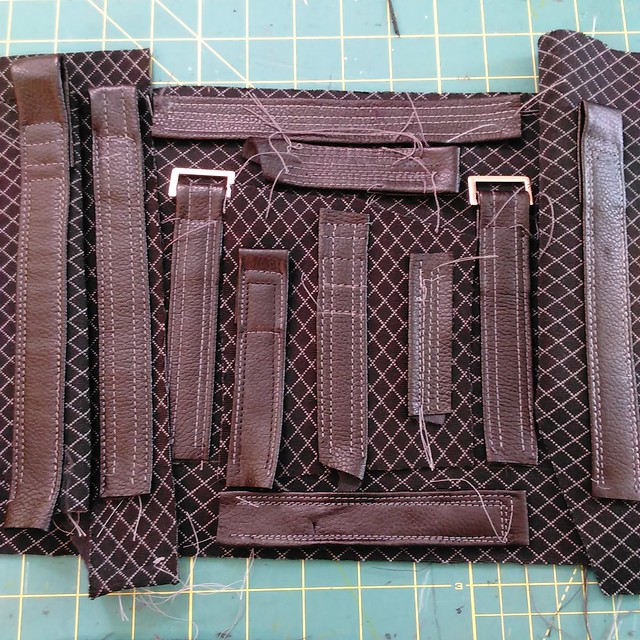
Blue Calla Boronia Bowler Bag: Connector strap samples
I made a lot of strap samples before sewing "the real deal"
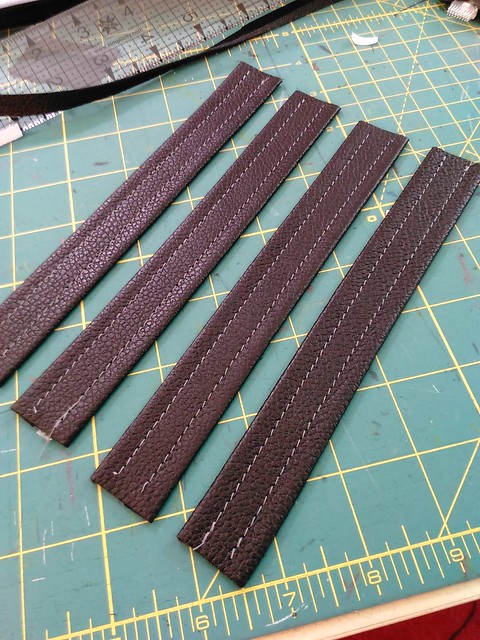
Blue Calla Boronia Bowler Bag: Connector strap excitement
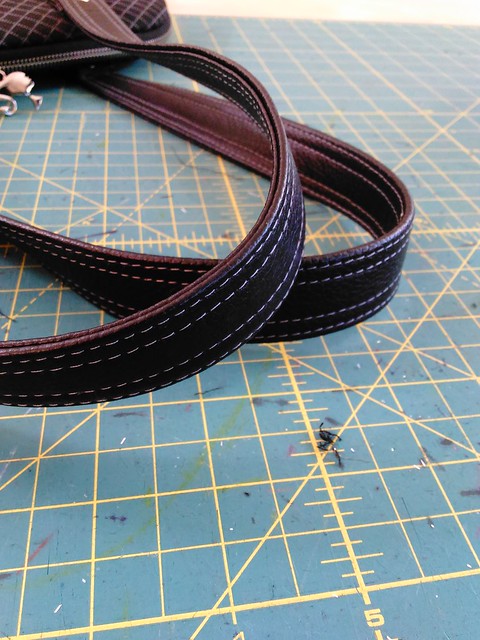
Connector strap assembly line--As far as I can tell, I am the only entrant who used contrasting thread for topstitching on leather (it's gray to match the crosshatch pattern)
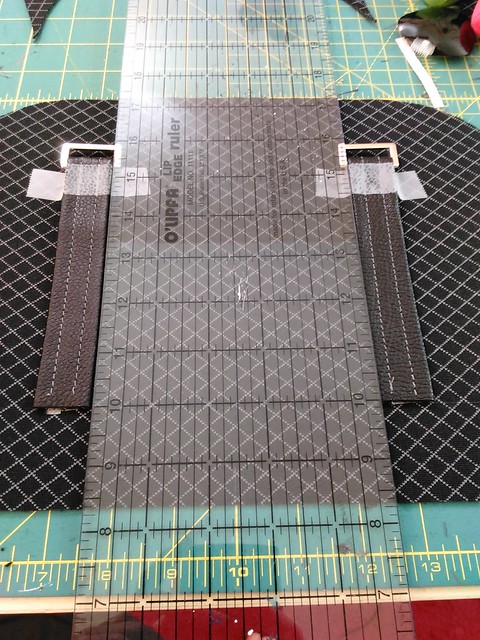
Blue Calla Boronia Bowler Bag: Making sure the straps are 5" apart with a 5" quilting ruler
Trick for making sure the connector straps are really 5" apart--used a quilters ruler (which I use a lot in garment sewing) which is 5" and lined up the middle of the ruler with the middle of the fabric
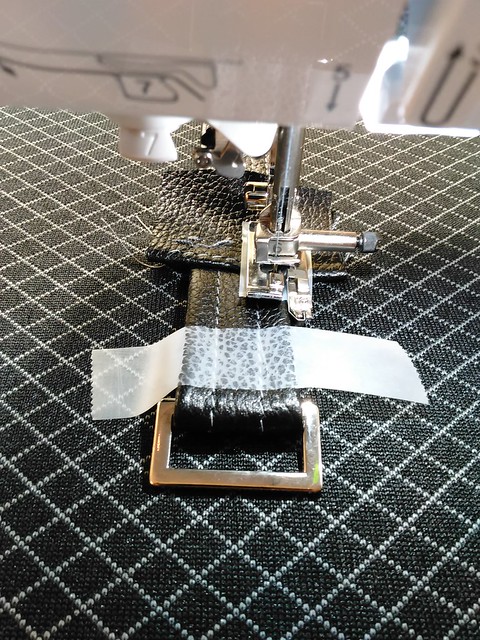
Blue Calla Boronia Bowler Bag: I used 0.75" tape to know where to stop stitching
How I knew where 3/4" from the edge of the rectangle ring was--with 3/4" scotch tape.  Also because the connector is folded around the rectangle ring and then under, I used a scrap of folded leather under the back of the presser foot as a "hump jumper".
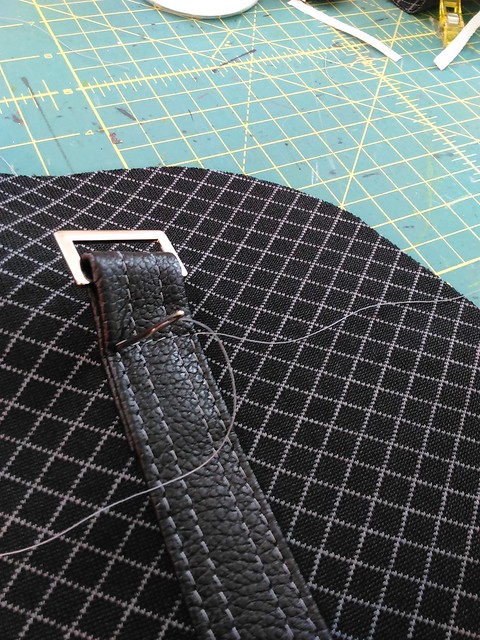
Blue Calla Boronia Bowler Bag: Pulling the thread tails to the back with a hand needle to then tie them off
If I stitched up, over and down on my strap samples, the corner stitching kept popping out, so I stitched up, kept long thread tails, pulled them to the back.  Then I stitched down, kept long thread tails, pulled to back.  Then I stitched across with long thread tails and pulled to the back.  By "pulled them to the back" I mean I threaded the tail on a leather handstitching needle, brought the tail to the back and then tied it off.
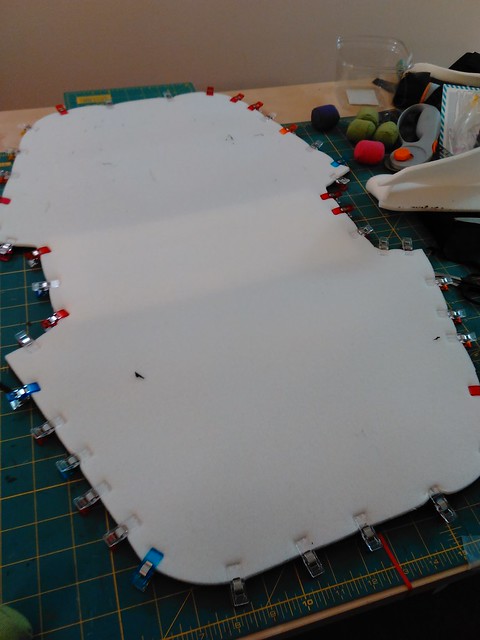
Blue Calla Boronia Bowler Bag: Pellon Flex Foam wonder clipped to the exterior
Wonder Clipping the Pellon Flex Foam to the bag.
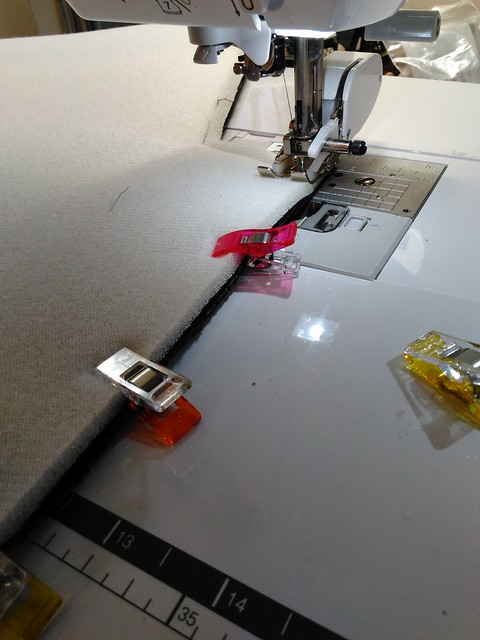
Blue Calla Boronia Bowler Bag: installing foam with a walking foot
Walking foot excitment (cue "walk this way" played over and over and over again in my head)
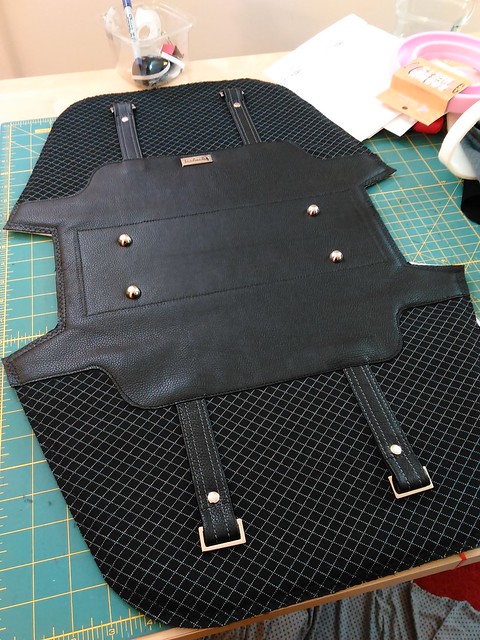
Blue Calla Boronia Bowler Bag: Exterior construction.  Pellon Foam Flex already installed
With rivets and feet and bag bling--installing all of that is SUPER easy.
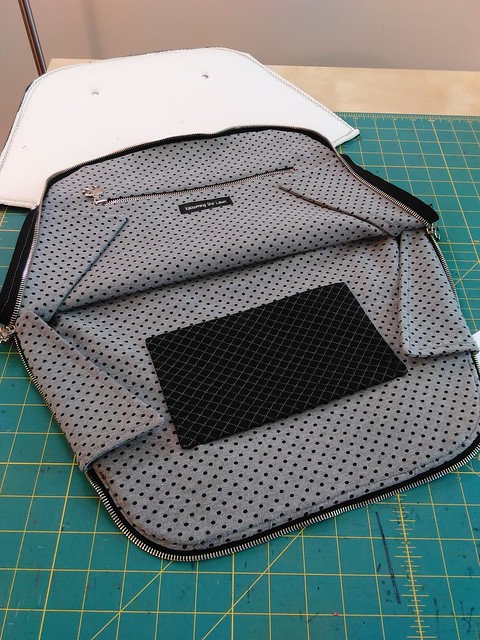
Blue Calla Boronia Bowler Bag: this lining didn't work out; not on grain and too thick overall
The lining that was an utter fail (too thick, heavy, and off grain to boot)
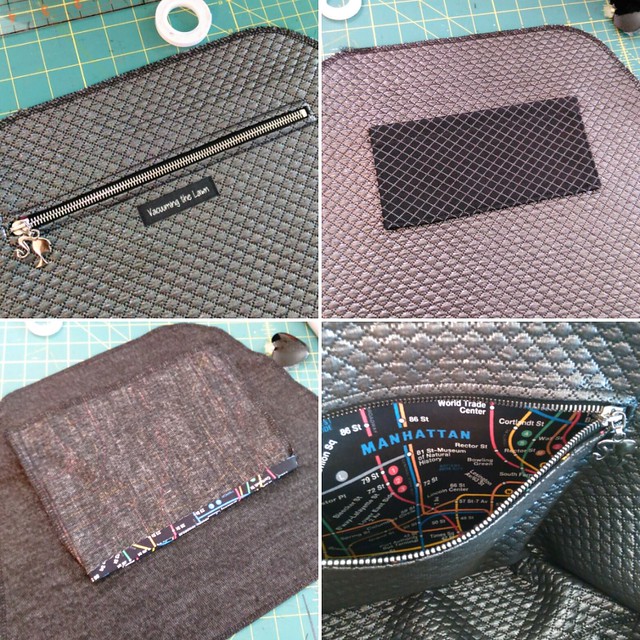
Blue Calla Boronia Bowler Bag: Lining in stages
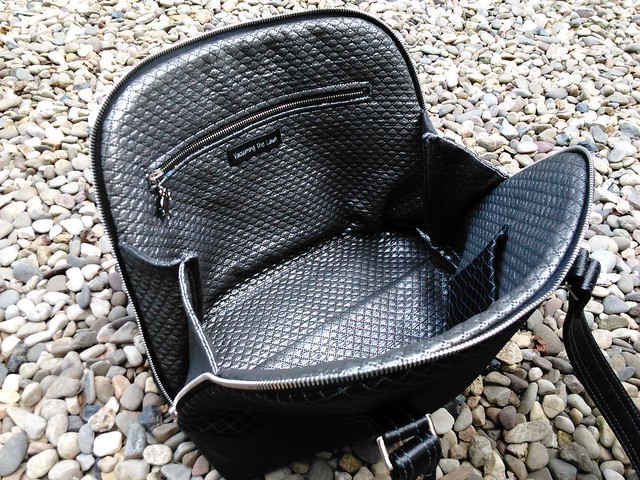
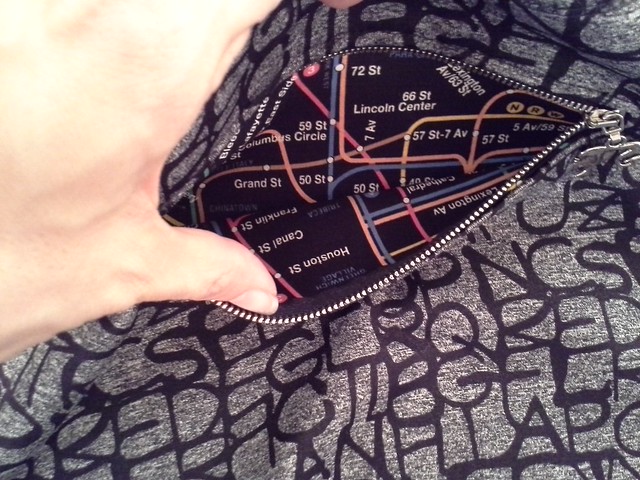
The lining that did work out!  Silver quilted brocade with NYC subway map interior zipper pocket of course!
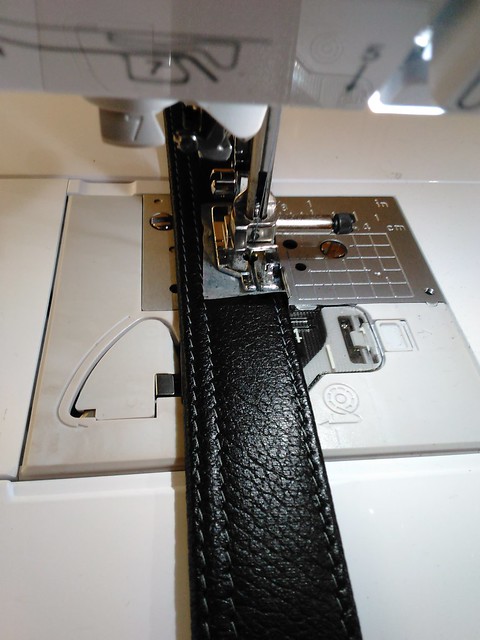
Blue Calla Boronia Bowler Bag: Making straps
Making straps with a piece of tape on my 1/4" quilter foot so that it doesn't get stuck on the leather
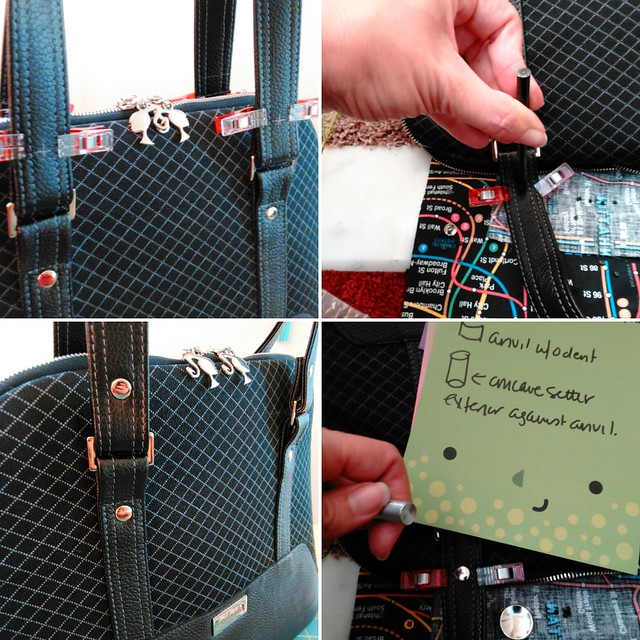
Blue Calla Boronia Bowler Bag:  Rivet installation for the straps
Just add more rivets!! and done!
  Blue Calla Boronia Bowler Bag ECU straps
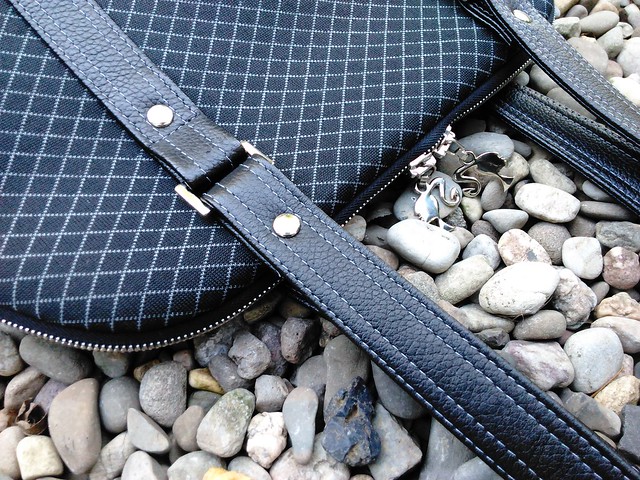
Take shots of the sexy straps
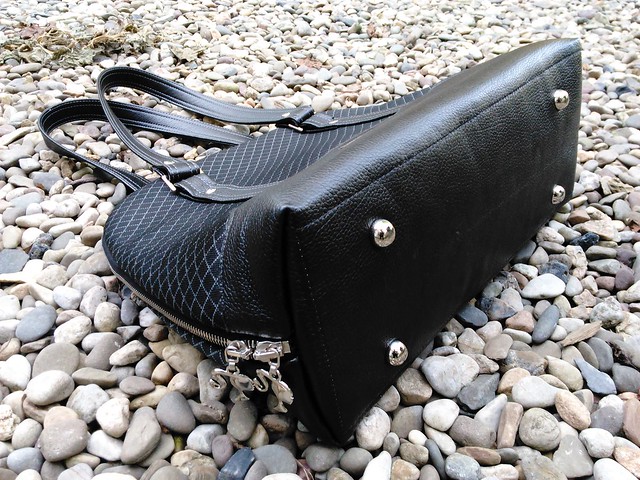
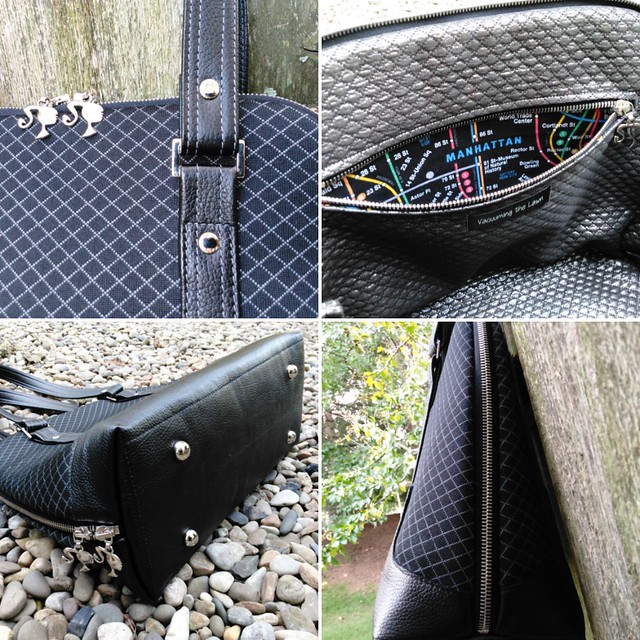
Blue Calla Boronia Bowler Bag Purse feet and close up of the "girl with the ponytail" zipper pulls
Take photos outside
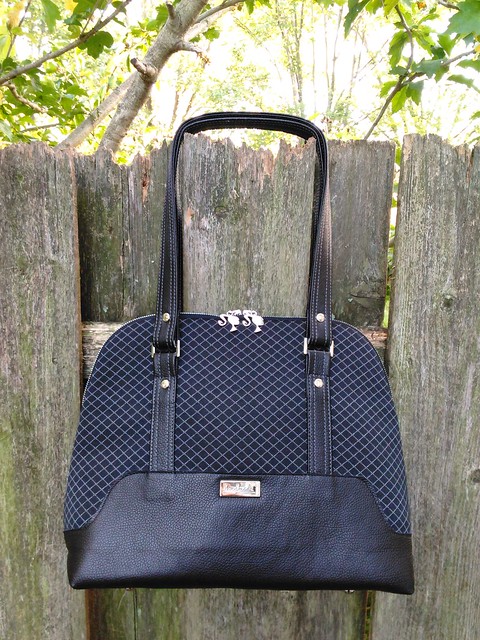
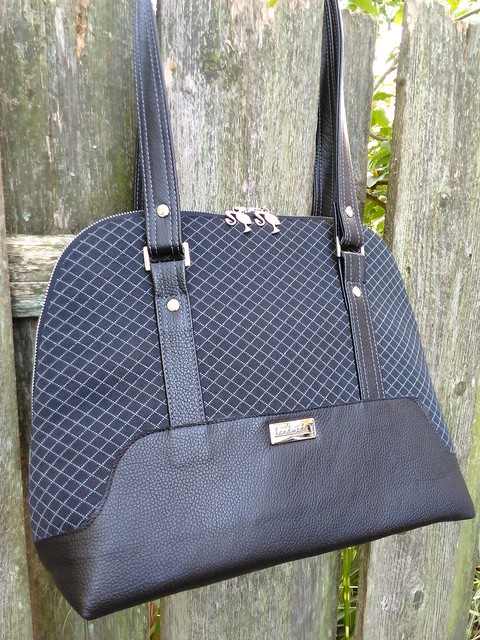
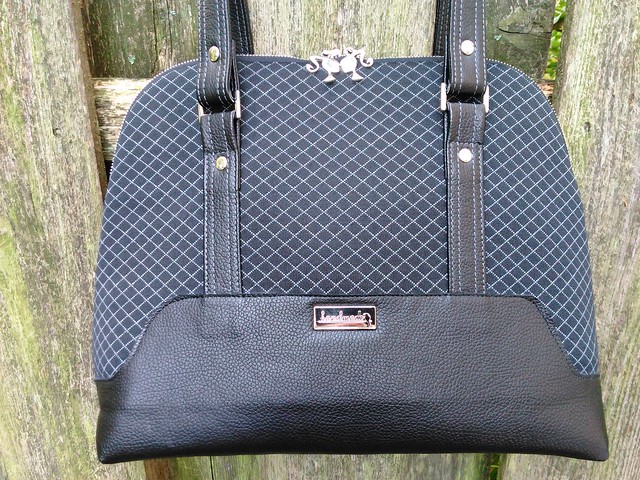
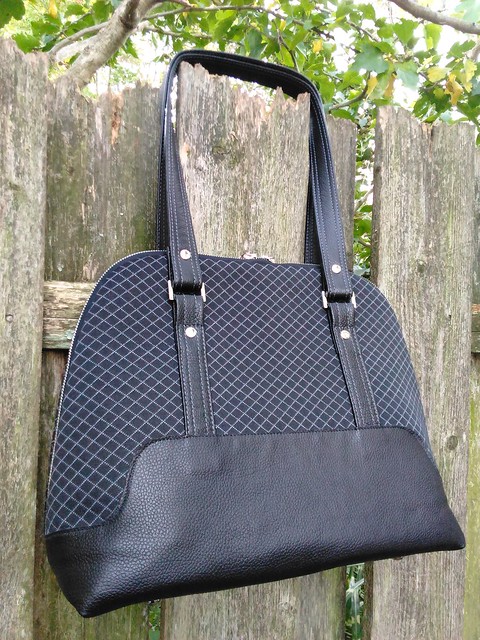
Blue Calla Boronia Bowler Bag: Front view
Rejoice! The bag is finished! :)

There are more pix in this Flickr album.

If you'd like to vote (and have been a member of PR (free or paying) for at least 3 months), the gallery of all 33 entries is here.  Thank you for your support, y'all!  I really appreciate you!

Be well!

Thursday, October 13, 2016

My Entry for the PR Handbag Contest: Blue Calla Boronia Bowler Bag

MAYBE angle YES?
I clearly remember one time when I was looking through picture albums with my mom.  There were so many pictures of me when I was little--for the standards of that time.  She said that my great-grandfather remarked, "She is one well-documented child".  And this, my sewing friends, is one well-documented bag!
MAYBE YES FRONT
I created a Flickr album for this bag--it's in reverse chronological order, so if you only want to see the finished photos, they are at the front of the album, with construction pix toward the end.  All photos are captioned.  Depending on screen size, you may need to scroll down to see the captions.  You can use the left and right arrows on your keyboard to quickly move through the photos.  Or you can use slideshow mode by clicking on the "toggle slideshow" link in the upper right corner, but you can't see the captions, unless you use this link which launches the old-style Flickr slideshow and click on "Show Info" in the upper right corner.

Blue Calla Boronia Bowler Bag On my Shoulder
I've been working on my Pattern Review handbag contest entry since Sept 24, finished the bag on the Oct 9, and am planning on posting my review by noon tomorrow (Friday Oct 14), I posted my official entry tonight (10/13) which is due this Saturday night at 11:59pm EDT.

Blue Calla Boronia Bowler Bag Composite photo PR # 4
The pattern is one I found on Instagram, the Boronia Bowler Bag by Blue Calla.  It's a downloadable PDF pattern and I recommend printing out multiple copies so you can tape it full size together and not have to cut on the fold nor trace any pieces.  Although I have sewn bags before, this was my first time installing rivets and purse feet, as well as my first time using Pellon Flex Foam, and I will be using all three again!  It is super easy to install rivets and purse feet (I used this tutorial recommended on Emmalinebags.com) which gives the bag a professional looking finish.  The Flex Foam gives really nice shape and support to the bag without being stiff or heavy.
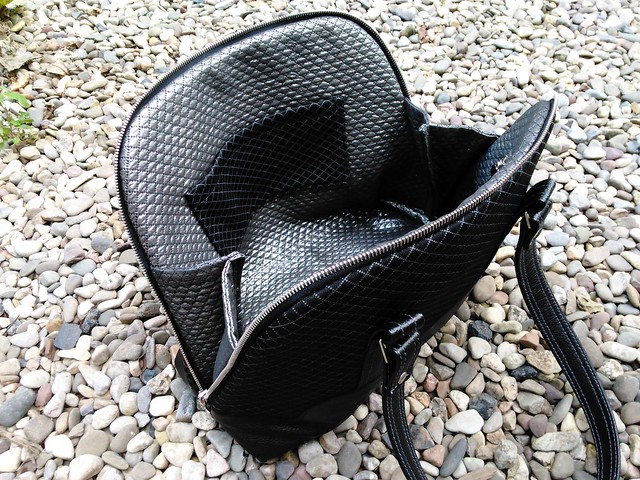
Blue Calla Boronia Bowler Bag Interior (better?)  PR photo #2
I used black pig leather for the bottom and straps, and used a super stable double knit black and gray crosshatch fabric for the exterior, both from Kashi (Metro Textiles in NYC).  The interior is a quilted metallic brocade from Mood.com.    The interior zipper pocket subway fabric is from The City Quilter.

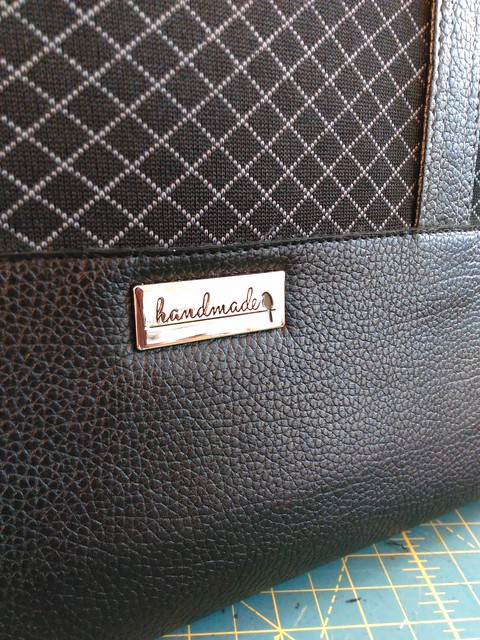
Zippers, rectangle rings, and purse feet are all from Botani in NYC, and the rivets and "handmade" tag are from Emmalinebags.com.

Interfacing is in abundance!  The leather and all fabric was interfaced using Fashion Sewing Supply interfacing, and there is also a piece of Pellon Peltex sewn into the bottom of the bag, as well as the Flex Foam attached to the exterior.  The Pellon Peltex and Flex Foam were from Joann's.

Blue Calla Boronia Bowler Bag Handmade Tag
Of course I obsessed over perfecting my gray contrast topstitching!!!
Blue Calla Boronia Bowler Bag PR composite photo # 5

Above you can see the Pellon Flex Foam, and my in-progress top-stitching.
Blue Calla Boronia Bowler Bag ECU straps
Topstitched handles
Blue Calla Boronia Bowler Bag Strap detailing FOR BLOG
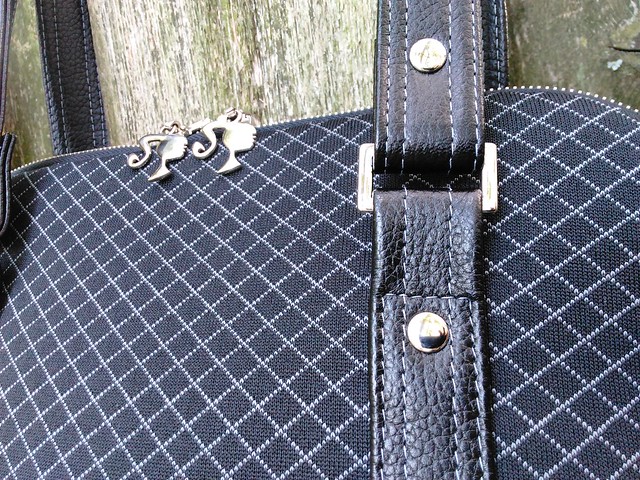
Loving these "girl with a ponytail" zippers!
Blue Calla Boronia Bowler Bag Strap Detailing

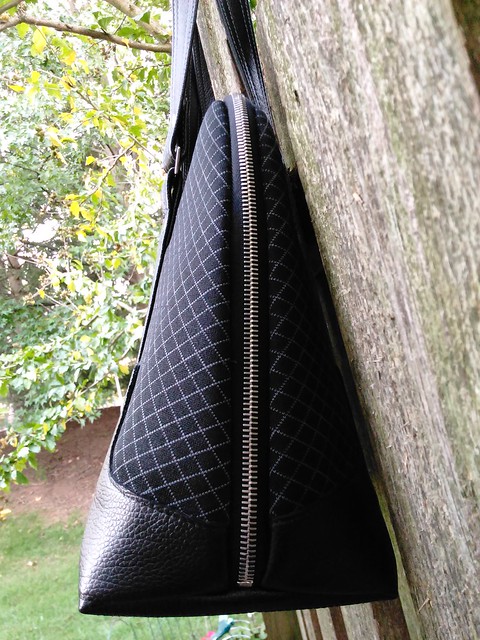
Sexy 30" zipper.
Blue Calla Boronia Bowler Bag Closed Side View

Pocket for my phone
Blue Calla Boronia Bowler Bag Patch pocket
Back of the bag
Blue Calla Boronia Bowler Bag Back View Angled
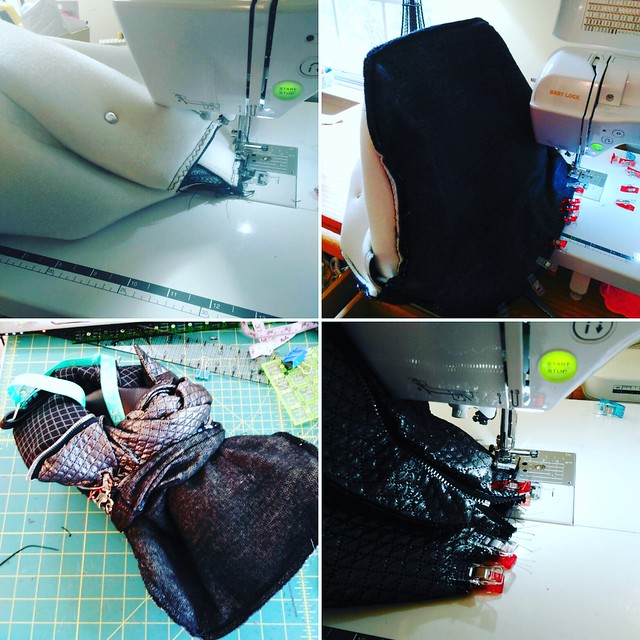
Below are some shots of sewing the bag with the interfacing and lining installed, and then "birthing" the bag through the interior zipper pocket!
Blue Calla Boronia Bowler Bag: Birthing and other tricky bits
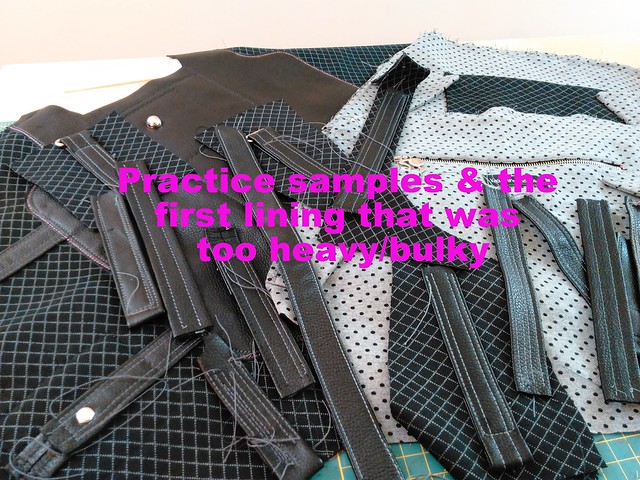
Below is the "craftermath" or the aftermath of all my samples that I practiced on during construction of this bag.  Practice really does help!  And I had to abandon my initial lining choice because it was way too thick, heavy, and off-grain to boot, so I ripped that out and started the lining over with the brocade.  Also jeans topstitching thread was way too thick for this project, and I used regular Coats and Clark thread instead.  And along the way I accidentally dented my anvil for rivet setting and had to run out to Michael's on Sunday night at 5:30pm before their 7pm closing and hope they had one in stock (they did!)

Blue Calla Boronia Bowler Bag : All the practice samples and the lining that I had to rip out because it was too heavy and bulky
All the details about this bag will be in my PR review which I will link to once I finish writing it and post it  have now been posted in my PR review!   The gallery of handbags currently entered on the PR site is here.   If you are a PR member, (joined PR prior to July 15 of this year), you can vote from Oct 18-24.  Both paying and free PR members can vote!

More pix are in  an album for this bag on Flickr--including detailed "in progress" construction photos.

Be well!
Monday, August 22, 2016

Leather Bag Handles, City Quilter Closing, Woven Label Giveaway

Hello from a random vacation day.  The weather was phenomenal today!!!  Anyhoo, it's a bit of a smorgasbord post, with three topics that don't necessarily warrant their own post:

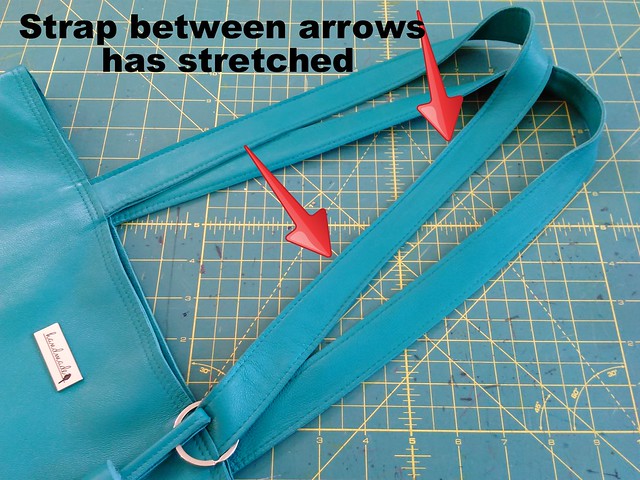
1.  The Leather Bag Handles have Stretched.
IMG_20160822_124937
They have also stretched on the other side of the same strap, I just didn't point it out in the photo above.
  • I have been using and enjoying my leather tote.  It is a great size, not too big and not too small.
  • It is lamb leather, so it is incredibly soft, and those who touch this bag in person remark how much softer it is than they thought it would be.  One of my coworkers was compelled to bury her face in it, that's how soft it was!
  • The handles have started to stretch, though.    I was very concerned about the handles separating from the bag (which is not happening) but had not considered that the straps would stretch.  Next time I will insert buckram between the two strap layers to prevent that from happening.
  • I still haven't sealed the raw edges with gum tragacanth, and I'm not sure that I will.


The City Quilter Is Closing
PR Day 2013 at Elliott Berman fabrics in NYC
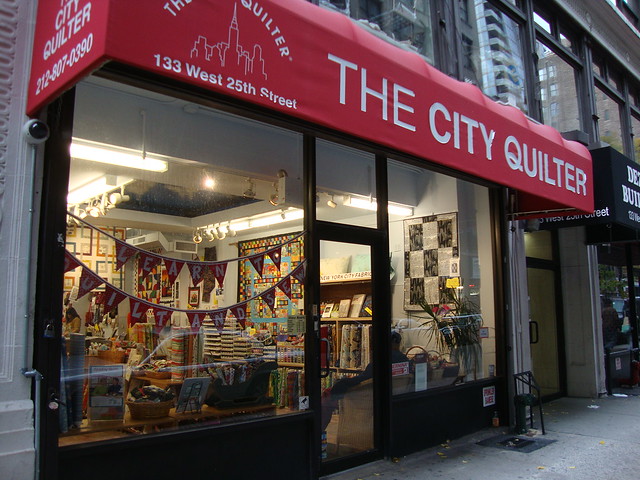
The City Quilter storefront in 2013

IMG_20160724_200341
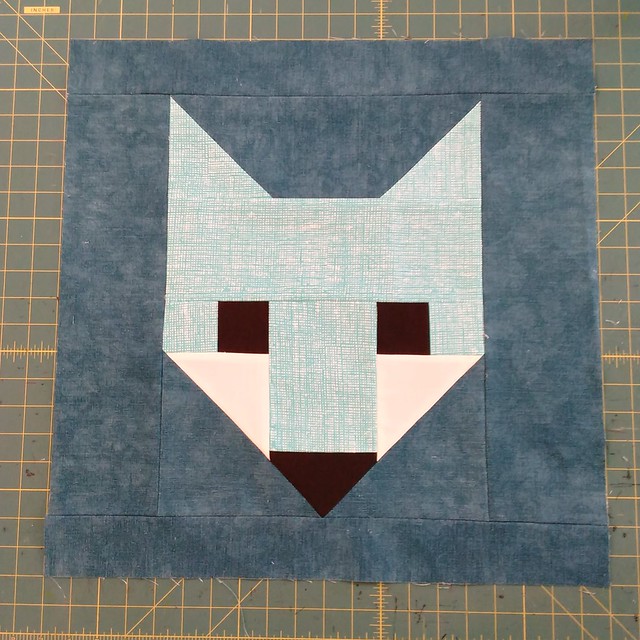
My first pillow "quilt" top, pieced but not quilted yet, Elizabeth Hartman Fancy Fox II pattern. I bought the original Fancy Fox (and a few other quilting patterns) at The City Quilter, even though I don't quilt.

20141130_215552
The City Quilter NYC subway fabric as an interior zipper pocket from a bag I made in 2014
  • MPB Day 2016 was amazingly hot (I don't think I've ever sweat that much in one weekend  in my whole life) and also really fun.  I felt so incredibly happy throughout the day.  
  • Alert:  I did not buy ANY fabric during MPB Day this year. My sewing room reorg really made me not want to add to the stash.  And it was soooo hot, I didn't want to carry more fabric around.
  • However, Anne told me  that the City Quilter is closing their bricks and mortar store in October.  A google search found these two posts here and here.  
  • I'm not a quilter (slowly venturing into quilting) but I have always loved the CQ for many reasons: .  
    • This is the only source for the NYC subway fabric that I have used in many zipper pockets and also a few gifted zipper pouches, and they will continue to sell that fabric online (it is their own design).  
    • I've always been tempted by their umbrella kit, but truth is I'm never going to use an umbrella that is that big.  If I lived in NYC though, I could totally have seen myself going to one of their umbrella kit classes for an afternoon.
    • I purchased a few sashiko kits at the CQ.
    • It's also how I discovered Heidi Boyd Crafts--I saw her kits at the CQ last August.   As you know I am a huge Heidi Boyd fan and have stitched many of her kits in the past year.
  • ATP and I will visit the CQ in September, but I'm not sure what their store will be like then, so close to closing.  I will miss you, CQ!!

IMG_20160822_124556
Heidi Boyd Craft Excitement

Woven Labels Giveaway
IMG_20160822_201019

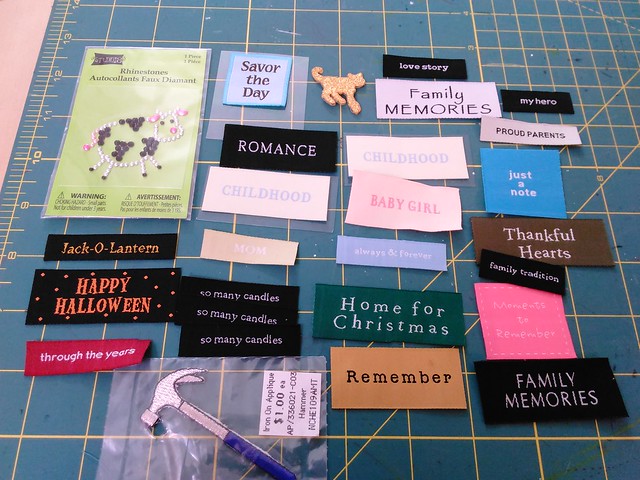
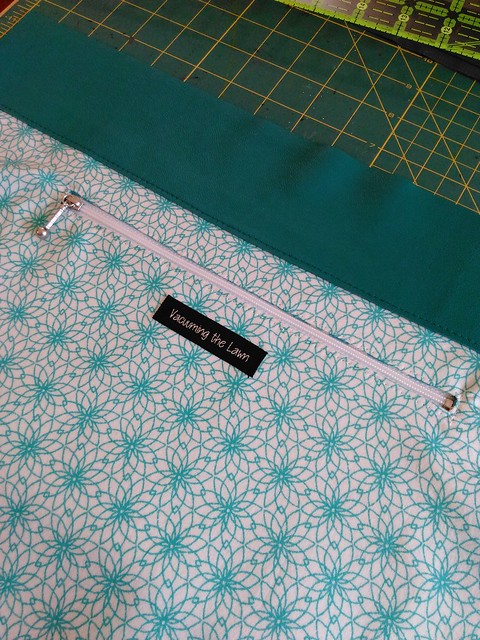
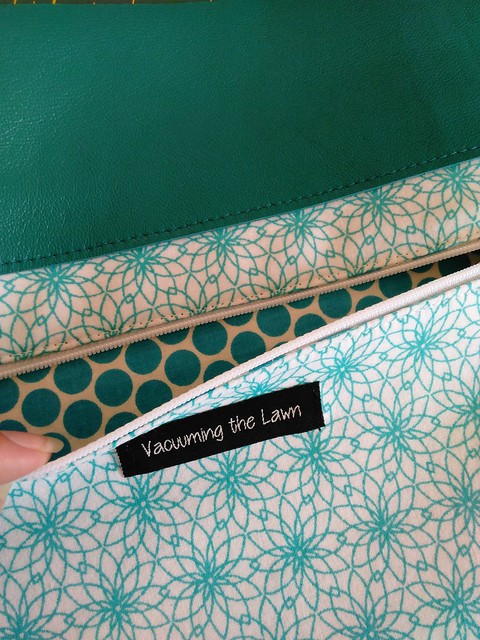
  • Sometimes people ask where I get the woven labels with random words on them (not the custom-made labels with "Vacuuming the Lawn" but the other kind.)
  • I bought some at Joann's but found many through variety packs on eBay, particularly the "Me and My Big Ideas" or MAMBI woven labels that I think are intended for scrapbooking (set up an eBay search alert if you want to buy some yourself).
  • I am purging some of these labels because of my sewing room reorg; would you like any of these? If yes, just leave in the comments which one(s) you want and I am happy to mail them to you for free, even internationally.  They are very light and thin so I can mail them like a letter.  First come, first served.
Be well!
Saturday, July 30, 2016

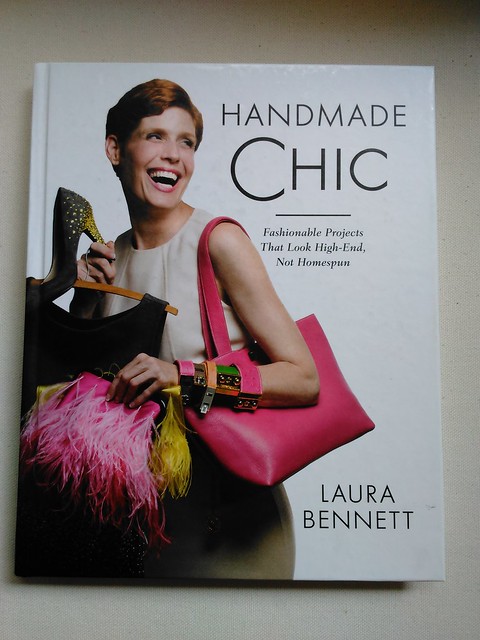
My First Leather Bag from Handmade Chic by Laura Bennett

IMG_20160730_103433
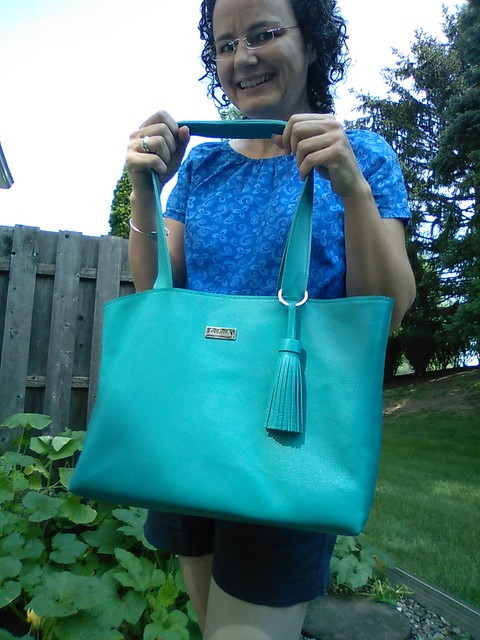
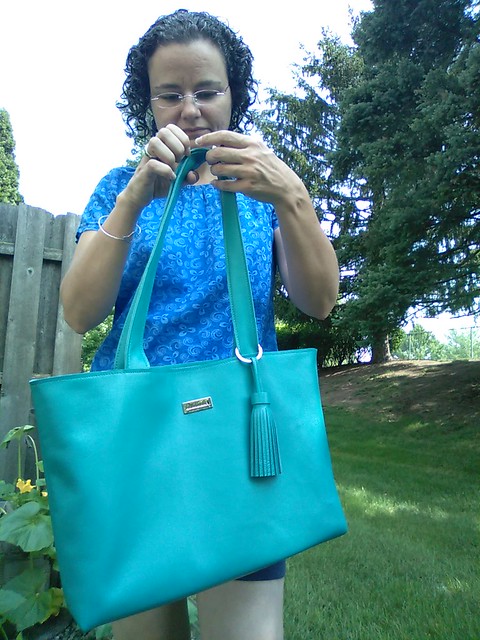
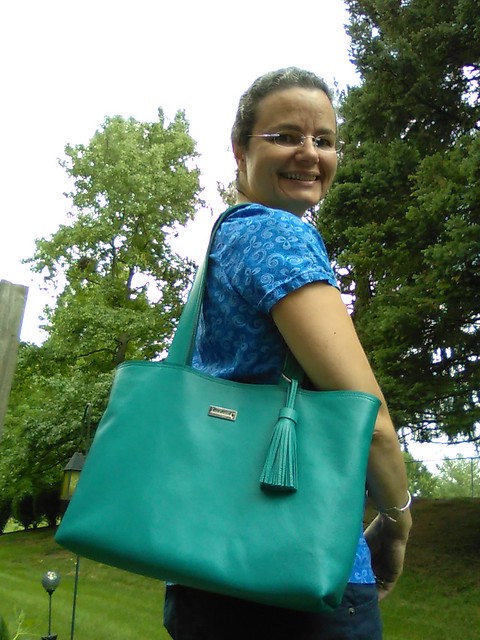
Hello from my vacation!  When do you ever see me in shorts?  Never!  (And that is a Built By Wendy shirt I made like 8 years ago!)  This was taken before I added the second row of topstitching, but I like this picture so here it is!  Also those are my pumpkin vines in the background.
IMG_20160730_121357
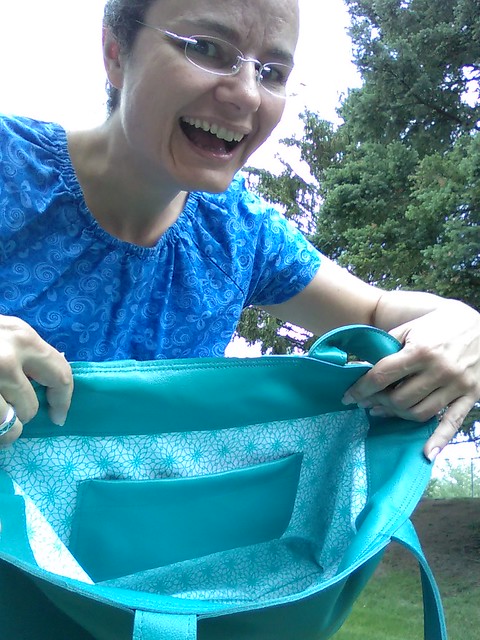
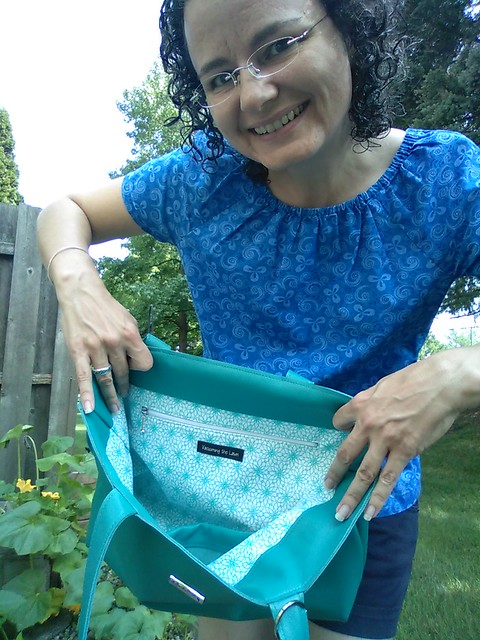
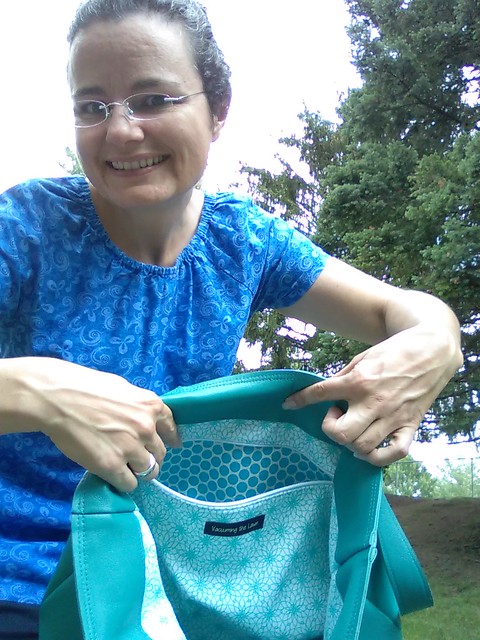
I'm smiling manically to get my camera, which takes a picture when it detects a smile, to take the picture!  Here's the patch pocket for my phone.  And it's got the double row of topstitching!

IMG_20160730_103628

Interior pocket zipped up
IMG_20160730_121415
Inside the zipper pocket, a fun surprise awaits!  Double topstitched here too!
IMG_20160730_103609
But I wasn't smiling!!

This vacation I decided to focus on making things I've never made before--like dabbling in quilting and working with leather.  This post is about what I've learned with leather, because you know this blog is basically my "lab" notebook that I publicly share with you, and I don't want to forget what I've learned about leather this week!

(Also note that while I'm not blogging as much as I used to, I am on Instagram all the time; follow me here).

IMG_20160730_121827
I've dabbled with the idea of making something with leather for a few years now.

  • A few years ago (2012?), I took Laura Bennett's "Handmade Chic" book out of the library. (Laura Bennett was on Project Runway season 3).   I borrowed it again last summer and then finally bought the book.    It has a heavy emphasis on leather and her methods seemed easy.
  • I took a hands-on leather class with Kenneth King at the ASE in 2014 and recently found the handouts from the class.
  • I took a seminar class on leather with a staff member from Haberman's Fabrics, also at the ASE.  That might have been 2014.  Found the handout from that as well.
  • I watched and took copious notes (and I do mean pages of notes) from Don Morin's Making Leather Bags class on Craftsy.  Don is a fountain of knowledge but I had to put him on double speed.
As with most sewing classes, there are contradictions in methods that instructors teach, and as usual it boils down to trying each method and using the method that works for you and your machine.  

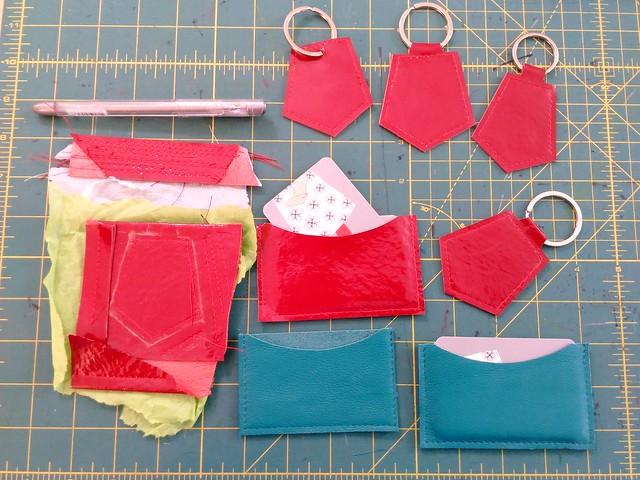
Earlier this year I got my feet wet by making two tassel keychains using the instructions from Bennett's book and a piece of leather from Kashi (Metro Textiles in NYC).  On Monday, I decided to try the tab key chain and business card holder in red patent pig leather that I bought during PR weekend this year Fishman's Fabrics to gain some practice.  On Thursday morning, I made the business card holder in this aqua-colored lamb leather, also from Fishman's Fabrics this year.  Late Thursday afternoon, I cut out the pieces and started sewing!!!

Testing and Other Notes
  • Use leather scraps to test stitch length and tension before stitching the real deal.
  • I used regular polyester thread, coats and clark # 5570. I did not double up the thread
  • I used my BabyLock Soprano, which is a pretty powerful home machine (well, compared to my Brother Project Runway machine).
  • Whenever I refer to Wonder Tape below, it's the Clover Dritz kind and I also used the brayer that Morin recommends to really get the tape to stick.
Note about the bag
I wanted to make the pink bag that is on the book cover, but that is NOT the bag in the book!  The pink bag inside the book is a taller and not-as-wide version of the bag on the front cover, and it doesn't have the bag bling!

Positioning of pattern pieces
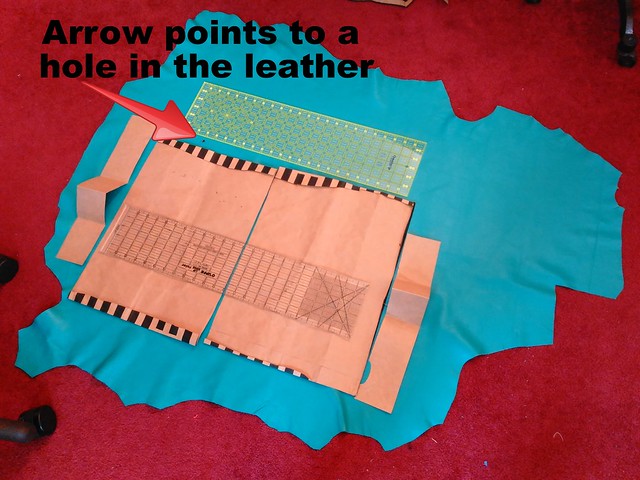
  • My leather had a hole in it, so I worked around the hole.
  • I cut pattern pieces out of a large paper shopping bag to figure out placement.
  • The large ruler represents the straps (which I cut 3" longer than the ruler, see below)
  • After making the bronze bag (which i haven't blogged yet), I cut the main bag pieces 18" long and 13.5" high.   (This later was cut down to 13")
  • The upper interior leather piece is 18" long and 3" high
  • I also cut a patch leather pocket x by y
  • And I decided to do a tassel for this too.  I cut this 14" by 4" instead of the 13" by 3" the book recommends, to make a really substantial looking tassel.
  • Cut out the leather using a new blade with my rotary cutter
  • The interior fabric lining was 18" long and 11" high (but read more about that below)

IMG_20160728_162858
Strapping:
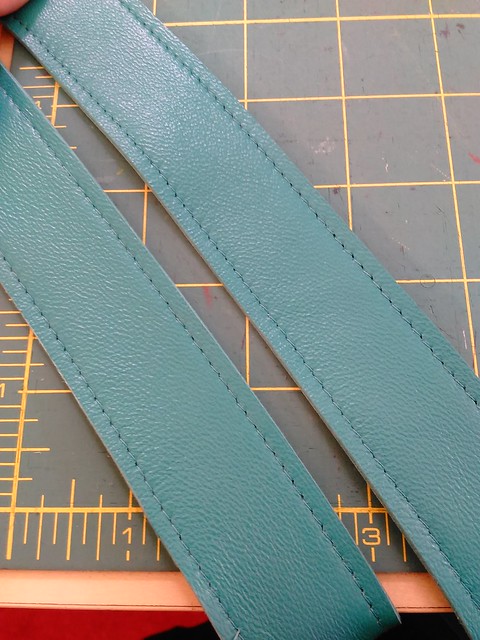
  • Bennett recommends 1" straps that are 22" long.  
  • From all my prior bagmaking, I know I prefer to cut 27" straps, and  I cut them 1.5" wide
  • I used Dritz Wonder Tape right on the edge to tape the straps to each other
  • I used my walking foot and put a strip of tissue paper under the strap and against the feed dogs.
  • In my tests, the size 16 brand new leather needle was fine but when I started sewing the straps, it skipped stitches :( .  I used a size 18 brand new leather needle and it was fine--no skipped stitches!
    • I could have done another row of stitching and then just cut the bad stitching off (then cut the other strap to the same size), but I didn't.  So one strap has one row with some skipped stitches.  Morin's class recommends hand stitching these skipped stitches, but I'm not sure I will.
  • 7.0 needle position, 4.0 stitch length, 4.0 tension
  • Aligned the edge of the walking foot with the edge of the leather.
  • After stitching, I used a quilter's ruler that has 1/8" marked on it, aligned the stitching right under the green 1/8" line, and used my rotary cutter to cut away the excess.   I put what I wanted to be the "right" side of the strapping down on my cutting table and cut from the wrong side.
  • Be sure to use an even pass of the blade all the way to the end and beyond, pushing down a bit on the ruler to get a straight cut that doesn't veer off at the end.

The end result is straps that are 1.25" wide and 27" long.  This may be a little too wide.  Next time I might cut 1.25" wide straps to start, so that at the end they are 1" wide.
IMG_20160728_192635


The exterior 
  • Used Dritz Wonder Tape to tape the front to the back, right sides together, right on the raw edge.
  • I used my walking foot and put tissue paper under the leather
  • Sewed front to the back
  • 3.5 needle position, 4.0 stitch length, 4.0 tension
  • In each corner, I removed a 2" x 2" square, then boxed out the corner and sewed it down.  I sewed it again about 1/8" away.
The lining

  • Well I kind of had an internal debate over what lining to use, especially as I prefer light linings so I can easily see what is in my bag. So I took it to Instagram, and pdxsquared recommended orange, which I thought was a fabulous idea (HoJo's colors!), but the orange in my stash is like traffic cone orange, way too bright.  In the end, I used this Lisette fabric I bought at Joann's in 2012, which has the same color aqua as the leather.  
  • Interfaced the lining with Fashion Sewing Supply medium weight iron-on interfacing.
  • Drew a line 1" down from the top of the fabric lining, then aligned the raw edge of the leather lining piece to meet this line, using Dritz wonder tape to secure.  
  • Topstitched the leather down. Since I wanted the topstitching really close to the edge of the leather, I aligned the raw edge with the left edge of the white part of the walking foot.
IMG_20160729_161126
Patch pocket 
  • Folded the top down by 1", used wonder tape to secure
  • Topstitched this fold down
  • Topstitched the pocket to the lining
Interior Zipper Pocket
  • Used the tutorial I always use but used a 9" zipper and cut the pocket to be 13" instead of 12" long.
  • The zipper is from Emmaline Bags
IMG_20160729_164802

IMG_20160729_164823
The pocket fabric was a remnant I bought at Joann's a while ago.

Bag bling
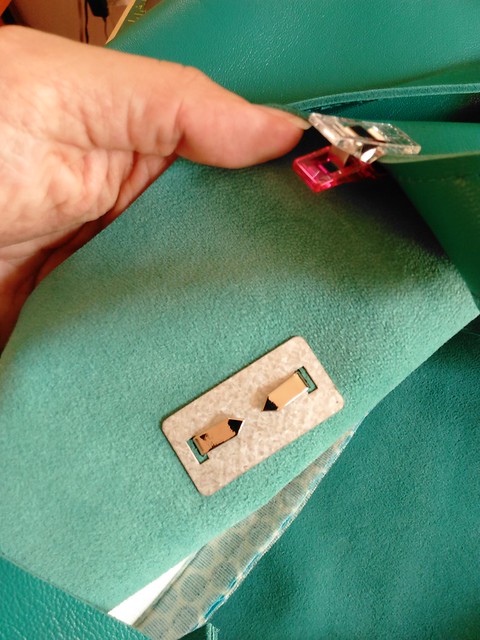
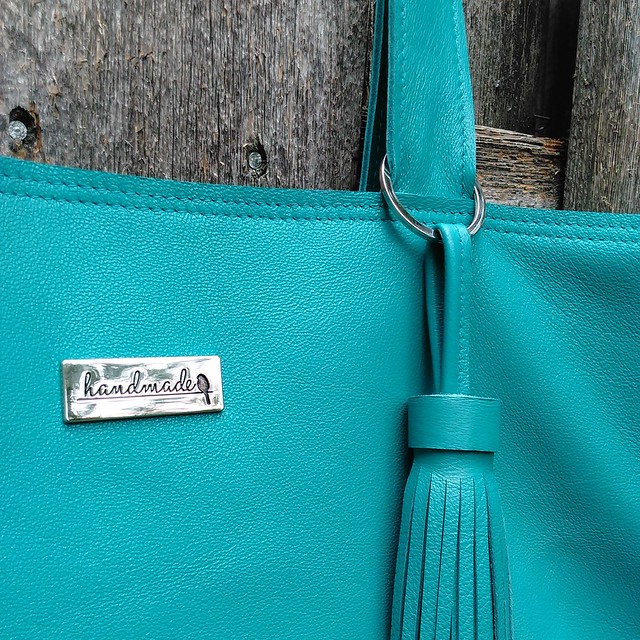
  • This was my first time installing bag bling, in this case a metal tag that says "Handmade" and has a cute little bird, also from Emmaline Bags.
  • It was super easy to install--use the plate to mark where to cut the slits, carefully cut the slits with a box cutter, then push the prongs through the slits, put the metal plate over the prongs and fold the prongs down
  • Of course this part is a bit like cutting a welt pocket --mess it up badly and there isn't any going back!
IMG_20160729_171934

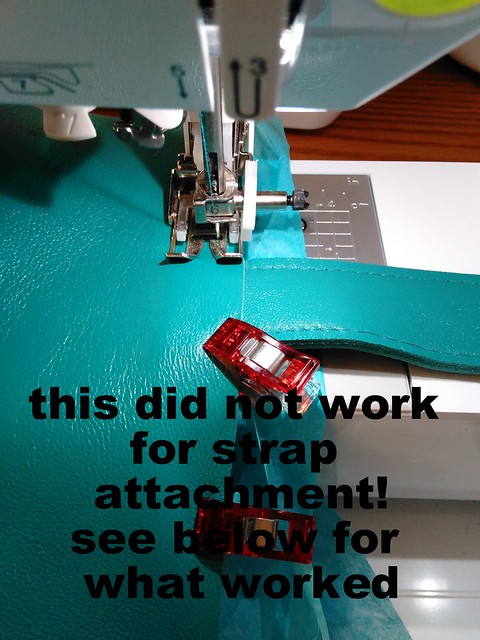
Sewing the lining and strapping to the exterior: take one (this did not work well for me but for completeness sake, here's what I did):
  • Cut a strip of Peltex to fit the bottom of the bag to give it some structure. Put it in the bottom of the bag.
  • Drew a line .75"from the short edge of each strap.
  • aligned strap 4.5" from the side seams on the exterior
  • Used wonder tape to secure
  • Aligned raw edge of lining to raw edge of exterior and wonder clipped (not taped) in place.  Foreshadowing:  I should have wonder taped all the way around!
  • Ran a few samples without skipped stitches and thought I was good to go
  • 7.0 needle position, 4.0 stitch length, 4.0 tension
  • Aligned edge of walking foot with raw edge
  • Tissue paper under the foot
  • Sadly, I got skipped stitches over the handles and at the bulky side seams, and the top just looked sloppy overall because it wasn't taped together beforehand.

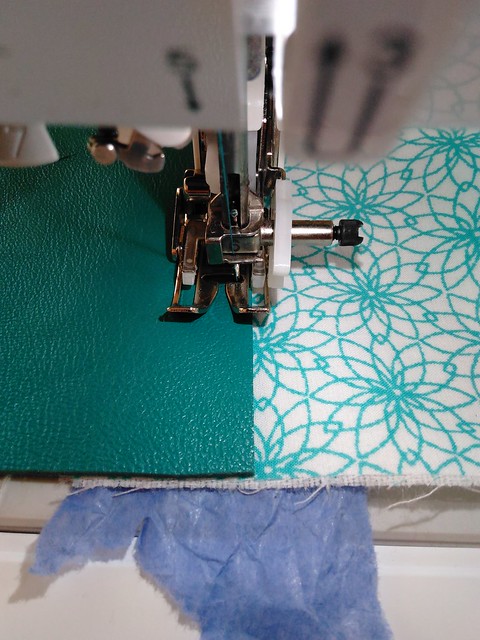
At this point I had dinner and googled for help, and got this miracle blog post which stated that she uses her walking foot for most of the sewing but for strap attachment she uses her teflon foot, a brand new needle and a hump jumper

IMG_20160729_174021
Sewing the lining and strapping to the exterior: take two (this worked as per the blog post!)
  • Carefully removed the handles from the bag by removing the stitches in that area
  • Cut off 1/2" all the way around the top of the bag through both layers to remove the bad topstitching (I did this in 4 cuts)
  • Taped the handles back in place with wonder tape
  • Taped the front to the back with wonder tape all the way around the top edge
  • Used a brand new size 18 leather needle
  • Used the teflon foot
  • Put a piece of paper under the leather against the feed dogs
  • Aligned raw edge of leather with edge of teflon foot
  • 7.0 needle position, 4.0 stitch length, 4.4 tension this time
  • Kind of gunned it over each strap instead of stitching slowly.  I was thinking of it like driving my car...if it's a bit of a steep hill I gun it, right?
  • Only used the hump jumper for the side seams (exterior seams taped to one side with wonder tape and interior seams taped to the opposite side)
  • NO skipped stitches, YAY!
  • As I was falling asleep that night, I wondered how the strapping would stay secure to the bag, as the only thing keeping it in place is that one row of topstitching and some wondertape.  After conferring on IG, I stitched a second row this morning, 3.5 needle position, 4.0 stitch length and 4.4 tension, and it still looks good (no skipped stitches YAY!) and should be more secure.

IMG_20160730_122247
Double row of stitches now!

The tassel

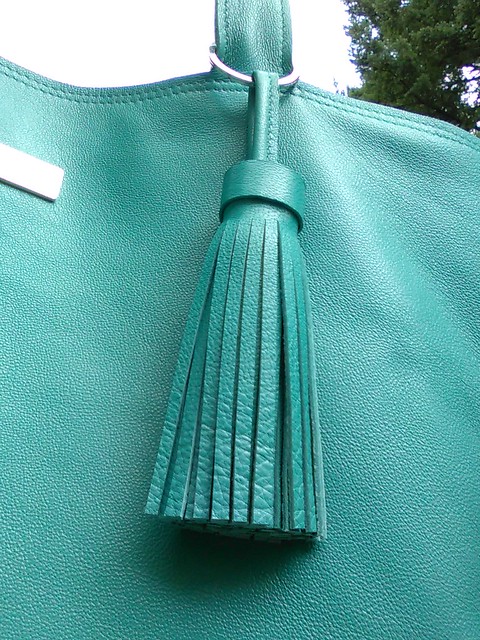
  • Making the tassel is super easy!!!
  • Followed the directions in the book, but instead of winging the 1/8" cuts, I used the green 1/8" guide on a quilting ruler to make the cuts, squaring up every inch (if you read Bennett's book, what I wrote here will make sense)
  • For the wrapping, I used 1/2" permanent Scotch double sided tape instead of the wonder tape since this part is not being stitched at all.
  • The largest keyring I had in my stash was 1.25" and the strap is 1.25" so it squishes the bag strap a little bit.  When I go to MPB Day, I will try to find a larger keyring at Pacific Trimming.
  • I think this tassel, along with the "handmade" metal label, really makes the bag look professional.
IMG_20160730_121539
A few notes about tab keyrings and business card holders...
  • 3.5 stitch length is better to make it easier to hit the corner marks
  • I used this silver leather marking pen I bought at SIL Thread in NYC to draw directly on the leather
  • Followed that line as I stitched
  • then wet a paper towel with cold water and wiped off the silver marking as soon as I was done stitching, and used a paper towel to dry.
  • That worked on both the red patent leather and also the aqua leather.
  • cut the excess off, being  sure to use an even pass of the blade all the way to the end and beyond, pushing down a bit on the ruler, so as to make a really nice angle.


IMG_20160730_162234
So now what???
  • Bennett's book recommends sealing the raw edges with gum tragacanth or acrylic paint.  I ordered some gum tragacanth on Amazon and am waiting for it to arrive.  I will try it out first on the business card holder.  She makes it sound super easy and I hope it is!
  • This was actually my muslin for the bag I want to make out of the red patent leather, so that I could work out the kinks and learn how to sew with leather.  Now I am feeling more confident.  I could just make this bag again in the red patent, or I could make a different bag that I've had my eye on, but that one requires birthing the bag through an opening in the interior zipper pocket, and I'm afraid the patent leather will get lines in it that won't ever come out.  Guess I will do a mini-test first and figure it out!!!  (Or what about a red patent leather backpack...hmmmm!)


IMG_20160730_121443
Be well!!