Showing posts with label dress. Show all posts

Monday, August 29, 2016

Teal Lady Skater, Label Giveaway Update, Meeting Lisa from As I Said

IMG_20160827_161209
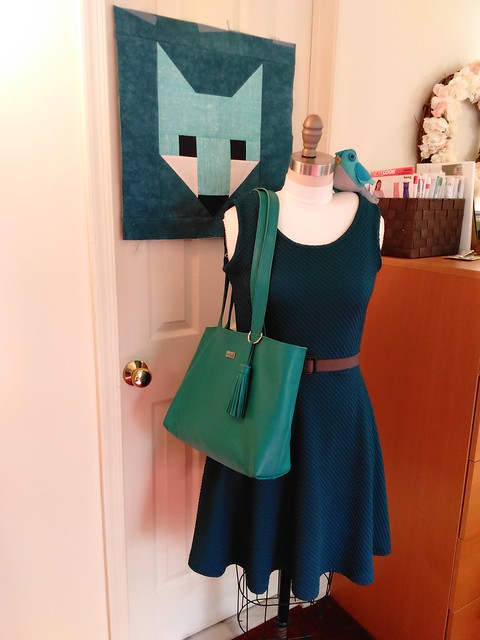
I'm on a teal/turquoise/aqua kick lately...here are the last three items I have machine sewn, and one that I hand stitched (the bird on Izzy's shoulder)


Labels giveaway update
IMG_20160827_144632

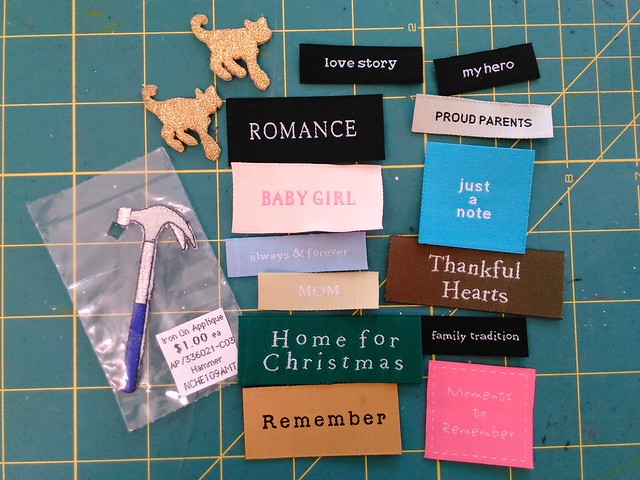
Tech time and Linda T:  Please send your mailing address to me at kdburkhardt at yahoo.com so that I can send your labels out to you!

Above are the woven labels that are left; if you want any of these, please leave a comment below listing the label(s) you want, then please email me at kdburkhardt at yahoo.com with your mailing address. Open to all including international as these are thin and light and can be mailed like a letter.

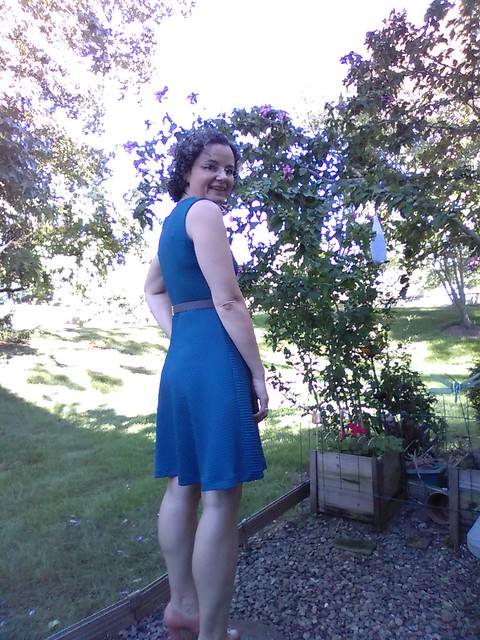
Teal Lady Skater
IMG_20160822_172910  
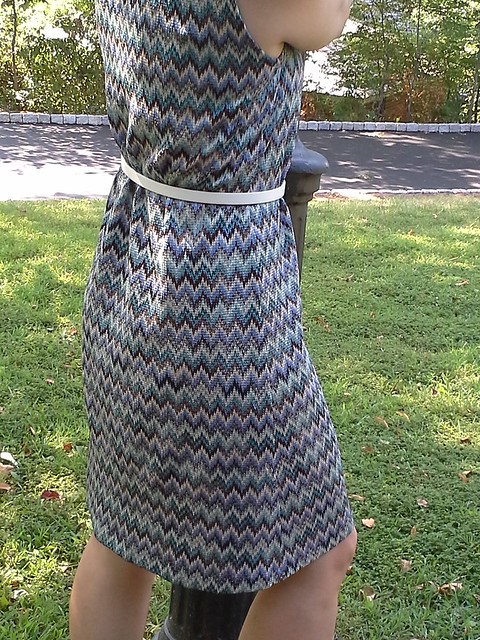
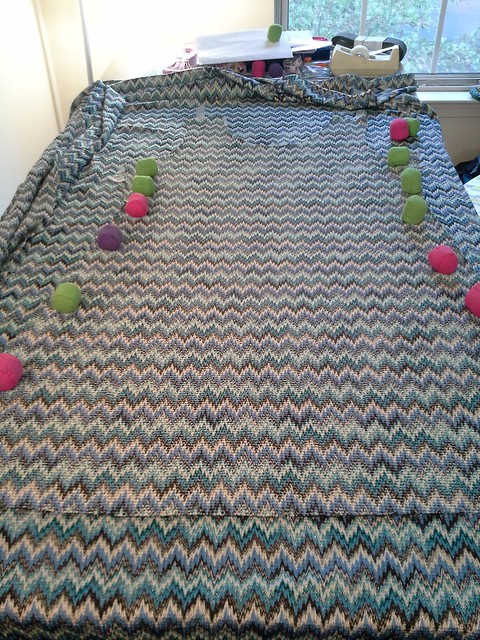
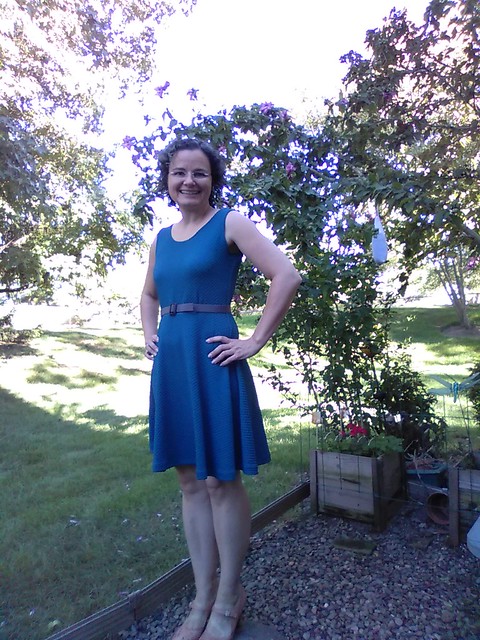
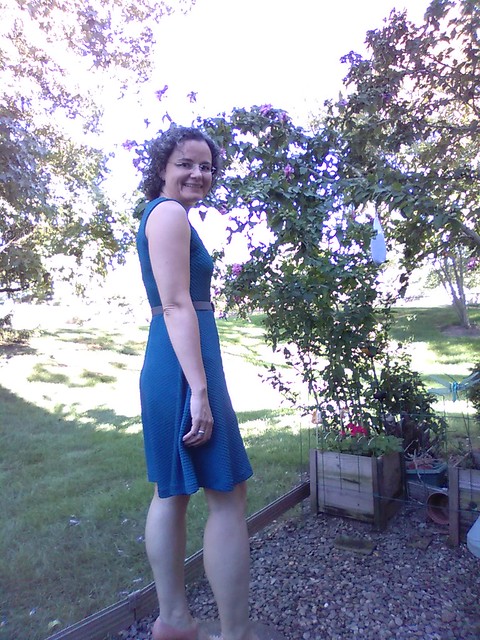
This teal Kitschy Coo Lady Skater has been on my "to sew" list since last December, when I made the wearable muslin out of this same fabric, only in black.   This pattern has no darts in the bodice so it really lets the fabric sing without being interrupted by dart lines.

This fabric has loads of texture and is super stretchy.  At the time, I went by the size chart and sewed a size 4 grading to a size 5.  It was a bit too snug in the bust in the wearable muslin version, so I went with an overall 5 this time and I think it still kind of looks too snug in the bust (as in you can see the outline of my bra--keep in mind what I'm showing you here are the best shots and I tried 3 different bras plus a full slip) so next time I will go up to a 6 in the bust.
IMG_20160822_172943

IMG_20160822_172931

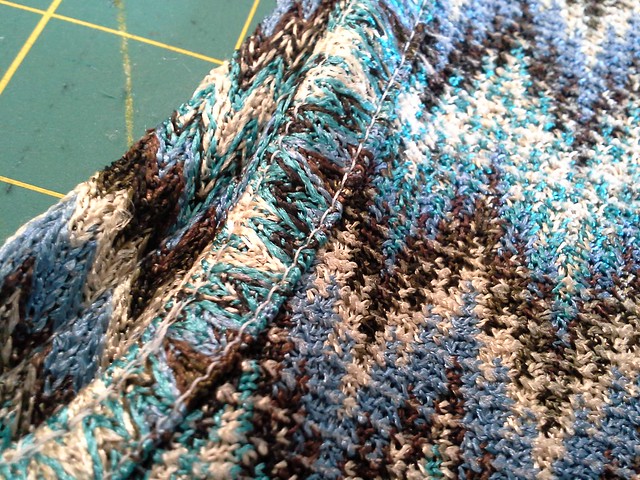
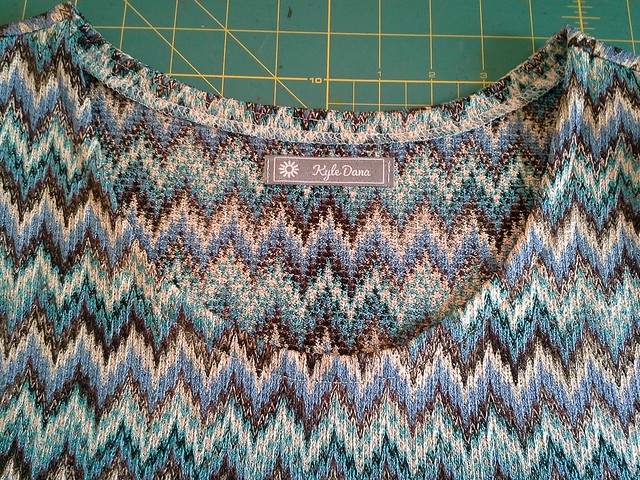
I made it sleeveless and bound it in some kind of mystery fabric I bought at Paron.  I didn't want to use the same fabric for the binding because it is kind of lofty and had nothing similar in the stash so during my little daytrip to NYC in June I went looking for something to match and this is what I came up with.
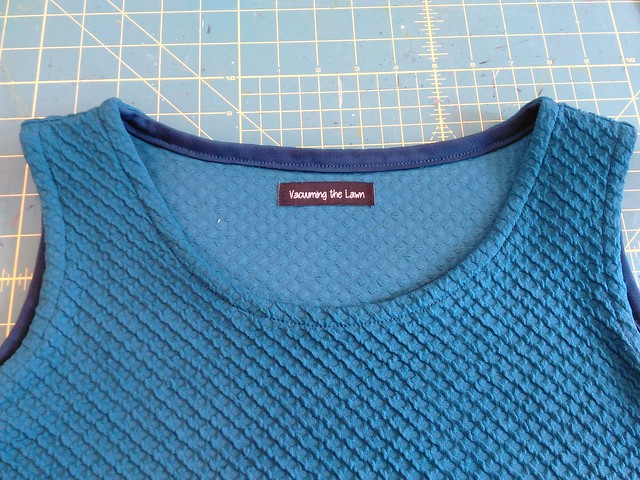
IMG_20160827_162032
I stitch down my bindings from the outside, so my stitching isn't perfectly along the binding edge here, hmmmm....
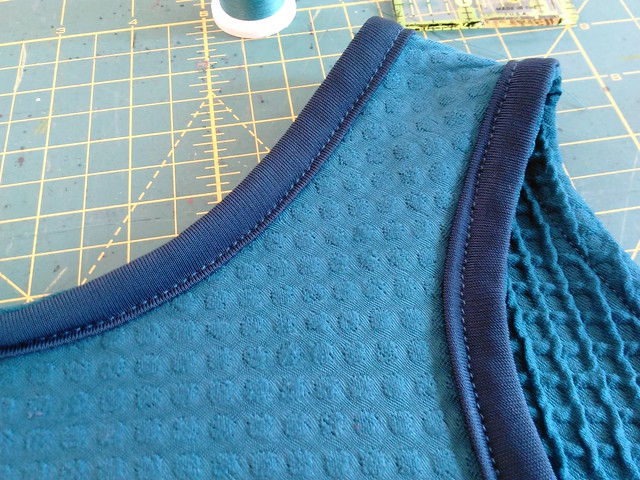
IMG_20160827_161918
A little wonky

I took about 2.25" out of the bodice at the strap and another 1.5 " out of the bodice closer to the waist on the pattern that I traced.  I knew from the wearable muslin that I needed to remove some length to get the horizontal seam of the skirt to be closer to my waist.  I added 1" to the length of the skirt that I had traced from last time, and really should have added 2" as it is a little short...but I didn't have another inch of fabric to spare, sooo....
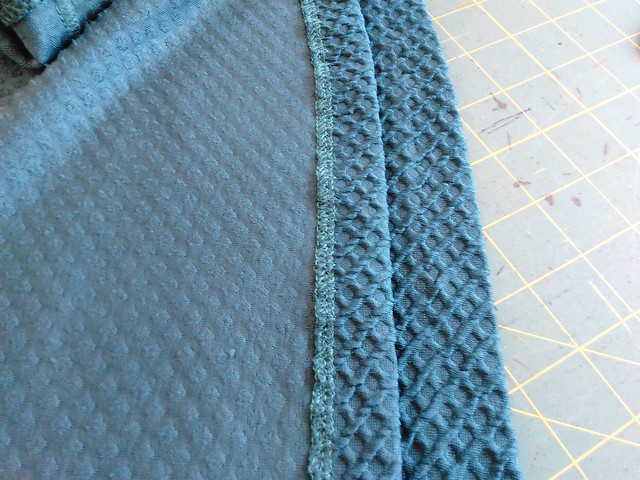
IMG_20160827_161944
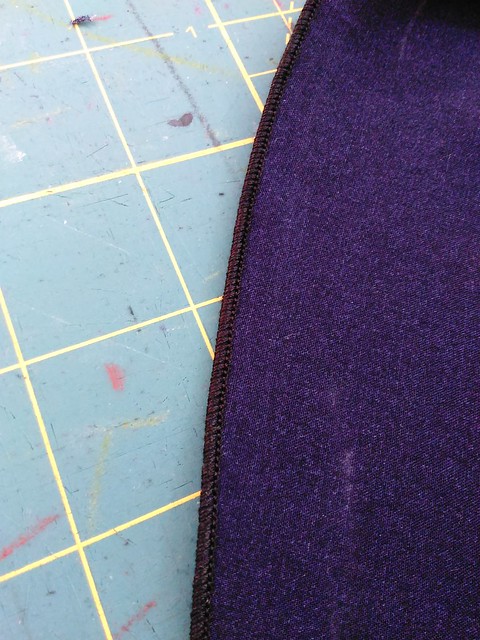
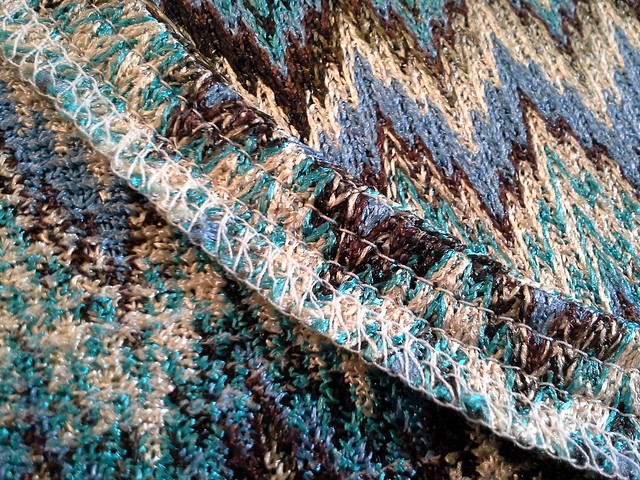
I hemmed the dress by serging the raw edge first, cranking my DF up to 1.5 so that it would gather the edge for me, then pressed up 1" with my Elna Press, and then blind hemmed it on my machine, and then Elna Pressed again.  I really like the look of that finish.
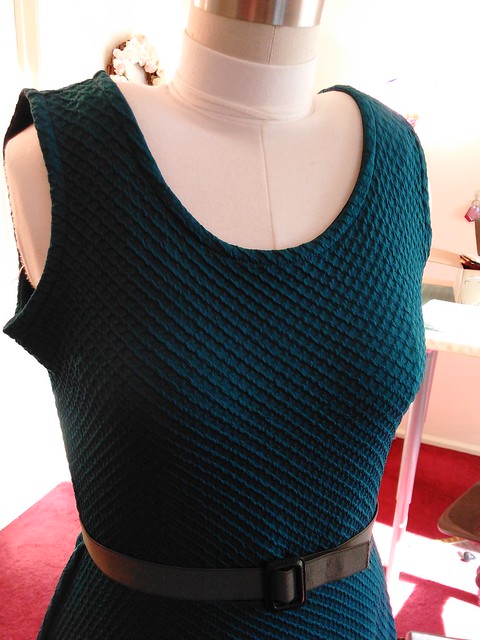
IMG_20160822_173753
Texture!

Meeting Lisa from As I Said 
IMG_20160828_125600
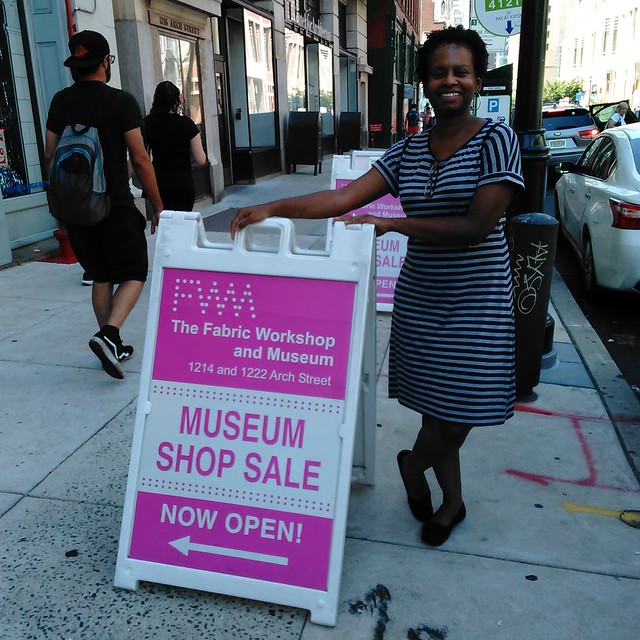
Lisa wearing her adorable striped dress which she recently stitched up--great stripe matching on the sides!!

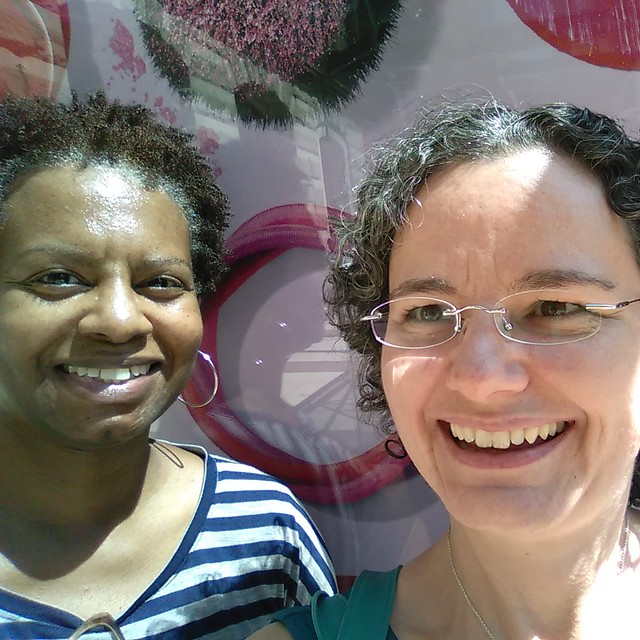
I wore the dress to Philadelphia yesterday to meet up with Lisa from the blog As I Said (and the IG account metamorphpursuit).  I've been a reader of her blog since 2008 and this was the first time we met in person.  It was really lovely to meet her and spend the afternoon in her company.  I had not been to Philly in YEARS and it was also good to get reacquainted with the city again.

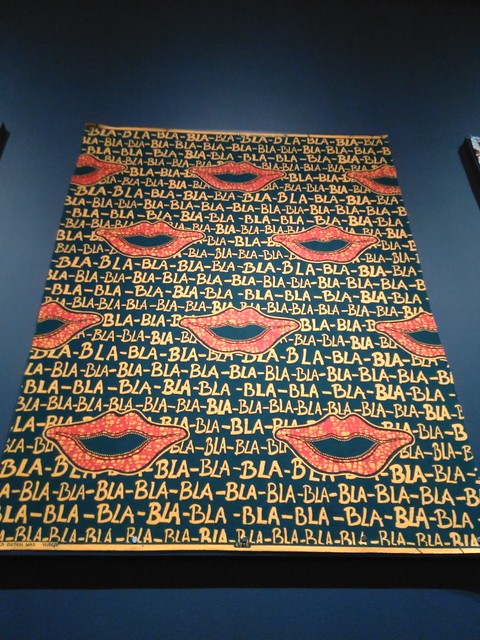
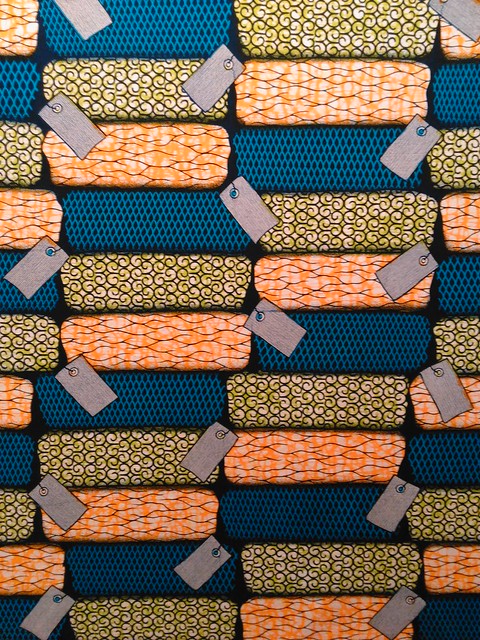
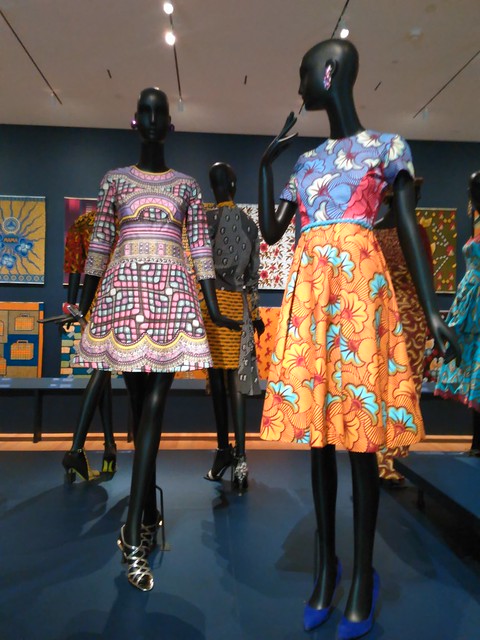
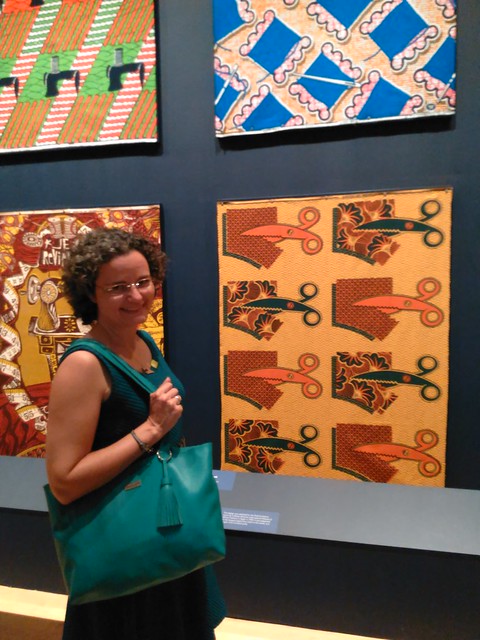
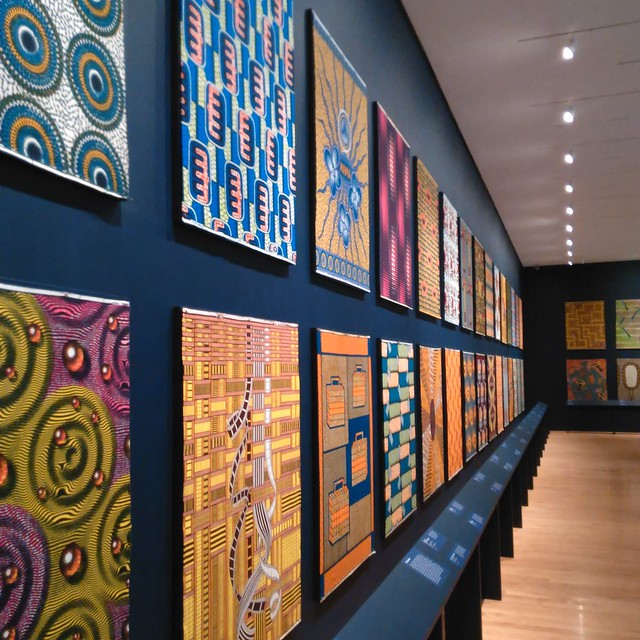
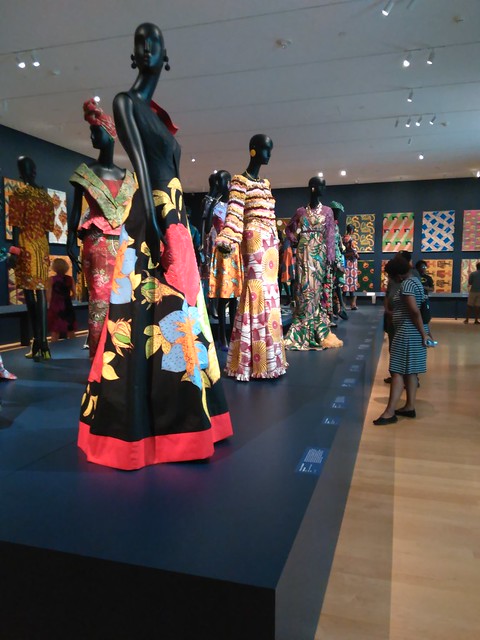
We had lunch in Reading Terminal Market, then tried to look at the exhibits next door at the Fabric Workshop and Museum but they are between exhibits right now; only the gift shop was open.  So we took the Phlash to The Philadelphia Museum of Art to see the Vlisco African Wax Print exhibit.  
IMG_20160828_135805
It was really beautiful, I learned a lot, and I appreciated that it was not crowded (unlike the Met Man vs Machine exhibit that was overly crowded).  
IMG_20160828_135214

IMG_20160828_135642

IMG_20160828_135631


IMG_20160828_140928

IMG_20160828_142048
In the sewing themed section.

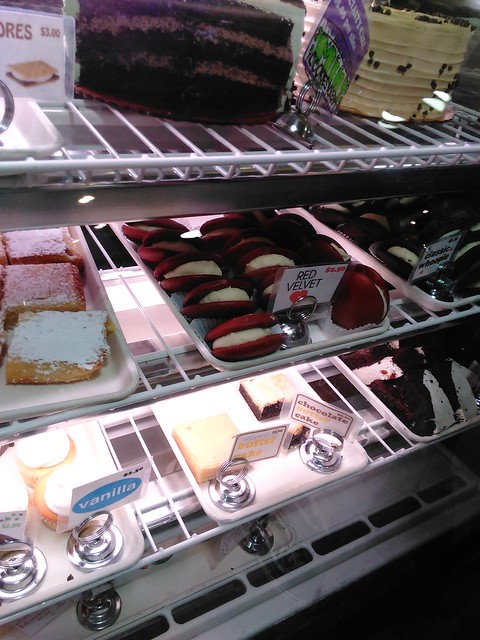
We wrapped up the day back at the Reading Terminal Market to get some sweet treats (I highly recommend the classic whoopie pie from The Flying Monkey--outstanding!)
IMG_20160828_160525
Goodies at The Flying Monkey
IMG_20160828_132413
Thanks for meeting up with me, Lisa!
Be well!!

Thursday, June 23, 2016

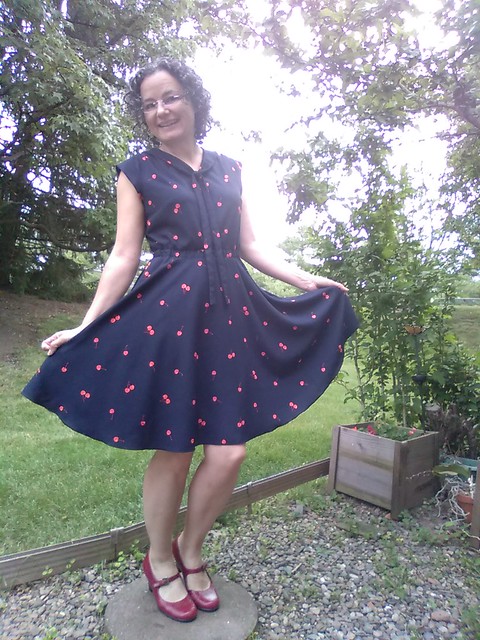
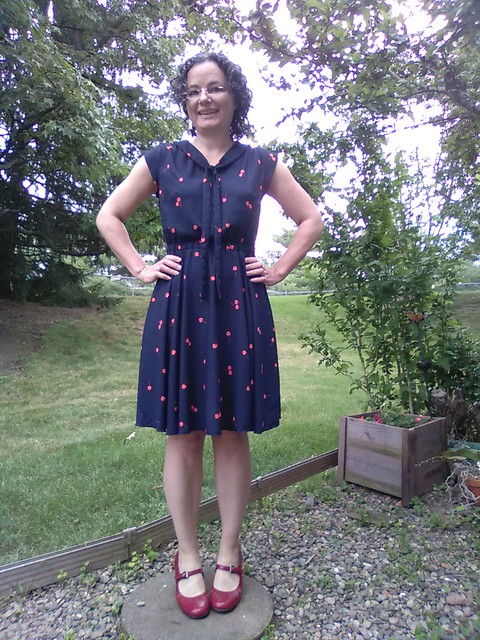
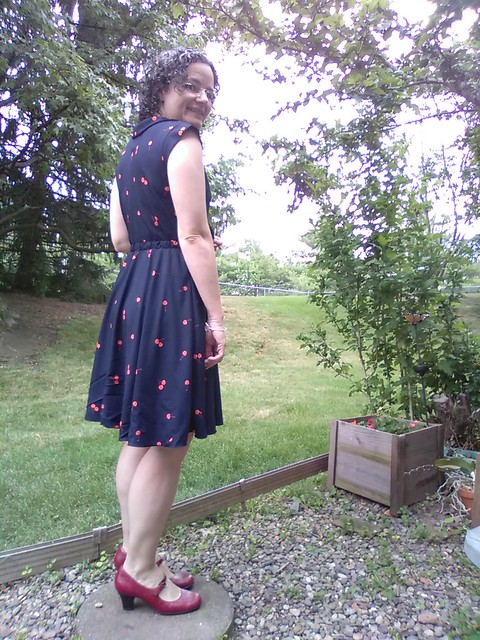
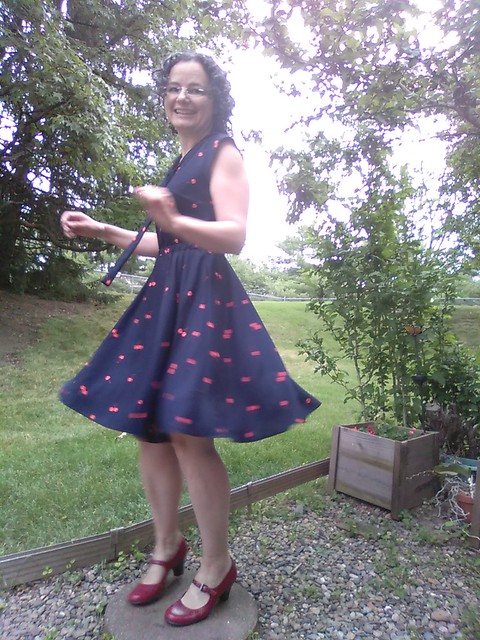
Deer and Doe Reglisse Dress

IMG_20160621_073553
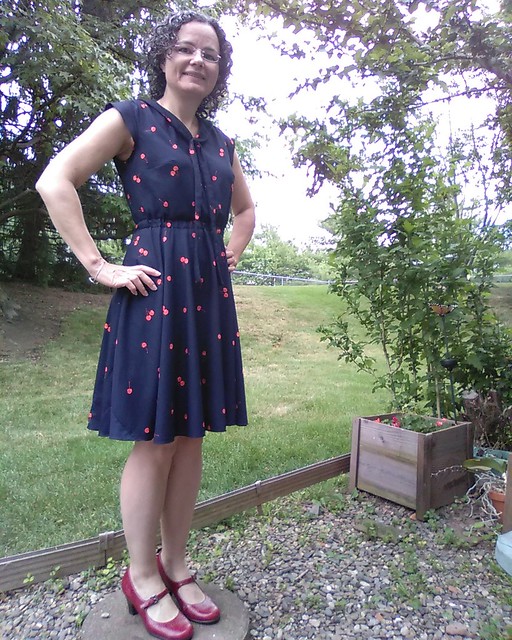
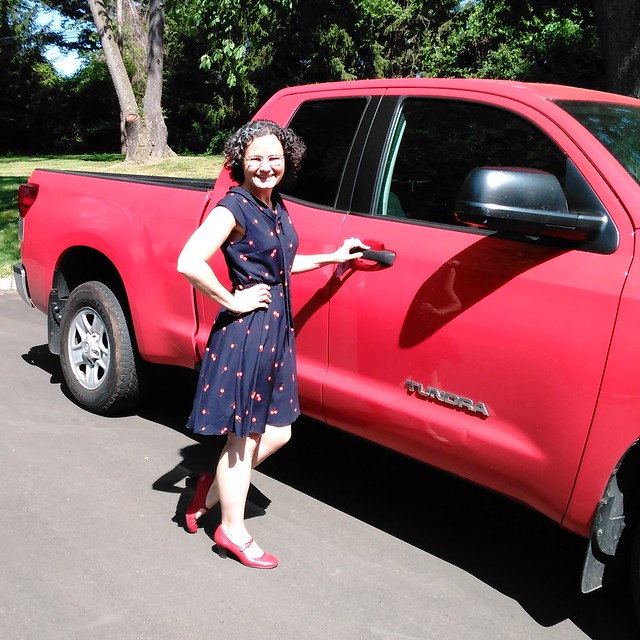
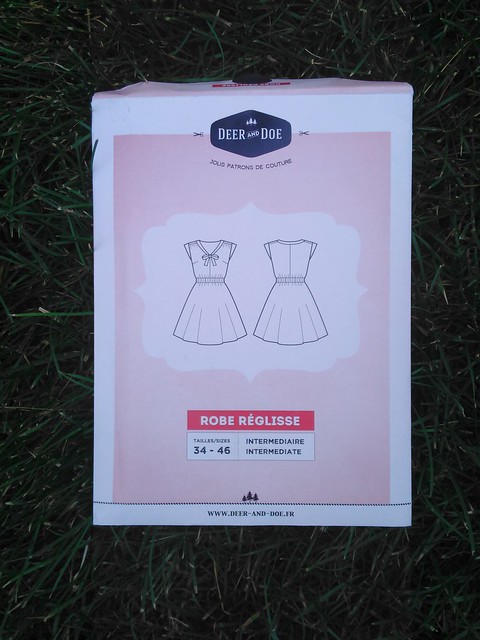
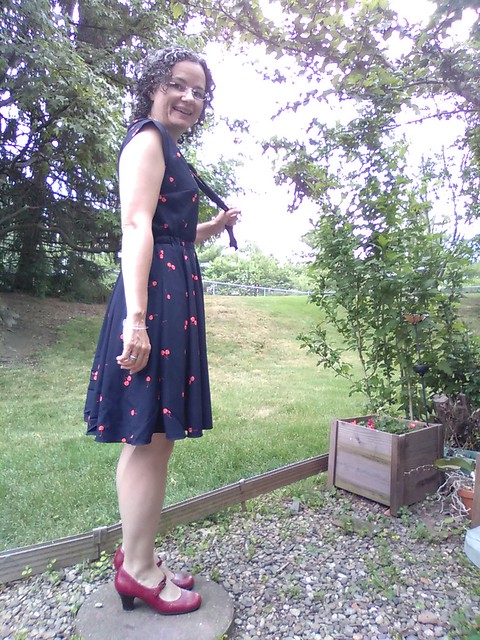
When I saw Deepika wearing the Deer and Doe Reglisse Dress at PR weekend, I totally wanted her dress. Since I was pretty sure she wouldn't give me hers, I came home from PR weekend, bought the paper pattern from the Deer and Doe website and bought the fabric from Fabric.com.
IMG_20160621_095933
Does this random truck match my dress?
IMG_20160621_071624
Reglisse means "licorice" in French (and la robe is dress).

This is a pattern I never would have purchased based on the line drawing alone.  It looks too young for me and too sweet in this line drawing.
IMG_20160620_215628
The Fabric
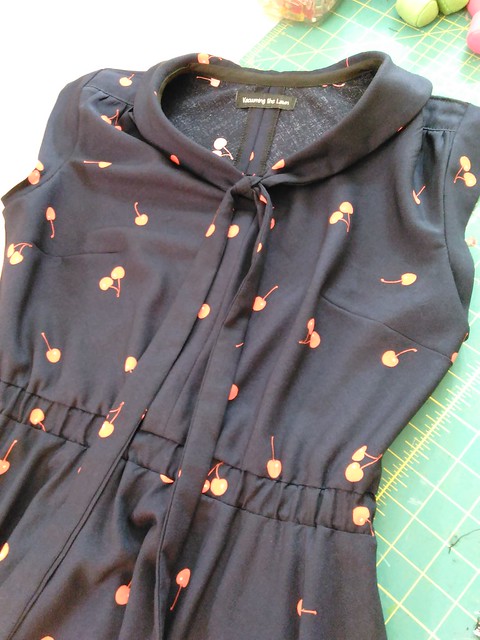
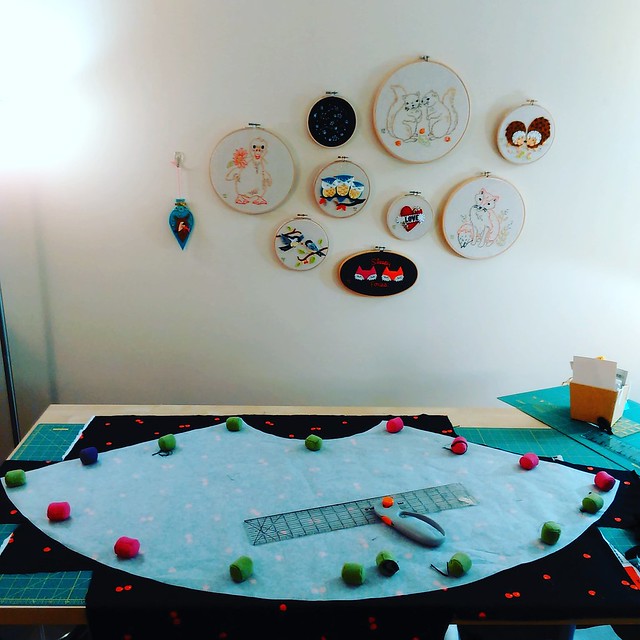
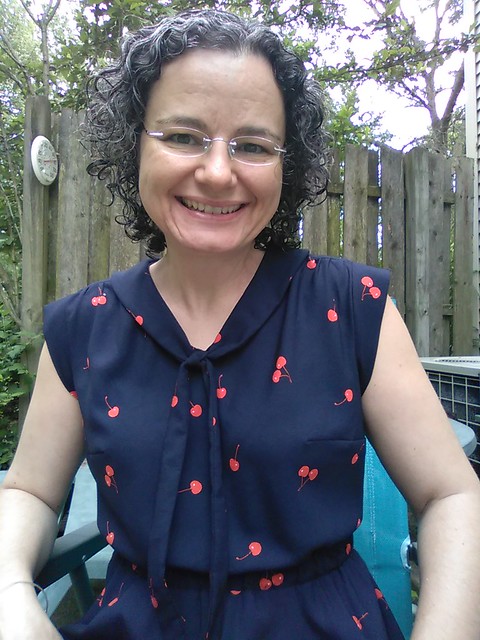
This rayon fabric is Cotton and Steel Fruit Dots in the navy blue and red colorway.   The pattern calls for 3.25 yards of 60" wide fabric.  The fabric is 45" wide and I wound up buying 5 yards in 3 yard and 2 yard increments because I didn't realize when I first bought it that it wasn't 60" wide.  This proved to be a wise decision because I was able to use the actual fabric for my muslin of the bodice.  I have nothing in my stash quite like this rayon so it was great to use the real fabric for the muslin.

When I prewashed and dried a 4" square sample of this fabric, it frayed like crazy!!! So I serged the cut edges of the fabric when I prewashed and dried the real deal.  (I never dry my dresses in the dryer--I air dry instead--but occasionally something will slip through so best to have preshrunk the fabric).
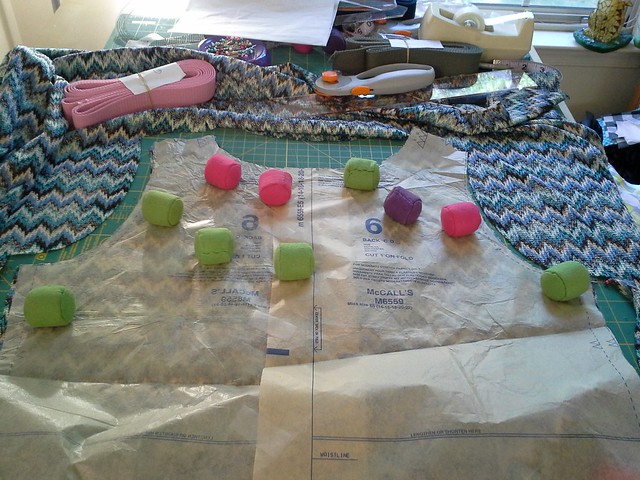
Deepika's PR review mentioned that this fabric really picks up shine marks from the iron so I only used my Elna Press on a low setting with a press cloth and did not use any water.  No shine marks.

The muslin
I came back from my day trip to NYC on Friday night totally raring to go with the muslin!  So that night I cut out a straight 40 bodice as the 38 bodice would be too small for my bust.  I basted it all together and found, as Deepika did, that the neckline was way too deep. I also felt the neckline was also too wide and the armholes were too deep.
IMG_20160618_100643
Lots of chest on display

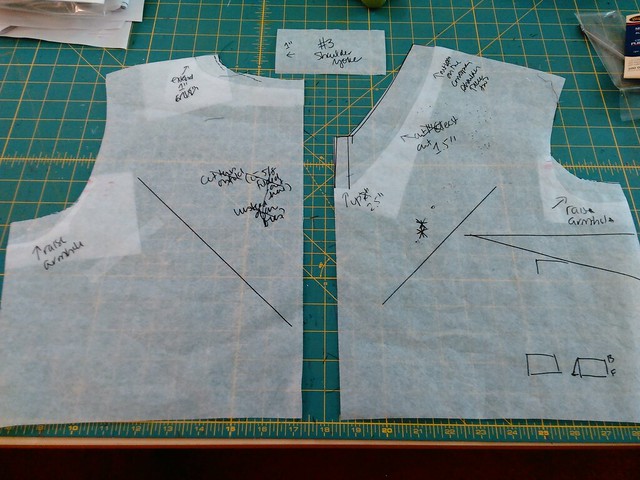
Saturday morning I made the adjustments to the pattern pieces.
Raised the neckline "point" 2.5 inches, added 1" to the neckline and shoulder yoke edges  grading to that point, and added 1" at the armhole.  Also I should note that Deer and Doe are drafted for a C cup and I am more of an A/B cup but I didn't try small bust adjusting it.  The blousey nature of this dress didn't make a difference.
IMG_20160619_213813
The back, the front, and the shoulder yoke.  The front and back are cut on the bias.

The dress
I cut a 40 in the waist and skirt as well (even though my waist and hips are more like the 42 on their chart) because the waistband, before adding elastic, is 36" and the skirt is incredibly full.

I made intensive effort to avoid a cherry on my bust apex.  :)

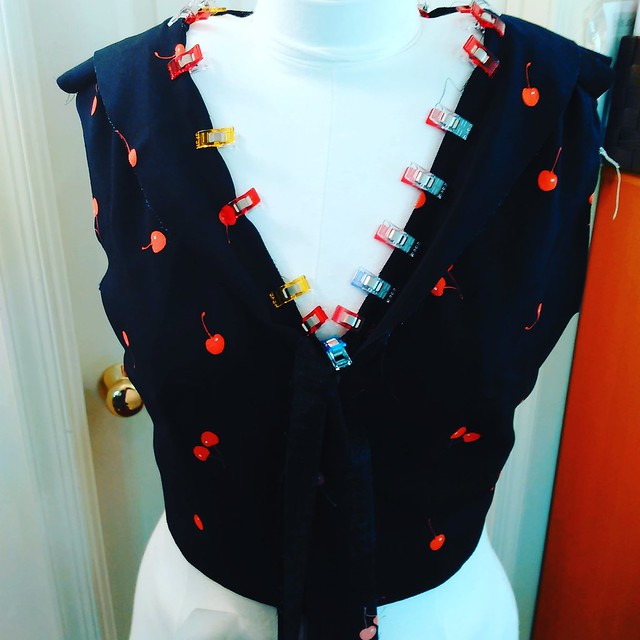
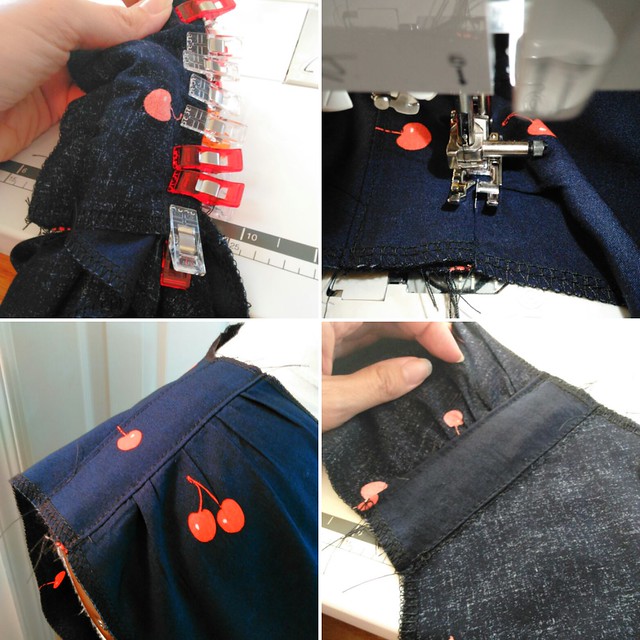
I did the burrito method on the shoulder yoke as per another PR review to make a clean finish and also to provide some more stability in this area.  (the shoulder yoke is gathered in front--a nice touch!)
IMG_20160618_154805
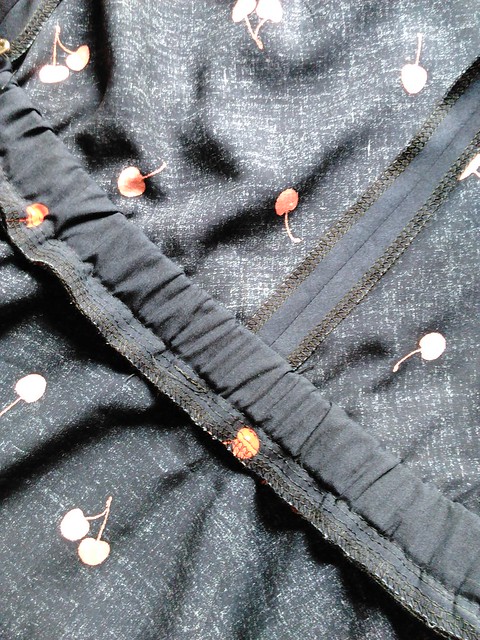
Do not do not do not try to go rogue and partially burrito the waistband as I did going for another really clean finish--I wound up undoing this because it means that 4 layers of fabric are on your waist plus the elastic.  I undid the waistband to unburrito it, and also wound up making wider seam allowances there so that the waistband would be closer to my actual waistline.
IMG_20160619_174123
Partially burritoed--do not do that!
IMG_20160619_184931
Unburritoed
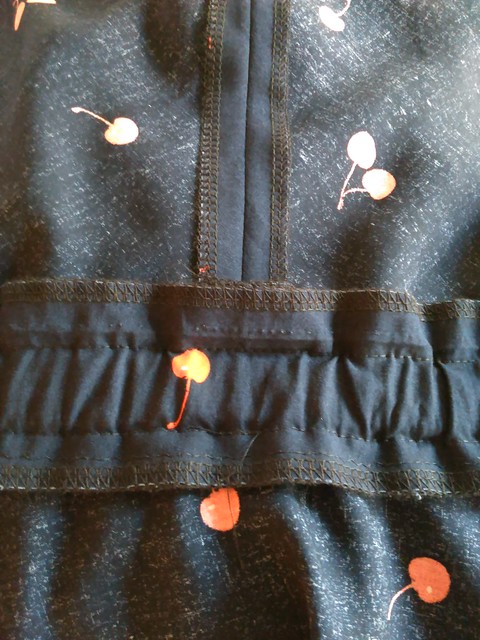
Use the thinnest elastic you have--originally I put some thick stash elastic in there and the whole thing looked lumpy.  I took it out and used Pamela's elastic, which is thin, and cut it down to .75" wide (instead of the recommended 1") and the effect is much better.  I also left a bit of extra length in the elastic with the intent of letting out the elastic if it felt too tight or restrictive--I wound up tightening it so that it doesn't sag in the waist.

Knot vs bow
It is supposed to be worn in a bow but I am really more a knot person.

Piecing the skirt together

IMG_20160618_204707
IMG_20160620_215513
Inside out and pieced together.
The skirt is really wide (wider than 45") and I wound up having to piece the skirt together in the lower corners at the end.  That area is somewhat puckery from the outside and I wish I had redone it to please my perfectionist side.
IMG_20160619_160413
The hem
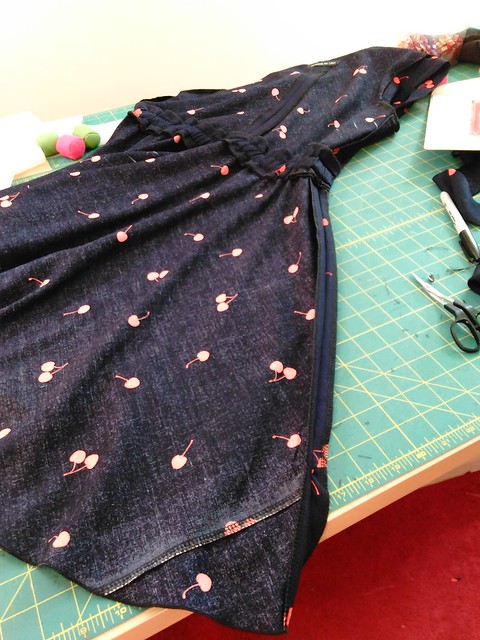
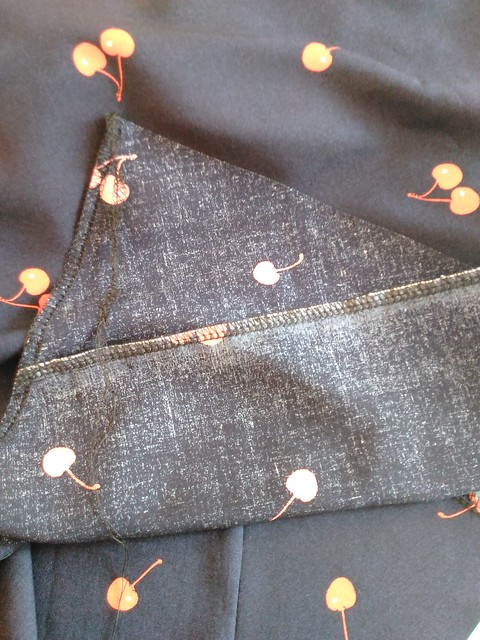
I had read Deepika's review that the dress is short and she lengthened 4".  When I held the pattern up to my body, I felt it didn't need 4", so I cut it out to the longest pattern length (size 46) which was only about 1.5" longer than the size 40 that I used for the rest of the pattern.  This wound up being exactly the perfect length for me so I used the rolled hem feature on my serger to hem it (to preserve length) and I think it looks really good, especially in this drapey rayon fabric!  I turned the DF down to .6 for most of the hem so that it would be flat and pressed with my Elna Press.


IMG_20160620_200143
Rolled hem on my serger

I finished most of the dress by Sunday night except the hem.  Hemmed it Monday night and wore it to work on Tuesday. Got lots of nice compliments.  It really is a fun and floaty dress to wear, and it's really effortless dressing.  The fabric feels so soft and smooth.  I just love it!
IMG_20160621_071920
Full skirt
IMG_20160621_072300
front
IMG_20160621_072716
Back after sitting in it briefly--the rayon wrinkles up
IMG_20160621_071926
Obligatory twirling shot
IMG_20160621_072714
Side
IMG_20160621_072408
Deepika was right; the bust darts are too high, but they didn't seem high in the muslin

Be well!

Saturday, November 7, 2015

Vogue 8944 again! What to do about the fabric?

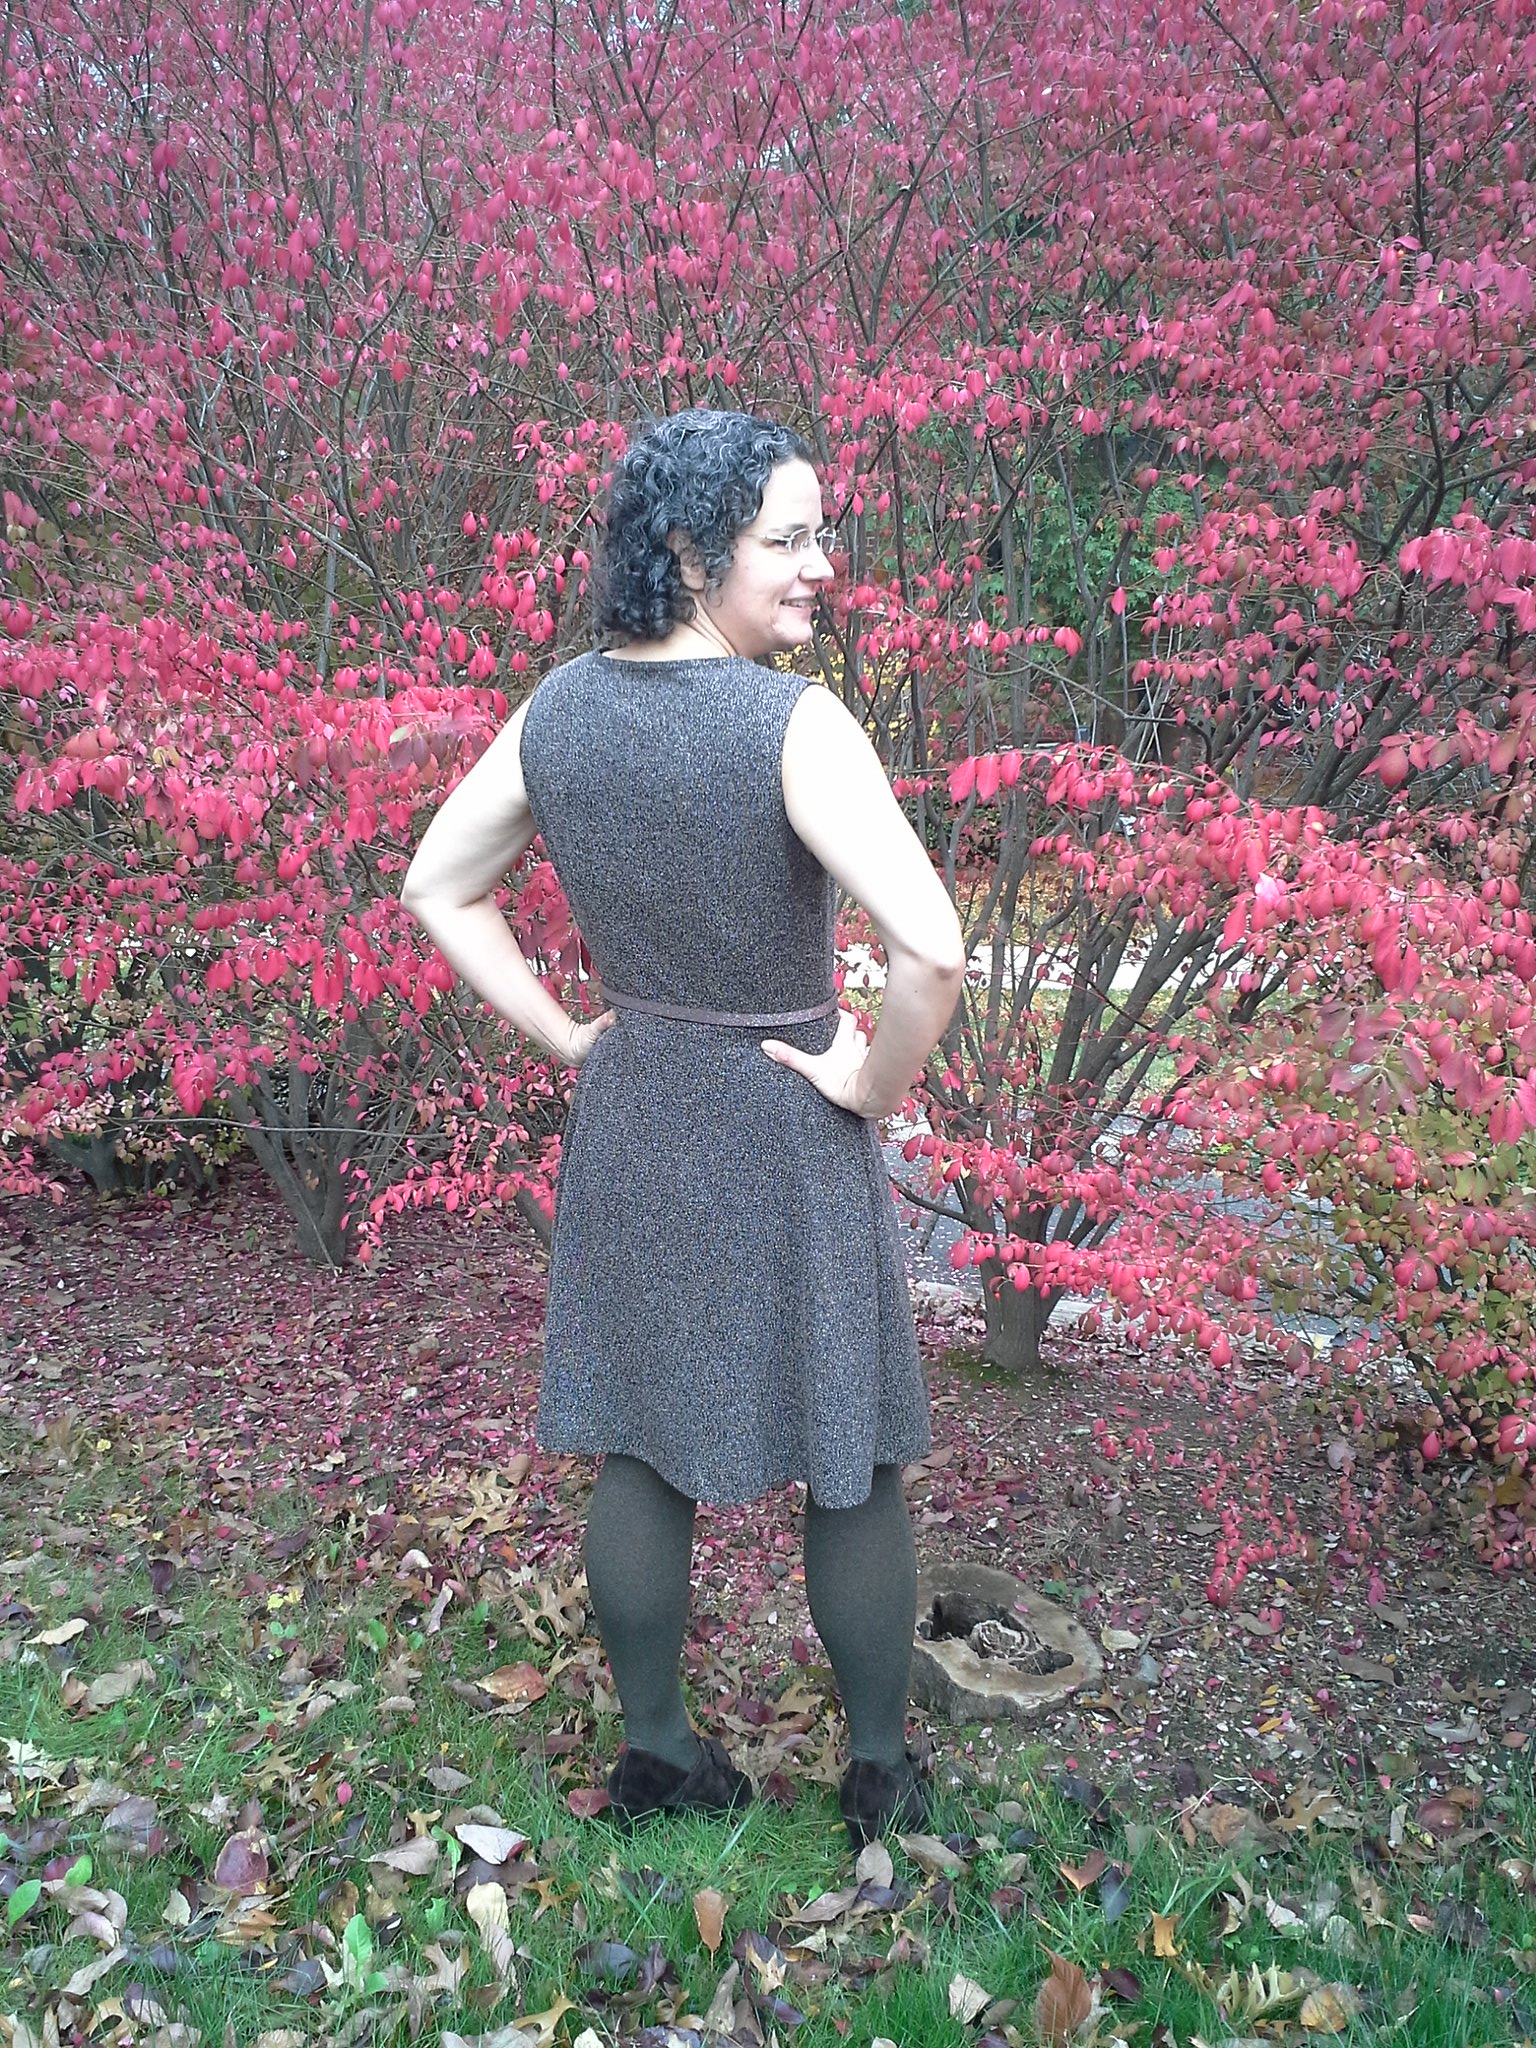
20151102_112713
Obligatory twirling shot


Thank you for all your birthday wishes and kind words about my Batgirl birthday outfit!!  I had a blast that day at the gym (I actually did keep the cape on for the whole class, as I liked how it looked swishing around and sort of gave the effect of a fan!)


20151102_112546
Side
20151102_112704
Back
I have been enjoying wearing my first version of Vogue 8944, so I thought I'd make it again last weekend. Since it was already traced, I was somehow able to cut and sew this dress in about 6 hours, which is somewhat of a record for me for a dress like this.  
20151101_213422
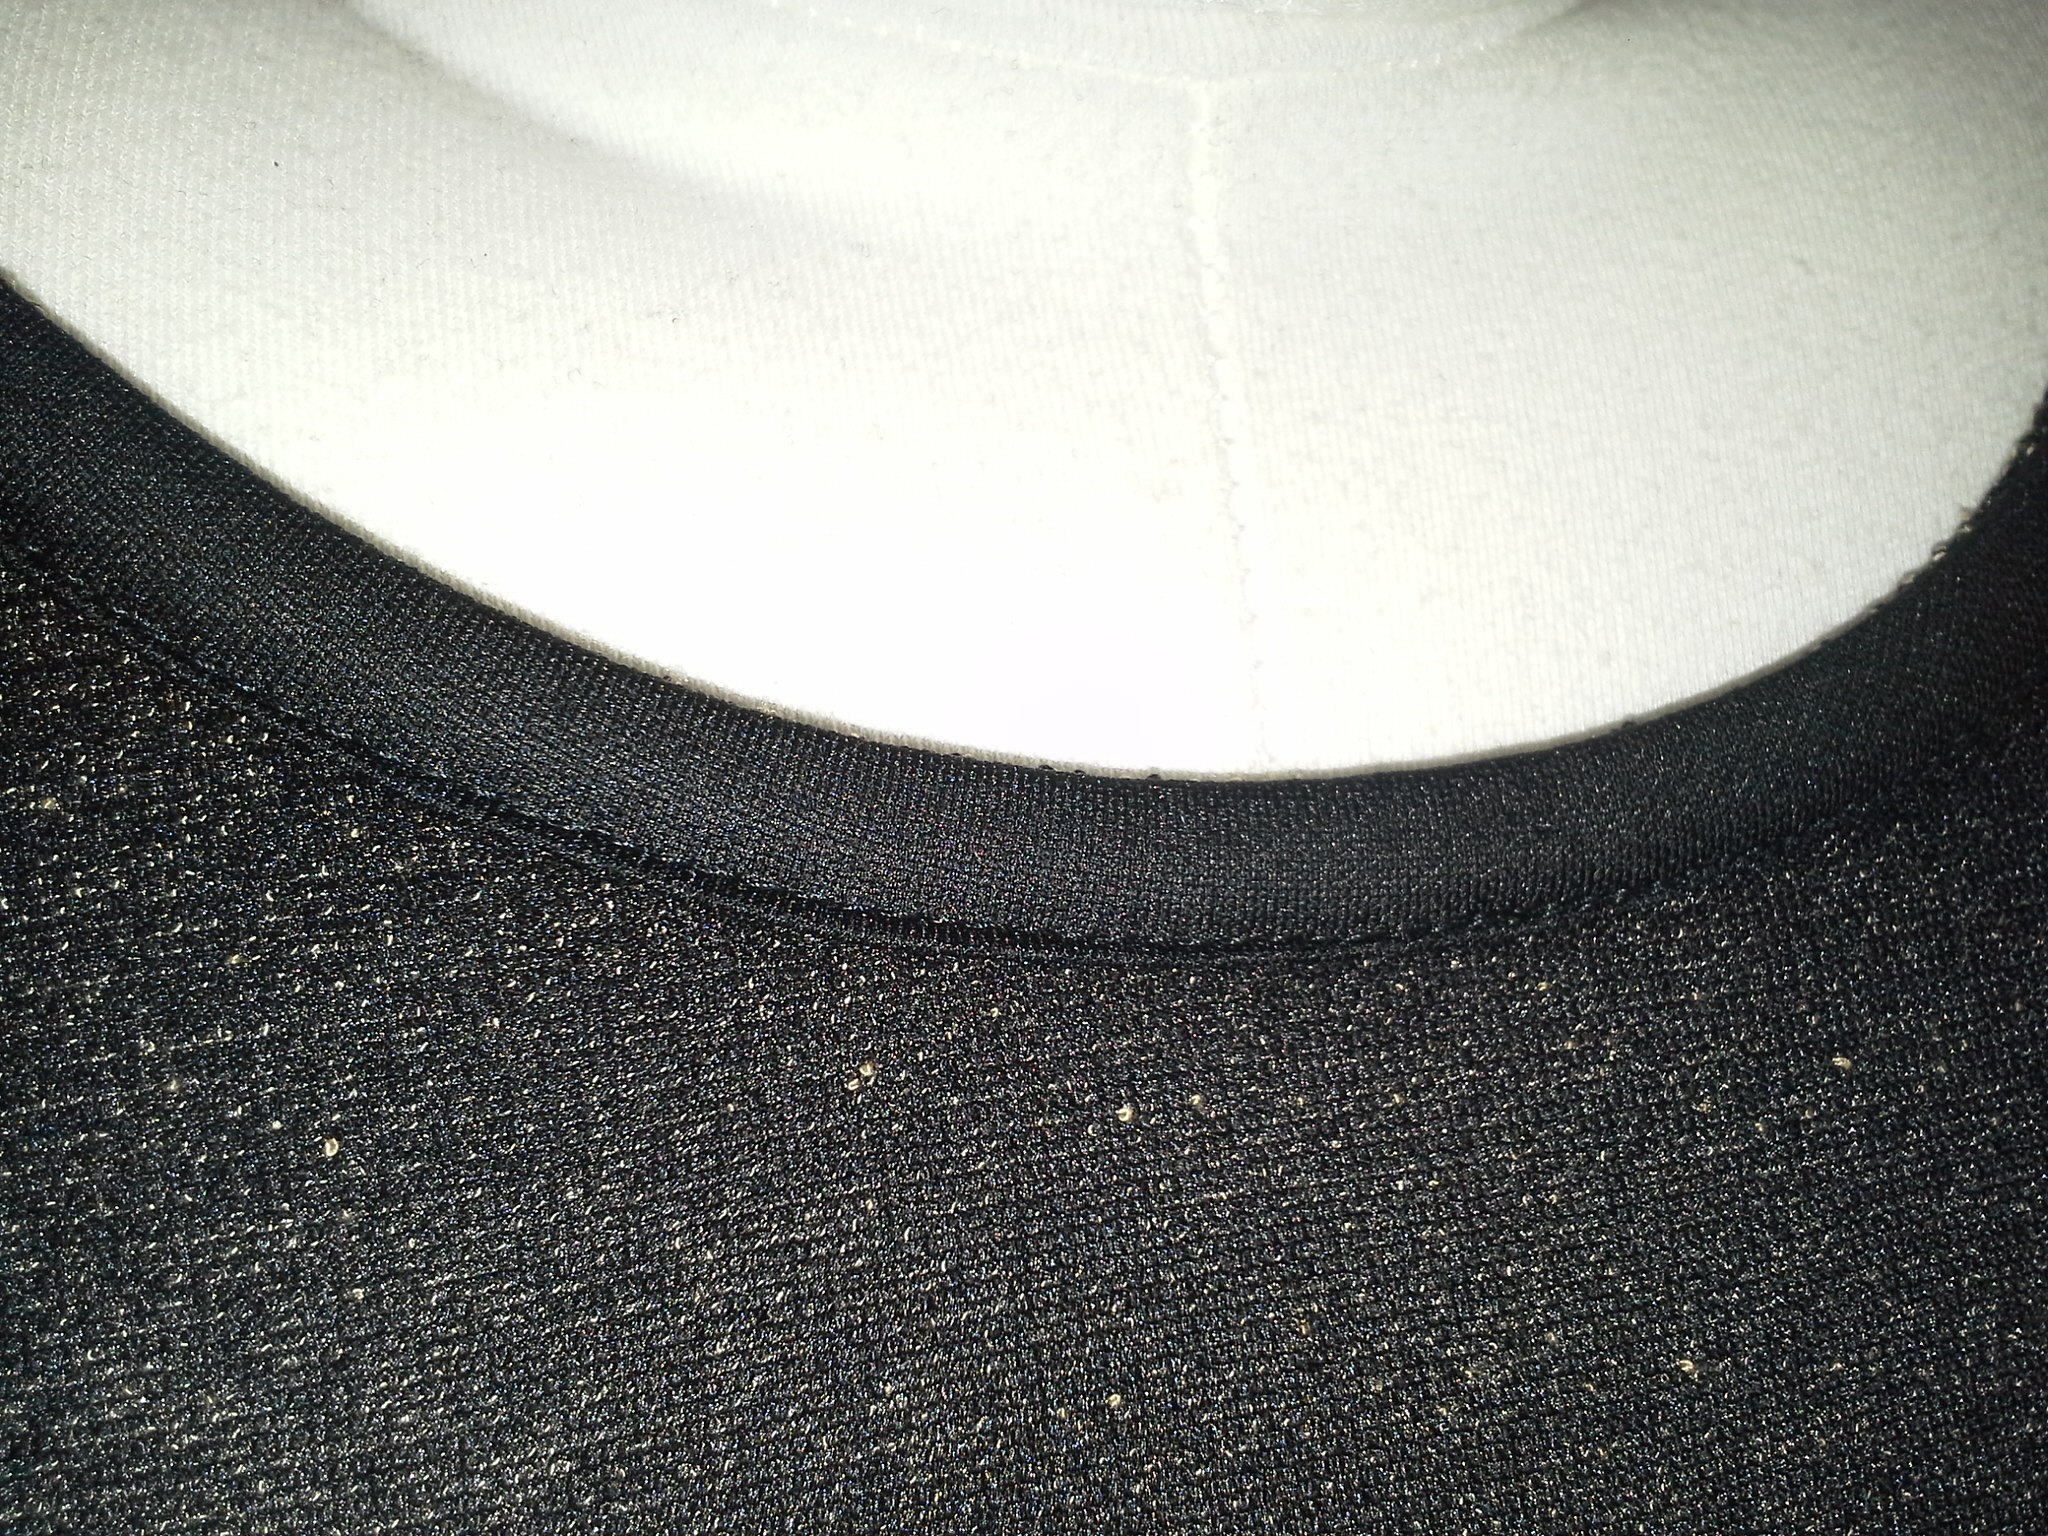
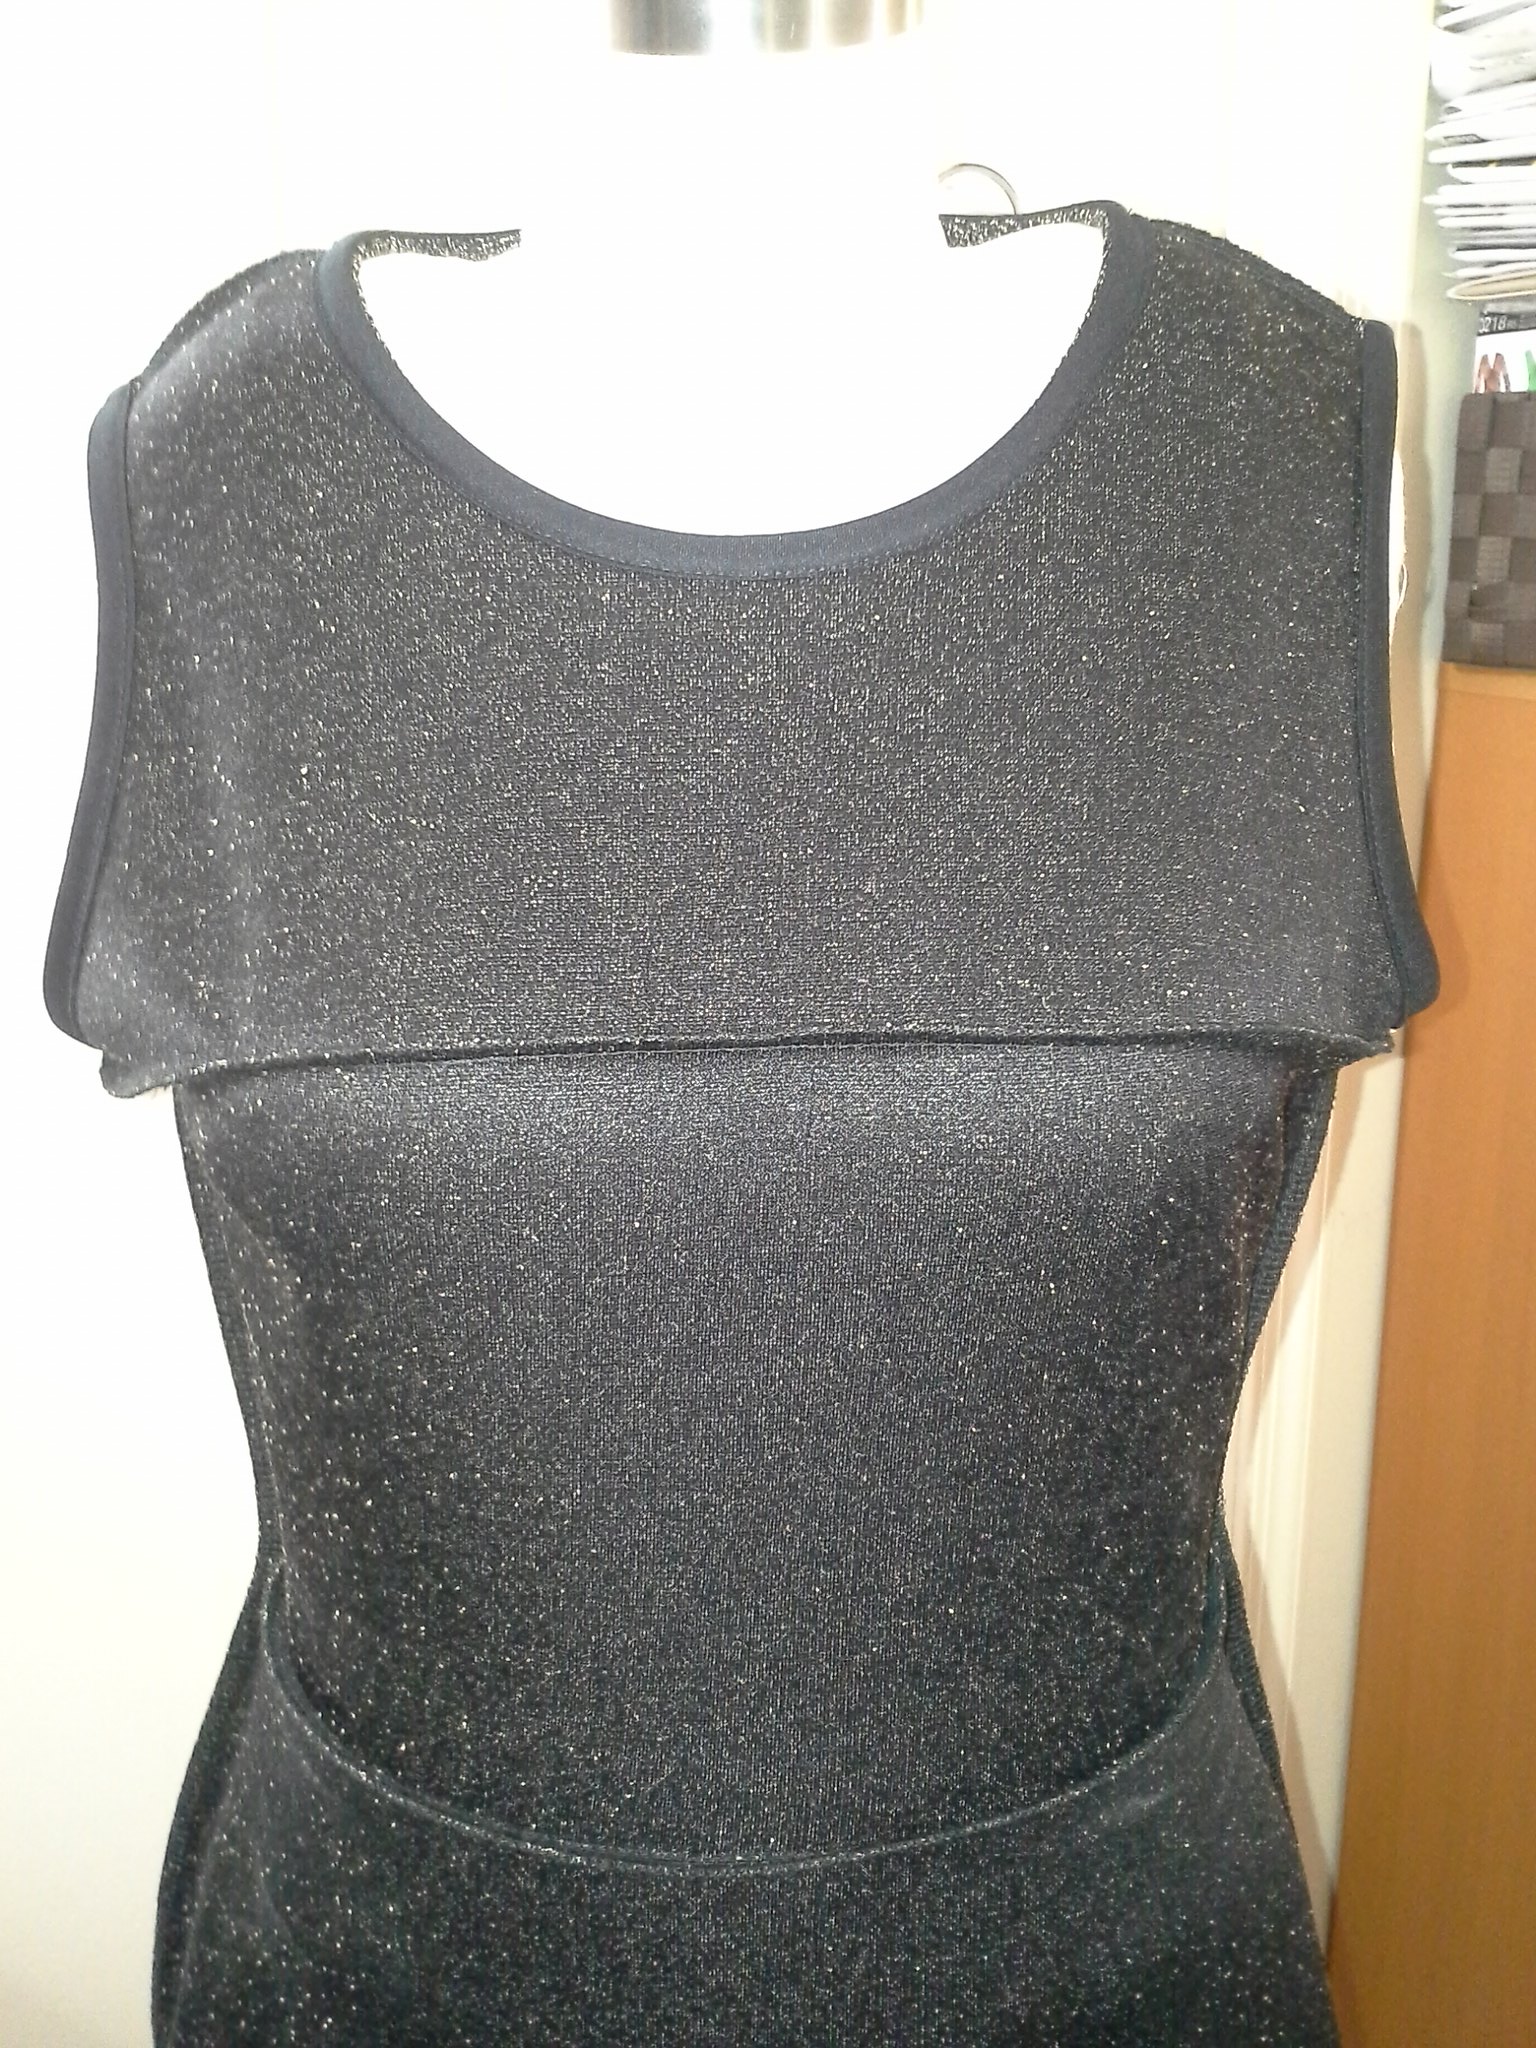
Interior shot of the binding


About 3 hours on Halloween (yes, I sewed while dressed as Batgirl!) and 3 hours on Sunday and I was ready to wear it on Monday.
20151101_213351

Interior shot of the binding and the serging
20151101_212754
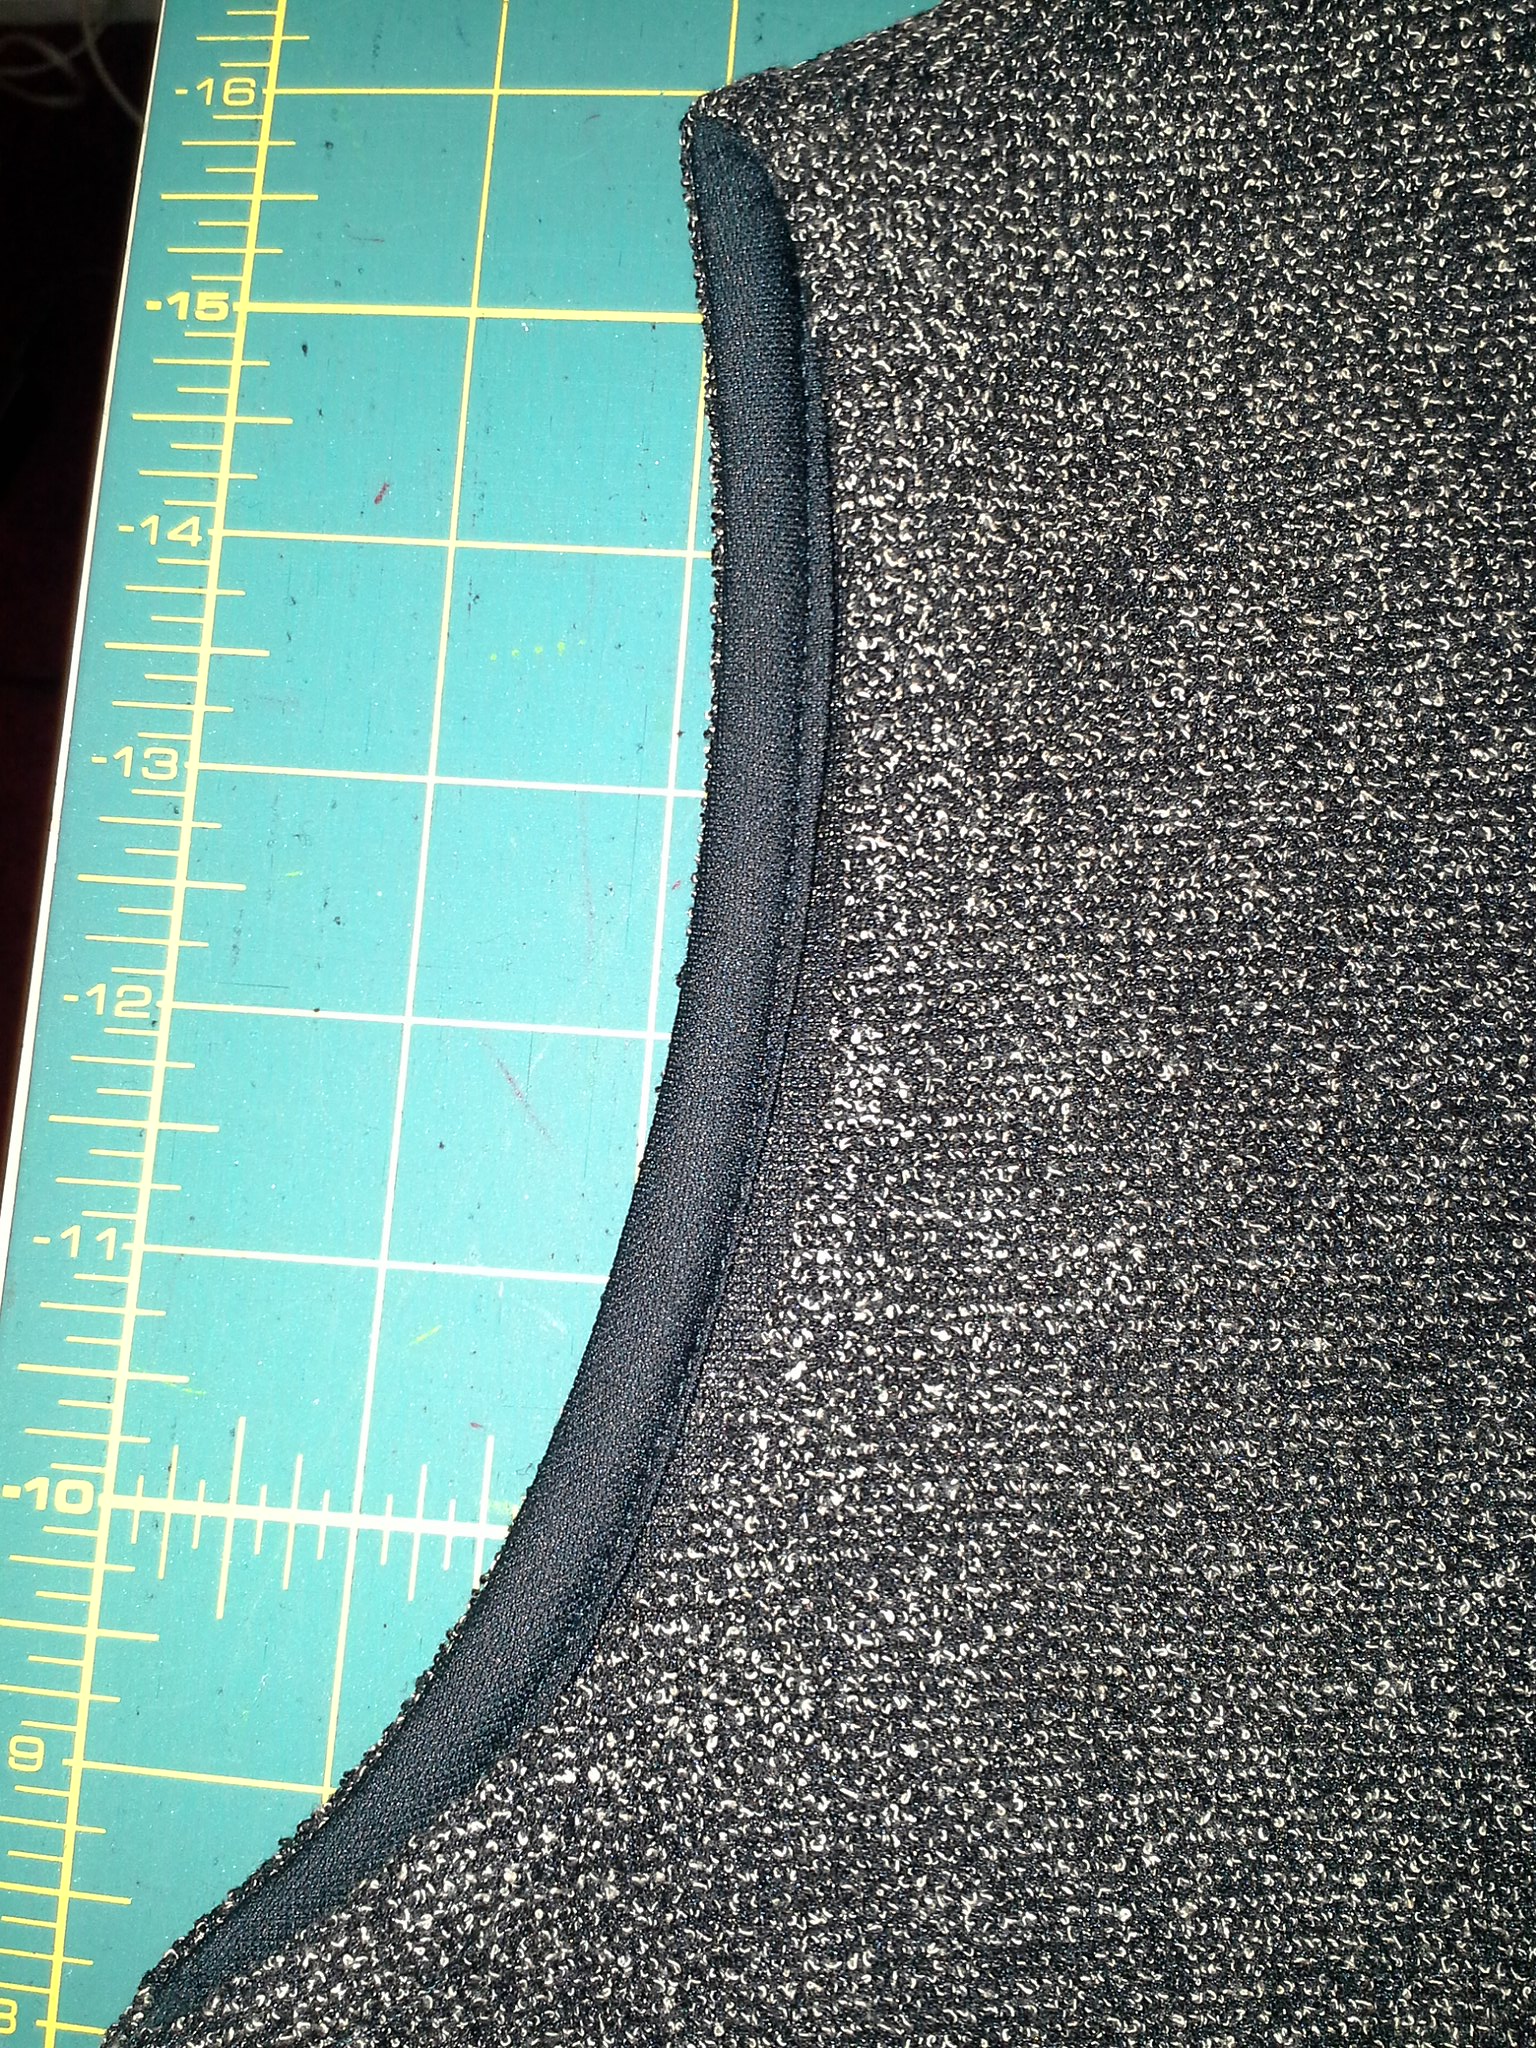
Armhole closeup


20151101_213512
Interior shot of blind hem

My current method is to baste on my sewing machine, then serge it all together after fitting (since every knit has a different amount of stretch--I always baste before serging).  Then I bound the armholes and neckline, and blind hemmed it.
20151102_112517
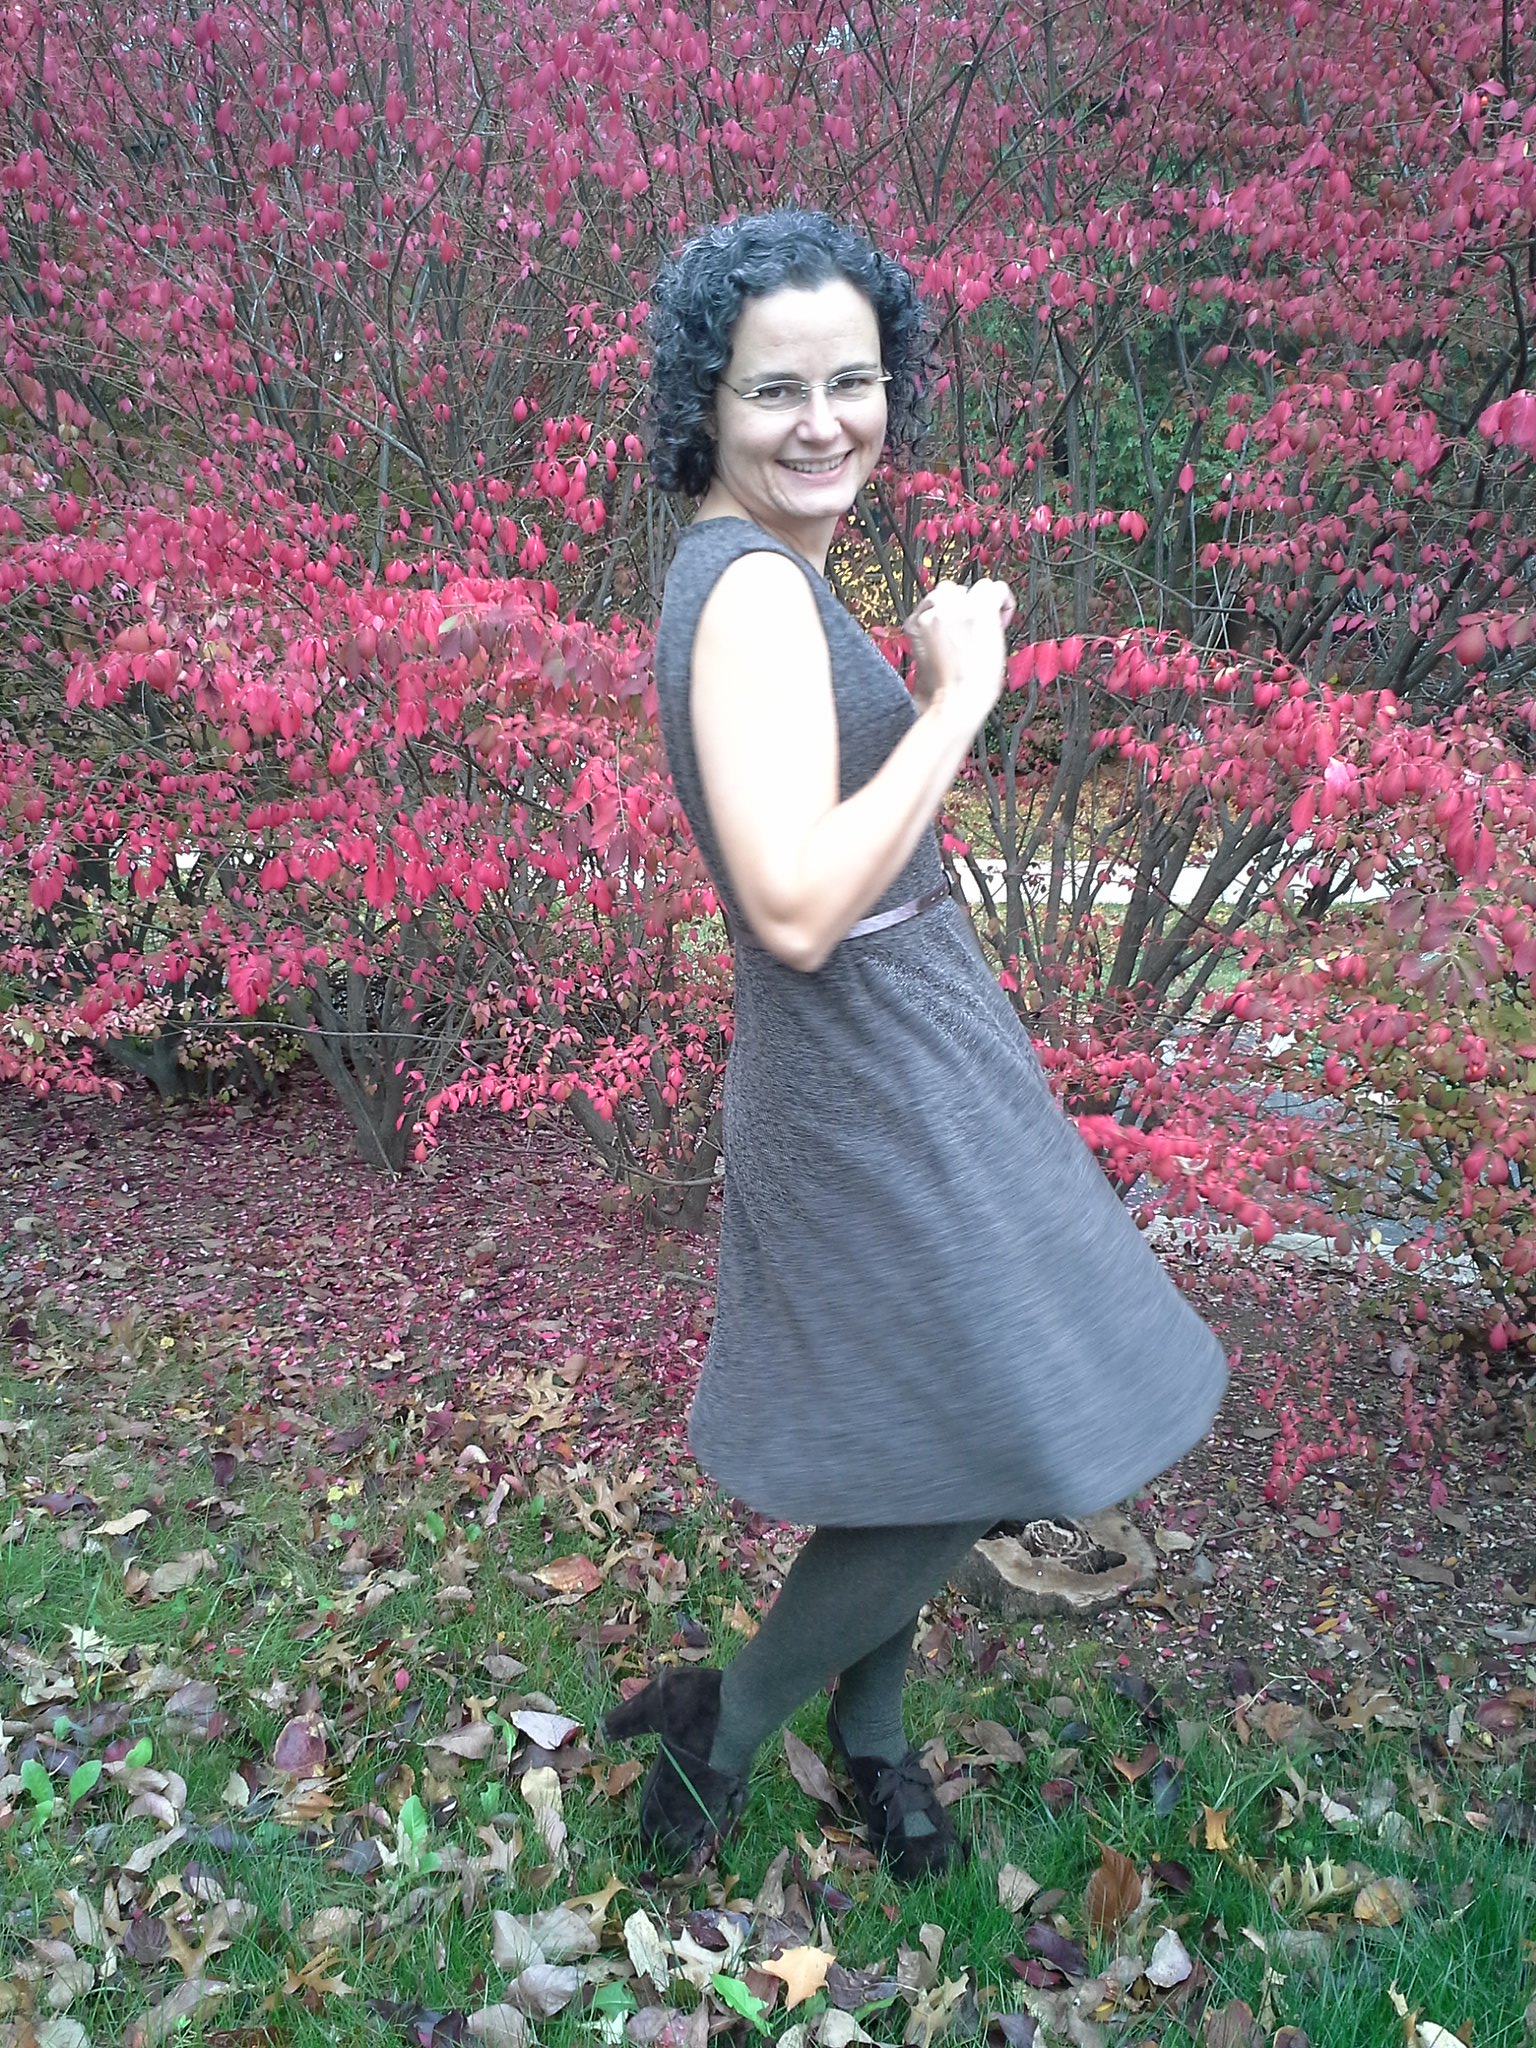
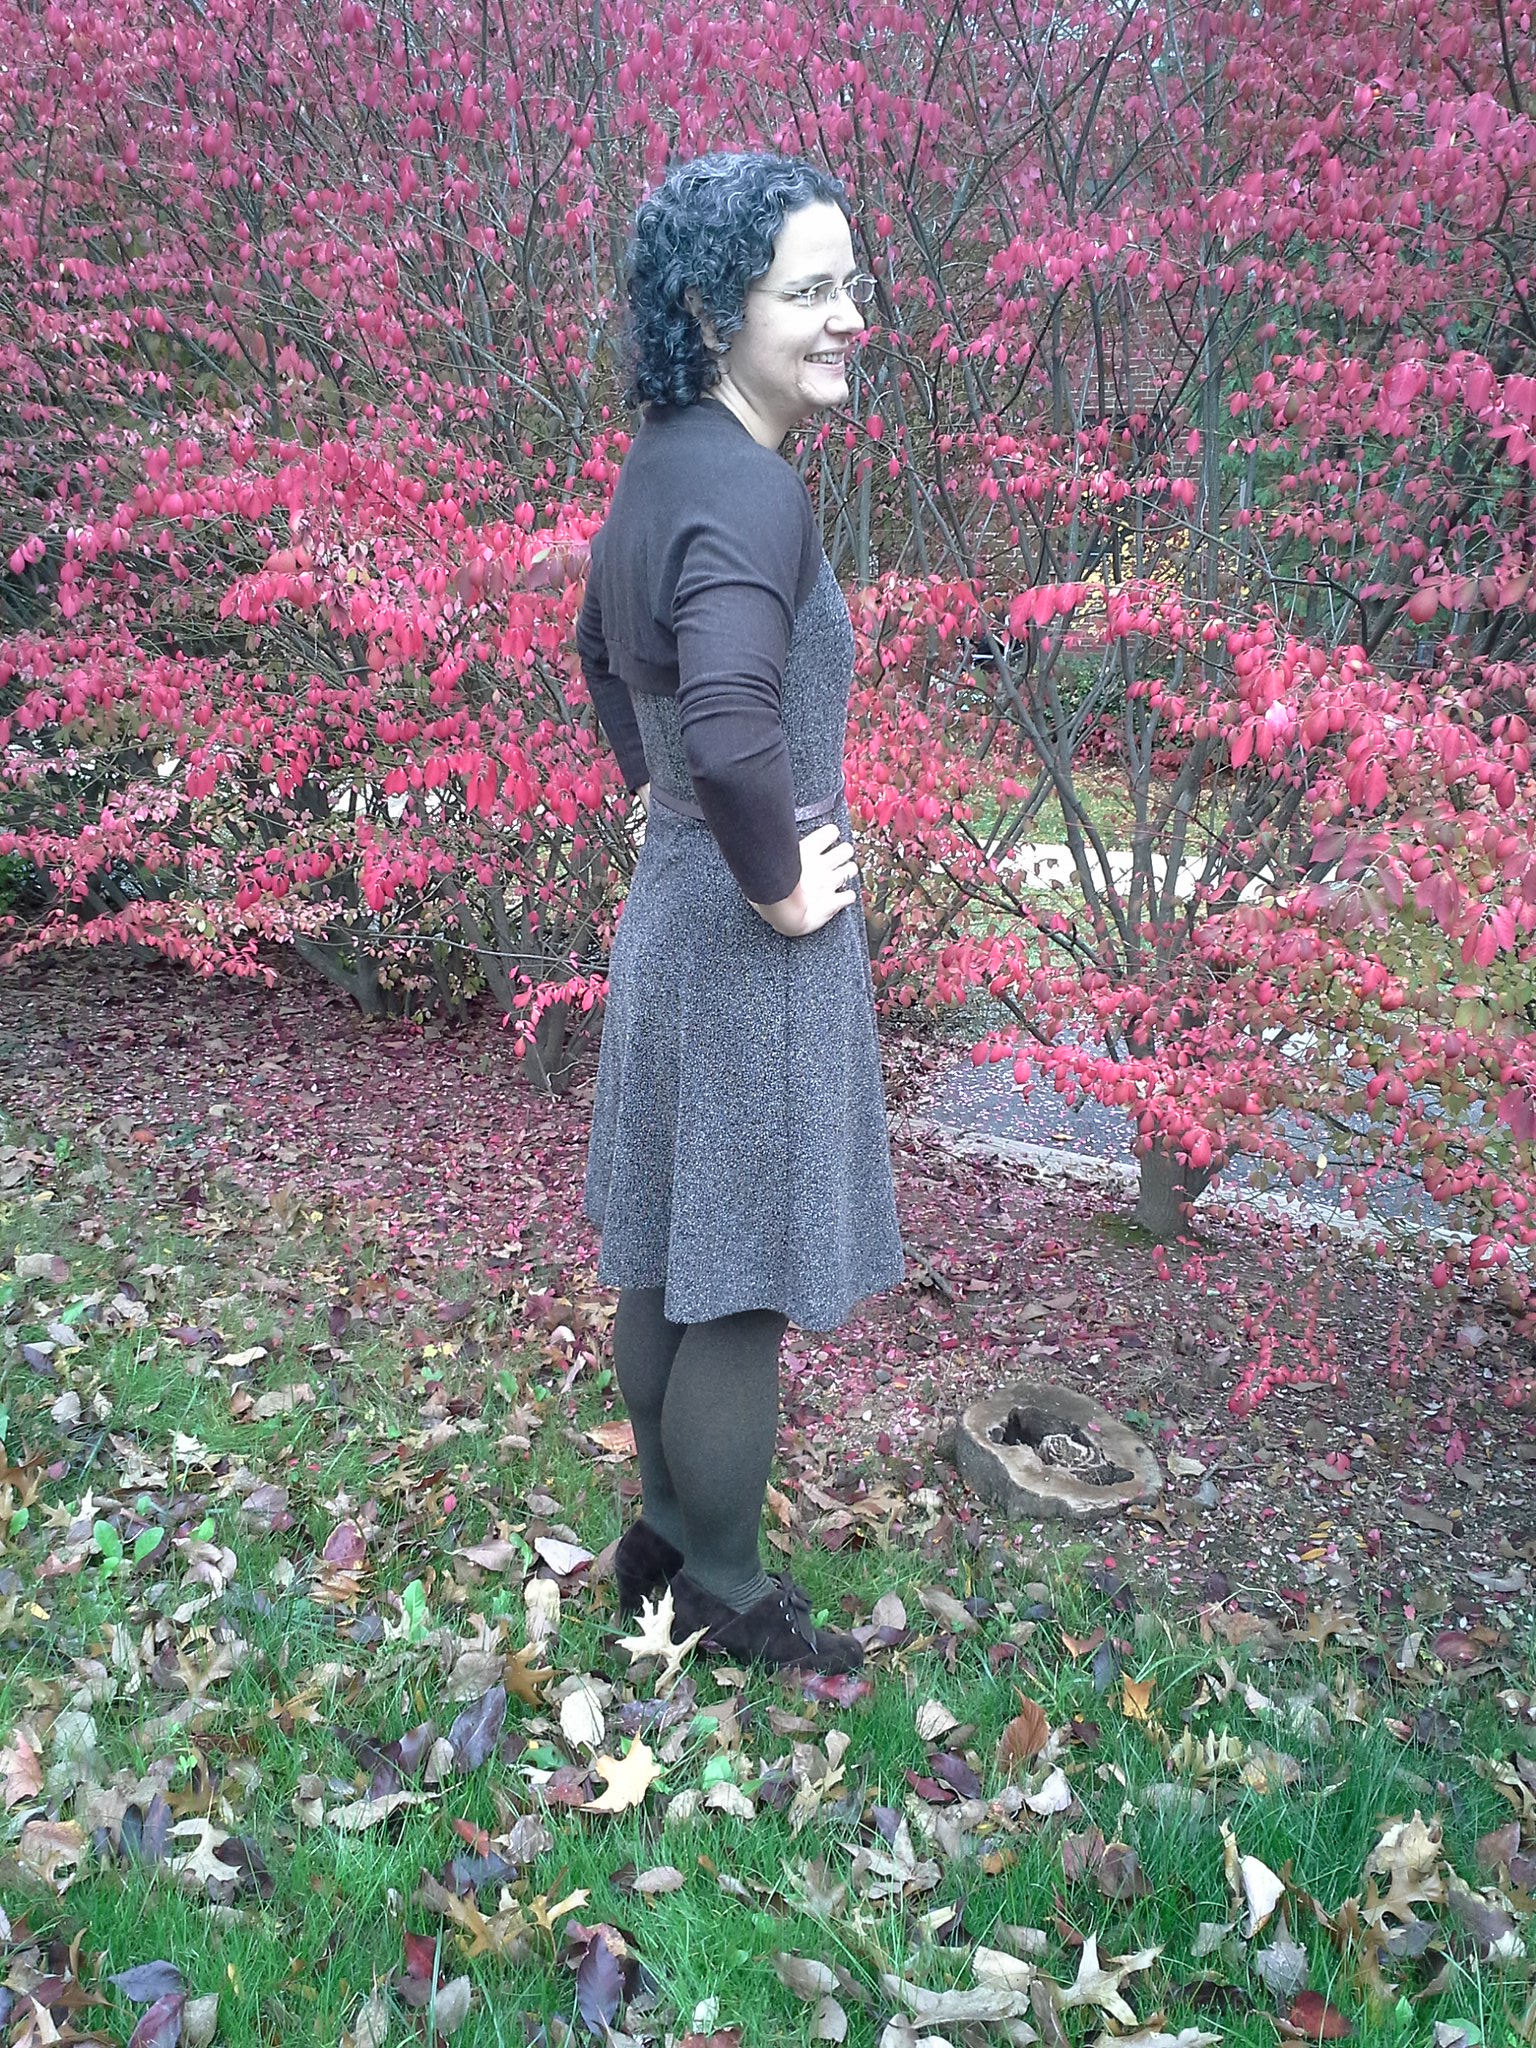
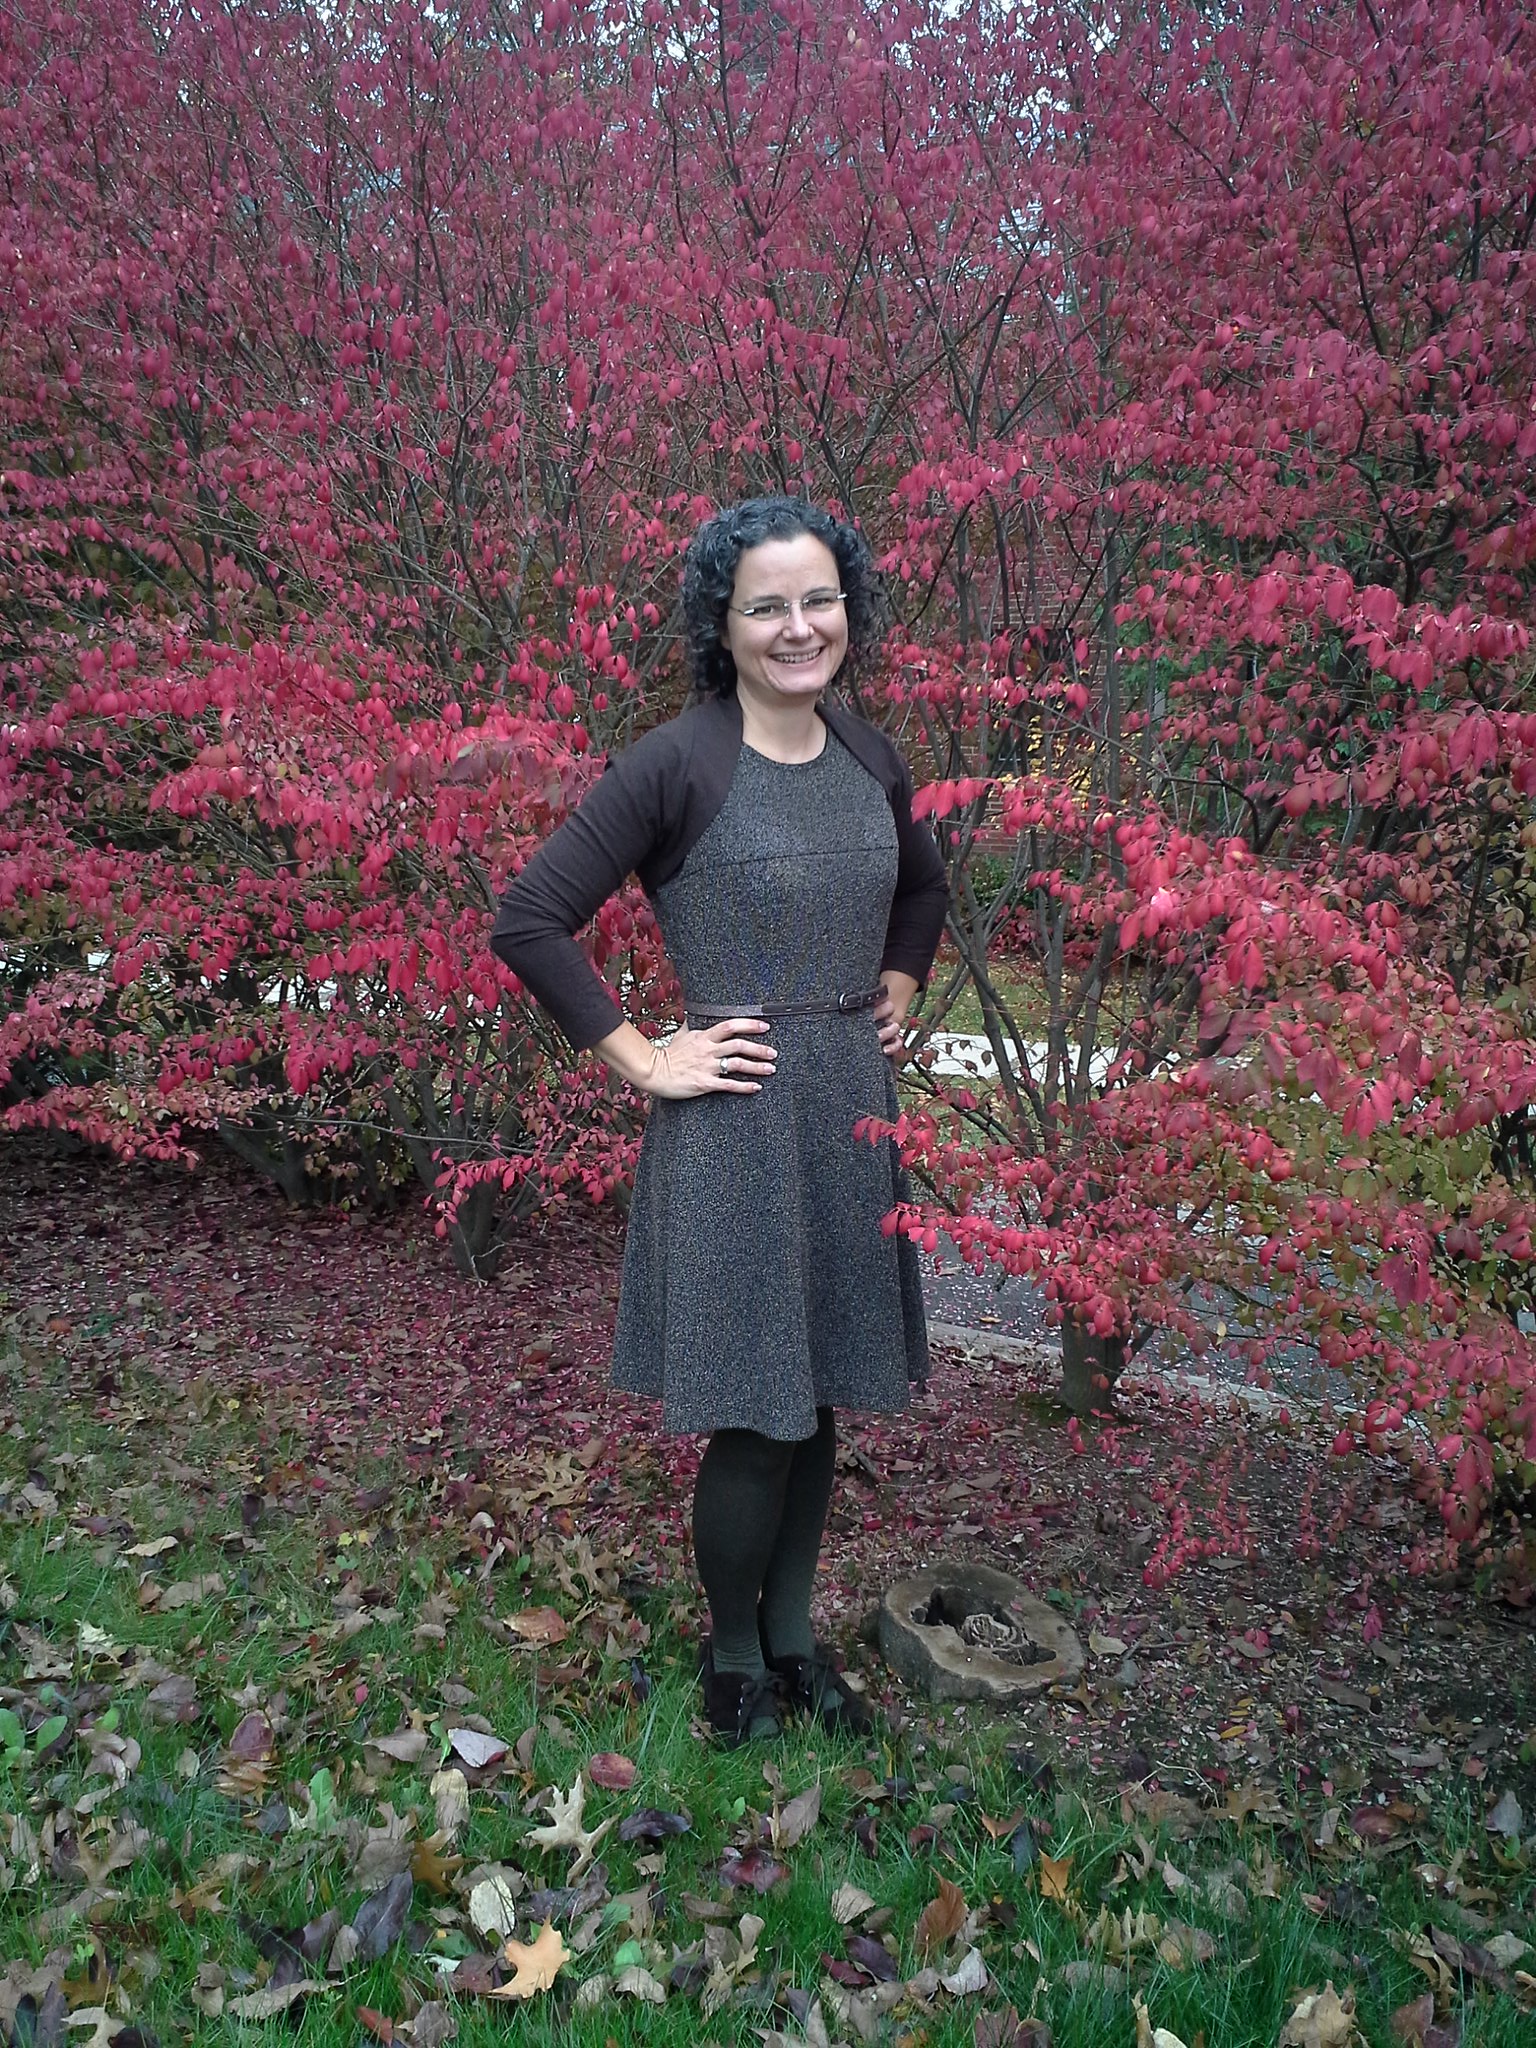
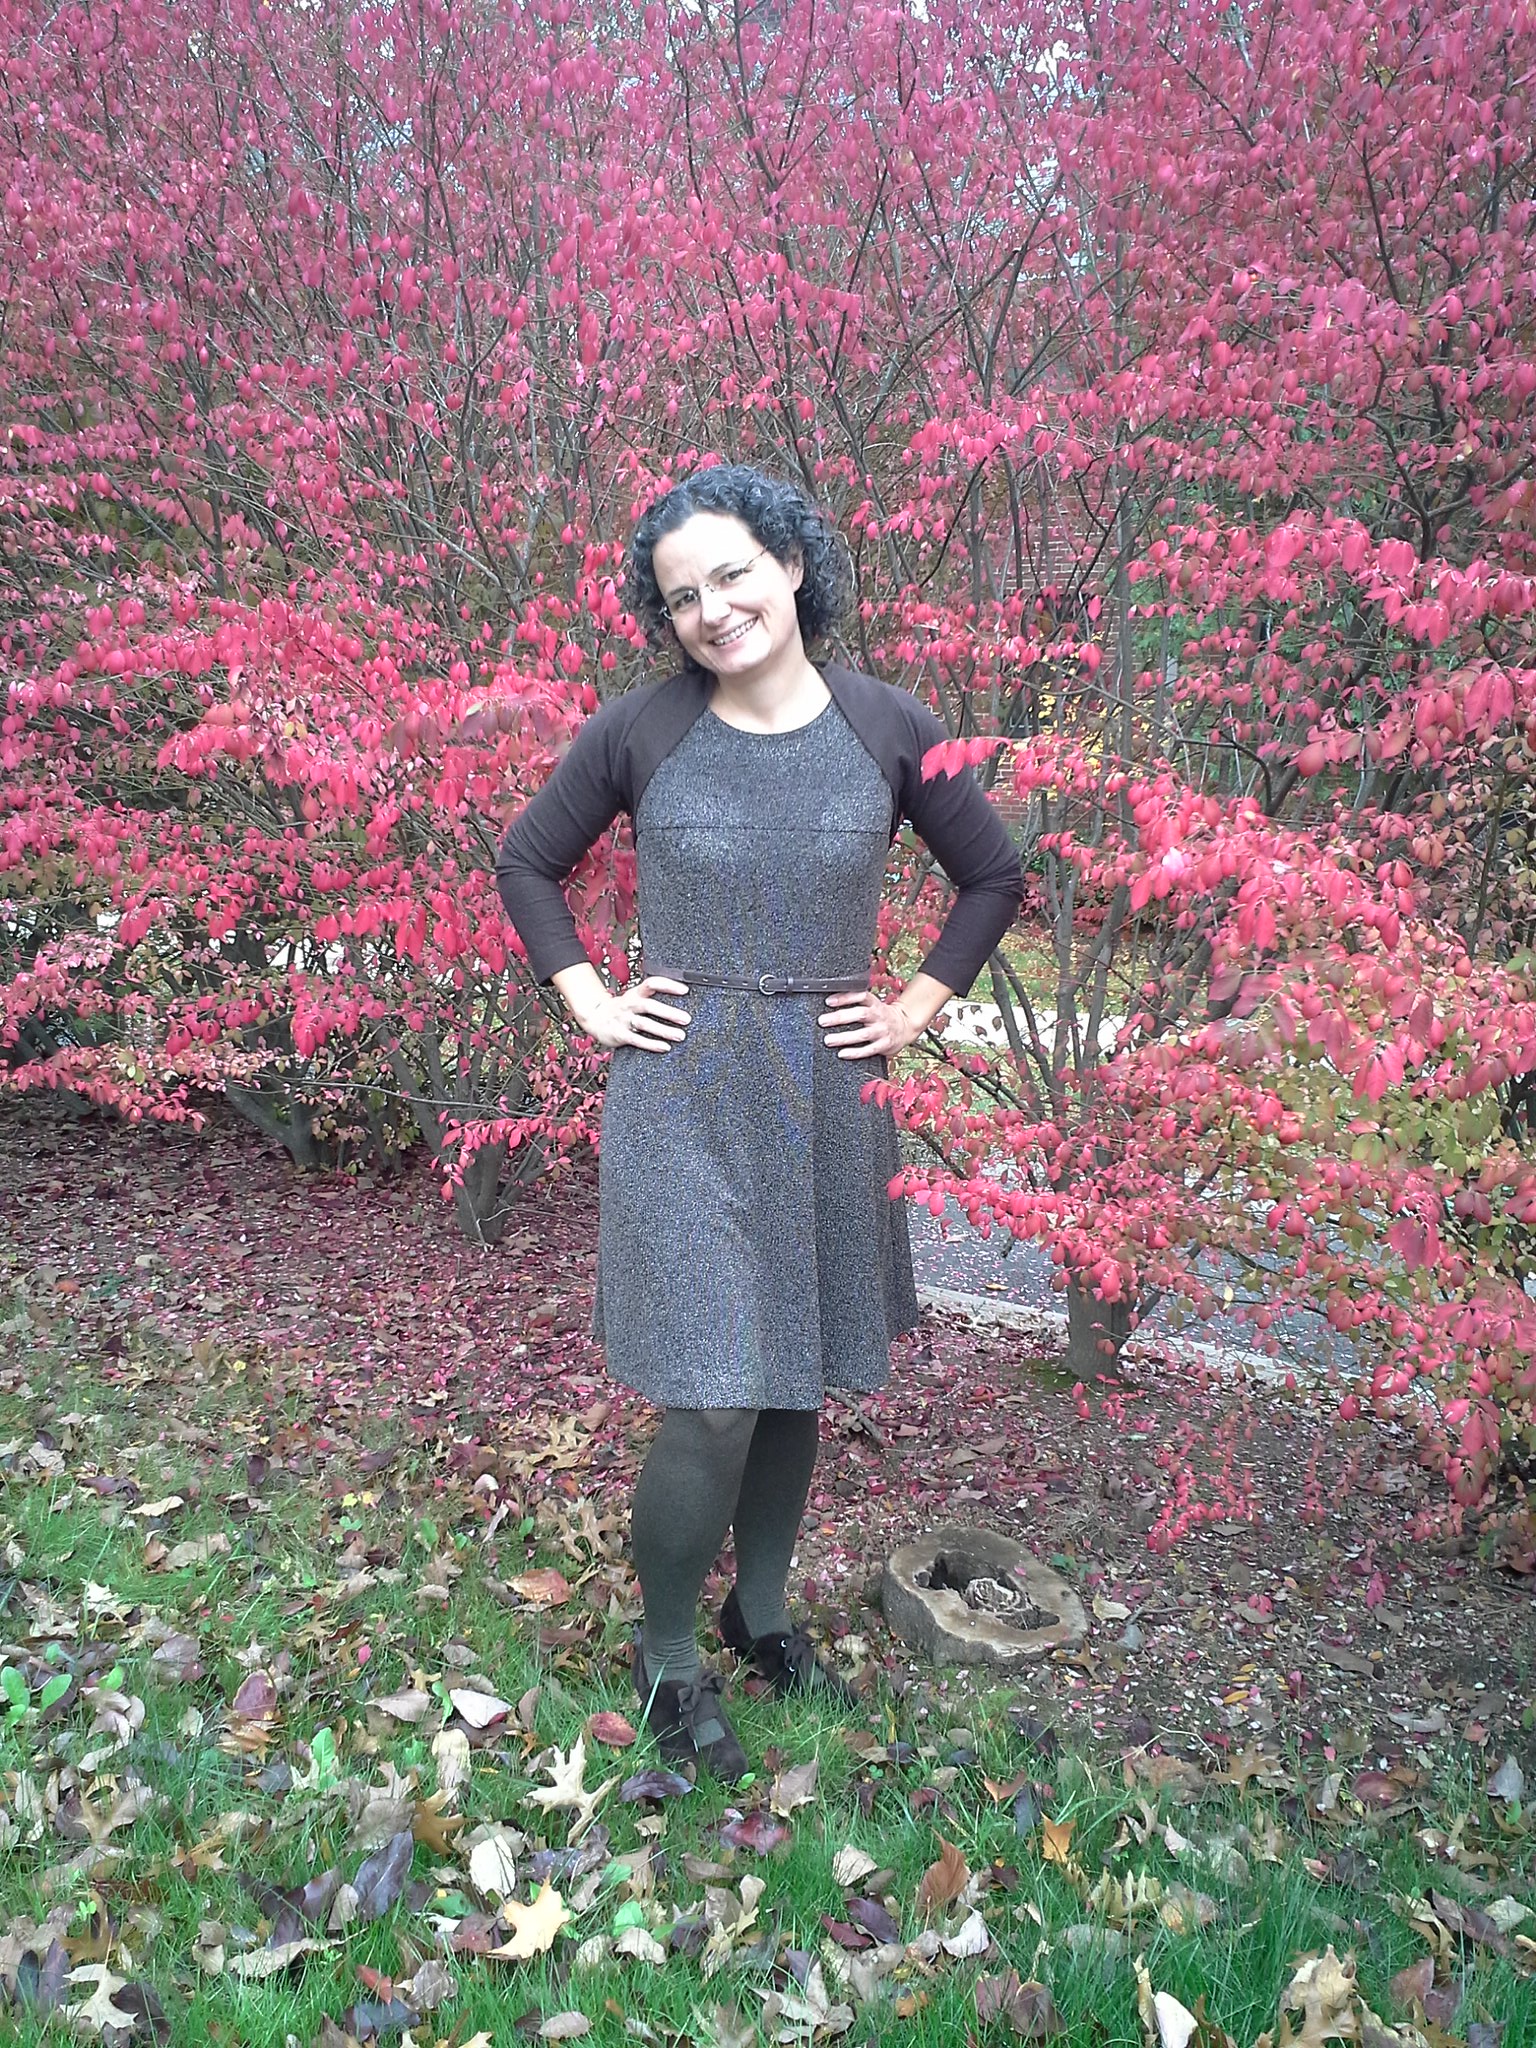
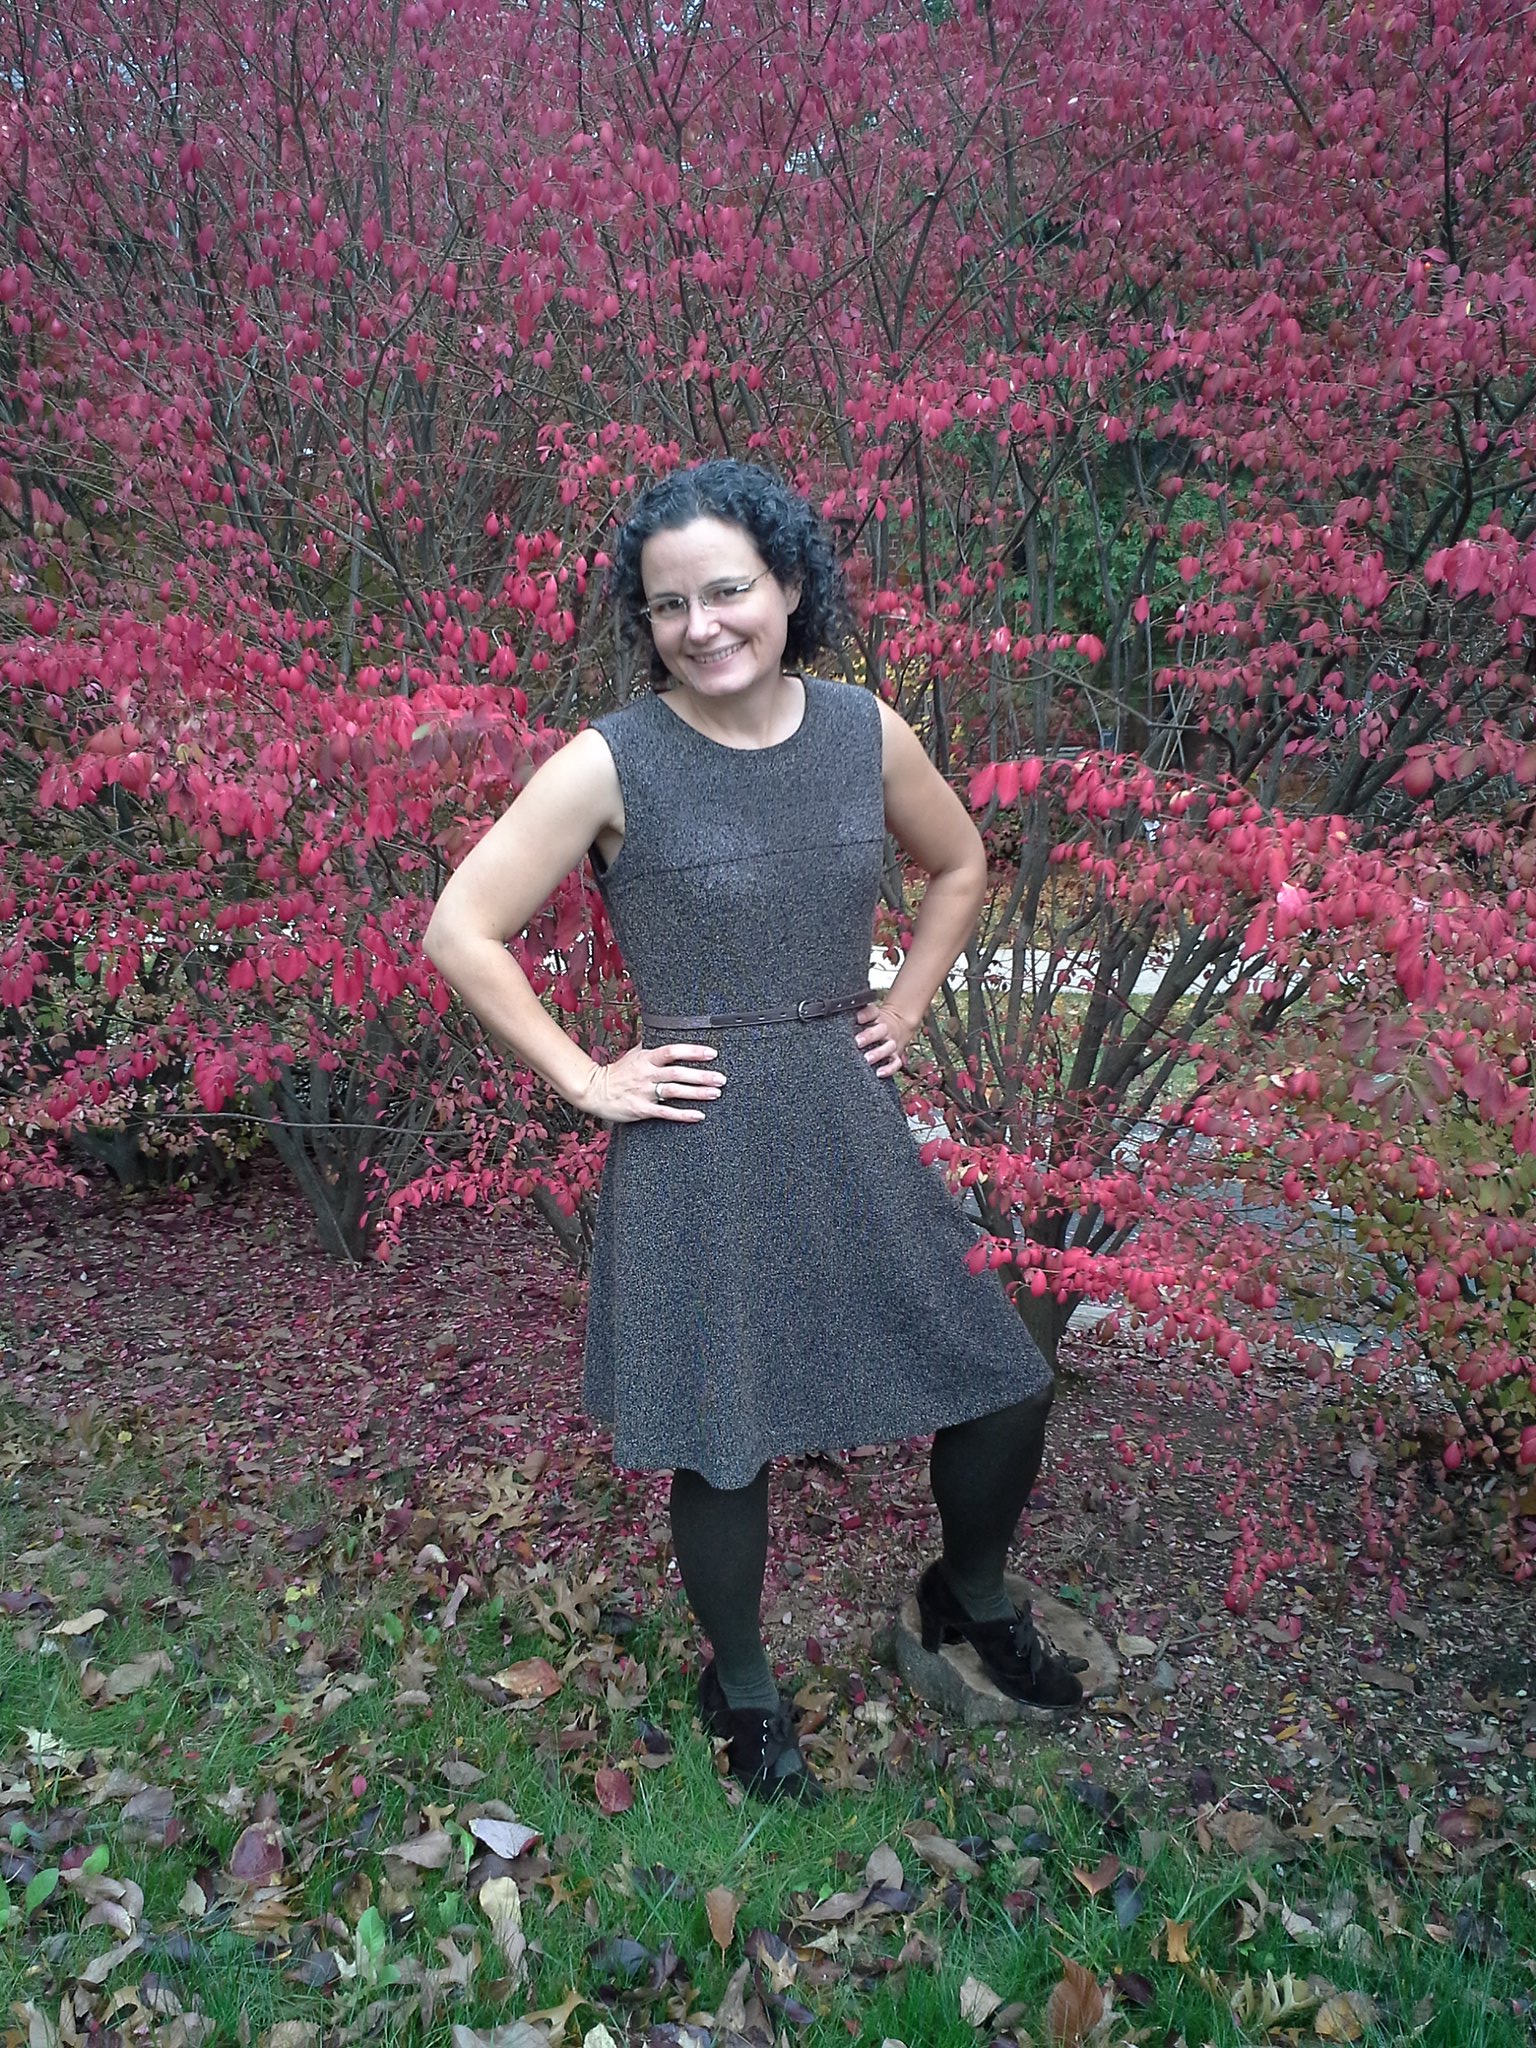
Amongst some red fall color, with my brown Jalie shrug
20151101_214100
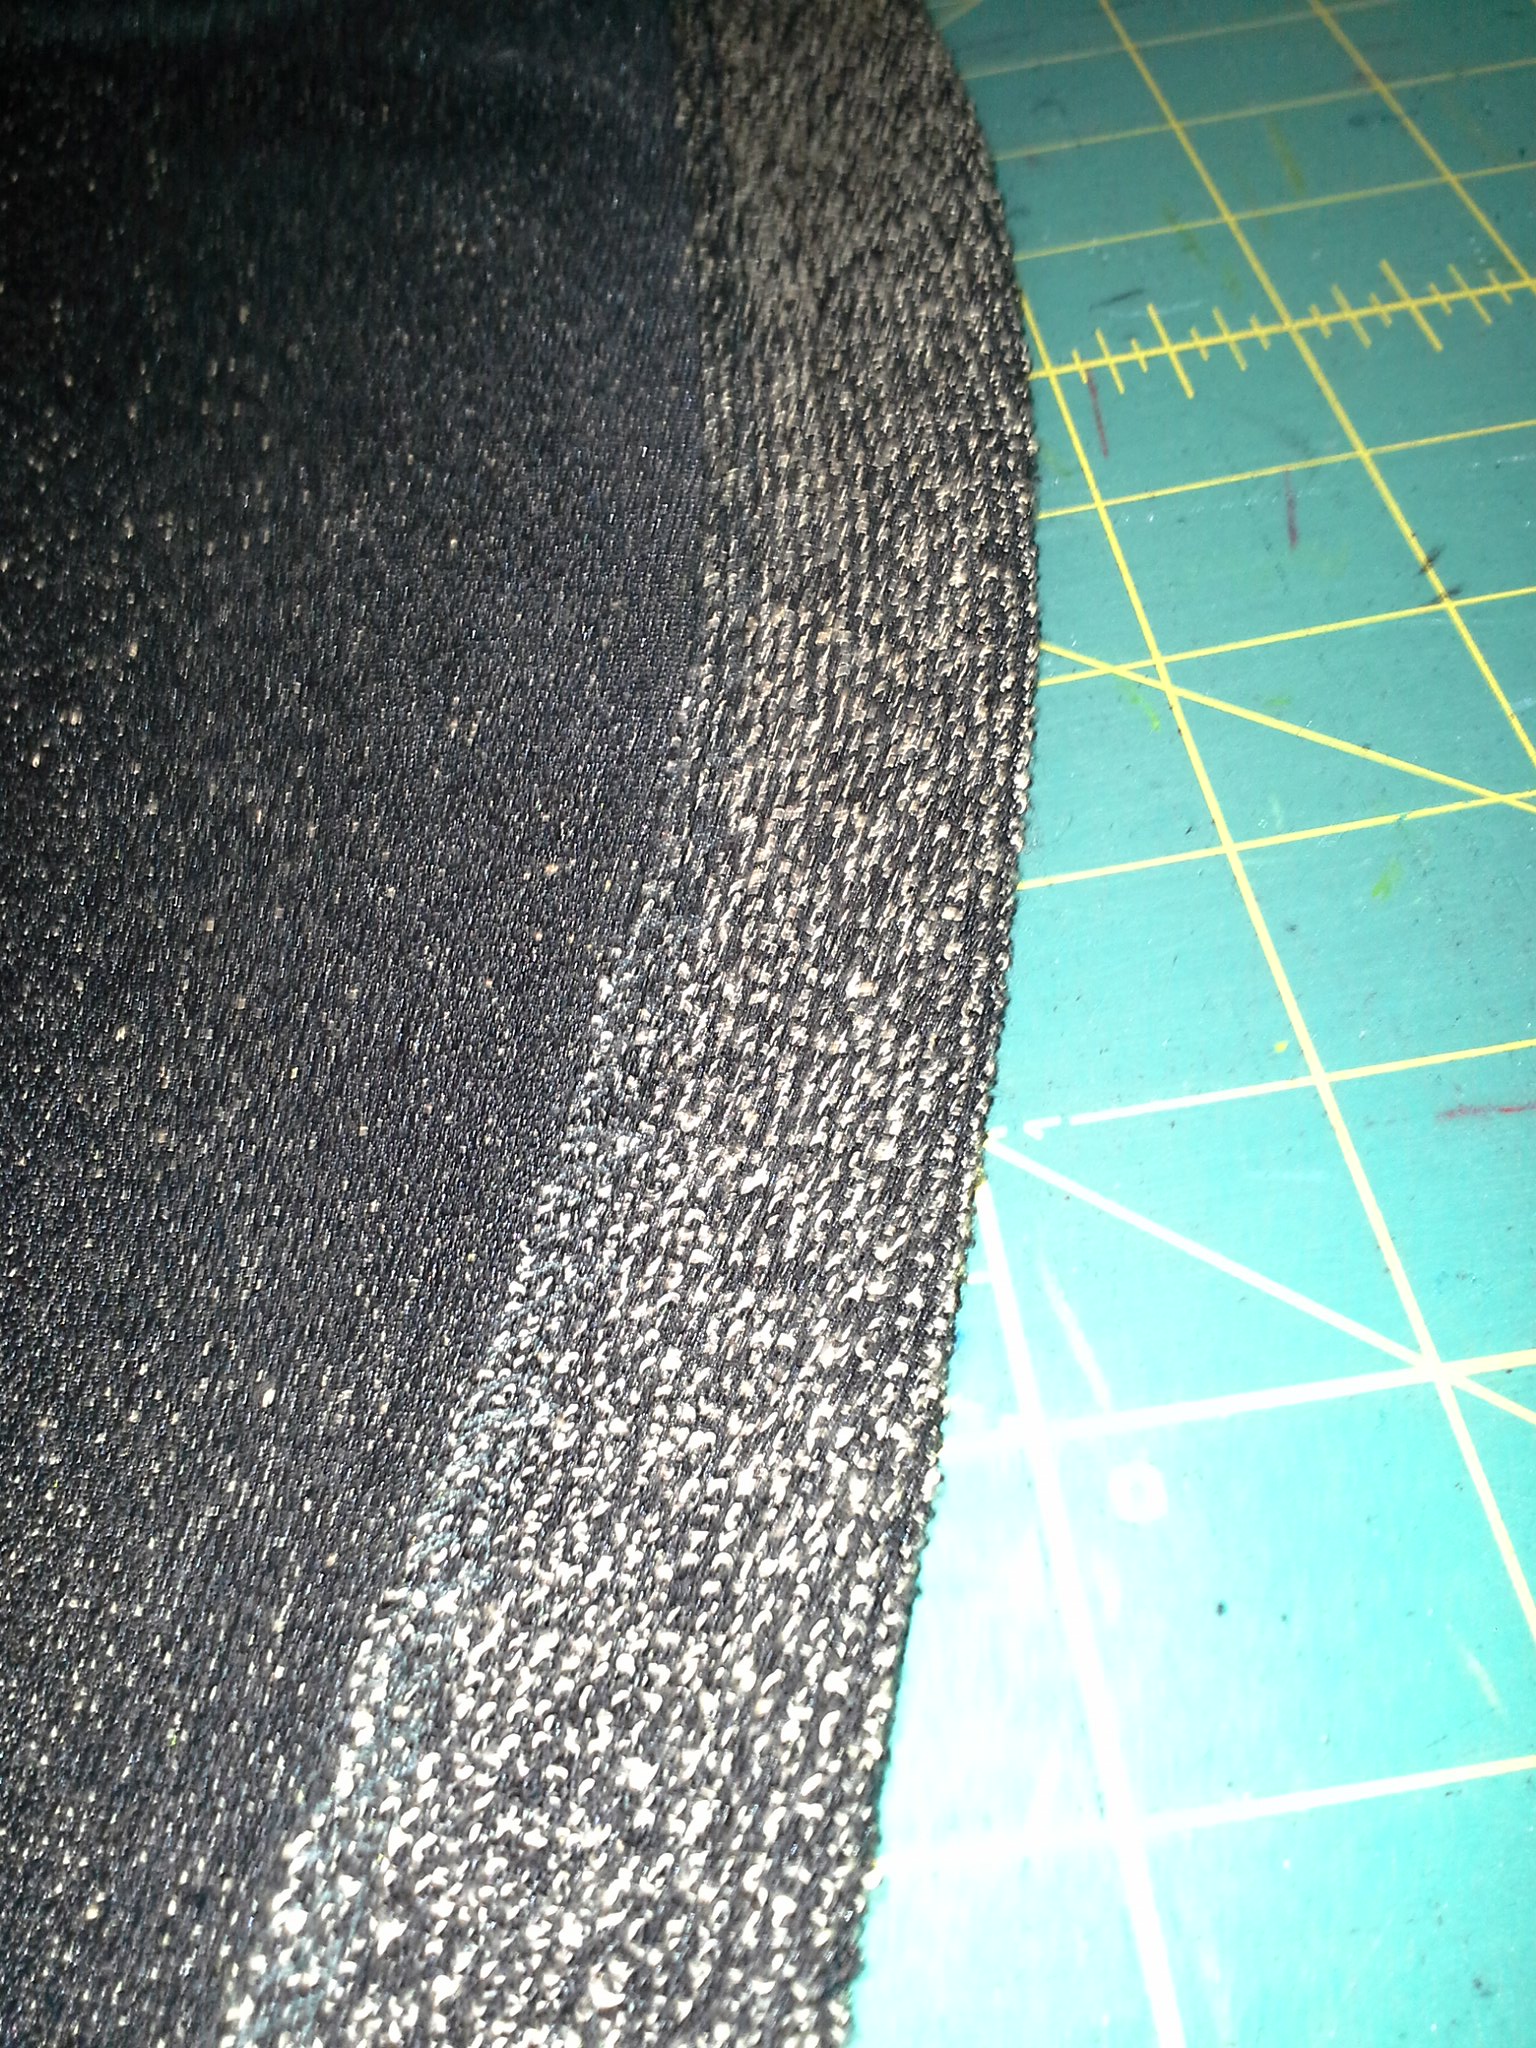
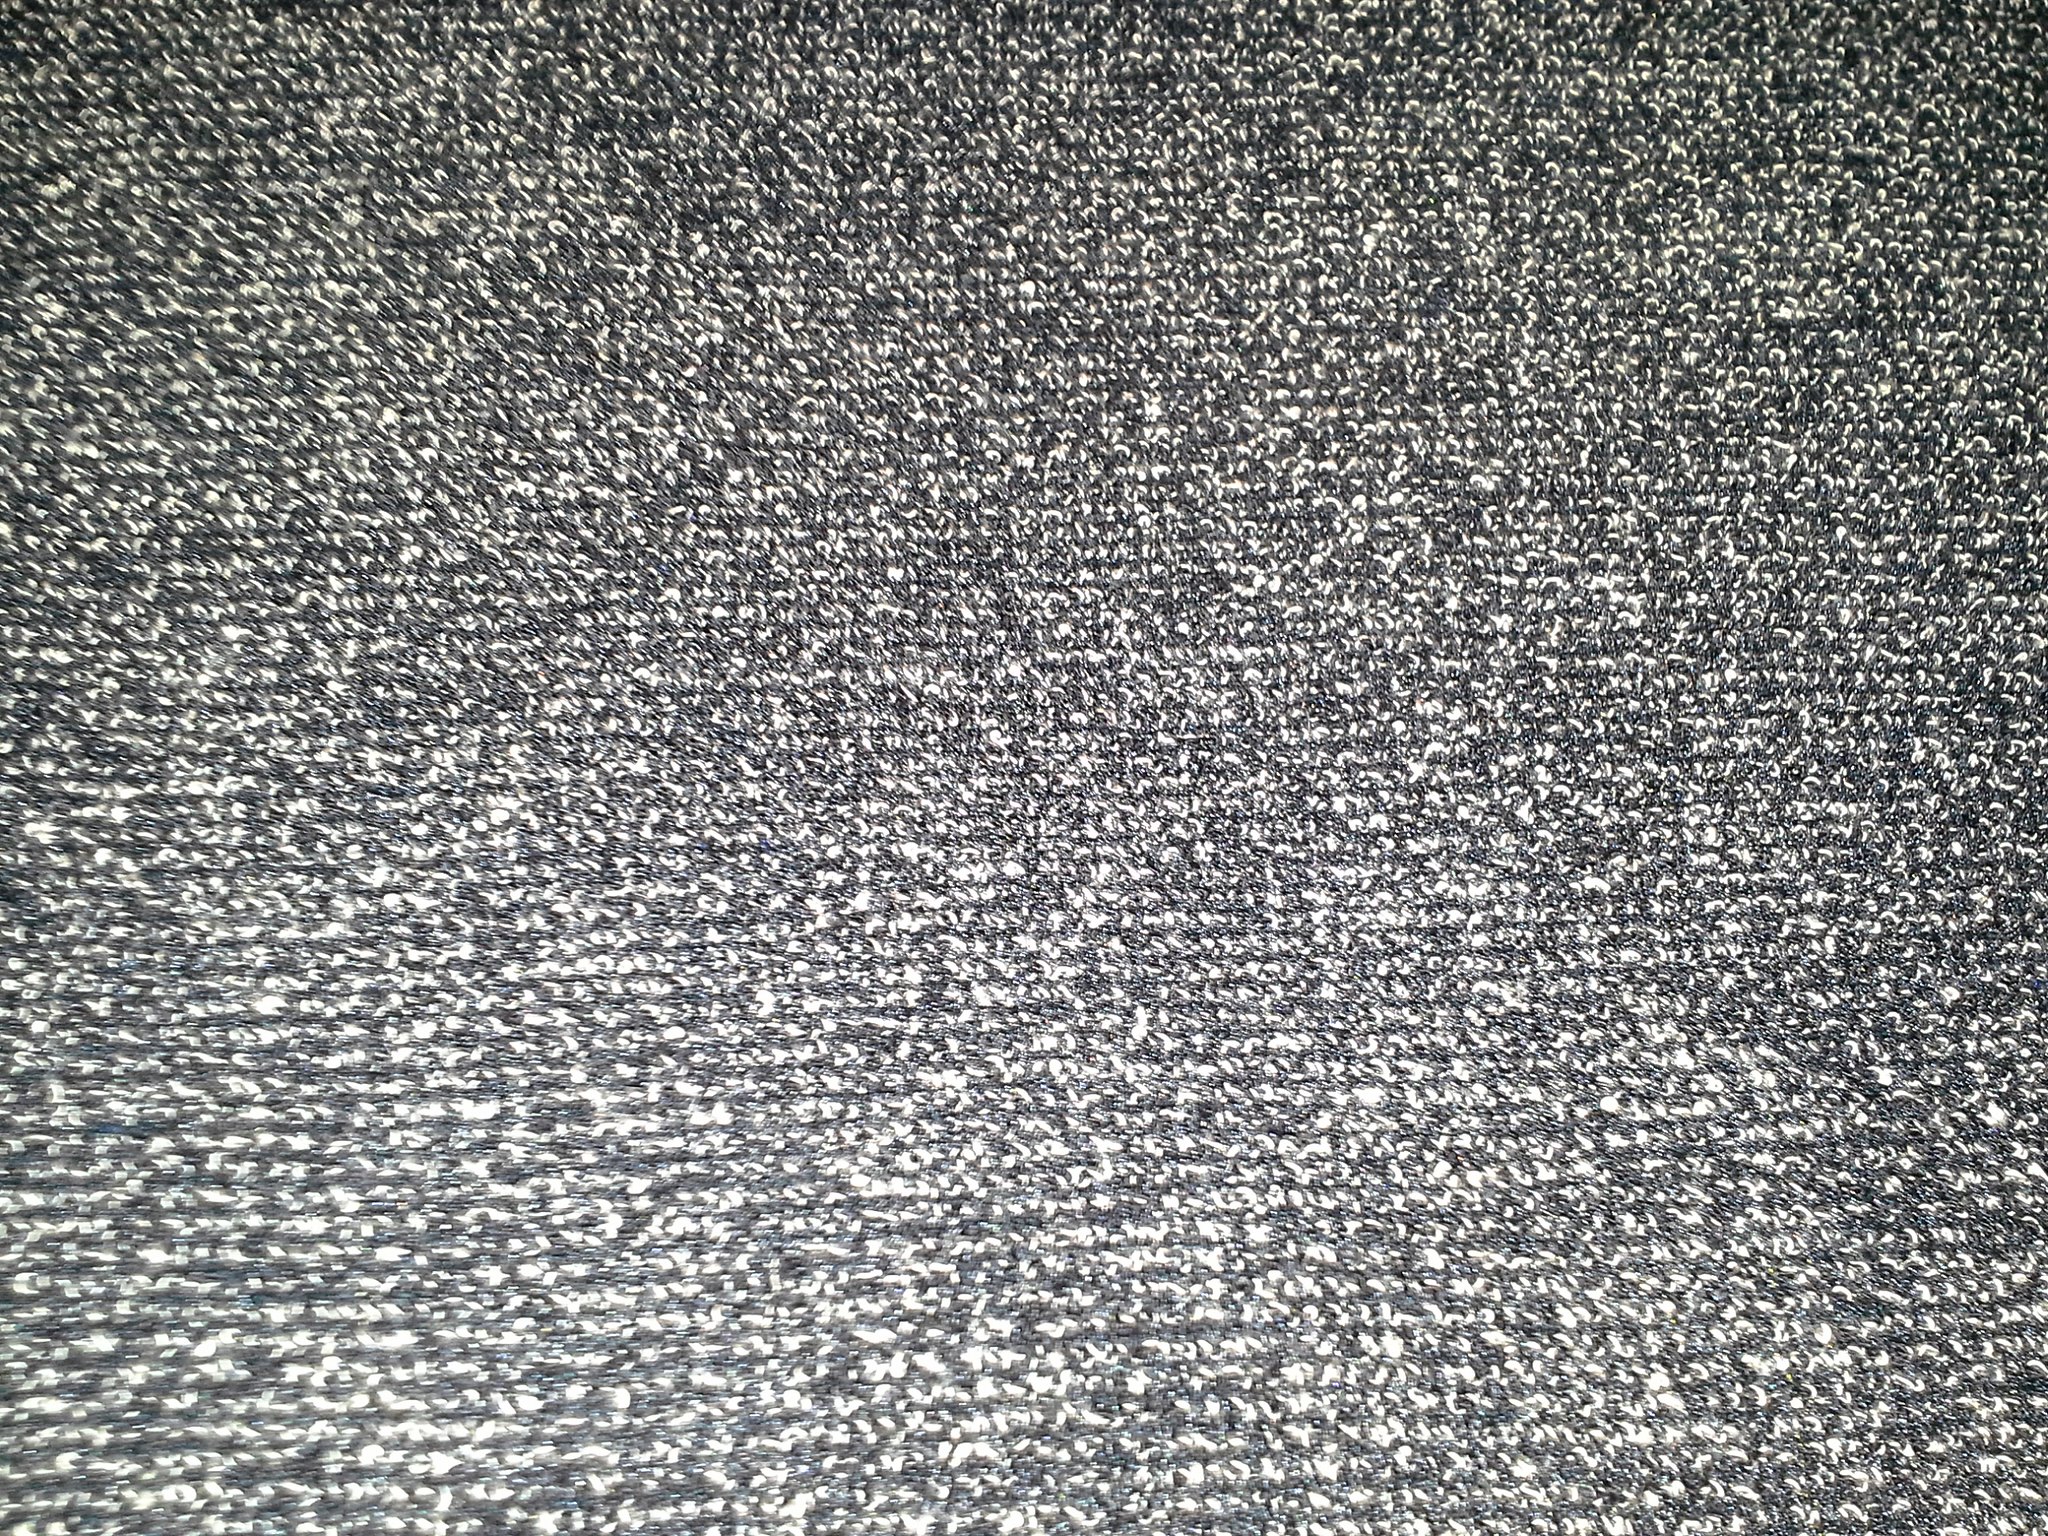
This fabric is a very interesting fabric--it's black with creamy colored bits, or at least the inside is black, but it does appear brown when worn, so I paired it with a brown shrug, tights and shoes.


20151102_112527
I'm slowly sinking into the ground in this shot...


But when I'm wearing the dress, it's like you can see the outline of my bra.  The fabric is actually pretty thick, so it's not like the fabric is see-through.   I have played around with this (tried different bras, tried wearing it with a full slip with different bras) and come to the conclusion that wherever the dress has to stretch (even if I drape the skirt part over my bust and stretch it), it's like the creamy undertones of the fabric are much more pronounced.  And I don't like that....so I'm thinking of ways to try to remedy that....like using those special sharpie markers for fabric....hrmmmm....I will try it on a scrap of fabric first of course before I totally ruin this.  But I'm up for other suggestions too!
20151102_112655
See what I mean?


In other news, I've been on Instagram for a little over 2 months now and I really love it!  I've met more "new-to-me" sewists on IG in these 2 months than I have on 5+ years of Twitter.  I'm participating in #bpsewvember and have been enjoying that too.  I need to add the "follow me on IG" button on my blog sidebar, but you can follow me at vacuumingthelawn, where I posted that I got a new sewing machine, met up with velosewer in NYC recently, and I'm now in Austin for a work trip (but flew out a day early so there will be a sewing component!)


IMG_20151107_174228
As the sun sets over Austin this evening....
Be well!


Monday, August 17, 2015

McCalls 6559: My first dress sewn since November

20150816_162528
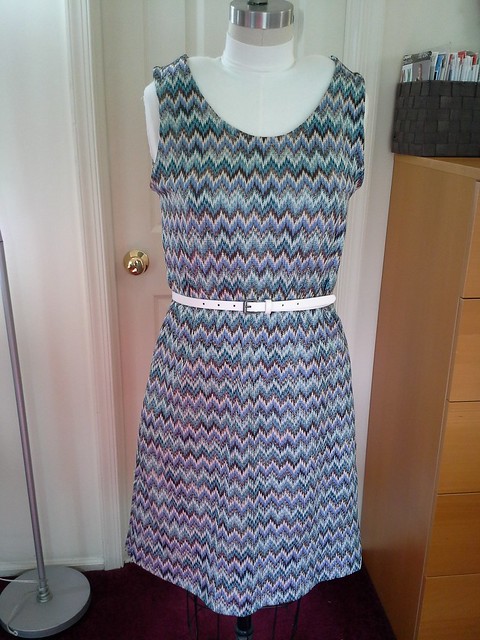
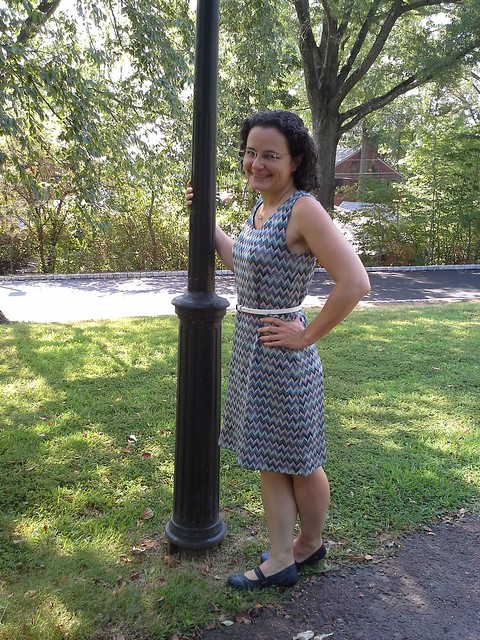
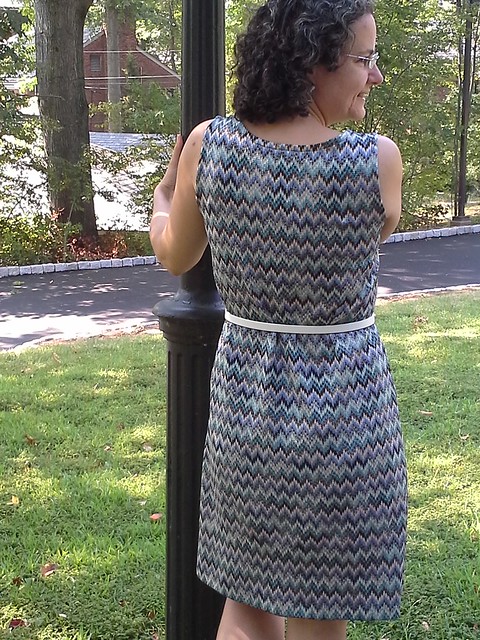
As I finished up sewing M6559 yesterday I realized that I have not sewn a dress since November!  And look at this, it's a bona-fide print, from Kashi at Metro Textiles, sewn up a little over two weeks after I bought it (which surely must be a record).  It is somewhat spongey and totally synthetic as all get out so I love it because it does not wrinkle.
20150817_104621
 I had a serious "want to make a dress" itch that I needed to scratch and this fit the bill nicely.  The pattern is just a front piece and a back piece, and I sewed some strips to bind the armholes and neckline. I had made this dress once before in an ITY polka dot last September.  This took me about 5 hours to sew this time, but I am a very slow seamster and if I had not futzed a lot with the bindings, I'm sure it could go faster.  If I had serged the raw edges and then twin needle stitched the armhole and neckline, it would have been much speedier.  Binding looks nicer but takes longer, for me at least.
20150816_162434
I am not overly crazy about how I used white thread to stitch down the binding at the neckline. The white stitching blends into the spongy fabric  vertically at the armholes but it is really obvious at the neckline, as it approaches horizontal-ness, at least to me.  Maybe I should have stitched it in brown, or maybe it would still drive me a bit crazy.
20150817_104651
I am pretty pleased with how the print pretty much lines up on the side seams.  The way I accomplished that was by first superimposing the front and back dress pattern pieces and noticing that, from the armhole down, the pattern piece is exactly the same.   I cut out the front piece, and then placed the cut-out front of the dress right side to right side on the fabric, lined up the print at the edges, and then cut out the back piece from the armhole down, like this:
20150816_073521
Then I put the back of the dress pattern down and cut out the back from the armhole up.
20150816_074917
(Yes, I bought the pattern twice, and then taped it together at the fold so that I could cut single layer and not have to trace the pattern piece, which is the ultimate lazy thing to do but it works!)

20150816_163333
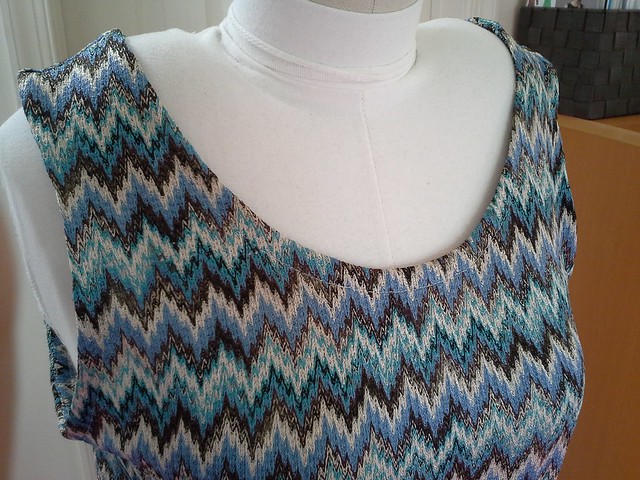
Close-up of the neckline, above.
20150816_162855
Above is the binding on the neckline on the inside....
20150816_162912
And above is a closeup of the binding on the armholes on the inside.  This fabric is kind of spongy, so it was much easier to bind the neckline by leaving the serged edge exposed instead of folding the binding in half first like I did with the armhole binding.  Basically it's 4 layers vs 6.

20150817_104700
As this dress has no darts, I used a belt for shaping, which creates a few lines but doesn't bother me.
20150817_104621
All in all this was a great dress to get back in the dress-making saddle again.
20150816_213924
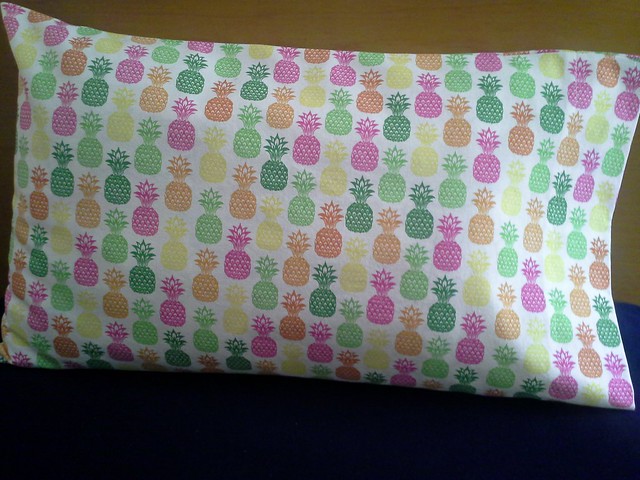
One random pillowcase I made this weekend.
20150816_214046
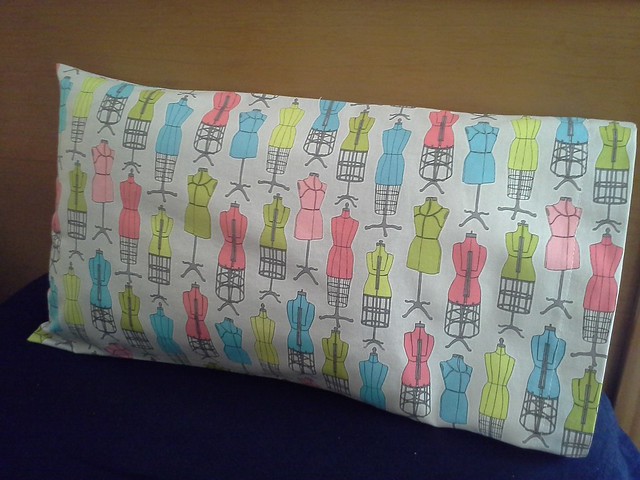
And another random pillowcase I made this weekend too.
20150816_133830
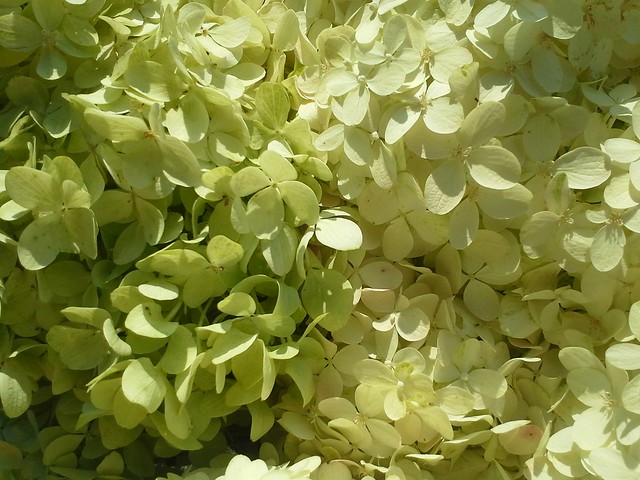
Close up of hydrangeas from the Princeton Farmers Market

Be well!