Showing posts with label tote. Show all posts

Saturday, November 26, 2016

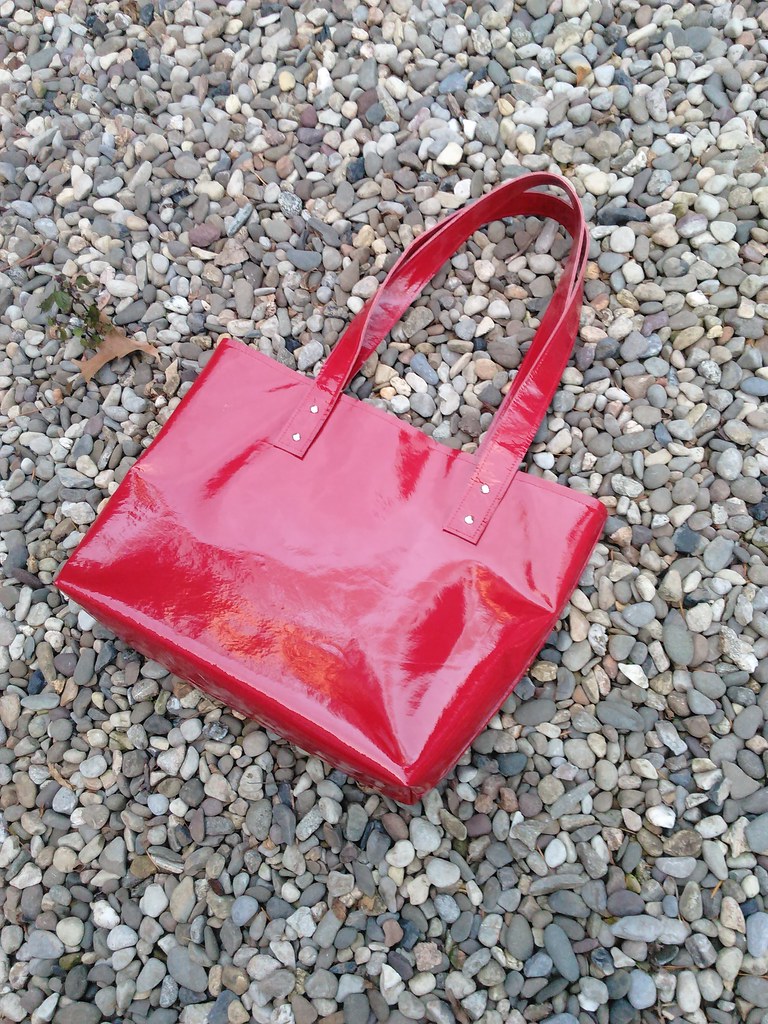
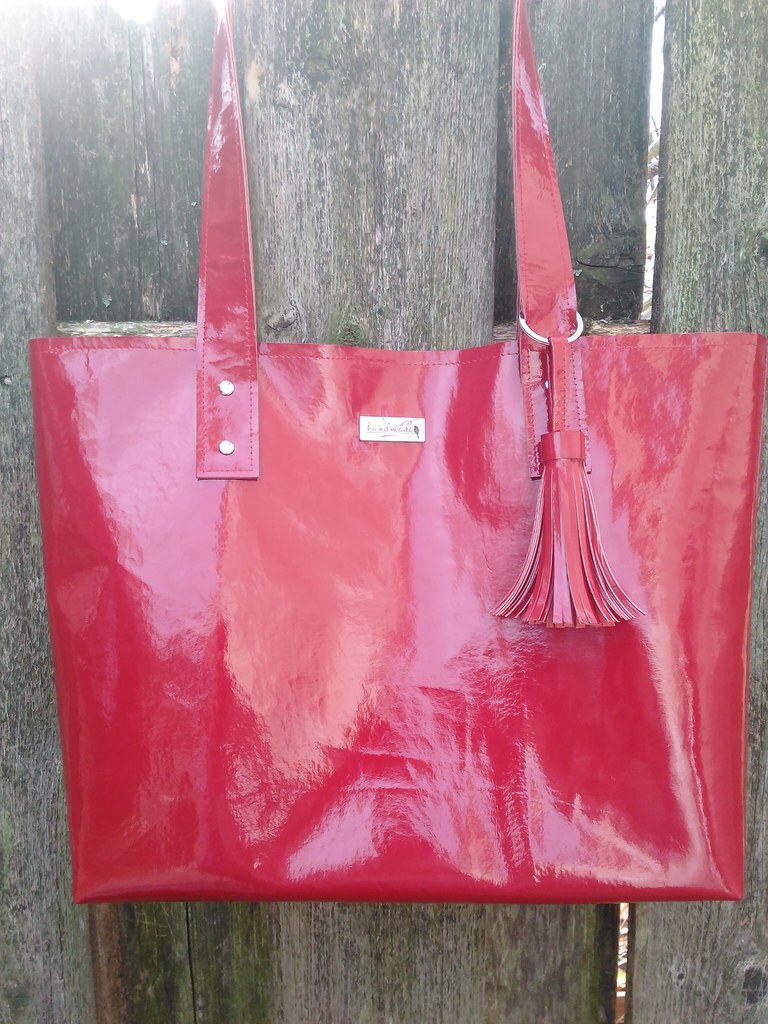
Red patent leather tote

IMG_20161126_140944
Thank you for your comments and support on my last post--I really enjoyed reading them, and how we support each other.    Thank you!
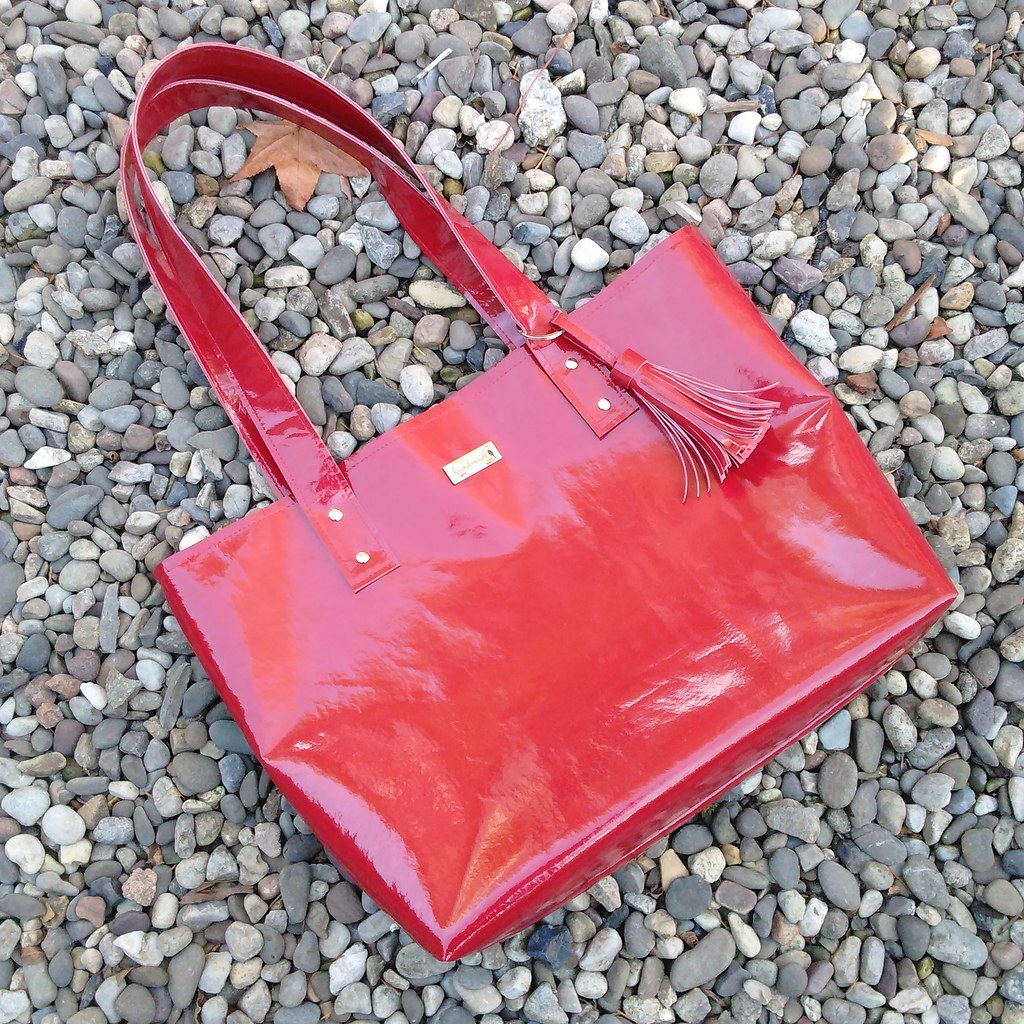
IMG_20161125_155445
Front, no tassel
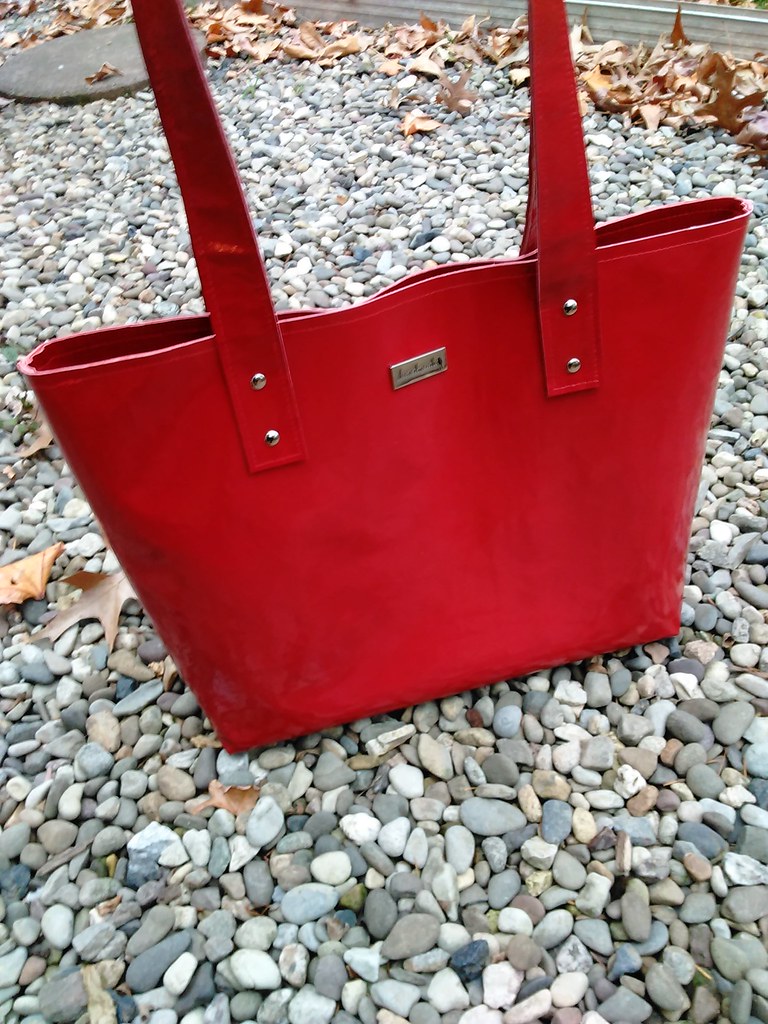
IMG_20161126_161116
Back

IMG_20161126_070149
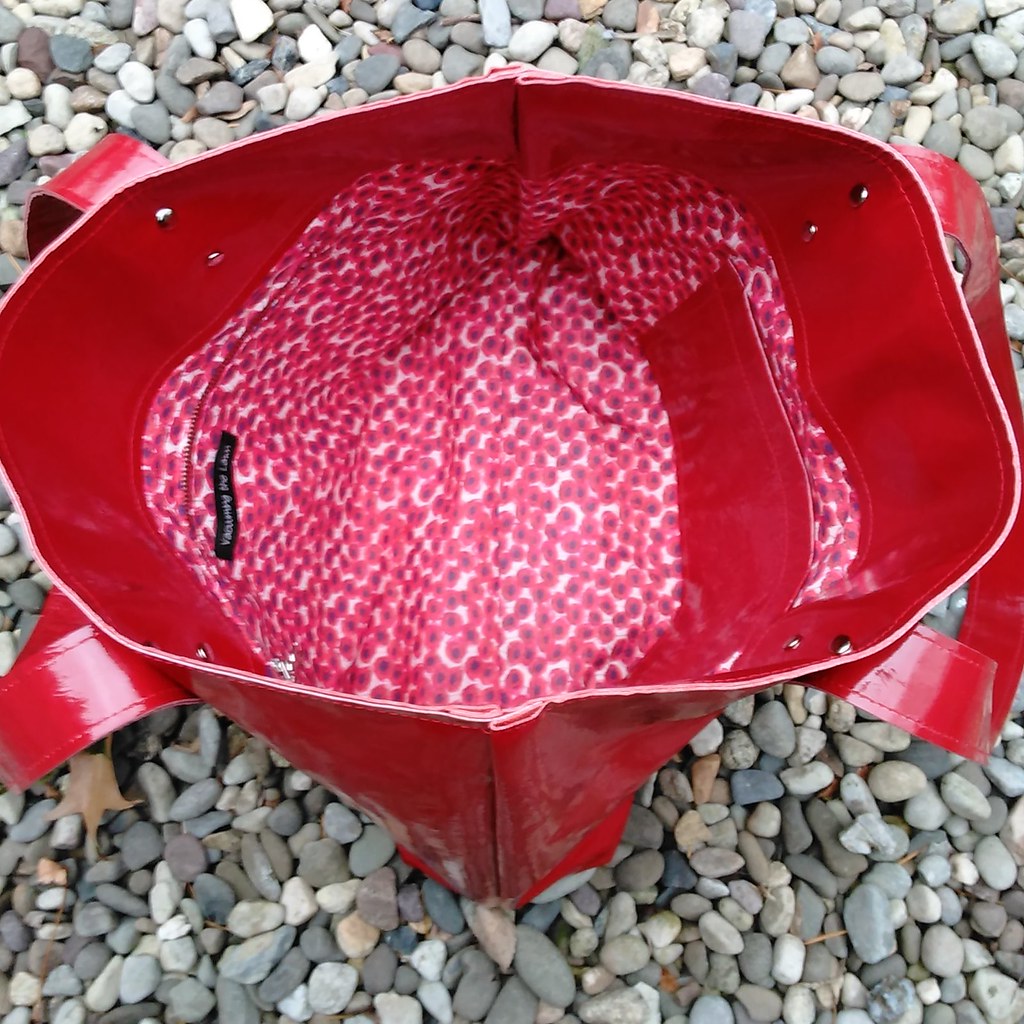
Inside

Dad and I didn't celebrate Thanksgiving until today, which meant that Thanksgiving Day and Black Friday were total play days for me!   And of course "play" means "sewing"!

I bought this red patent pig leather from Fishman's Fabrics during PR weekend in Chicago this year.  When I bought the leather, I had not sewn with leather before except for a hands-on workshop I took with Kenneth King at the ASE in 2014.  I found those notes this summer, and did some more research into working with leather, which resulted in the aqua lamb leather bag I made at the end of July--copious details are in this blog post.  I have used that bag a lot, but I had not interfaced the handles and they have stretched significantly.  So when I made the Blue Calla Boronia bag for the PR contest, I fused interfacing to the handles.  Those handles did stretch just slightly, like 1/8", but you know I notice those things!  So this time I interfaced the handles with buckram, that I bought at Kashi's.  I'm thinking they are not going to stretch at all but I will report back.

My main leather advice (after making 2 full-leather bags and one partial leather) is:
  1. Use a new rotary blade and made as continuous a cut as you can (quilting rulers really help)
  2. Use a fresh leather needle (size 18 for this project) for the main bag sewing and yet another fresh leather needle when it's time to stitch the topstitching
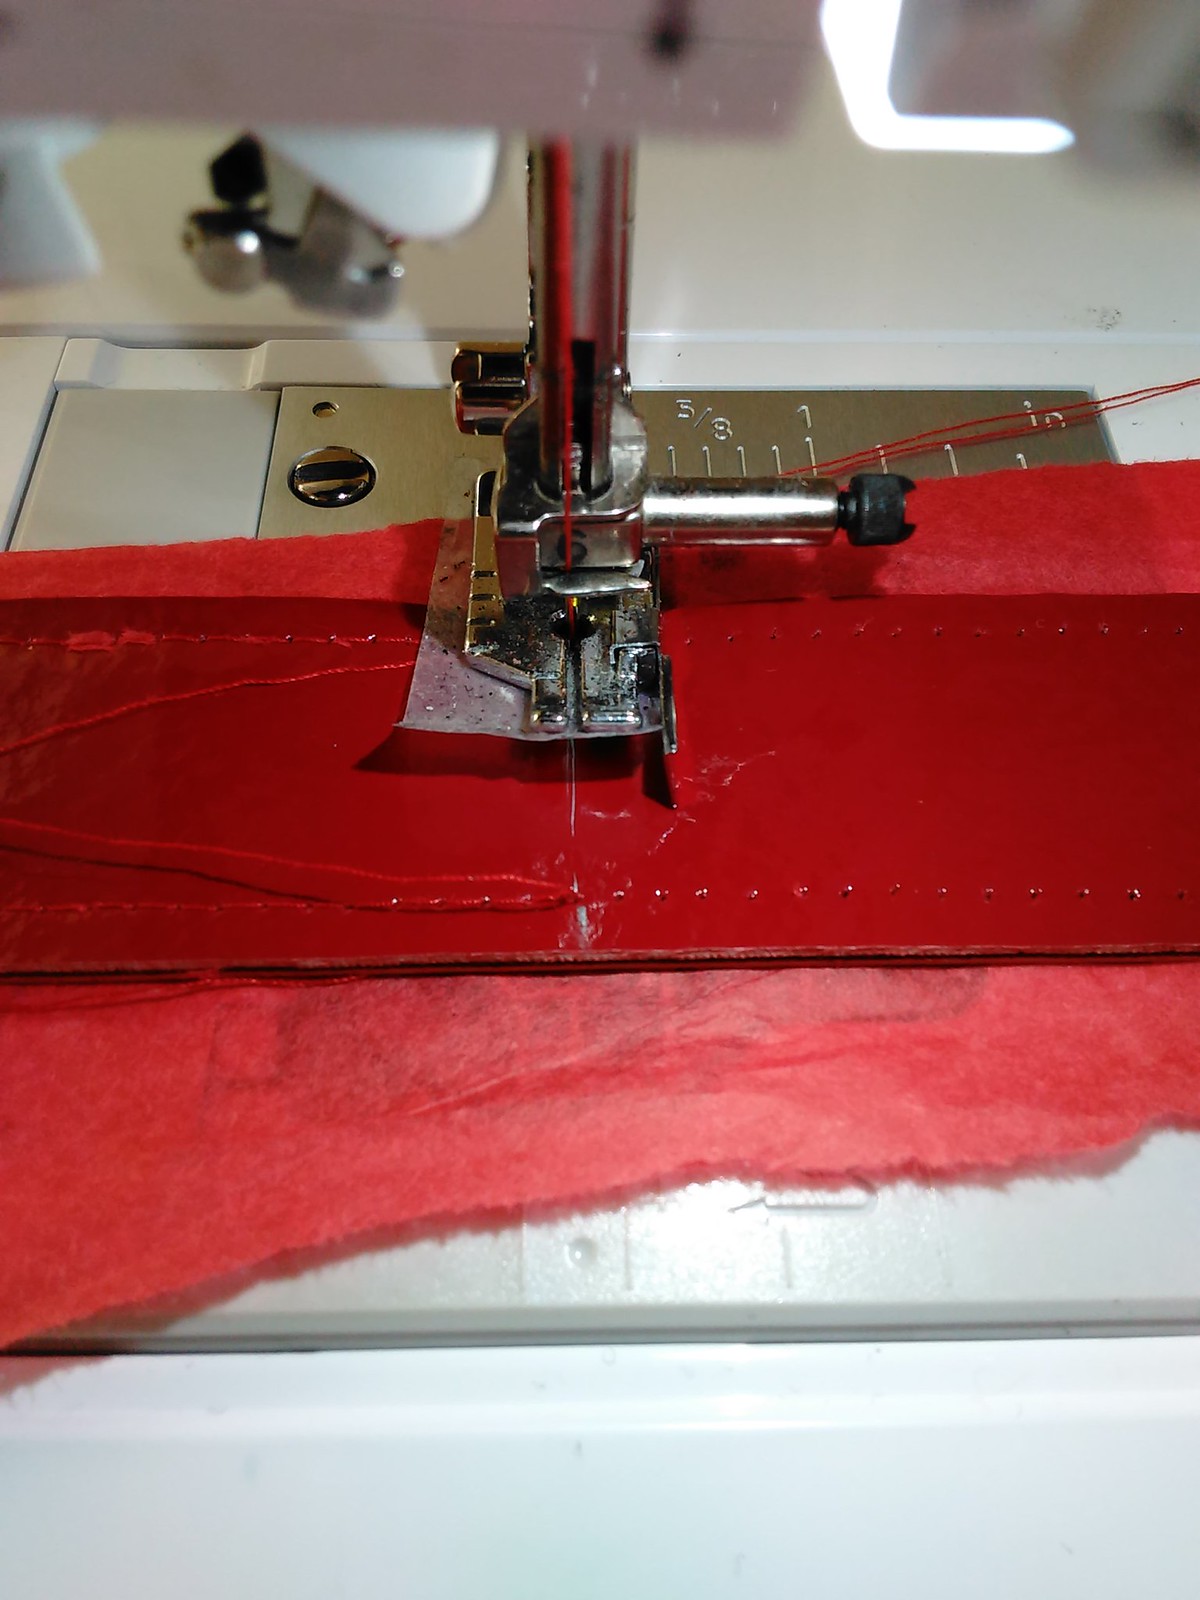
  3. Use a teflon foot and put tissue paper that matches the leather between the leather and the machine bed to stop the leather from sticking to the machine.

Planning it out
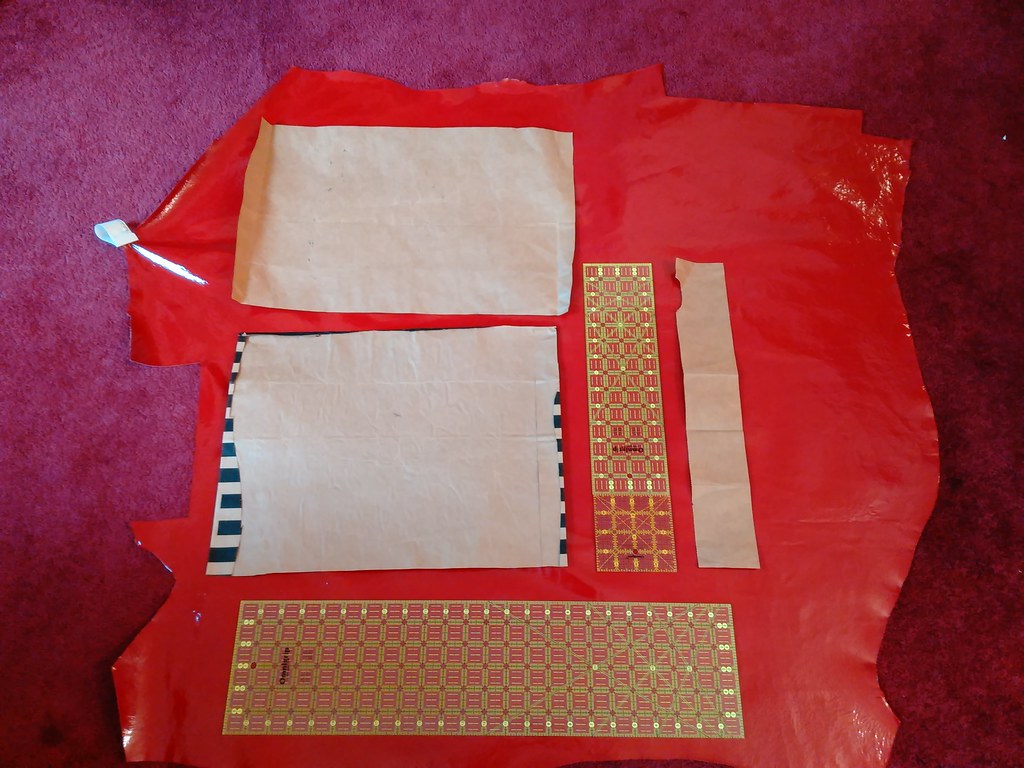
IMG_20161124_134032
Planning out the rough positioning of the front /back of bag, the upper interior lining and the straps....ballpark idea here which wasn't the final positioning as I wound up initially cutting the handles extra long)
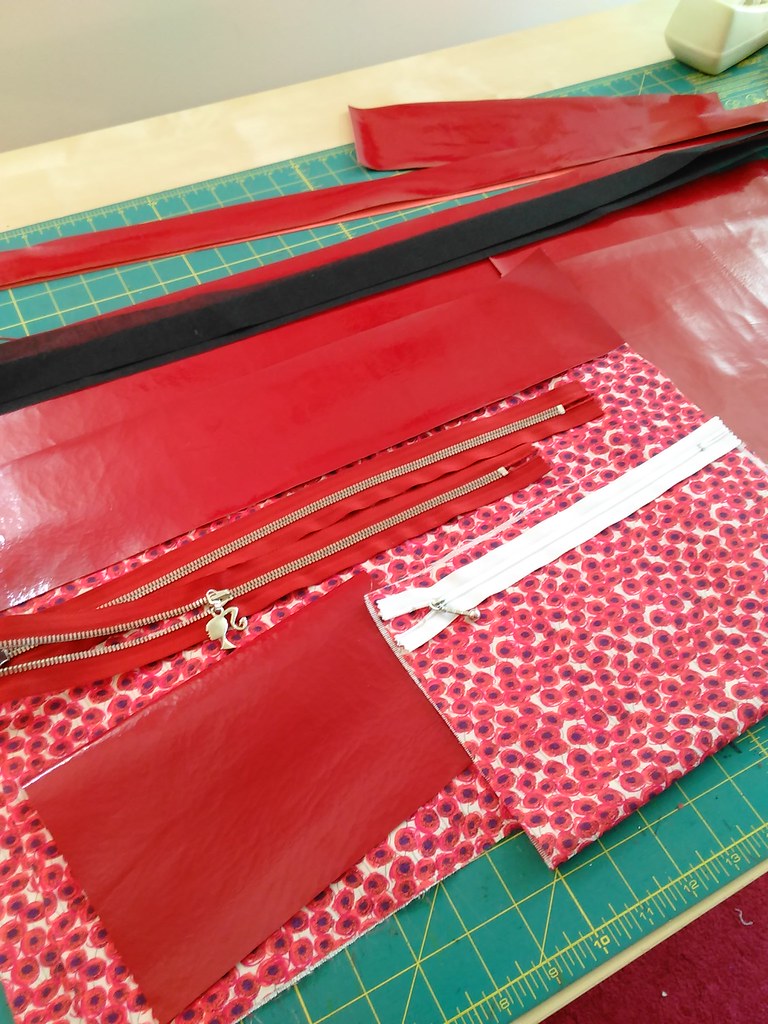
IMG_20161124_151607
Everything cut out and lining interfaced. At this point I wasn't sure if i was going to use the 9" white zipper for the interior zipper pocket or cut down the 30" red one....

The exterior
I wound up using a cutting mat as my template--which was 18.5" long x 14.75" tall.  I used a 1/2" seam allowance.  This time I boxed the corners so that the result is a 4" box.
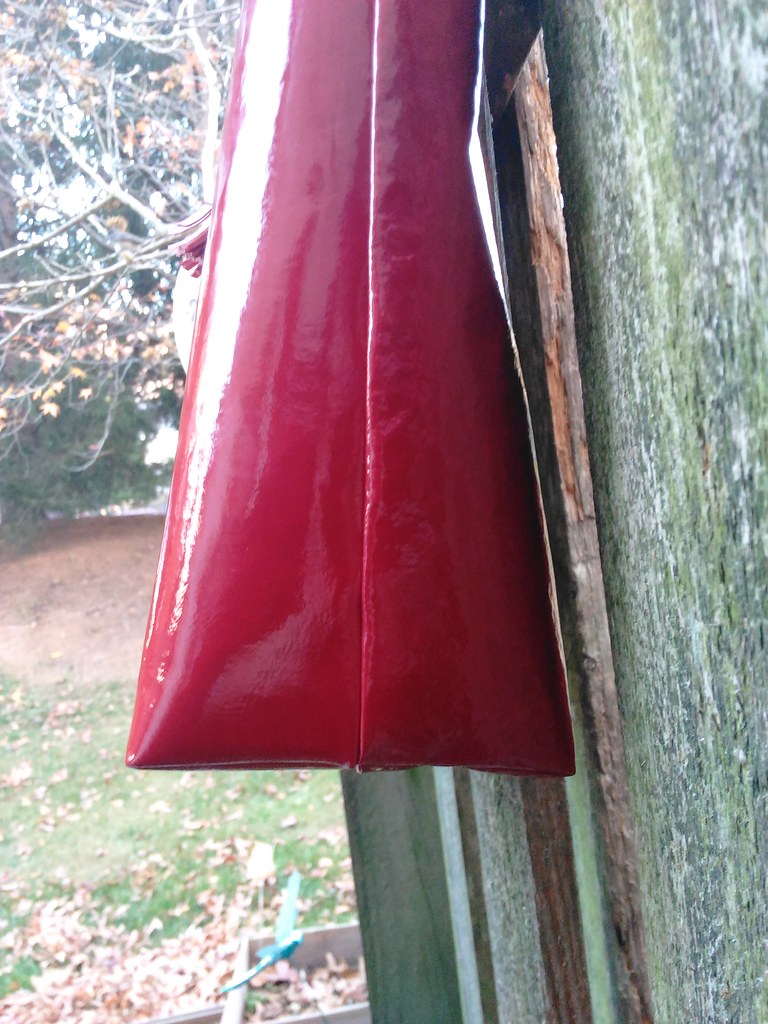
IMG_20161126_161136

The lining

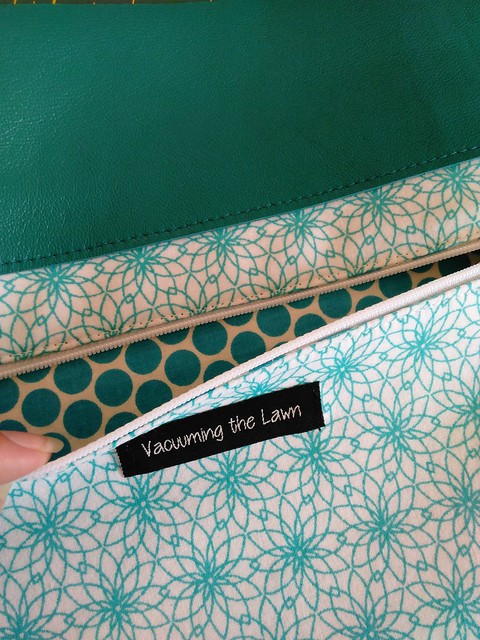
The lining is a Liberty of London Xante Sunbeam cotton voile that I bought from Mood specifically to coordinate with this leather.  I interfaced it with interfacing from Fashion Sewing Supply to beef it up a bit.  I only had the light proweft in stash but would have preferred to use the medium.

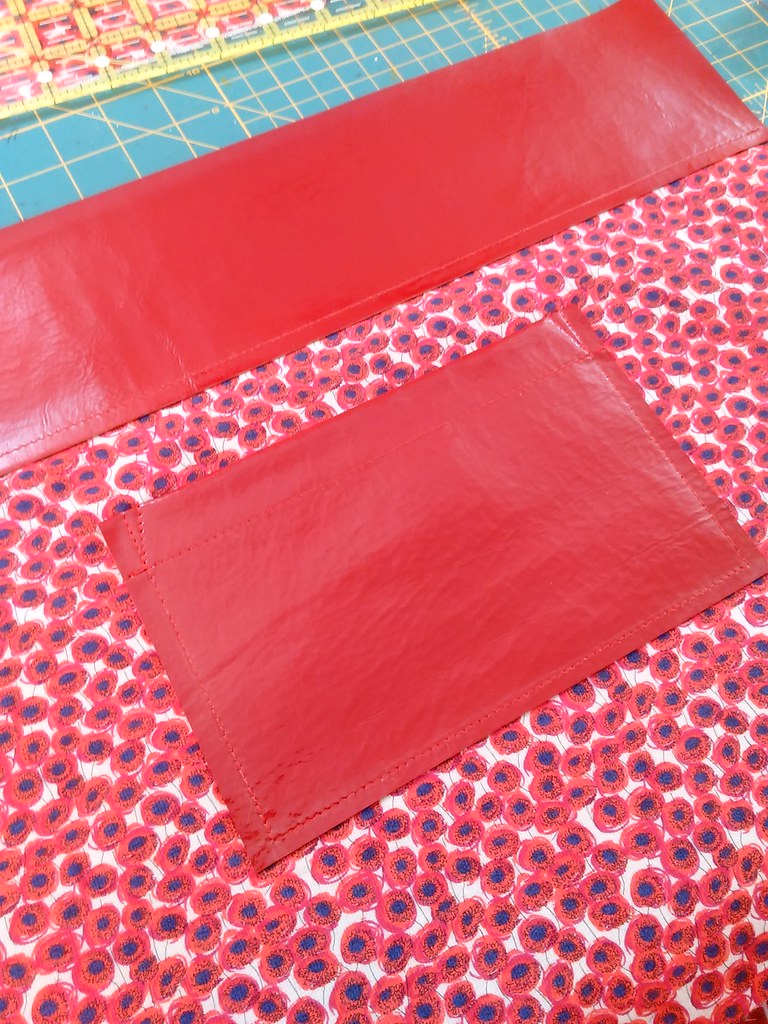
Patch pocket
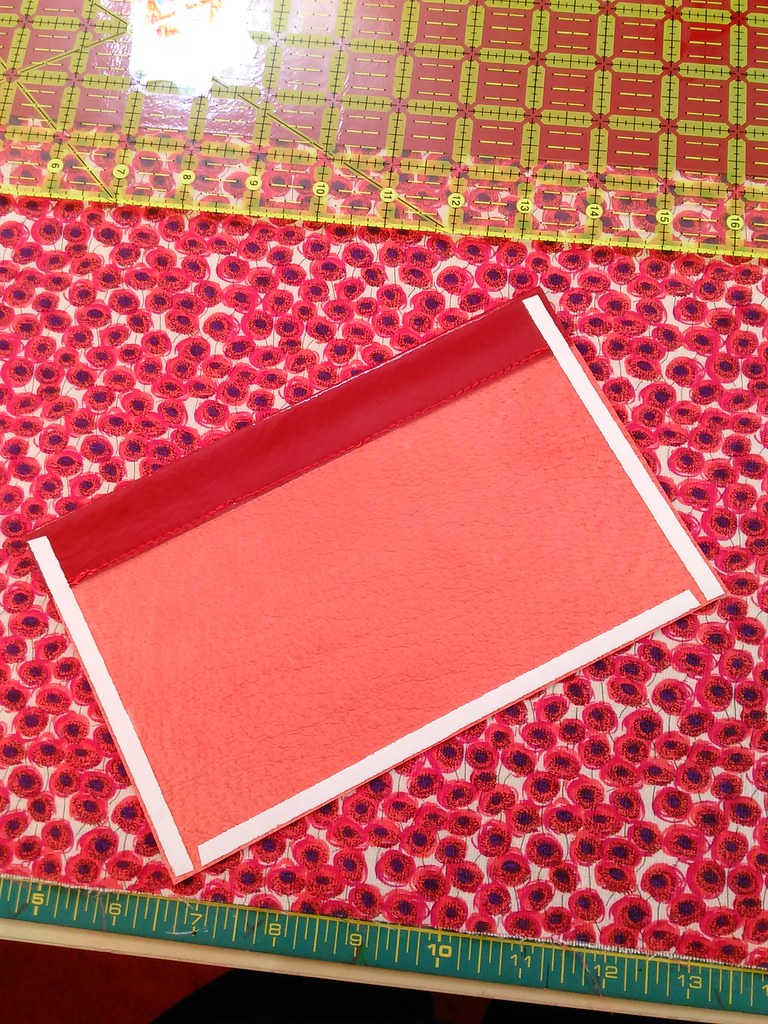
IMG_20161124_161434
I cut the pocket 8" long by 6" high, then folded over the top 1" and stitched down.
Then I applied Wonder Tape around the three edges, peeled it off and centered it on the lining.
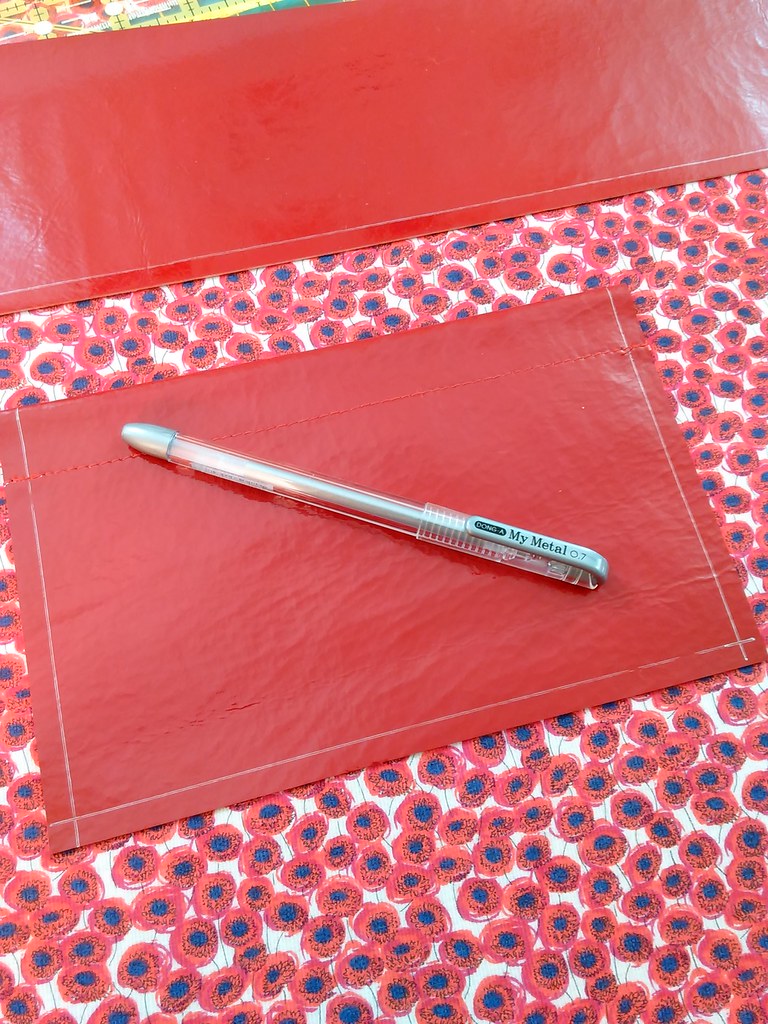
IMG_20161124_161834
I used this silver pen (purchased at SIL Thread in NYC) that writes on this leather to draw the stitching line and mark the pivots for the corners.  This pen happens to wipe off the patent leather with a wet cloth, so it is easy to remove the markings afterward--but always test first!

IMG_20161124_162607
I stitched a triangle at the upper right and left corners for security.

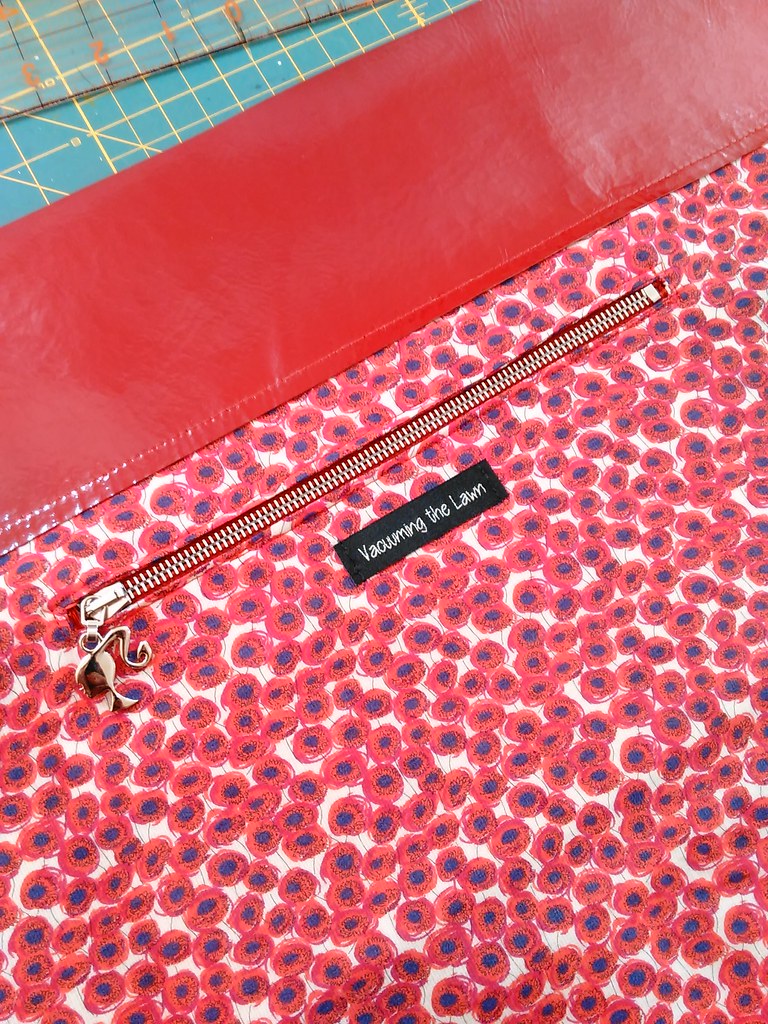
The zipper pocket
IMG_20161124_175248

And I added an interior zipper pocket using my favorite tutorial.

I had a double-pull "girl with the ponytail" 30" zipper custom made at Botani, because I was thinking I was going to use this leather to make a Boronia Bag.  But after making the Boronia bag, I doubted that the patent pig leather would survive the "bag birthing" process.  So, I shortened the zipper down to 9" in the most wacky way possible, sigh.  It is not pretty but it's all hidden by the lining and is functional.  And now I have ~19" of the other side of the zipper to use for another project.

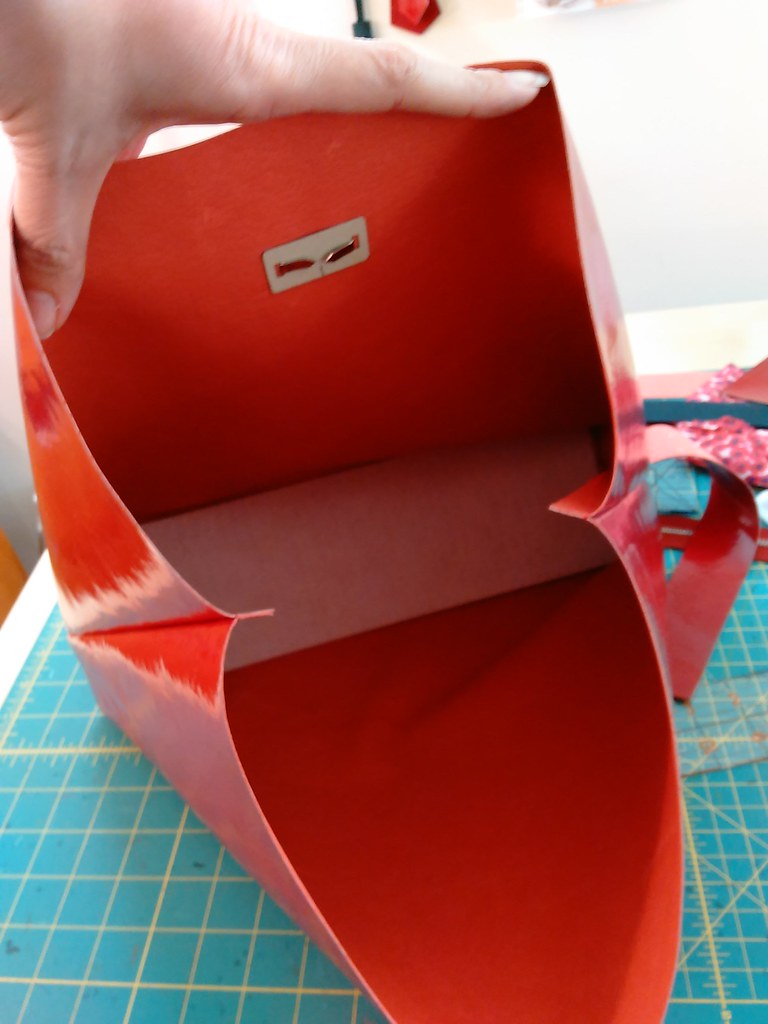
Bag Bling and Peltex
IMG_20161124_195713
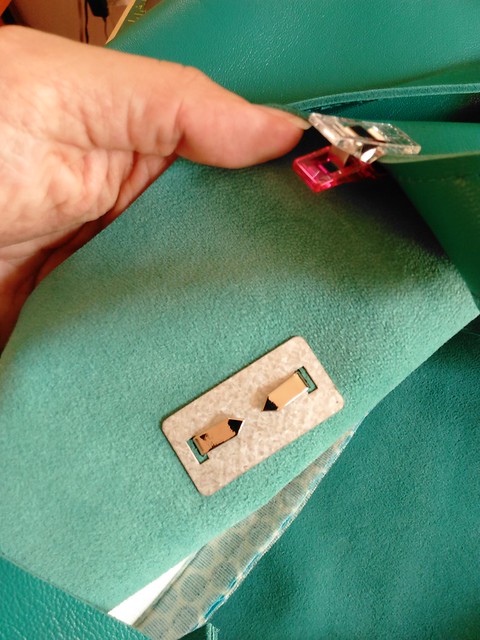
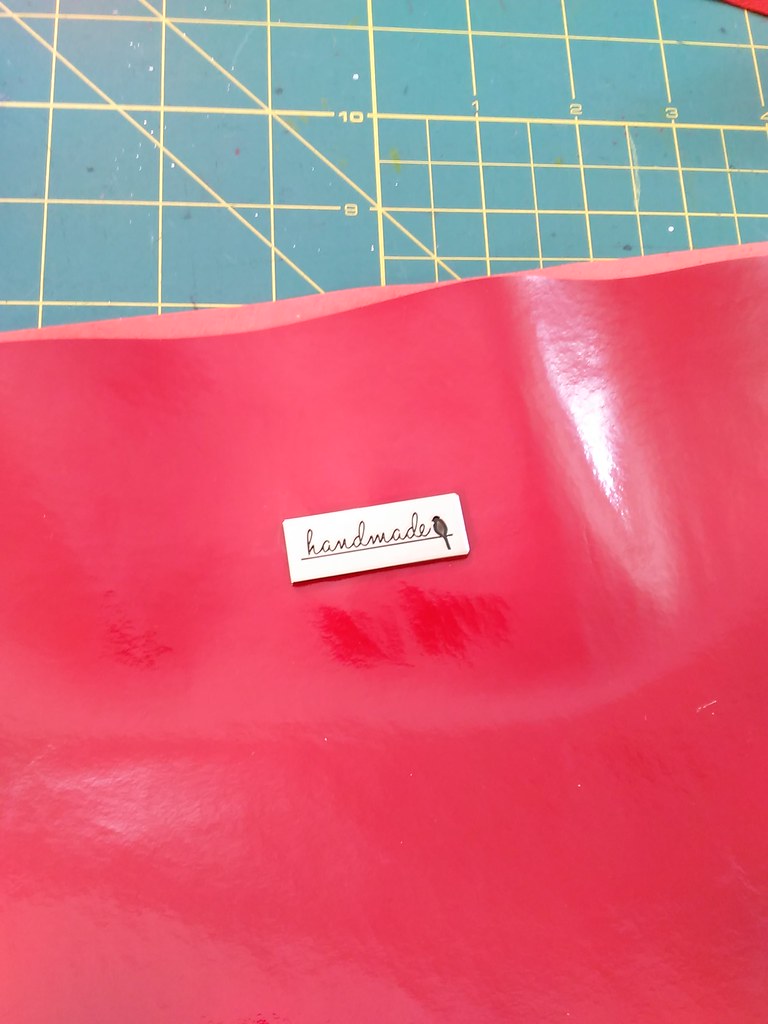
I applied the bag bling (here you can see what it looks like from the inside--it's like a big clasp) and cut a piece of peltex to fit in the bottom of the bag.
IMG_20161124_195504
bag bling


Attaching the lining to the exterior
I used wonder tape to hold the interior to the exterior....along with a lot of wonder clips
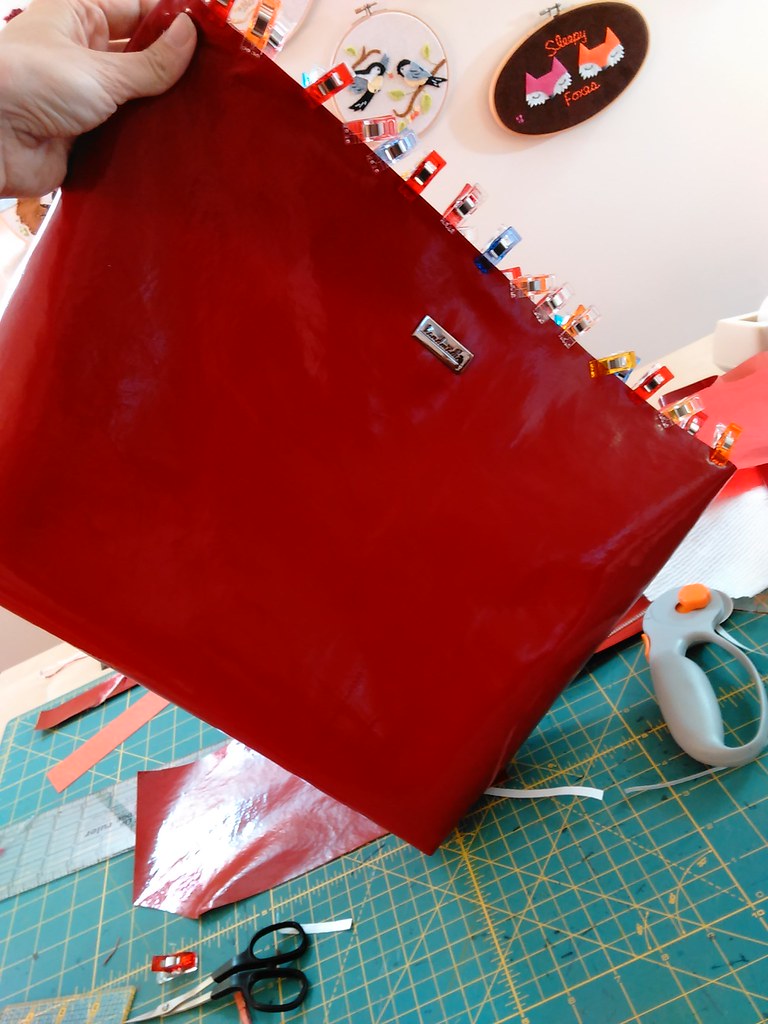

IMG_20161124_204302
I topstitched along the top of the bag, and used my 1/4" foot with tape on the bottom to prevent it from sticking to the leather, and with red tissue paper underneath to keep the leather from sticking to the bed of the sewing machine.  This was at 3.5, 3.5, 4.8.  Honestly I didn't like my first attempt and cut it off then tried again.
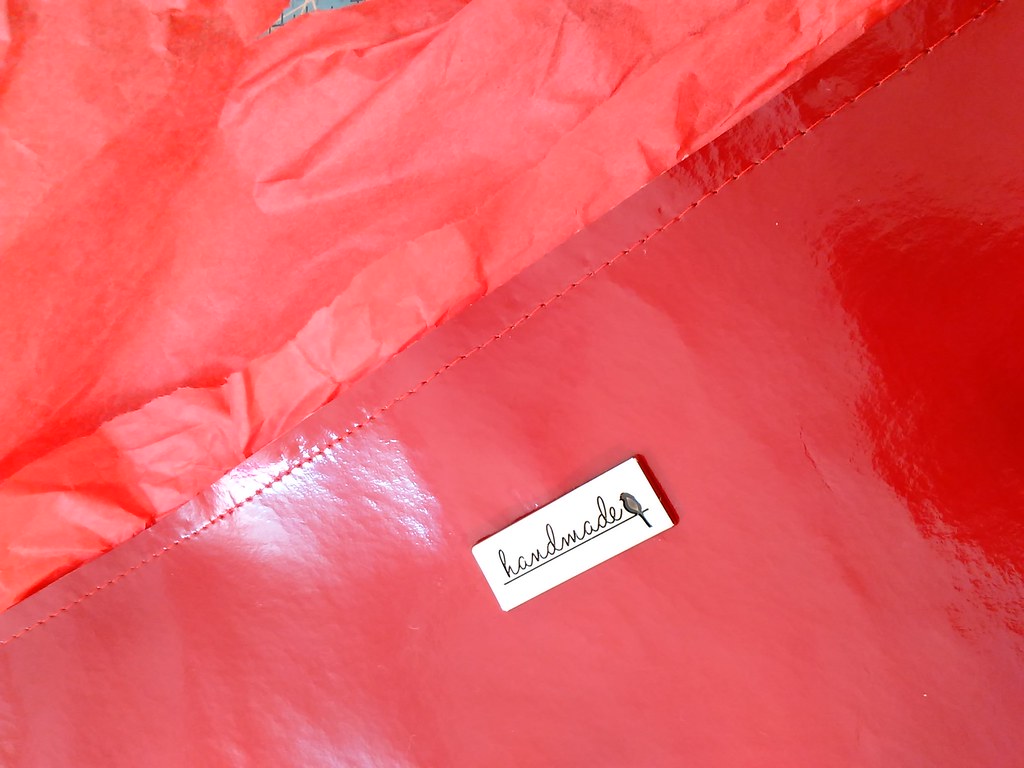
IMG_20161124_213323

The handles


IMG_20161125_130451
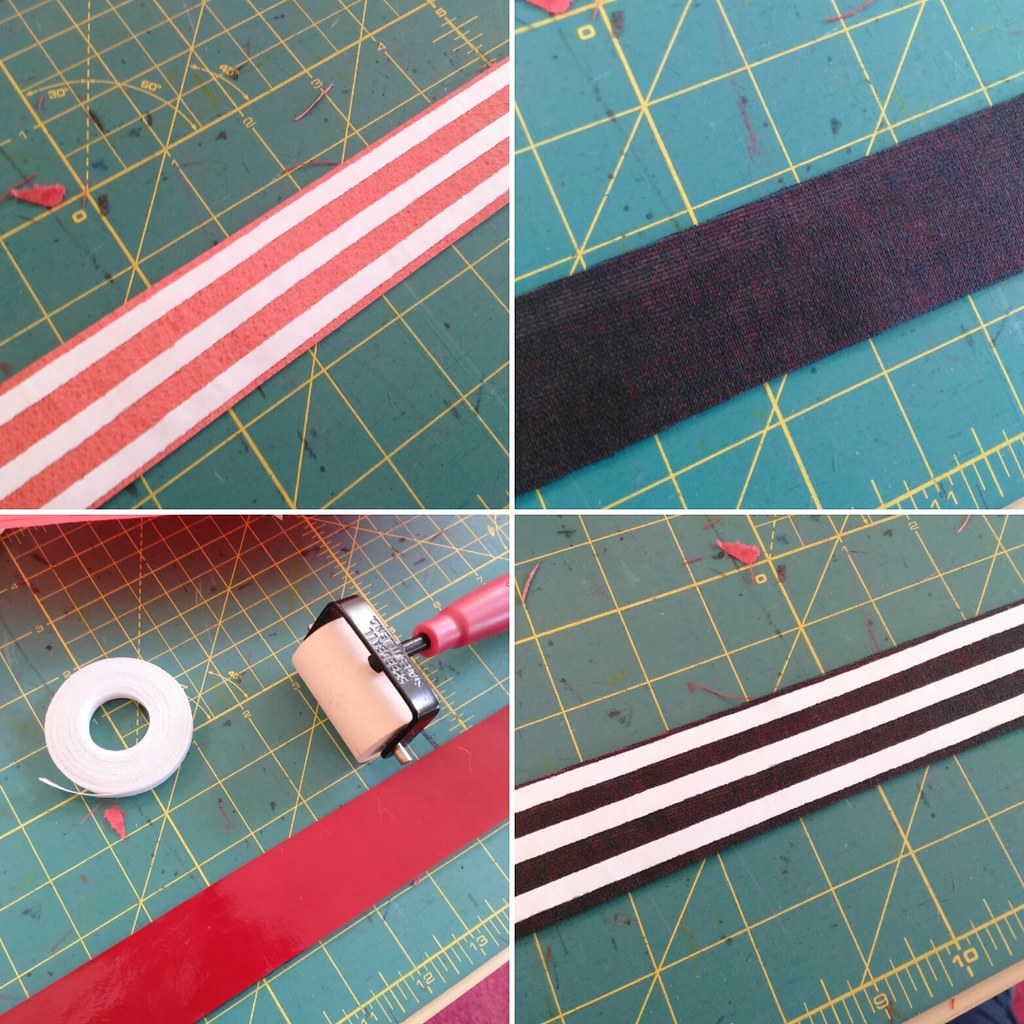
Above is how I made the handles, clockwise from upper left:
1)  applied three rows of Wonder Tape (WT)
2)  removed the adhesive backing and layered on the buckram
3) applied three rows of WT
4) removed the adhesive backing and layered on the other strap

In between each step I used the brayer (that rubber roller thing ) to flatten out the WT and help it adhere.  It also gets any "bubbles" out.
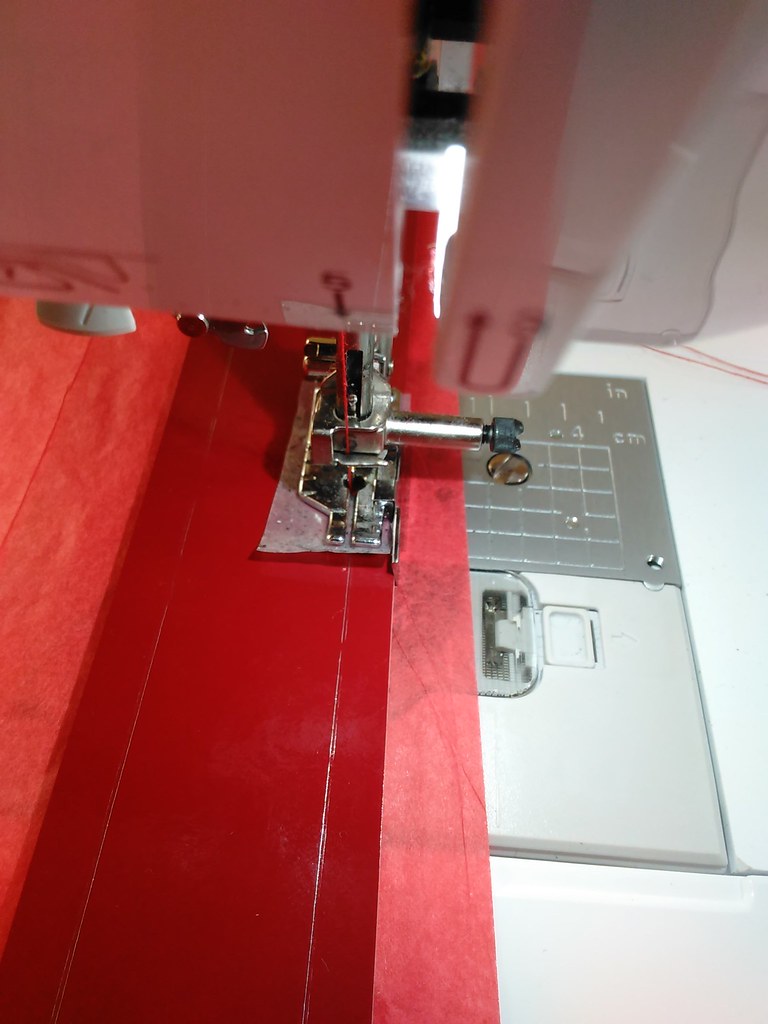
IMG_20161125_111440


IMG_20161125_140101
You can see the thread tails on the left side of the pic....and where I *carefully* unpicked the stitching to shorten them down. You can also see on the right side of the pic how holes made in leather always stay!!!

The handles were originally 34" long--i made them extra long with the idea that they would extend way down onto the bag yet still have 27" of clearance.  I wound up shortening them down to 30" by carefully removing the stitching I had already stitched, moving them out of the way, then used my machine, starting and ending with long thread tails and with the needle in the previously made hole, stitched across (to make it look like I had stitched, pivoted, stitched across, pivoted, stitched back up) using long thread tails on each end and stitching across with the machine, pulling the tails to the back and knotting .    They were topstitched using my 1/4" foot at 3.5, 4.0, 6.0.  I really had to crank up the tension to get the stitching to look good on the front and back--but somehow they looked the best fro the back!.    The thread is regular Coats and Clark thread, color #2250.
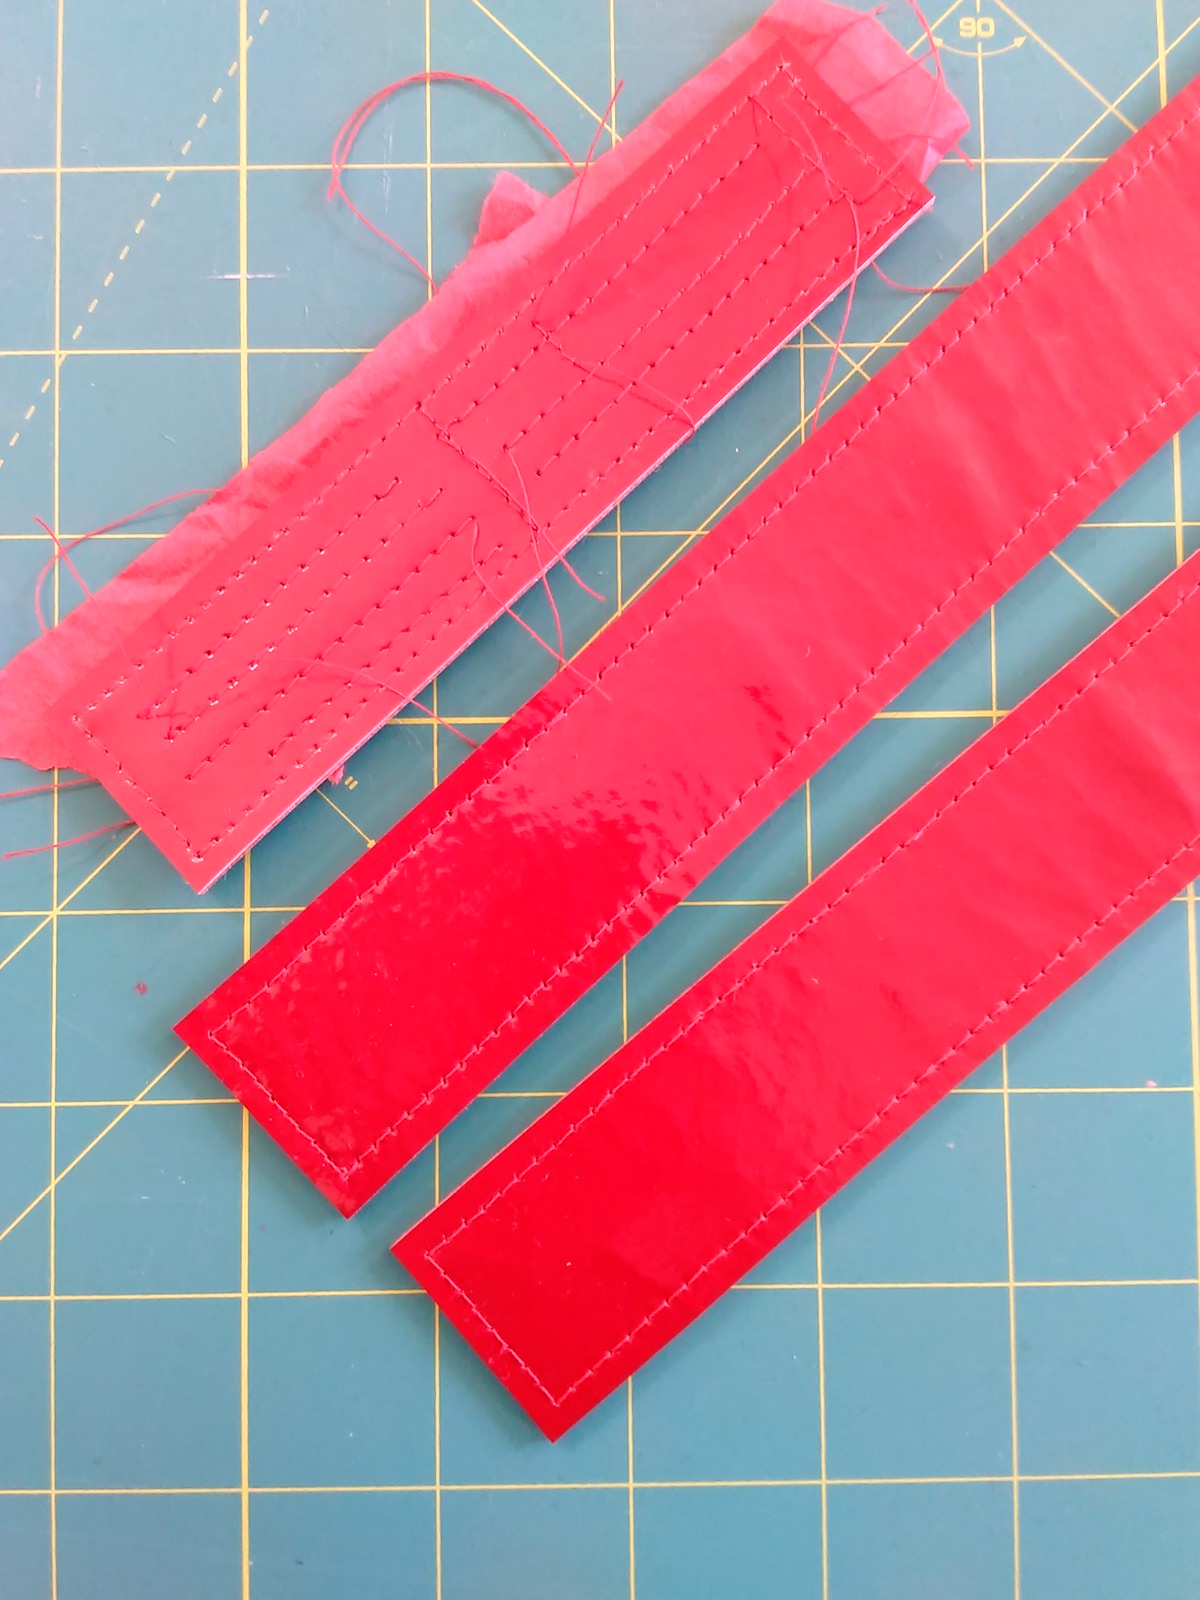

IMG_20161125_124224
Making a sample (at the top--used red tissue paper between the handle and the machine bed because the patent leather was sticking to the machine bed otherwise) and the two final handles....

I know I said that last time (with the aqua bag) I wouldn't make the handles as wide, but I did!  I cut them 1.5" long and after stitching them, I cut them down so that the stitching is only 1/8" away from the edge.  this gets them down to about 1.25" but really I should start with 1.25 and then cut them down to 1".


The  rivets
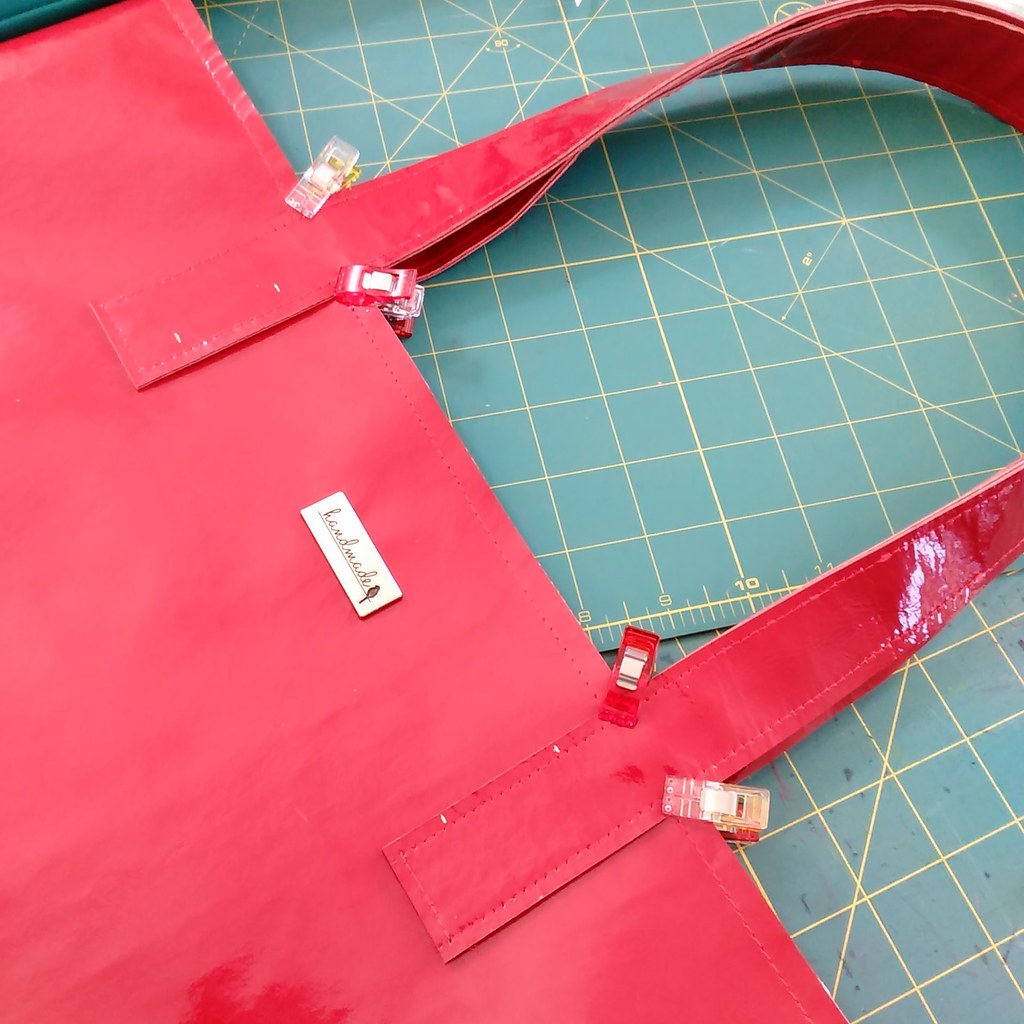
Instead of sewing the handles into the bag like I did with the aqua bag, I decided to use rivets.
IMG_20161125_144923
Used my silver pen to initially mark the position--too bad i didn't take another pic, I really had a lot of lines to mark the locations!

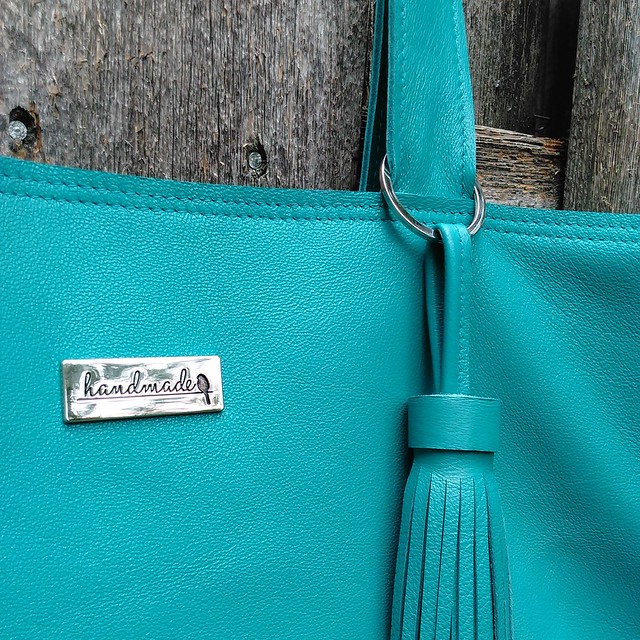
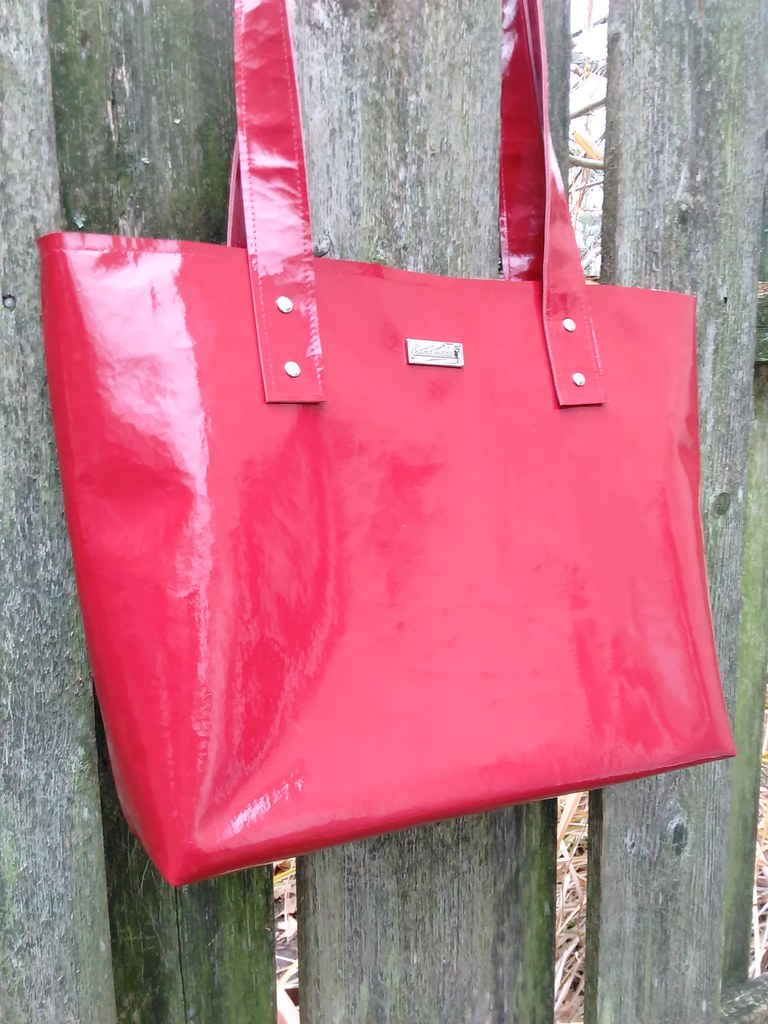
I attached the handles to the bag using the small sized double capped rivets from Emmalinebags.com.  Since they are double capped, they are pretty on the inside, too.  The "handmade (with a bird)" bag  bling is also from Emmaline Bags.

IMG_20161125_154937
Boom! Rivets!

The tassel
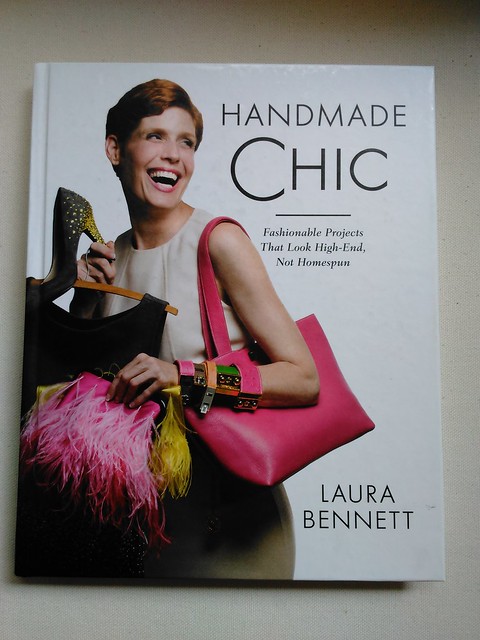
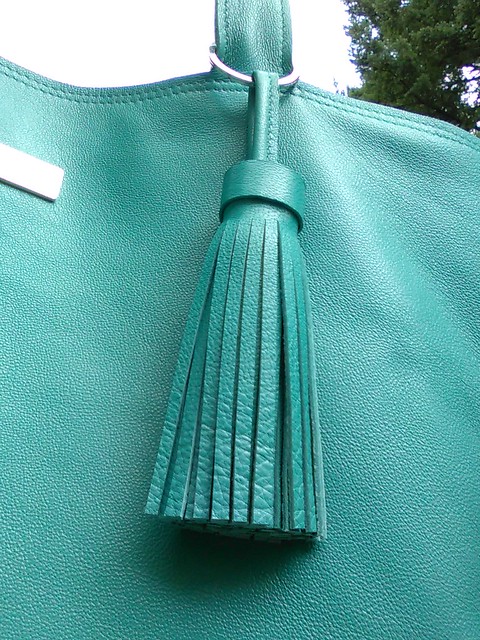
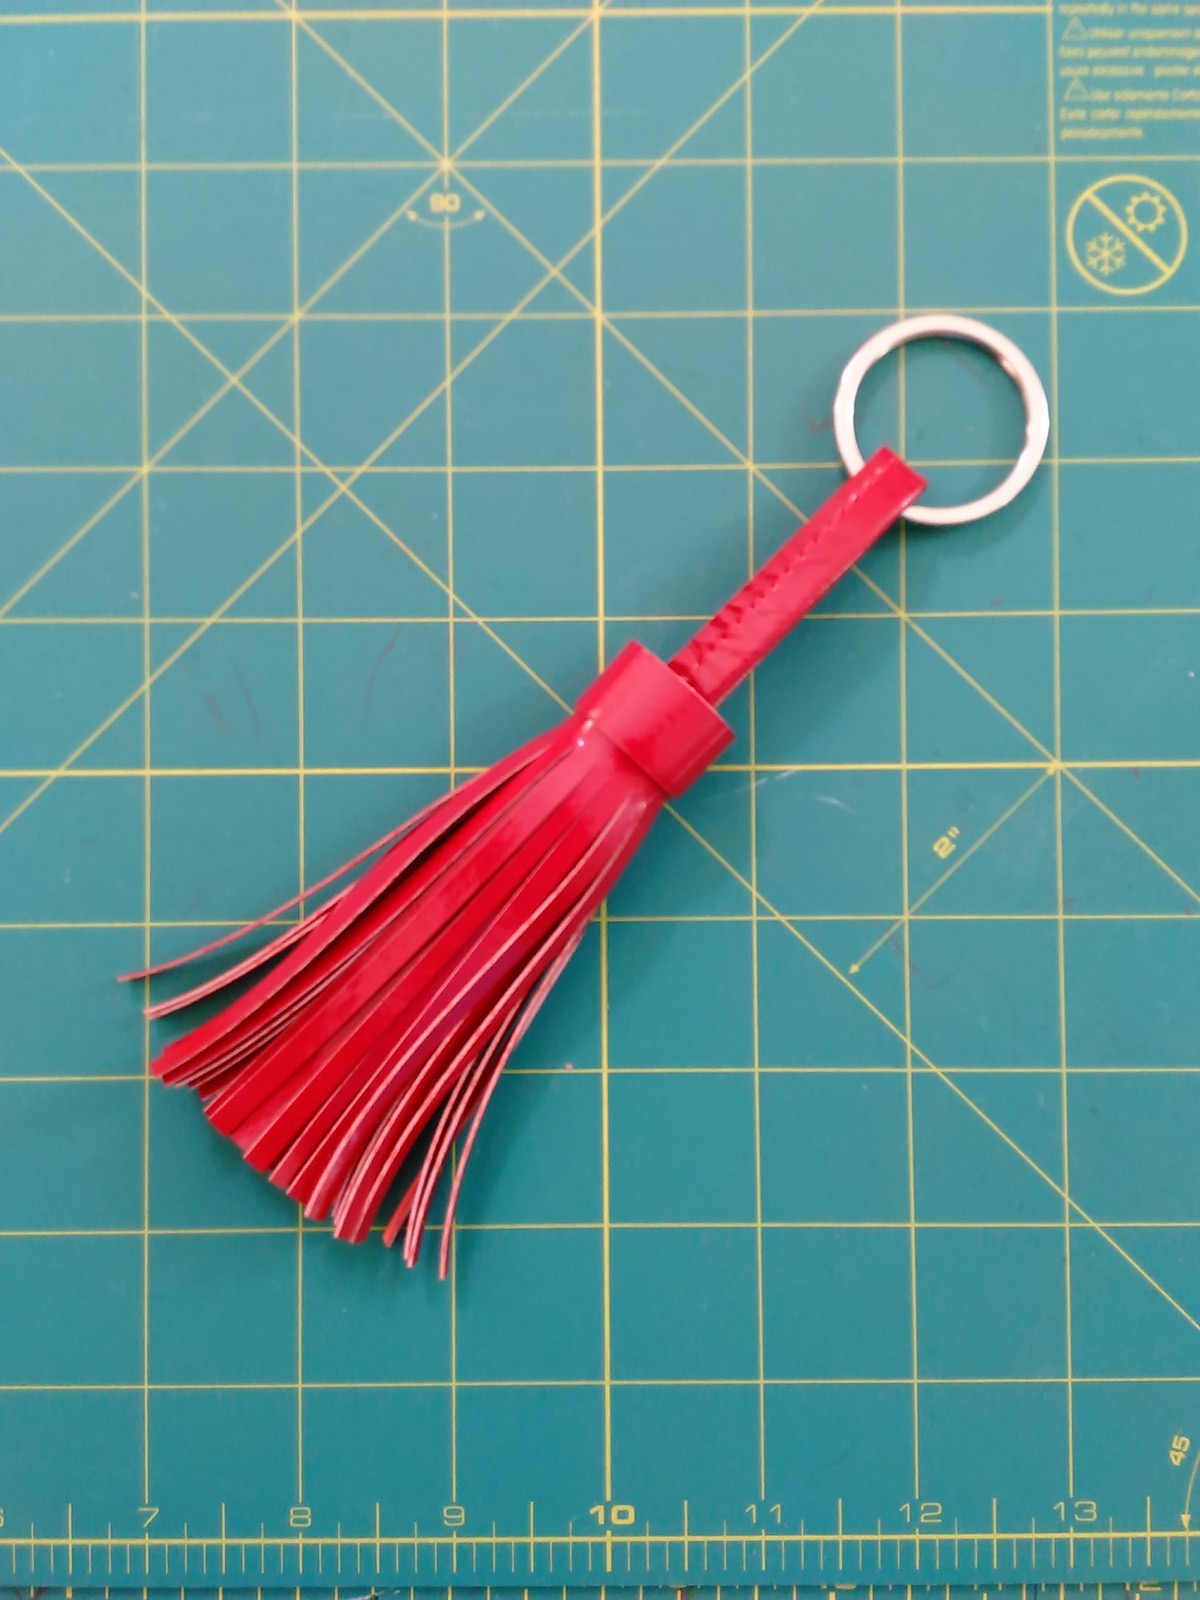
I made a tassel using the instructions from Laura Bennett's Handmade Chic book, but made cut the original rectangle 14" x 4" to result in a longer, wider tassel.  However, I'm not sure the bag really needs the tassel, as the tassel obscures the rivets when the bag is upright.
IMG_20161125_175247


The completed bag!

IMG_20161126_092827


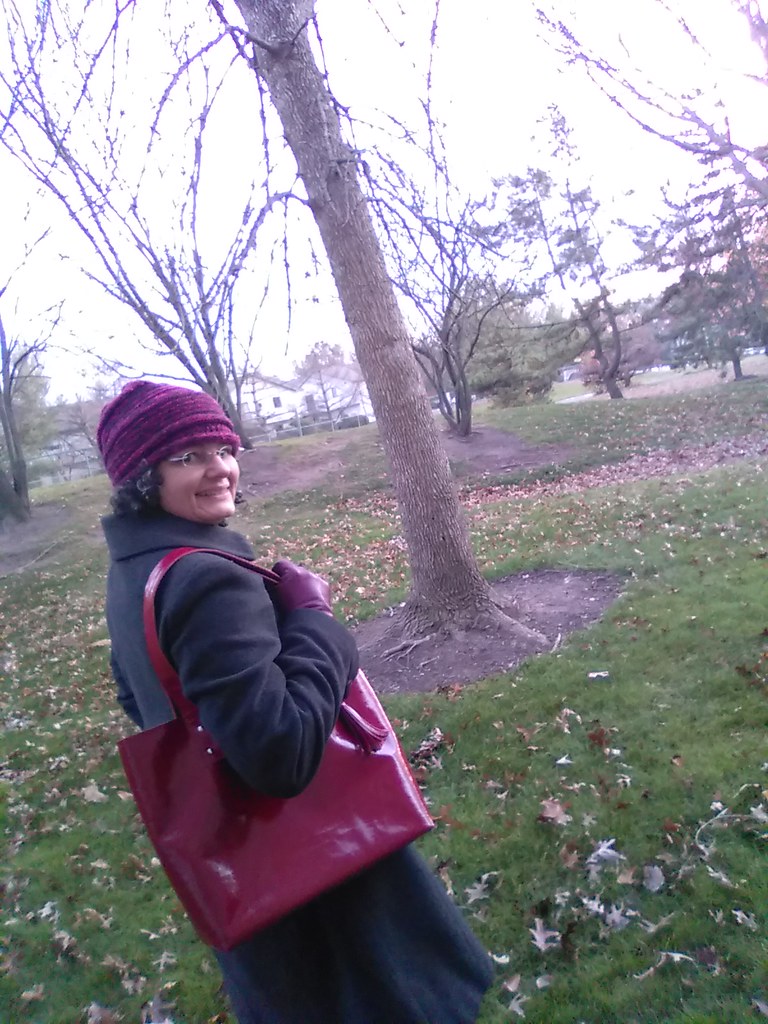
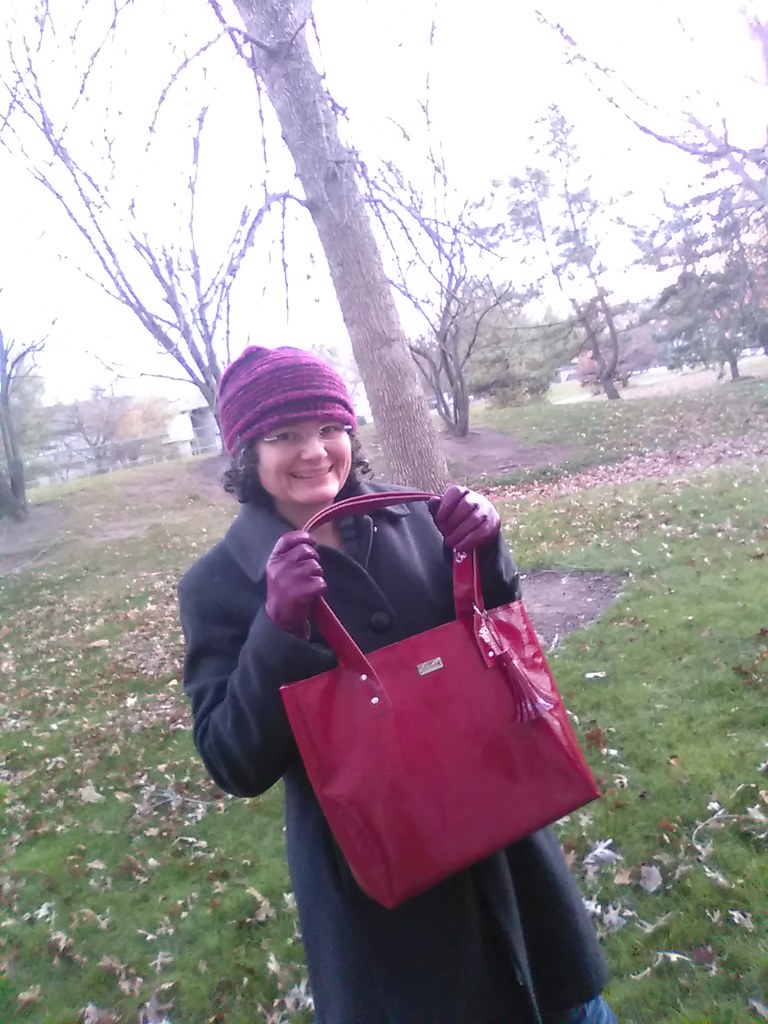
So I kind of want to make a leather backpack!  Not now, but early next  year. Well, probably not now.   Stay tuned!!
IMG_20161126_163109

Be well!
IMG_20161126_163216
Bye!

Saturday, July 30, 2016

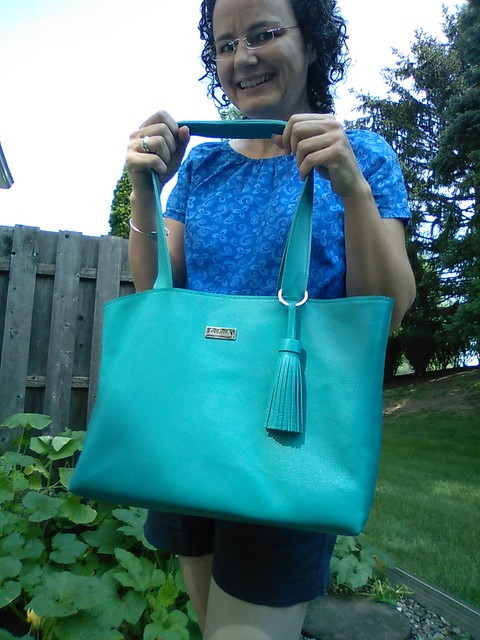
My First Leather Bag from Handmade Chic by Laura Bennett

IMG_20160730_103433
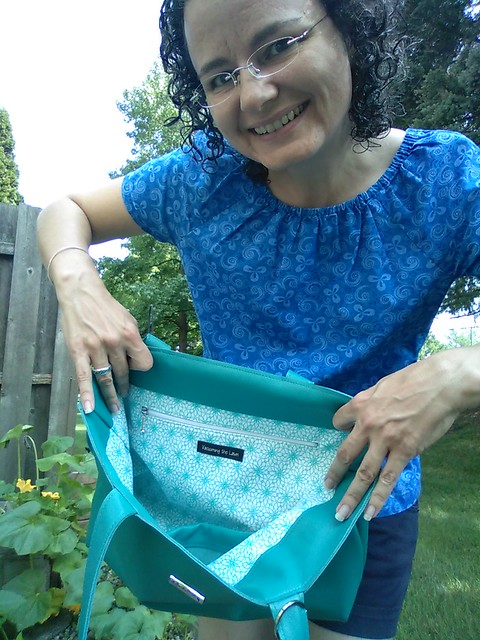
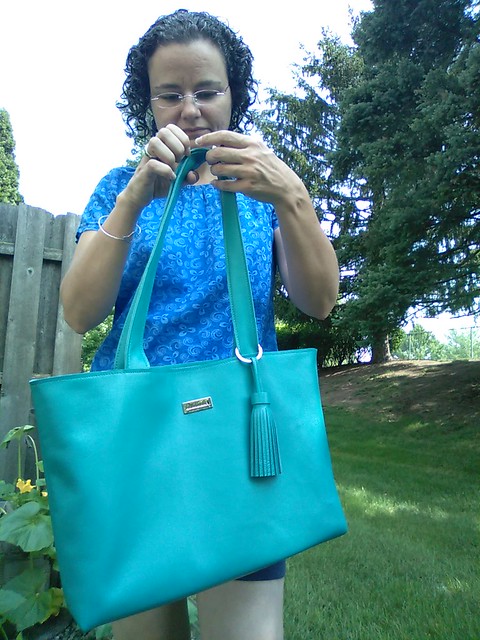
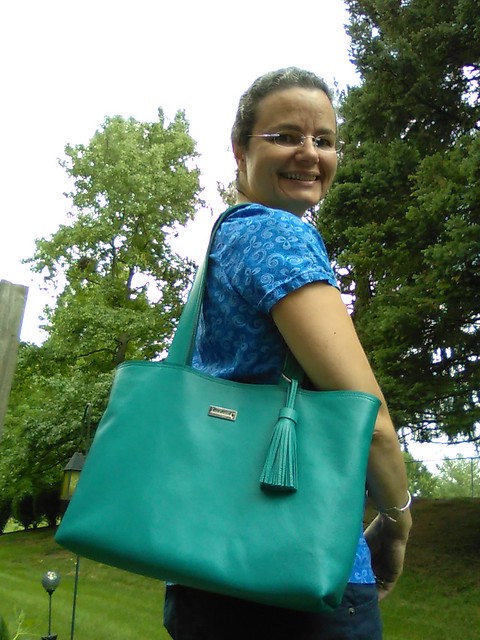
Hello from my vacation!  When do you ever see me in shorts?  Never!  (And that is a Built By Wendy shirt I made like 8 years ago!)  This was taken before I added the second row of topstitching, but I like this picture so here it is!  Also those are my pumpkin vines in the background.
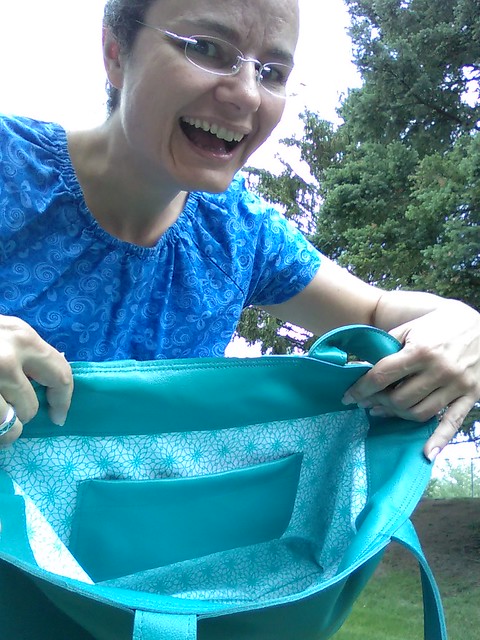
IMG_20160730_121357
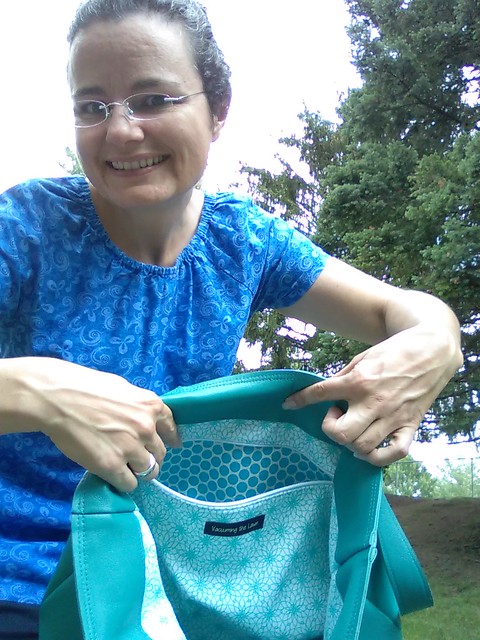
I'm smiling manically to get my camera, which takes a picture when it detects a smile, to take the picture!  Here's the patch pocket for my phone.  And it's got the double row of topstitching!

IMG_20160730_103628

Interior pocket zipped up
IMG_20160730_121415
Inside the zipper pocket, a fun surprise awaits!  Double topstitched here too!
IMG_20160730_103609
But I wasn't smiling!!

This vacation I decided to focus on making things I've never made before--like dabbling in quilting and working with leather.  This post is about what I've learned with leather, because you know this blog is basically my "lab" notebook that I publicly share with you, and I don't want to forget what I've learned about leather this week!

(Also note that while I'm not blogging as much as I used to, I am on Instagram all the time; follow me here).

IMG_20160730_121827
I've dabbled with the idea of making something with leather for a few years now.

  • A few years ago (2012?), I took Laura Bennett's "Handmade Chic" book out of the library. (Laura Bennett was on Project Runway season 3).   I borrowed it again last summer and then finally bought the book.    It has a heavy emphasis on leather and her methods seemed easy.
  • I took a hands-on leather class with Kenneth King at the ASE in 2014 and recently found the handouts from the class.
  • I took a seminar class on leather with a staff member from Haberman's Fabrics, also at the ASE.  That might have been 2014.  Found the handout from that as well.
  • I watched and took copious notes (and I do mean pages of notes) from Don Morin's Making Leather Bags class on Craftsy.  Don is a fountain of knowledge but I had to put him on double speed.
As with most sewing classes, there are contradictions in methods that instructors teach, and as usual it boils down to trying each method and using the method that works for you and your machine.  

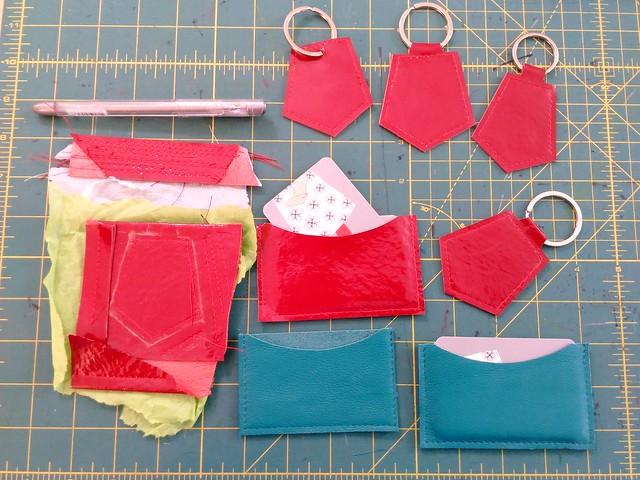
Earlier this year I got my feet wet by making two tassel keychains using the instructions from Bennett's book and a piece of leather from Kashi (Metro Textiles in NYC).  On Monday, I decided to try the tab key chain and business card holder in red patent pig leather that I bought during PR weekend this year Fishman's Fabrics to gain some practice.  On Thursday morning, I made the business card holder in this aqua-colored lamb leather, also from Fishman's Fabrics this year.  Late Thursday afternoon, I cut out the pieces and started sewing!!!

Testing and Other Notes
  • Use leather scraps to test stitch length and tension before stitching the real deal.
  • I used regular polyester thread, coats and clark # 5570. I did not double up the thread
  • I used my BabyLock Soprano, which is a pretty powerful home machine (well, compared to my Brother Project Runway machine).
  • Whenever I refer to Wonder Tape below, it's the Clover Dritz kind and I also used the brayer that Morin recommends to really get the tape to stick.
Note about the bag
I wanted to make the pink bag that is on the book cover, but that is NOT the bag in the book!  The pink bag inside the book is a taller and not-as-wide version of the bag on the front cover, and it doesn't have the bag bling!

Positioning of pattern pieces
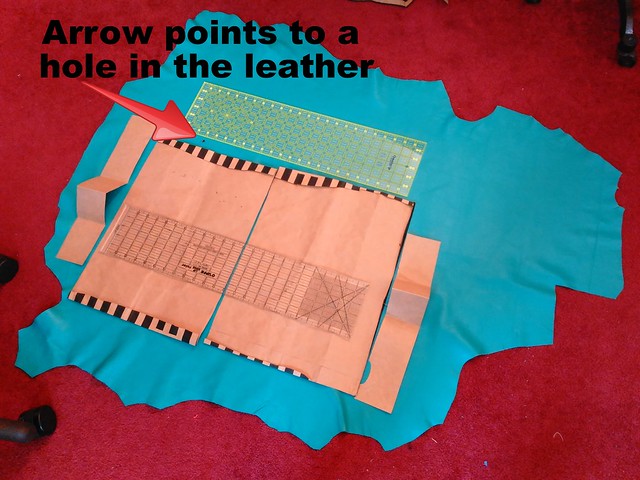
  • My leather had a hole in it, so I worked around the hole.
  • I cut pattern pieces out of a large paper shopping bag to figure out placement.
  • The large ruler represents the straps (which I cut 3" longer than the ruler, see below)
  • After making the bronze bag (which i haven't blogged yet), I cut the main bag pieces 18" long and 13.5" high.   (This later was cut down to 13")
  • The upper interior leather piece is 18" long and 3" high
  • I also cut a patch leather pocket x by y
  • And I decided to do a tassel for this too.  I cut this 14" by 4" instead of the 13" by 3" the book recommends, to make a really substantial looking tassel.
  • Cut out the leather using a new blade with my rotary cutter
  • The interior fabric lining was 18" long and 11" high (but read more about that below)

IMG_20160728_162858
Strapping:
  • Bennett recommends 1" straps that are 22" long.  
  • From all my prior bagmaking, I know I prefer to cut 27" straps, and  I cut them 1.5" wide
  • I used Dritz Wonder Tape right on the edge to tape the straps to each other
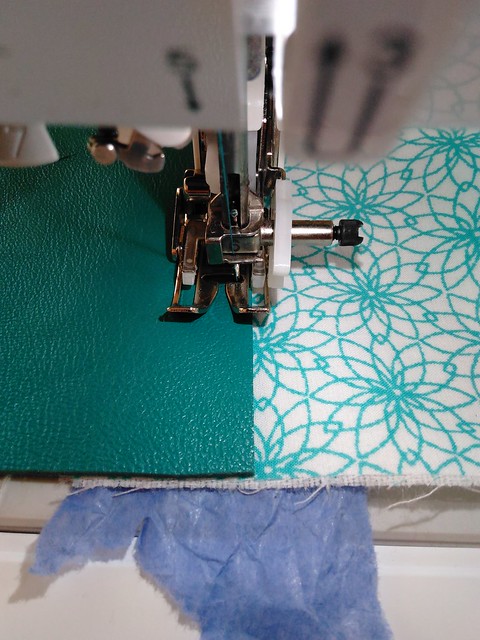
  • I used my walking foot and put a strip of tissue paper under the strap and against the feed dogs.
  • In my tests, the size 16 brand new leather needle was fine but when I started sewing the straps, it skipped stitches :( .  I used a size 18 brand new leather needle and it was fine--no skipped stitches!
    • I could have done another row of stitching and then just cut the bad stitching off (then cut the other strap to the same size), but I didn't.  So one strap has one row with some skipped stitches.  Morin's class recommends hand stitching these skipped stitches, but I'm not sure I will.
  • 7.0 needle position, 4.0 stitch length, 4.0 tension
  • Aligned the edge of the walking foot with the edge of the leather.
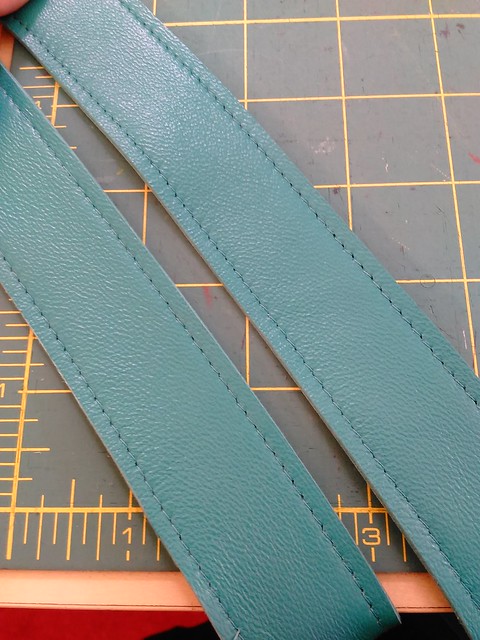
  • After stitching, I used a quilter's ruler that has 1/8" marked on it, aligned the stitching right under the green 1/8" line, and used my rotary cutter to cut away the excess.   I put what I wanted to be the "right" side of the strapping down on my cutting table and cut from the wrong side.
  • Be sure to use an even pass of the blade all the way to the end and beyond, pushing down a bit on the ruler to get a straight cut that doesn't veer off at the end.

The end result is straps that are 1.25" wide and 27" long.  This may be a little too wide.  Next time I might cut 1.25" wide straps to start, so that at the end they are 1" wide.
IMG_20160728_192635


The exterior 
  • Used Dritz Wonder Tape to tape the front to the back, right sides together, right on the raw edge.
  • I used my walking foot and put tissue paper under the leather
  • Sewed front to the back
  • 3.5 needle position, 4.0 stitch length, 4.0 tension
  • In each corner, I removed a 2" x 2" square, then boxed out the corner and sewed it down.  I sewed it again about 1/8" away.
The lining

  • Well I kind of had an internal debate over what lining to use, especially as I prefer light linings so I can easily see what is in my bag. So I took it to Instagram, and pdxsquared recommended orange, which I thought was a fabulous idea (HoJo's colors!), but the orange in my stash is like traffic cone orange, way too bright.  In the end, I used this Lisette fabric I bought at Joann's in 2012, which has the same color aqua as the leather.  
  • Interfaced the lining with Fashion Sewing Supply medium weight iron-on interfacing.
  • Drew a line 1" down from the top of the fabric lining, then aligned the raw edge of the leather lining piece to meet this line, using Dritz wonder tape to secure.  
  • Topstitched the leather down. Since I wanted the topstitching really close to the edge of the leather, I aligned the raw edge with the left edge of the white part of the walking foot.
IMG_20160729_161126
Patch pocket 
  • Folded the top down by 1", used wonder tape to secure
  • Topstitched this fold down
  • Topstitched the pocket to the lining
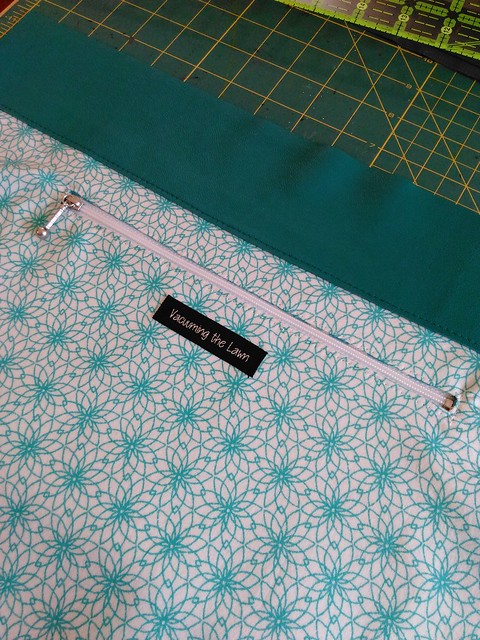
Interior Zipper Pocket
  • Used the tutorial I always use but used a 9" zipper and cut the pocket to be 13" instead of 12" long.
  • The zipper is from Emmaline Bags
IMG_20160729_164802

IMG_20160729_164823
The pocket fabric was a remnant I bought at Joann's a while ago.

Bag bling
  • This was my first time installing bag bling, in this case a metal tag that says "Handmade" and has a cute little bird, also from Emmaline Bags.
  • It was super easy to install--use the plate to mark where to cut the slits, carefully cut the slits with a box cutter, then push the prongs through the slits, put the metal plate over the prongs and fold the prongs down
  • Of course this part is a bit like cutting a welt pocket --mess it up badly and there isn't any going back!
IMG_20160729_171934

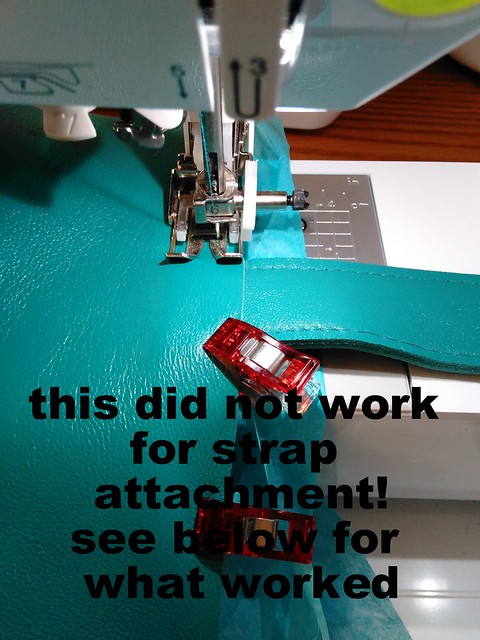
Sewing the lining and strapping to the exterior: take one (this did not work well for me but for completeness sake, here's what I did):
  • Cut a strip of Peltex to fit the bottom of the bag to give it some structure. Put it in the bottom of the bag.
  • Drew a line .75"from the short edge of each strap.
  • aligned strap 4.5" from the side seams on the exterior
  • Used wonder tape to secure
  • Aligned raw edge of lining to raw edge of exterior and wonder clipped (not taped) in place.  Foreshadowing:  I should have wonder taped all the way around!
  • Ran a few samples without skipped stitches and thought I was good to go
  • 7.0 needle position, 4.0 stitch length, 4.0 tension
  • Aligned edge of walking foot with raw edge
  • Tissue paper under the foot
  • Sadly, I got skipped stitches over the handles and at the bulky side seams, and the top just looked sloppy overall because it wasn't taped together beforehand.

At this point I had dinner and googled for help, and got this miracle blog post which stated that she uses her walking foot for most of the sewing but for strap attachment she uses her teflon foot, a brand new needle and a hump jumper

IMG_20160729_174021
Sewing the lining and strapping to the exterior: take two (this worked as per the blog post!)
  • Carefully removed the handles from the bag by removing the stitches in that area
  • Cut off 1/2" all the way around the top of the bag through both layers to remove the bad topstitching (I did this in 4 cuts)
  • Taped the handles back in place with wonder tape
  • Taped the front to the back with wonder tape all the way around the top edge
  • Used a brand new size 18 leather needle
  • Used the teflon foot
  • Put a piece of paper under the leather against the feed dogs
  • Aligned raw edge of leather with edge of teflon foot
  • 7.0 needle position, 4.0 stitch length, 4.4 tension this time
  • Kind of gunned it over each strap instead of stitching slowly.  I was thinking of it like driving my car...if it's a bit of a steep hill I gun it, right?
  • Only used the hump jumper for the side seams (exterior seams taped to one side with wonder tape and interior seams taped to the opposite side)
  • NO skipped stitches, YAY!
  • As I was falling asleep that night, I wondered how the strapping would stay secure to the bag, as the only thing keeping it in place is that one row of topstitching and some wondertape.  After conferring on IG, I stitched a second row this morning, 3.5 needle position, 4.0 stitch length and 4.4 tension, and it still looks good (no skipped stitches YAY!) and should be more secure.

IMG_20160730_122247
Double row of stitches now!

The tassel

  • Making the tassel is super easy!!!
  • Followed the directions in the book, but instead of winging the 1/8" cuts, I used the green 1/8" guide on a quilting ruler to make the cuts, squaring up every inch (if you read Bennett's book, what I wrote here will make sense)
  • For the wrapping, I used 1/2" permanent Scotch double sided tape instead of the wonder tape since this part is not being stitched at all.
  • The largest keyring I had in my stash was 1.25" and the strap is 1.25" so it squishes the bag strap a little bit.  When I go to MPB Day, I will try to find a larger keyring at Pacific Trimming.
  • I think this tassel, along with the "handmade" metal label, really makes the bag look professional.
IMG_20160730_121539
A few notes about tab keyrings and business card holders...
  • 3.5 stitch length is better to make it easier to hit the corner marks
  • I used this silver leather marking pen I bought at SIL Thread in NYC to draw directly on the leather
  • Followed that line as I stitched
  • then wet a paper towel with cold water and wiped off the silver marking as soon as I was done stitching, and used a paper towel to dry.
  • That worked on both the red patent leather and also the aqua leather.
  • cut the excess off, being  sure to use an even pass of the blade all the way to the end and beyond, pushing down a bit on the ruler, so as to make a really nice angle.


IMG_20160730_162234
So now what???
  • Bennett's book recommends sealing the raw edges with gum tragacanth or acrylic paint.  I ordered some gum tragacanth on Amazon and am waiting for it to arrive.  I will try it out first on the business card holder.  She makes it sound super easy and I hope it is!
  • This was actually my muslin for the bag I want to make out of the red patent leather, so that I could work out the kinks and learn how to sew with leather.  Now I am feeling more confident.  I could just make this bag again in the red patent, or I could make a different bag that I've had my eye on, but that one requires birthing the bag through an opening in the interior zipper pocket, and I'm afraid the patent leather will get lines in it that won't ever come out.  Guess I will do a mini-test first and figure it out!!!  (Or what about a red patent leather backpack...hmmmm!)


IMG_20160730_121443
Be well!!

Tuesday, October 13, 2015

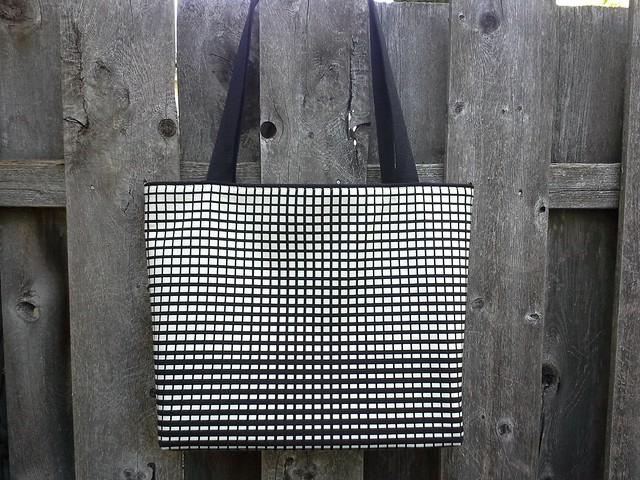
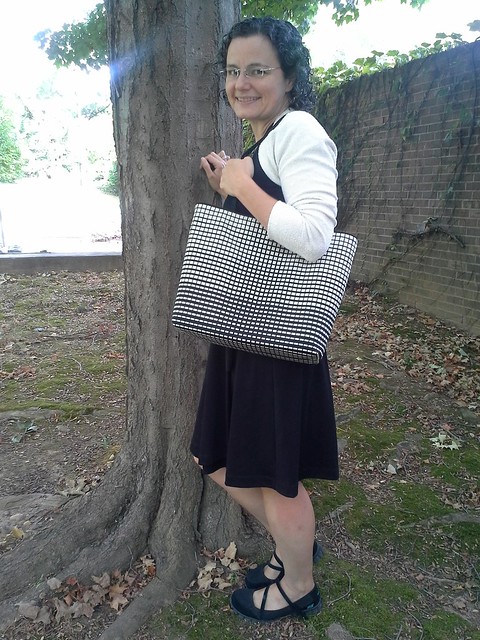
A tote to make your eyes go funny

20150920_163114
"It makes my eyes go funny" --says quite a few people.
20150919_182352
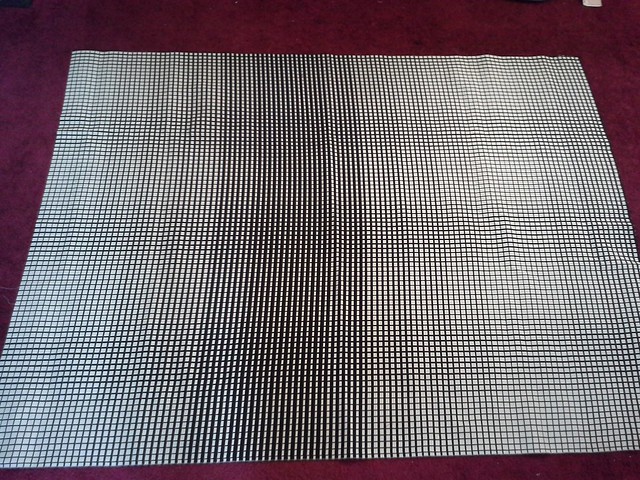
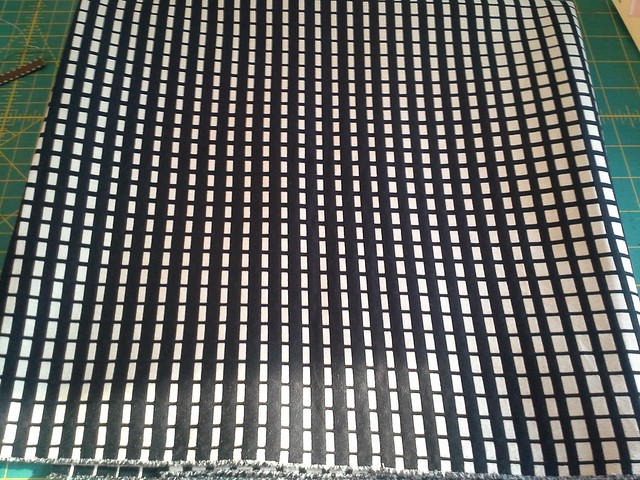
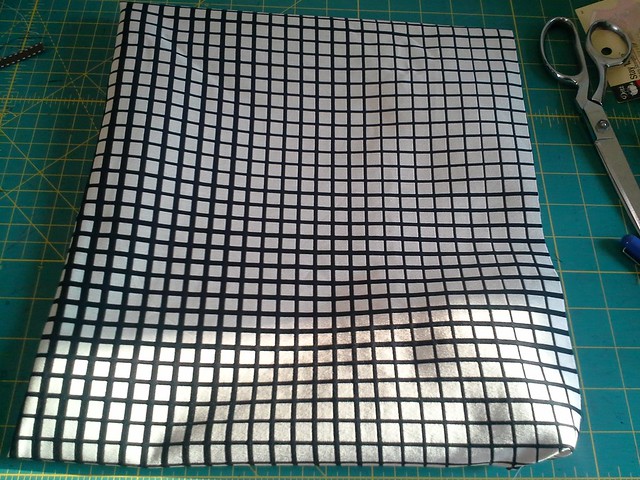
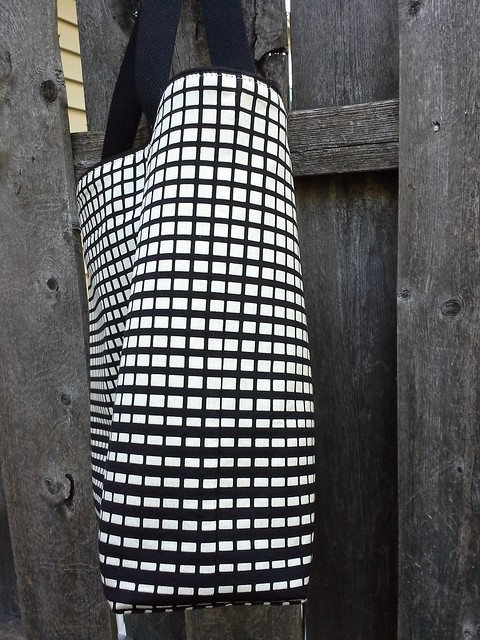
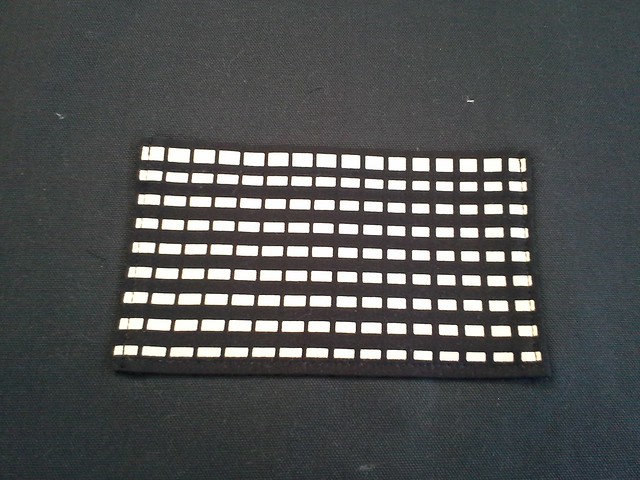
I bought this fabric in August at Paron during ATP's visit to NYC.  It's Tom and Linda Platt fabric, and is reversible.  It has a really neat pattern to it.  Originally I thought I would make a skirt, but it's a bit much.  And I was thinking of making a bag for Anne's birthday. It was the weekend before the ASE, so it was then or never, if I was going to give her gift to her in person.  She had told me when she visited in August that one of her coworkers doesn't like all the prints Anne wears that "make her eyes go funny" so I was pretty sure Anne would like this tote.

20150919_172952
Initially I started folding the fabric in different ways, to find the right placement....this way....
20150919_173020
....that way....

but it was when I put the entire piece of fabric on the floor and photographed it that I saw that there were converging lines both horizontally and vertically which helped me decide on the placement.


20150921_104446
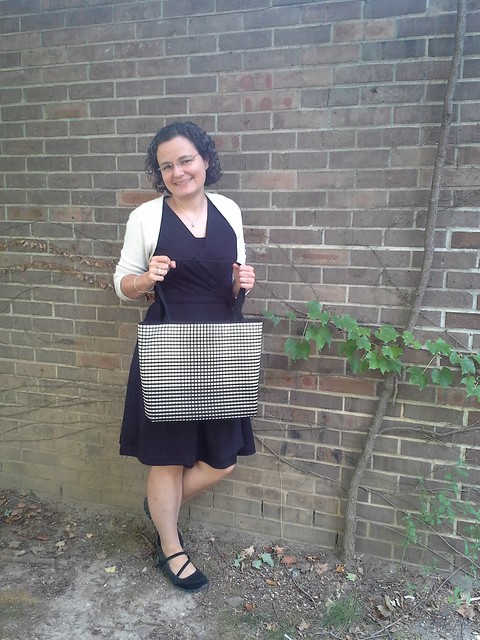
You can see the converging lines in vertically in the middle of the bag, and on the bottom.

20150921_104524
Yes, I did match my outfit to the bag for this photo shoot....it's a Vogue wrap dress and Jalie shrug.  I showed it to two of my coworkers who each said it made their eyes go funny...uhmmmmm....

20150920_164435
There is no bottom seam; I cut the fabric as one continuous piece so each side is symmetrical and I didn't need to worry about anything matching on the bottom.  There is peltex in the bottom to keep it stiff.
20150921_174836
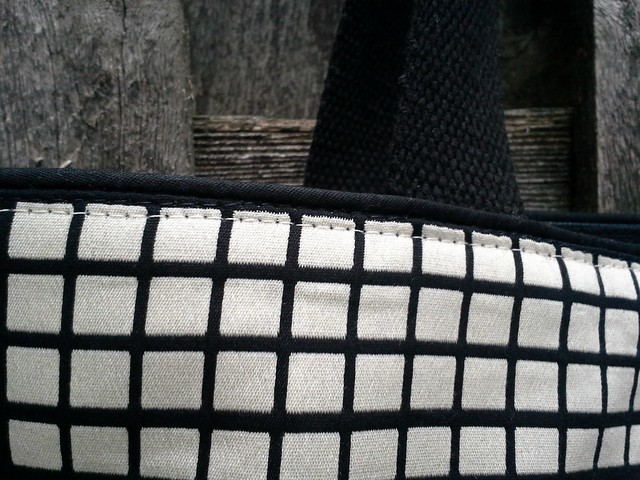
This bag is made with reversible methods, so you can't tell where it was turned inside out.  I piped the top and topstitched in cream.  (Hint: the topstitching hides where it was turned inside out.)
20150920_164418
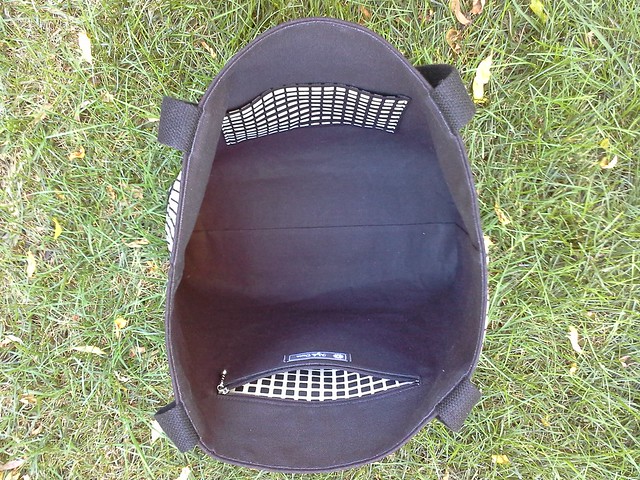
The lining is black duck cloth; the exterior fabric has medium weight Fashion Sewing Supply interfacing fused to it.
20150920_164240
The side seam somewhat matches.  Again I tugged-tugged-tugged to try to grain the fabric.  It's not bad but it could be better.
20150920_164116
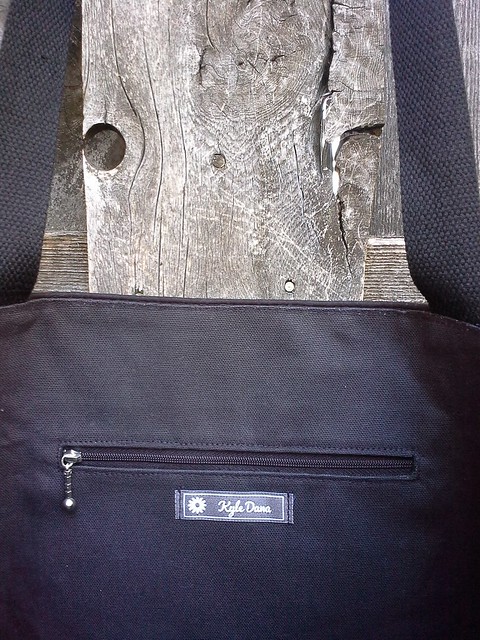
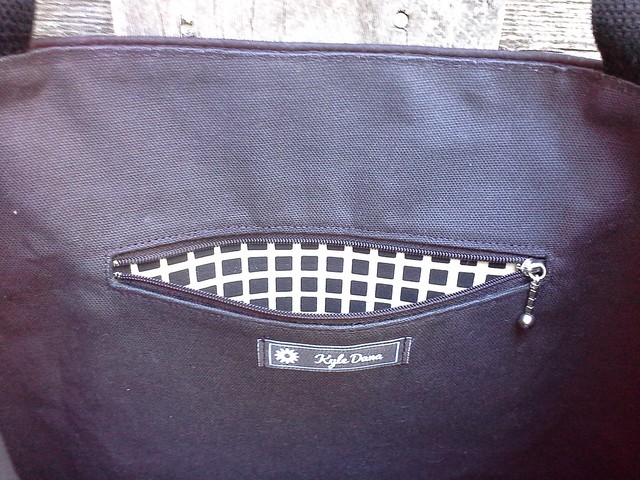
Interior zipper pocket, with my label.
Fun fact: some of the cream from the pocket lining could be seen, so I used a black Sharpie marker (made for fabric) to cover up the cream.
20150920_164131
Fun pocket lining.
20150920_120954
Patch pocket on the other side.

20150927_093345
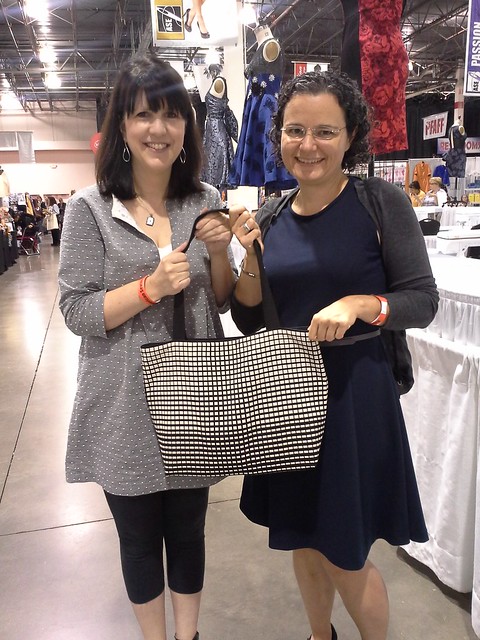
Anne and me at the ASE with her bag.  She loved it and used it all weekend long.  Yay!    Happy Birthday Anne!

I have enough of this fabric left to make myself a bag, and a zipper pouch or two...hmmmm....
IMG_20151004_172113
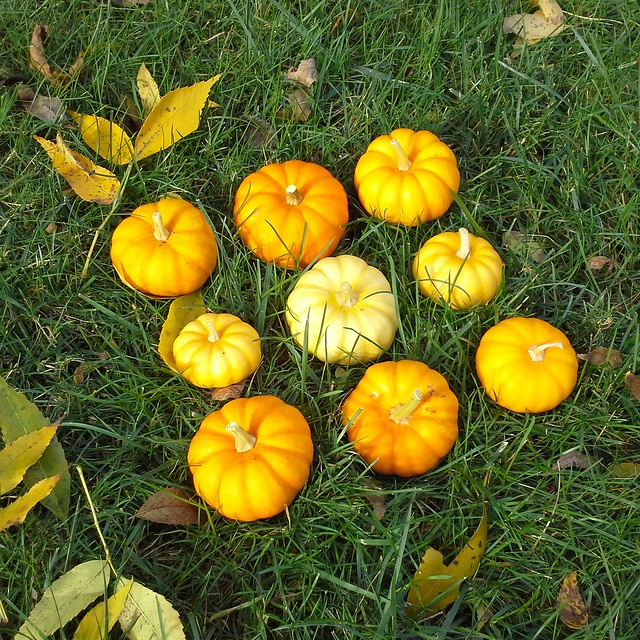
Pumpkinettes I grew this year. There would have been 10, but something (a deer?) ate one of them and several pumpkinette leaves.

Be well!