Showing posts with label binder clips. Show all posts

Wednesday, February 3, 2016

New Look 6483 simple shell in turquoise gingham

20160129_103318

Thank you for all your sweet words about my sweater sewn from a blanket!!  It is a really great sweater to wear and I want to make more in varying lengths and neckline styles.

I have wanted a turquoise gingham shirt for several years now.  I started a simple shell last summer, but then I wanted to make a bag for a friend's birthday, and I never got back to it. I rarely have UFOs, but there it was, hanging in my sewing room for 6 months. Why not finish it over Christmas break when it's seasonally inappropriate?
20160130_163109
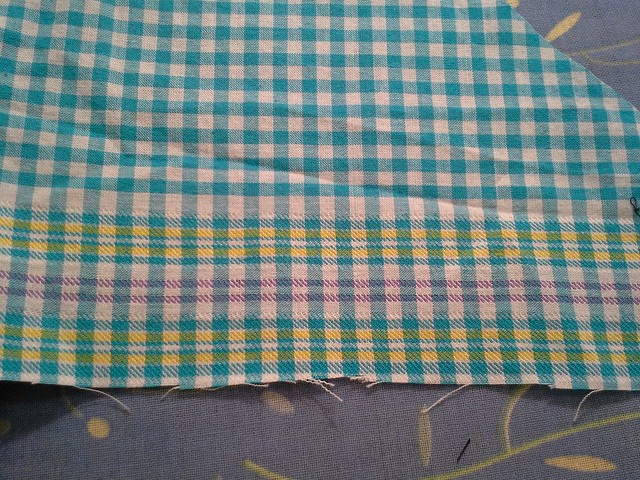
The fabric is 100% cotton from Mood, with 1/4" checks, and while it looked like yardage on the roll, it was actually panels that ended with this detail which I didn't use.
20160103_192939
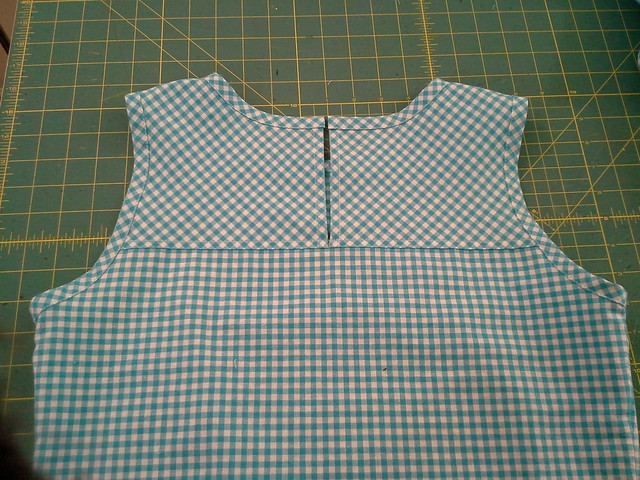
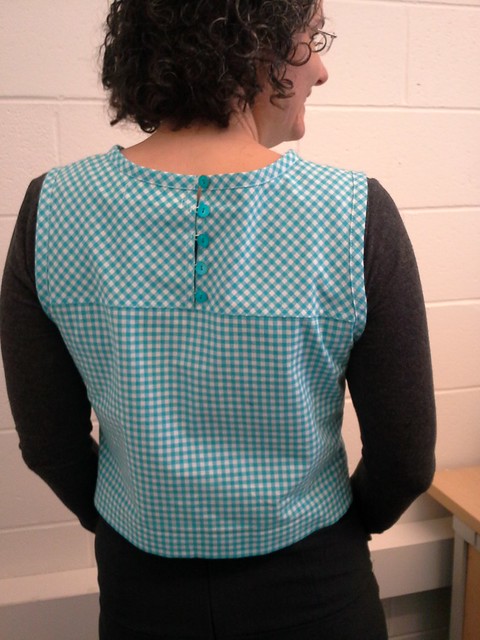
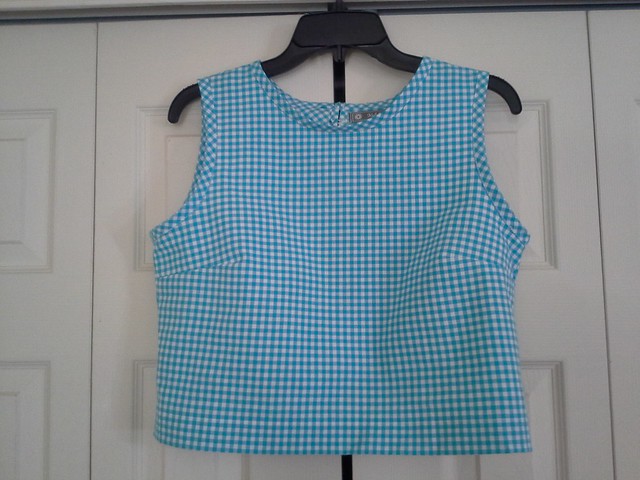
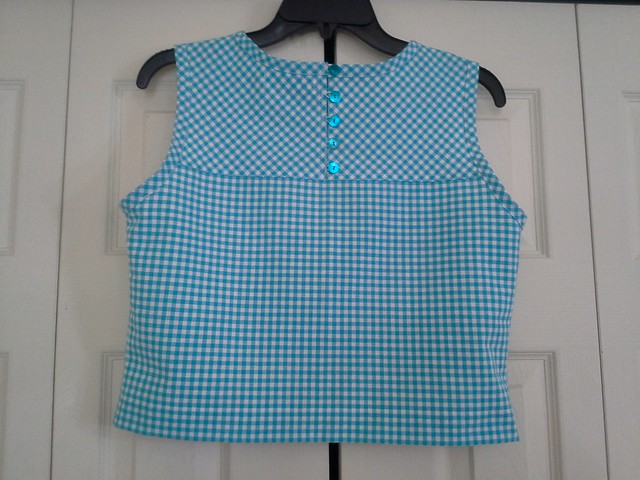
Finished front.NL 6483 view C was my starting point.  I traced the 12 at the shoulders/neckline and a 14 everywhere else, and actually muslined first.  I wound up doing a minimal SA at the shoulder, and 1.25 SA on the sides.  After reading popo's review of NL 6483 where she cut a yoke onto the upper back (to highlight lace) I knew I wanted to highlight the bias of the gingham in the same manner, so I also cut a bias yoke.  I also eliminated the CB seam so that the gingham would be in one continuous piece under the yoke.
20160103_193018
Finished back.

It was up to the point where the shell was sewn together, but needed bindings and a hem.
20160103_192008
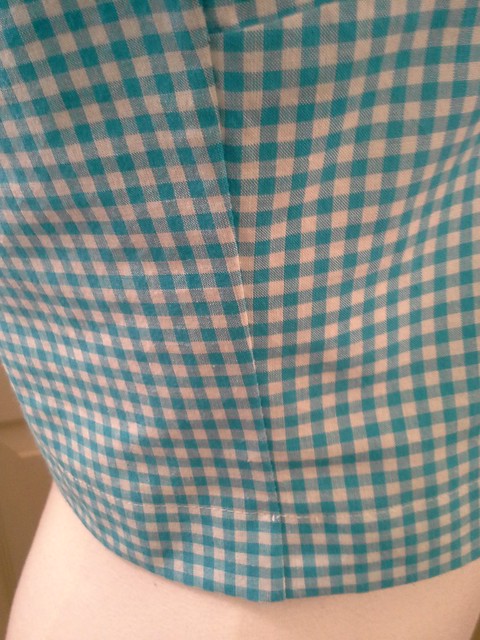
First I took the time to match the gingham under the dart.
20160101_205441

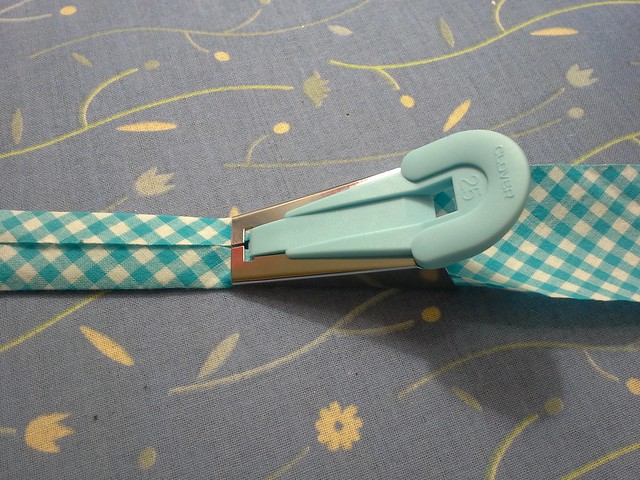
Then  I got out the Clover bias maker.  While I have made my own piping before, I have never made my double fold bias tape til now.   Like making your own piping, it's pretty easy to make your own bias binding.   Cut the strips on the bias, push it through the little plastic thingie, pull it out and iron it to make single fold bias tape. Then fold in half and press again to make double fold bias tape.  When cutting the strips, I made sure the turquoise X's were straight down the middle to try to get some consistenecy of placement among all strips.  Also, I don't do continuous bias, I just cut separate bias strips a little longer than the length I need, three strips in total: one for the neckline and two for each armhole.
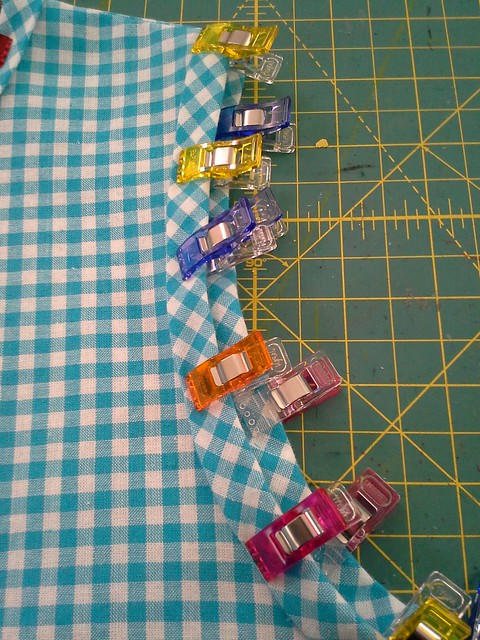
20160102_183621
Orignally I was just going to sew single fold bias tape on the inside of the armhole and neckline, but my bias binder is quite large, and so the idea of double fold was born.  I was afraid that bias binding on the bias yoke might be too much bias, but I was reassured on Instagram that it's not and forged ahead.
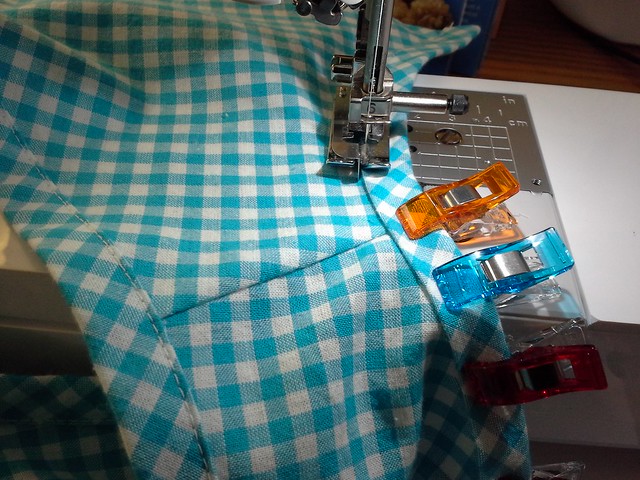
20160102_192211
I used the flange of my blind hem foot as a guide for sewing on the binding at a consistent width.
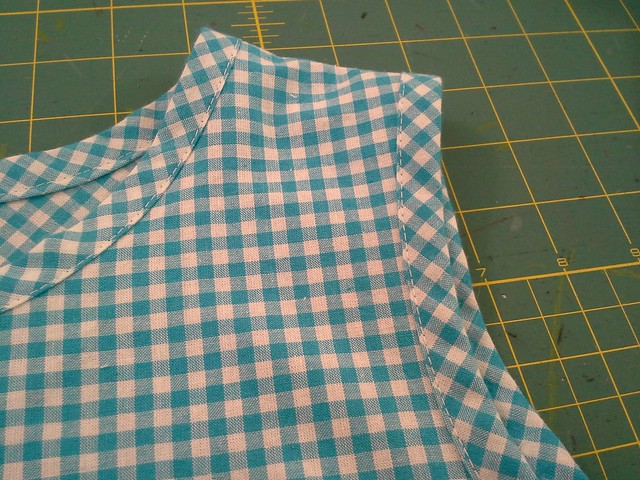
20160102_194910
Everything's bound!

20160102_194953
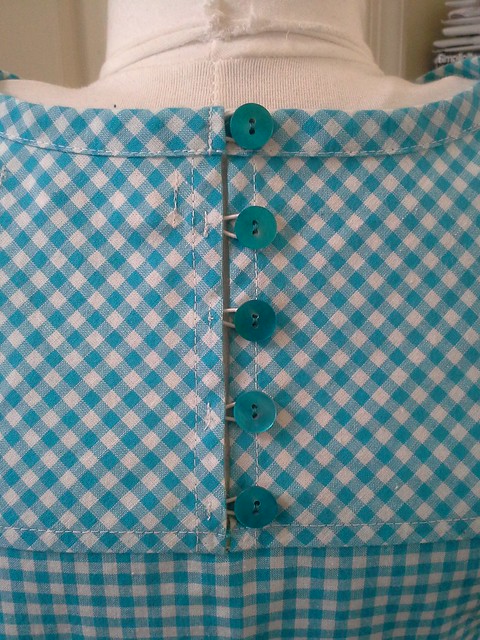
Time for buttons and button loops!

20160103_191855
When I sewed the button on at the top, the whole yoke collapsed in an unattractive manner, so I wound up sewing 5 buttons on.  The buttons were purchased at the ASE in the Soutache booth.  I think they are dyed shell buttons.  The button loops are elastic cord.   This means I don't have to actually unbutton it to get it over my head--the loops just stretch and the neckline is pretty wide to begin with.

I hemmed it with a generous hem to give it a  somewhat cropped look.  It looks nice but mainly it was to insure that I had enough length. If the shell was too short, I could always undo the hem, press it and sew it with a smaller hem to make it longer.
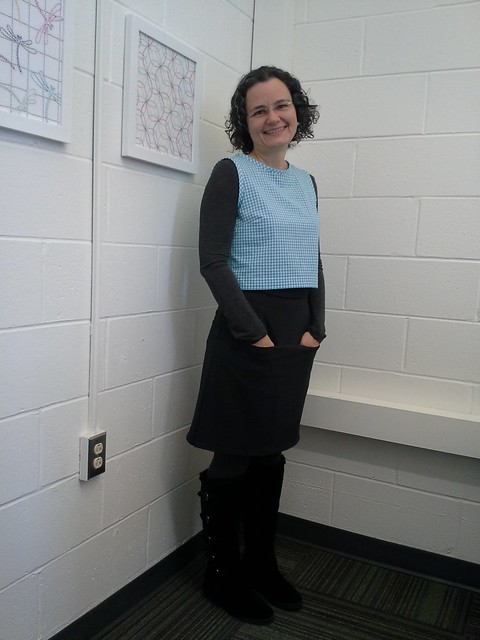
20160129_103301
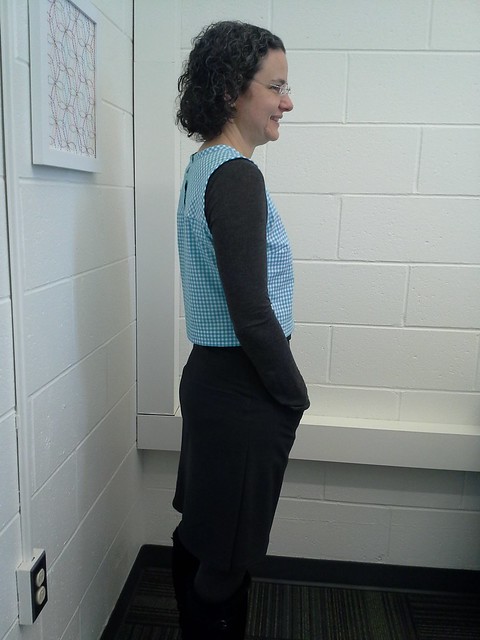
I wore it to work on Friday with a gray bodysuit underneath, a gray Vogue 1247 skirt I sewed almost 5 years ago, gray sweater tights and my black winter boots.  I got tons of compliments on it!  I will say that it does not really fit all that well, I think I needed to leave more of a SA in the bust and potentially cut the 14 at the shoulders/neckline to give more length from shoulder to bust (an area that I'm actually short in, so usually my one-size-smaller in the neckline/armholes plan works).  Somehow the bust dart is too high.   I don't know why I didn't notice that at the muslin stage.  Maybe I need to try my muslin on again.
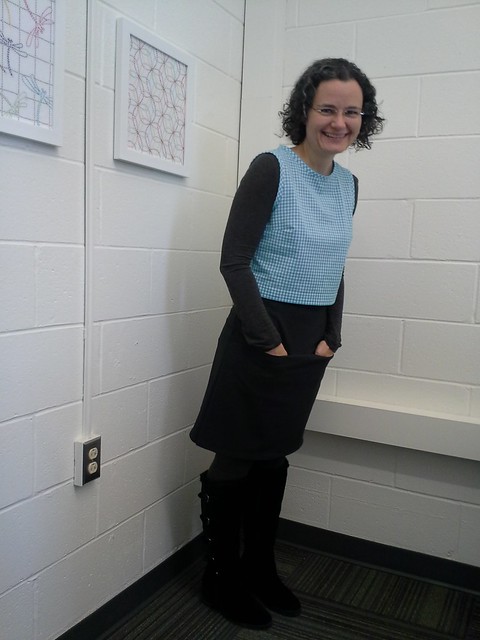
20160129_103257
Leaning.
20160129_103449
Side view, hands in front pockets.
Even with the fit issues, I think it will get a lot of wear, because it's such a happy piece.

Be well!

Wednesday, October 15, 2014

The Binder Clip Method of Fitting

Thank you for all your comments on my last post.  I think I'm actually going to wear the dress tmw and see what happens!!!  Also there are a lot of new-to-me people commenting on my blog--welcome!  I need to go check out your blogs!

So, this post is for you Summer Flies!

I wrote "The Binder Clip Method of Fitting" in the title like it's an actual method of fitting, but I've only seen one other person use binder clips before, on a blog several years ago (unfortunately I don't remember which blog).  I thought it was a great idea to use the clips instead of pins and generally have been doing so ever since.  I have generally been making muslins but I have some difficulty translating sway back alterations to the flat pattern.  Or sometimes I ignore things in the muslin that magically don't work themselves out in the real deal.  So I make the muslin for basic sizing and then fit the back in the real deal, generally, using my binder clip system.

Why binder clips and not pins?
  • Pins are, as my acupuncturist would say, "ouchy".
  • Pins also have a tendency to fall out.
  • Binder clips are relatively strong and stay in place when I take the garment off and on.
  • Binder clips come in many sizes so you can change your seam allowances as you go (if you'd like), or use the same size clips but don't clip them in as far to create less seam allowance.
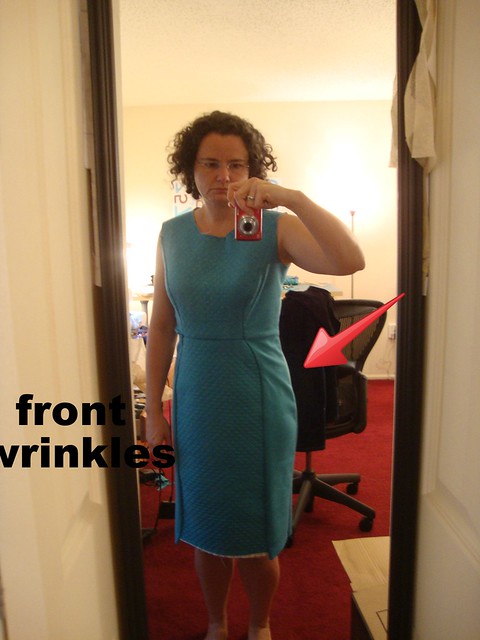
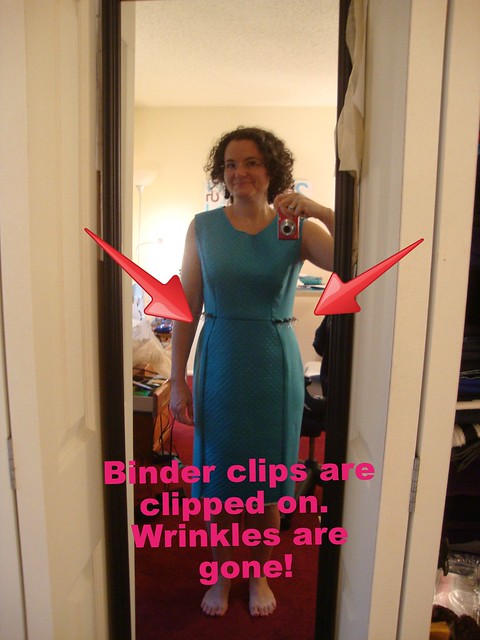
So here's how I clipped out the front wrinkles on S1314.  I have not seen these wrinkles on the other versions of S1314 that I've seen but there they were on my body so here you go....

DSC04970
I have been using flickr for editing but it cuts off the words on the edge when it saves it...hence "vrinkles" instead of "wrinkles".

Anyway, it was kind of like those wrinkles wanted to make their own "pocket".  :)

DSC04967
I got out my clips and start clipping.  Look at that, the wrinkles went away!  So the length there in that area is too long for me. Another guess as suggested by ASE friends could be the weight of that front panel, since it is quilted...but those wrinkles were in my non-quilted muslin and I thought they were because I didn't know how to sew the point.

This pattern only had a waist seam across that middle panel front and back, so to "fix" this I created a waist seam on the side front and side back panels, via the binder clips.

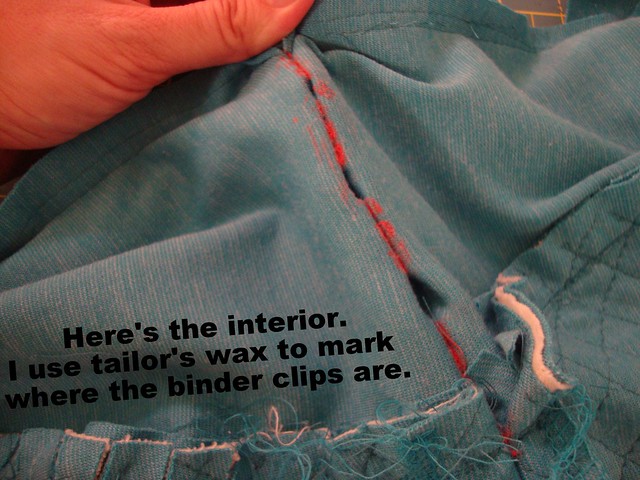
DSC04968
From this point on it's basically like fitting with pins....I turn it inside out with the binder clips still on the outside.    I use tailor's wax to mark where the binder clips are.  I prefer wax for interior marking because it doesn't brush off like chalk.

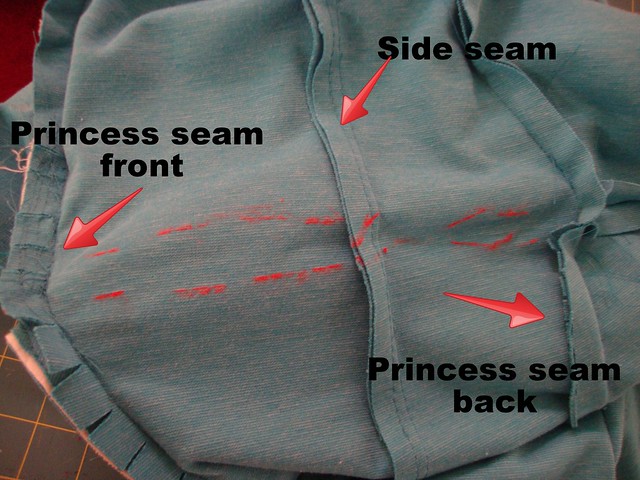
DSC04969
Then I remove the clips. This looked pretty wonky so I straightened/evened it out a bit (no picture of that)...but you can see I needed more taken out from the front panel than the back panel, so when I straightened/evened it out, I graded it down in the back.

I then basted it together and tried it on, did some more tweaking....and realized I had not serged the side seams/princess seams.
So I opened that horizontal seam just enough to serge the side and princess seams, then sewed the horizontal seam.

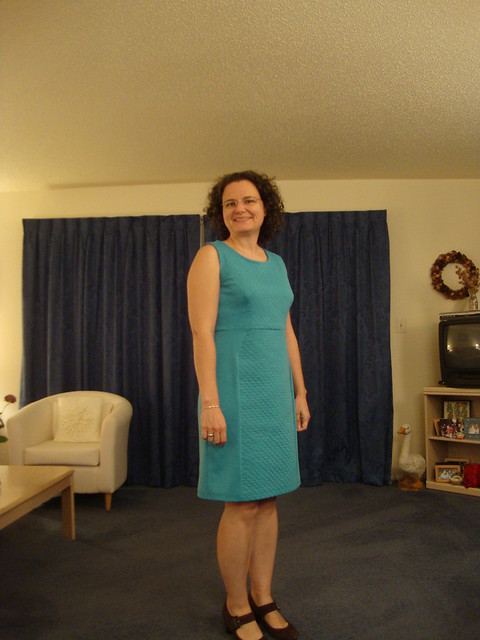
Simplicity 1314
So look at that!  No wrinkles in that area!

But maybe you're wondering how I clip to my back....that's where the bathroom mirror comes in handy.
Jalie 2921 in progress: dinosaur!
The dinosaur!

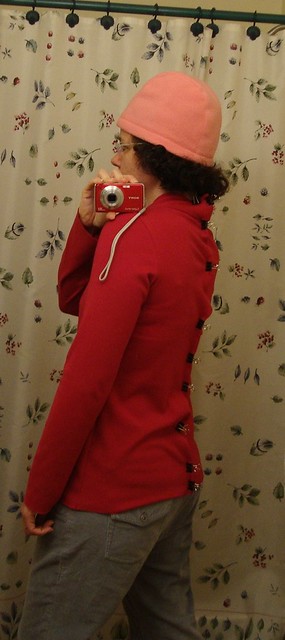
This one is Jalie 2921 that I sewed in 2010.  I used the binder clips to create a CB seam for swayback.  The problem was it went through their very clever collar!  but I did it anyway to get a better fit.

I just reach around to the back and start clipping, then straighten it out when I take it off, then put it back on again.

The next time I fit for swayback on a dress by creating a horizontal waist seam I'll take more detailed photos but basically I clip two clips, one on each side of my lower back, with the approx location of the seam I want to create.  I take it off and then binder clip out to almost nothing at the side seam.   I try it back on with all those clips and look in the mirror.  I then adjust as needed, mark it with wax on the inside, baste and try on again.
clipped V8571
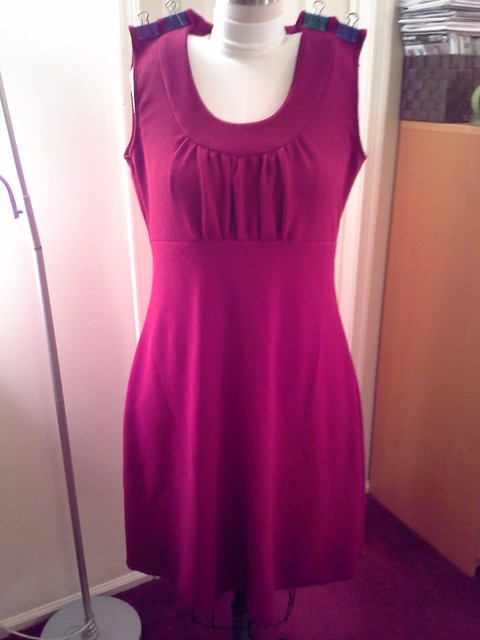
I have also used big binder clips for decreasing bodice length, like the Vogue dress above.  In my muslin I had used the 14 with a 12 at the shoulder and it was too big all over, but especially too long in the bodice for me--without those clips the underbust seam was way too low.  When I recut the bodice I used a size 8 in the shoulder which brought the whole top part up (I now know how to fix that officially after taking Joi's Fast Track Fitting class at the ASE).

Let me know if you're going to try this method the next time you sew, or if you have any questions.

Be well!