Sunday, February 28, 2016

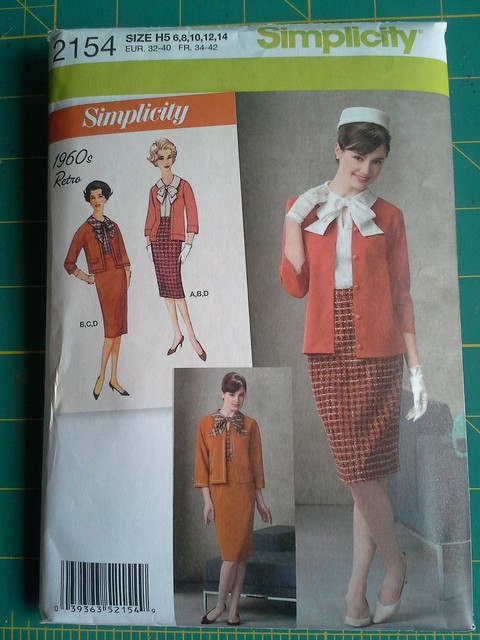
Simplicity 2154 Epic Skirt Post #3: Lining a skirt with a kickpleat

IMG_20160214_154553
Thank you for your comments from post 1 (the wool) and post 2 (the rayon bemberg lining).  Today's Epic Skirt installment centers around lining a skirt with a kickpleat.
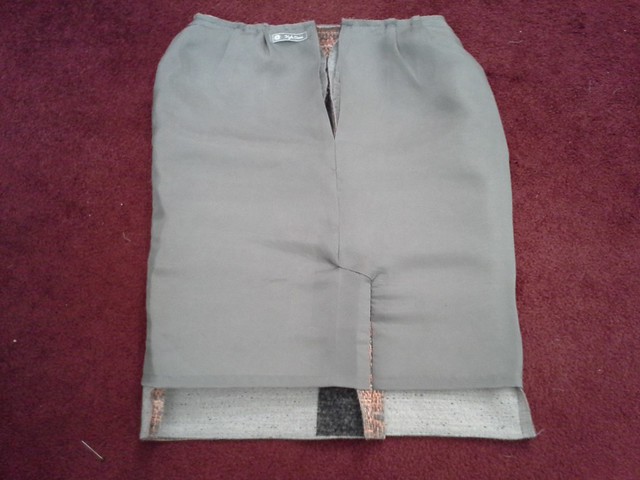
20160213_180539

I had sewn skirts with linings before (easy, just cut the lining an inch shorter than the skirt) and I had sewn skirts with kickpleats before (S2154 being one of them ~5 years ago, followed the instructions just fine) but I had never sewn a skirt with a lining *and* a kickpleat.

I looked in my pattern stash; I had no skirt patterns with lined kickpleats.

I looked at my RTW skirts; none of them had lined kickpleats.

Tutorial for drafting and sewing lining to a kickpleat
So, I googled and found this tutorial by Blue Ginger Doll for drafting and sewing a lining one of their skirt patterns with a kickpleat.  The first photo is "not found" but whatever it's of, it's not needed.

The drafting was pretty straightforward and non-scary.  Only the back of the skirt needs to be drafted; the front pattern piece can simply be turned up 1" for cutting out the lining.

I made two samples first using black to represent the exterior of the skirt and muslin to represent the lining.

I think Step 10 should be clarified to include "sewn stopping at 5/8" at the top of the kickpleat".

In the real deal, I sewed step 14 by hand, to have the greatest amount of control as Sarah Veblen would say.

I didn't worry about not understanding the whole tutorial up front, just followed step by step and wow, it came out looking pretty ok!

Also I did not sew the darts into the skirt as per the Blue Ginger Doll instructions, but rather converted the darts to pleats as I had seen Handmade by Carolyn using that technique.

Left over right
I sewed the samples on Super Bowl Sunday (which has no meaning to me!  I'm just using it as a marker in time);  the kickpleat overlaps right over left.  That Wednesday I went to a local consignment shop and a thrift store and found that all of the RTW skirts with lined kickpleats overlapped left over right (if you have the skirt right side out and are looking at the back of the skirt)

When I made the real deal, I reversed the tutorial instructions so that the left would overlap the right.
I also felt the kickpleat was too high and lowered the S2154 kickpleat by 1" (I had taken 3" out of the pattern at the lengthen/shorten line.)
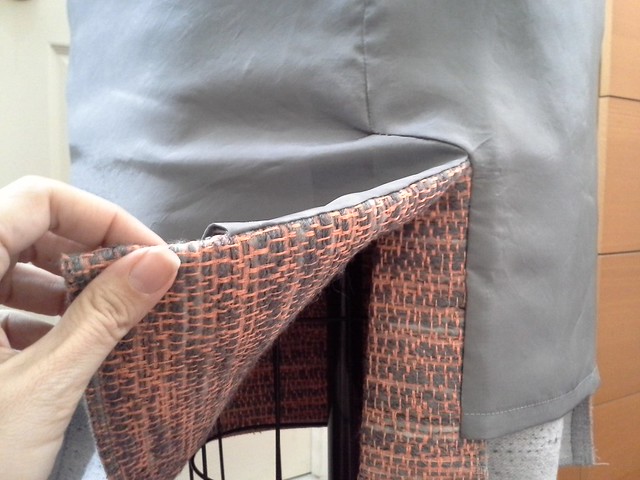
20160213_181159

RTW investigation
I bought a Talbot's skirt (with tags and original $109 pricetag attached) for $6 at the thrift store.  It does not fit me but it has a lined kickpleat and could be used as a "study garment".
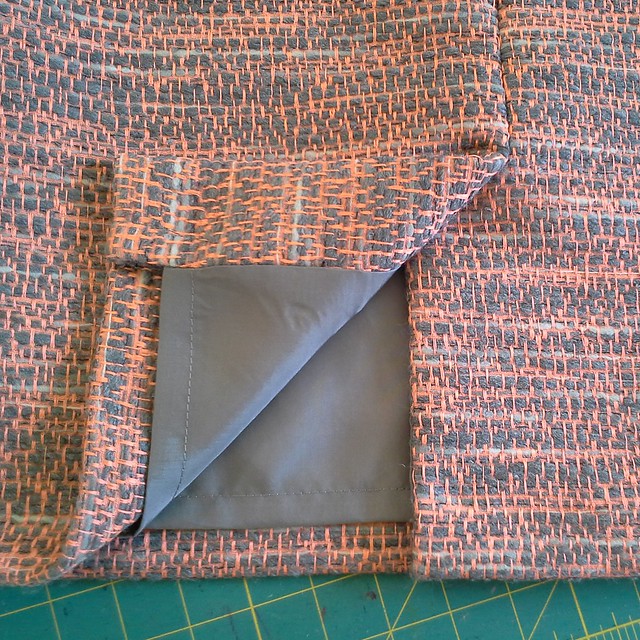
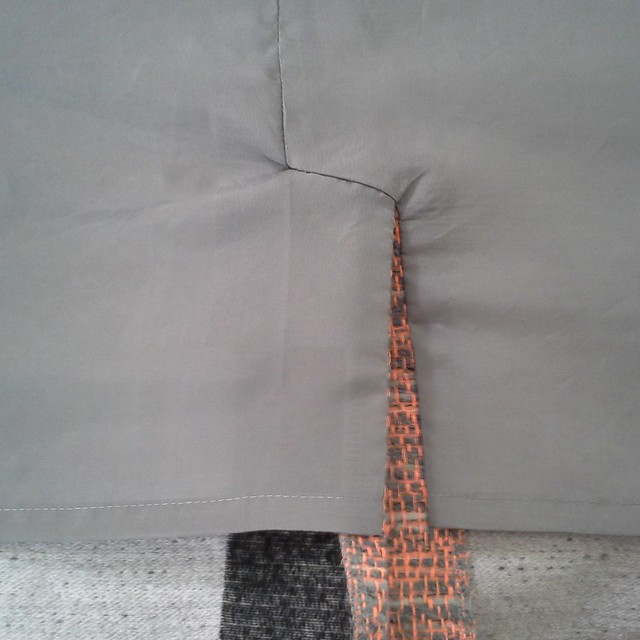
1. The kickpleat  exterior fabric is interfaced, on the wrong side, so I did this too.
2. The zipper exterior fabric is also interfaced, on the wrong side.  I had already sewn the zipper to the exterior fabric so I missed the boat on interfacing there.
3.  The Talbot's skirt was brand new, but the RTW skirts that had been worn all seemed to have a tear in the lining at the stress point where the lining is sewn to the exterior skirt.   As a result of this, I interfaced the lining too in the kickpleat area.
IMG_20160213_182939
Hemming the lining
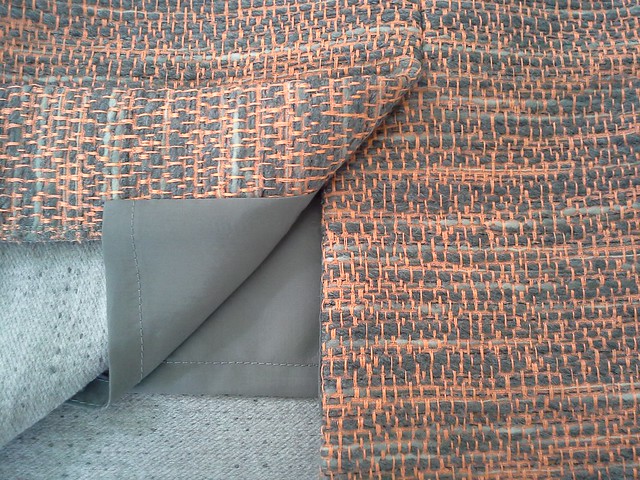
I pressed up 1/2" (using the hot hemmer, on the wool setting with a dry iron and without a press cloth--my Black and Decker probably does not get as hot as a Rowenta) and stitched it down; then turned and pressed another 1/2" and stitched again for a double folded hem.
20160213_181358
Hemming the wool
20160214_164936
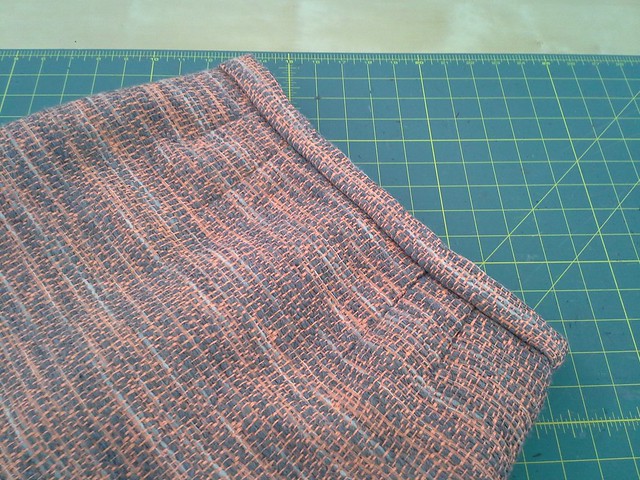
I serged the raw edge for a clean finish, then used the blind hem foot on my sewing machine to sew most of the hem.  I hand stitched the fiddly bits of the kickpleat then pressed with my Elna Press and it all came out looking ok!  Achievement Unlocked!

Next post!
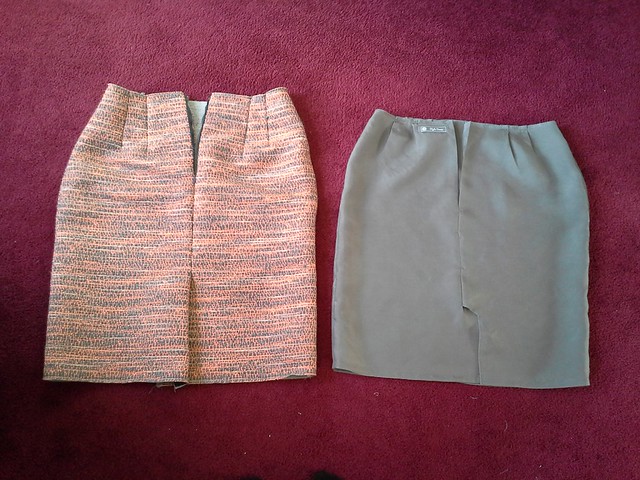
So, I still needed to attach the lining to the zipper, add a waistband and snaps, and add that adorable little thread chain that keeps the lining attached to the bottom of the skirt...details next post!

Tuesday, February 23, 2016

Simplicity 2154 Epic Skirt Post #2: the rayon bemberg lining

20160213_151639
Thanks for your comments about Epic Skirt post #1!  Now it's time for post #2: The Lining Fabric.

The best lining for wool?
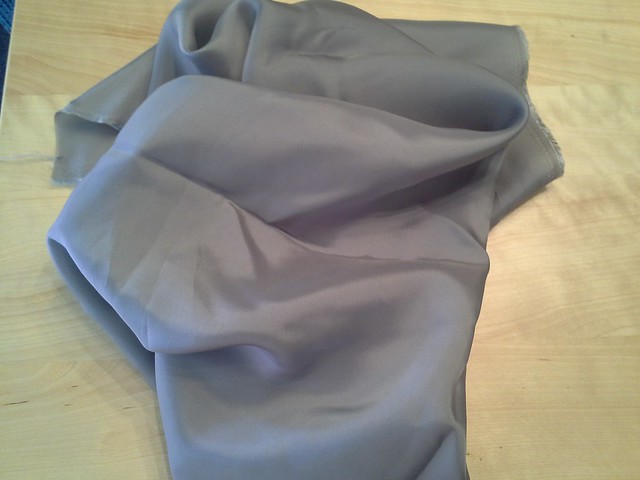
Having never lined wool before, I took to IG to ask what fabric to use as lining.   Rayon bemberg seemed to be the most popular response, and that is a fabric I don't have in my stash.  It is super slippery, and I haven't really worked with any super slippery fabrics before.  So it was adventure time!
20160223_183923
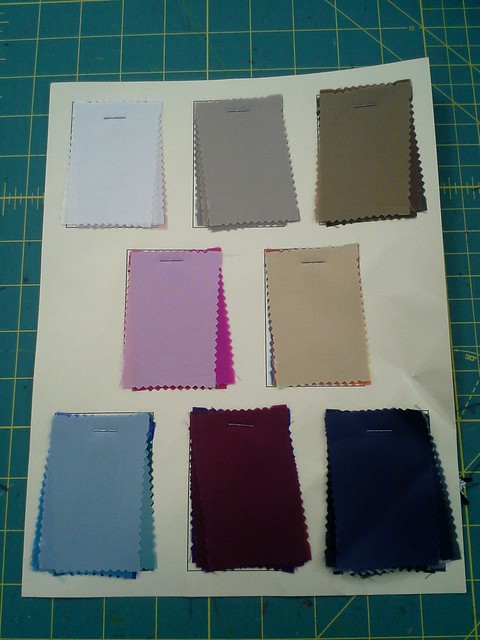
Vogue Fabrics swatch card of almost 40 colors of rayon bemberg.

Procuring rayon bemberg
A google search revealed that rayon bemberg is also called Ambiance. (Oh! So that is what Amanda S always lines her garments with!)  Joann's has it, but in limited colors.  Vogue Fabrics has it in almost 40 colors.  I've been swatching from online sites lately before buying the real deal, but somehow I felt confident enough to just go with 2 yards of "Gray" and also order a swatch card at the same time.  For just $5, they send you a card with swatches of every one of their rayon bemberg colors (there is a similar card for Sofia ponte knits!)

The fabric arrived and matches the light gray in the wool, nice!
20160207_092012
Pretreating rayon bemberg
Once again I took to IG to ask how to pretreat....should I take it to the dry cleaner?  The official washing instructions are "dry clean only."  Responses on IG ranged from dry clean"you can do that", to hover with steam, to throw it in the washer and line dry, to wash and dry that sucker but there will be wrinkles that won't come out.  I also read a spirited message board on PR which contained oodles of suggestions, including Dryel, and the advantages and pitfalls of front loading washers-- a whole world I didn't know existed!).

Since I had 2 yards, I cut 2 generous swatches and machine washed  them in cold, as I do all my clothes, in my standard issue totally non-fancy top-loading run-of-the-mill washing machine.  I line dried one swatch and washed and machine dried the other on high heat in my not fancy but is on a pedestal to make it easier on my back dryer.  Yes, there were wrinkles in both, but there were a lot less wrinkles in the machine dried sample.  I wound up doing another round of samples that I dried on low heat.  The samples did shrink.    I pressed the sample on the wool setting (yes!  I live dangerously!) with my Elna Press after spritzing with water first and found that the water spots did not come out.    The wrinkles were reduced and "good enough" for me.

For the real deal, I rough cut 2 pieces of the bemberg:  one piece for the  front and another piece for the two backs, making sure to keep one selvedge (for the front piece) and both selvedges for the backs.  I serged around the raw edges of the rough cuts, leaving the selvedge as-is.  Then I washed and dried just the rough cuts and pressed, without any water, with my Elna Press.

The process of washing, drying and pressing the rayon bemberg seemed to cause the fabric to lose some of its slippery quality, which I felt made it easier to work with.

Graining rayon bemberg
I registered for and watched the relevant parts of Sarah Veblen's PR class "Sewing with Slippery and Drapey Fabrics".   I used her snip and rip method for graining, which seemed to work quite well (so you definitely need the selvedge!)

Cutting rayon bemberg
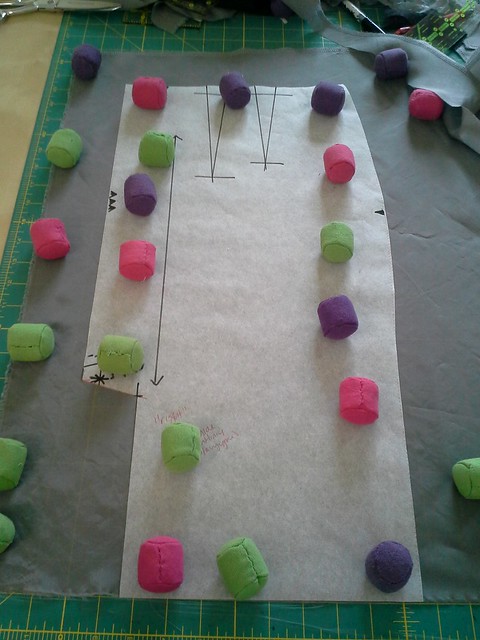
Sarah is a die-hard "cuts with scissors" devotee whereas I am fully in the rotary cutter camp.  I used my Dritz pattern weights to hold the fabric in place.  For most fabrics I would only put weights on the pattern but for this I put weights over the whole thing: the pattern and the parts of the fabric not covered by the pattern.  I used a fresh blade in my rotary cutter.  My cutting mat is getting pretty old and manky, which provided some grippy texture. And I only cut out my pieces on the rough cut, which meant not dealing with too much fabric on my cutting table.  For the back piece, I cut the rough cut down the middle into two pieces and then cut the backs out single layer.


20160213_132136
Marking rayon bemberg
Somehow I did not test marking implements and went straight for the tailors wax which was a mistake in retrospect because after pressing the wax marks were highly visible.  Next time I would use chalk.  Also when I was cutting the lining I was lost in TLo's podcast about what it's like to attend NYFW and marked the darts as if I was sewing them in, when I convert darts to pleats in lining.

Serging rayon bemberg
I decided to serge the raw edges of the cut lining pieces before sewing instead of sewing and then serging.  I had to reduce the DF on my serger, but sadly I did not write down the setting I used; it was one or two notches below N.  I used the regular needles in my serger and they seemed fine.

Sewing rayon bemberg
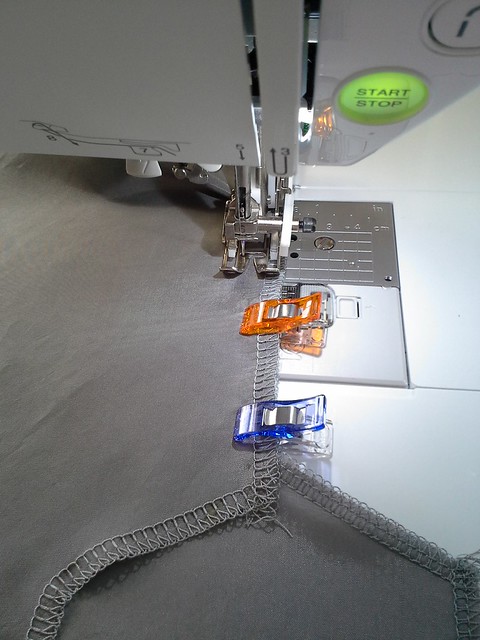
Again I took to IG, where Lynn told me to use a walking foot and a microtex needle, which worked like a charm!  It wasn't so bad to sew, actually.  Pretty straightforward.  I didn't have to overly wonder clip it  either.  I've been preferring wonder clips to pins lately.  I sewed some samples first and lowered the foot tension down to 1 and the bobbin tension down to 1.8 or so, to get the least-puckered seams.
20160213_142029
Sewing from where the zipper would end to the "dot" of the kick pleat, with my walking foot and microtex needle.

Next post
The pattern did not call for a lining so I had to draft my own....and also learn how to attach the lining to the kickpleat.  How did I do it?  Next post!

Be well!

Sunday, February 21, 2016

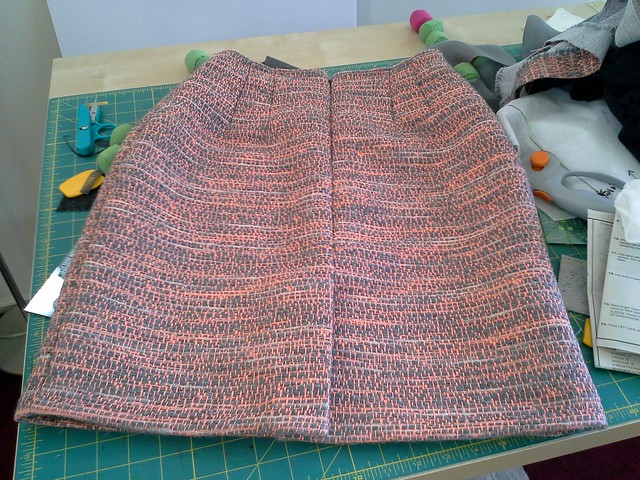
Simplicity 2154 Epic Skirt Post #1: the wool

20160215_195431
Instead of writing one Epic Post about my #epicskirt, I'm going to spread it out into a few posts.

This skirt got me out of my sewing comfort zone in several ways:
  1. First time sewing with wool
  2. First time sewing with slippery lining fabric (rayon bemberg)
  3. Although I have lined skirts before, and sewn skirts with kickpleats before, this was my first time sewing a lined skirt with a kickpleat
  4. The pattern I chose did not have a lining which meant first time drafting a lining.
I really took my time with this skirt, taking the better part of two weekends to sew.

I'm somewhat allergic to wool. I can wear a wool coat if I have a scarf to protect my neck.  I don't wear wool sweaters because even with a shirt underneath, some part of the sweater touches my skin, which itches and pinks up.    I've considered this to be somewhat of a blessing as it means I have a whole category of fabric that I can't buy and stash. 

20151028_154214
At Elliott Berman, with a swatch of the fluoro fabric.

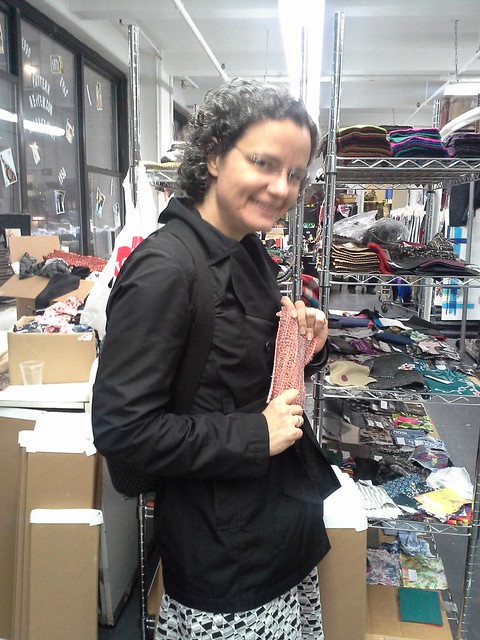
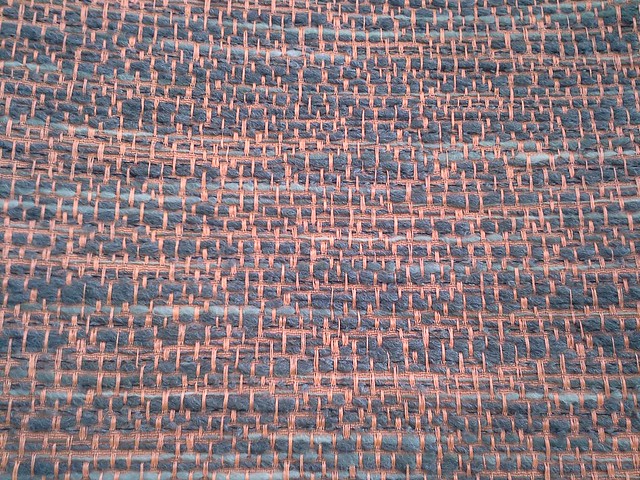
Well, at the end of last October, velosewer was visiting from Australia.  We were at Elliott Berman in NYC and she bought this textured wool, which she called "fluoro" because of the neon orange threads.   I was super attracted to this off-limits wool fabric, and thought, I can make a skirt that is fully lined, and wear it with tights and a shirt tucked in--all of my skin will be covered.  If I have to, I can wear gloves while sewing the wool.  (The Heidi Boyd Whimsy Kits use wool felt, and sometimes my fingers are itchy after stitching with them, but not always.)
20151028_204319


A-line or pencil skirt???
Since it was quite wide, I bought 3/4 of a yard of it.  Normally I sew A-line skirts (with my beloved NL6483), but I felt like this fabric wants to be a pencil skirt.  I sought advice on Instagram and the general agreement was yes, this fabric should be a pencil skirt.    I went with S2154, a skirt I last sewed in 2011, in the size 14.   I took 3 inches out of the length at the lengthen/shorten line.  I traced the front piece on Swedish tracing paper so that I could cut it out single layer.

20160221_091623

Pretreating wool
I asked velosewer how to pre-treat the wool and she said to take it to the dry cleaners.  I serged the cut edges and brought it to the dry cleaner who looked at me like I had 5 heads for wanting to dry clean a piece of fabric.   "What is this???" she said incredulously.  I replied, "It's a piece of fabric." She said she didn't know what to call it, and I said it would be a skirt, so she charged me the skirt rate.  Has anyone else had that reaction from a dry cleaner when pre-treating wool fabric?

Next:  Procuring some lining fabric.  Having never lined wool before, what would I use?   Details next post!

Be well!