
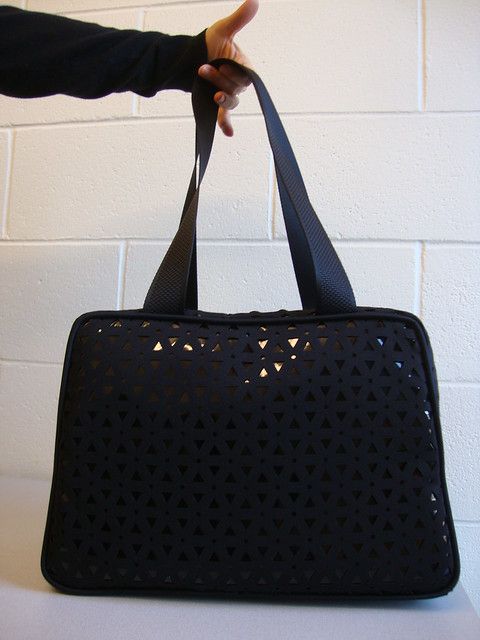
My coworker's hand models the Maria Denmark Lotta Lady Bag
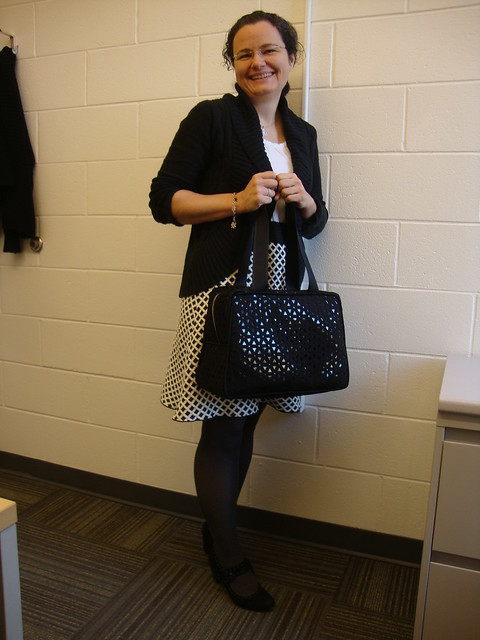
Me and my new bag
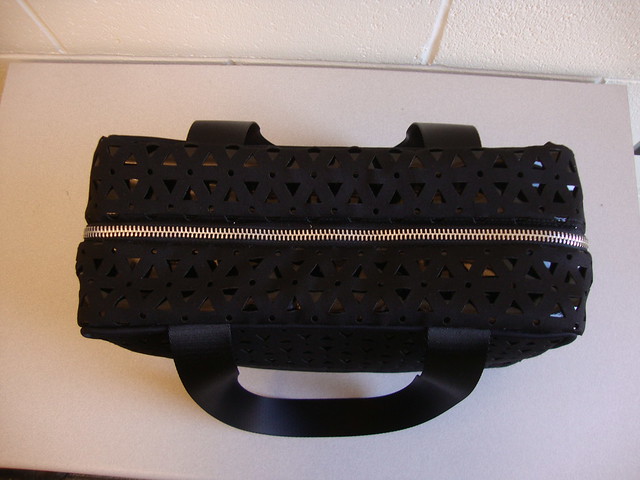
View from the top
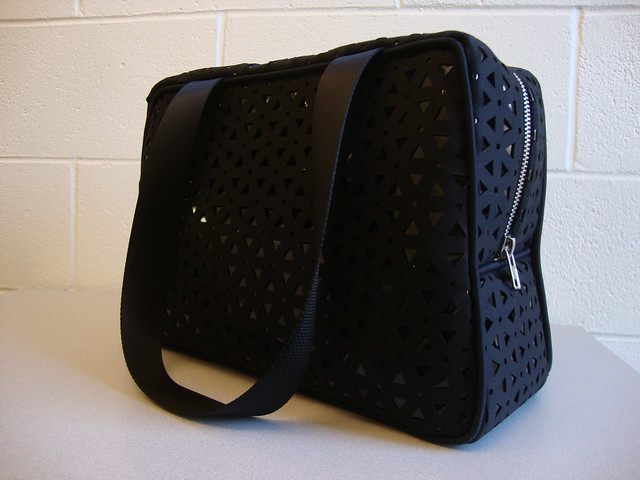
View from one side

View from the other side
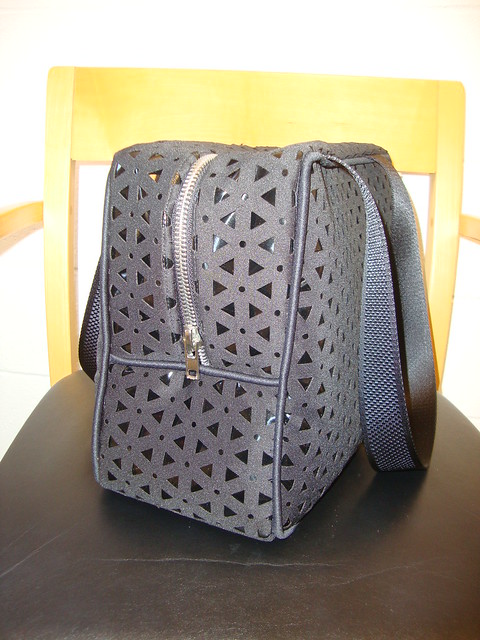
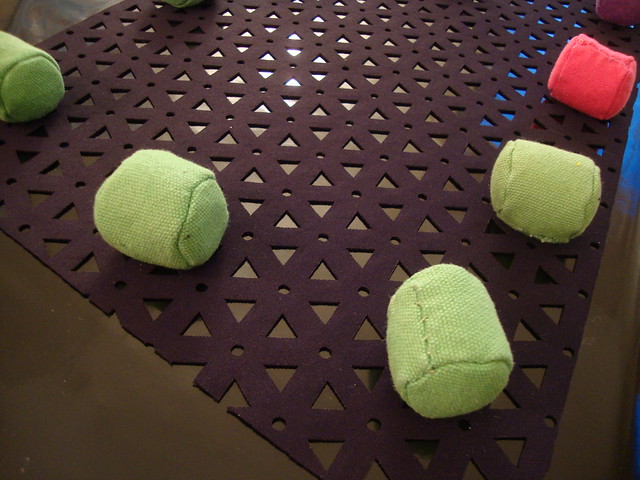
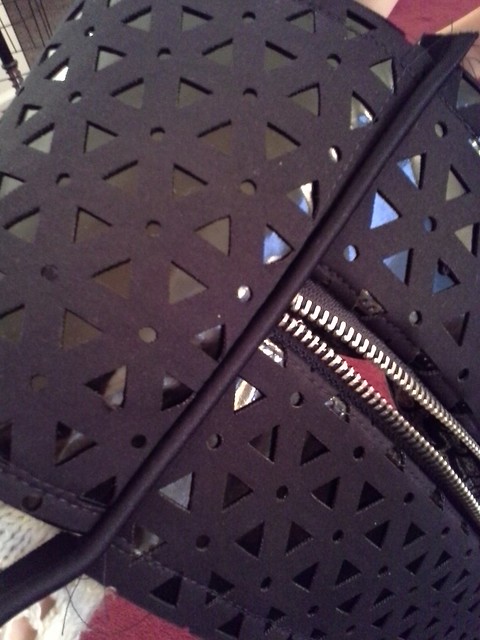
With the flash on to give an idea of the texture.
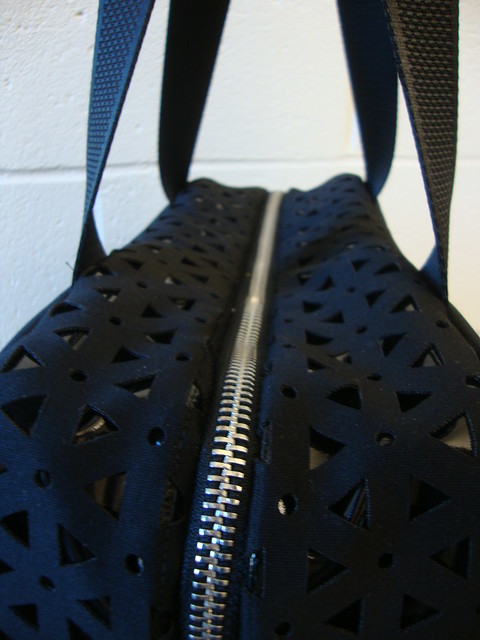
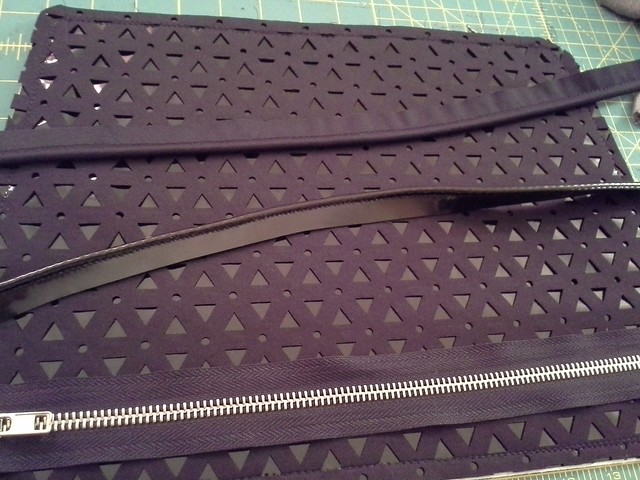
That awesome zipper
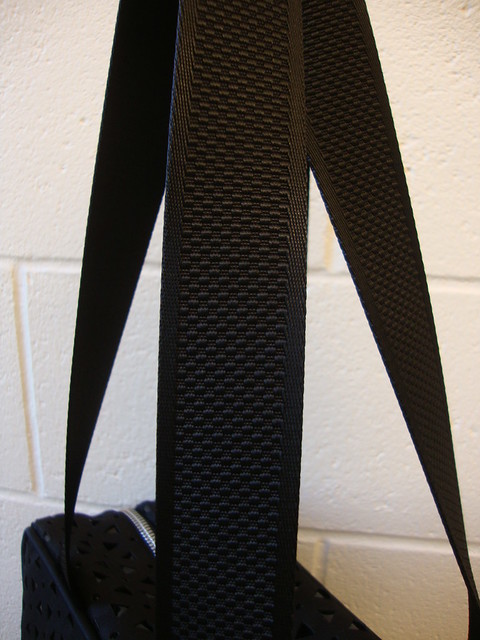
The amazing straps--they are textured on one side and smooth on the other
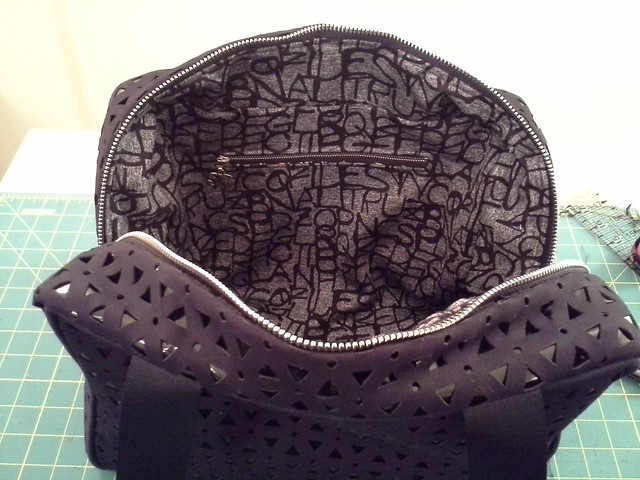
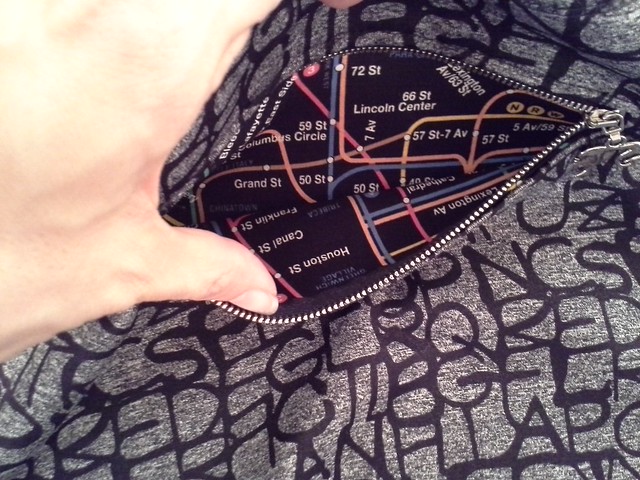
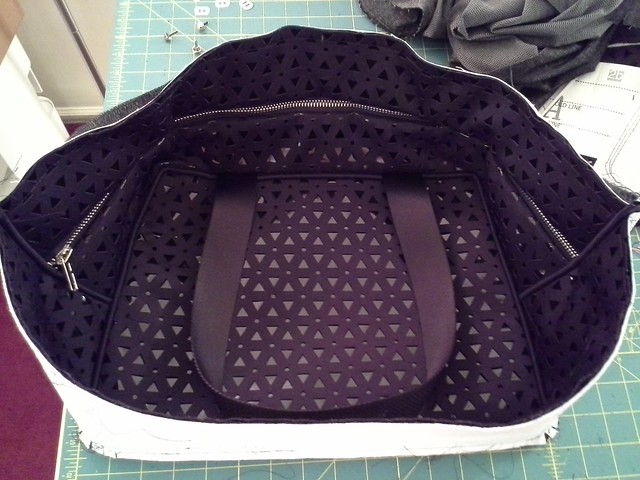
Peering inside the bag.
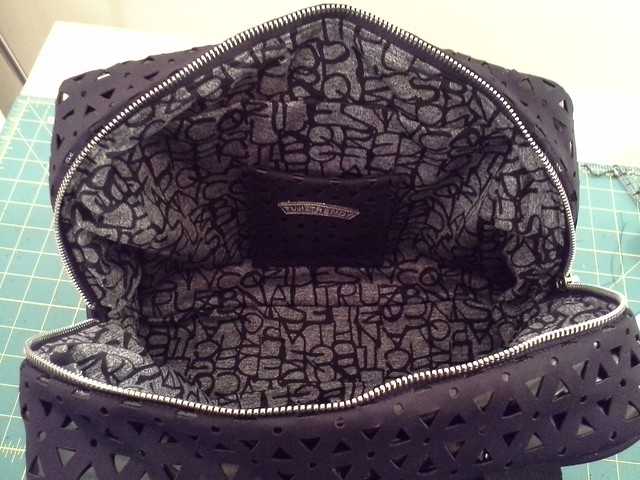
looking at the other side of the inside of the bag
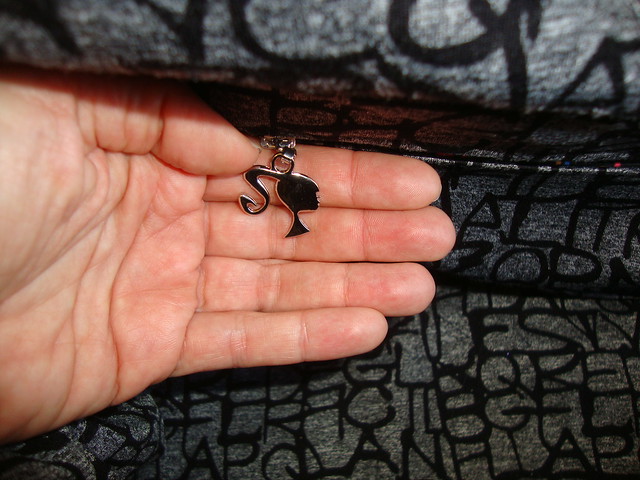
The flirty girl zipper pull
WARNING: This is going to be a MEGA post....here we go!
The prologue
Sooooooo...way back in the summer, I saw the Maria Denmark Lotta Lady pattern on the PR website and had to have it. It's a downloadable pattern which I figured I could handle because it wasn't too many pieces. I don't feel joy taping a lot of pieces together. I know a lot of you love digital patterns and my hat is off to you taping 80+ pages together and then tracing it, but a pattern has to be small or special for me to buy it digitally.
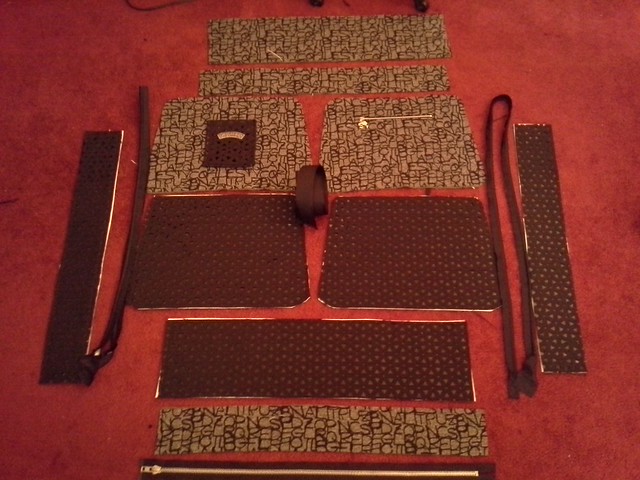
The supplies
Zipper: It calls for a 60cm zipper, so I bought the zipper and had it cut to length during MPB Day at Pacific Trimming.
Straps: Instead of making my own straps as per the pattern, I used this strapping I bought at Pacific Trimming at some other point in the past. It feels a lot like a seat belt, and is shiny, smooth and substantial. I *love* it. I also cut the straps longer than the pattern calls for, so I could put the bag on my shoulder.
Piping: The bag doesn't call for piping, but you know piping is my good friend. I made my own, mainly to distract you from the fact that it would be pretty impossible to get the pattern to totally match up. The cording inside the piping is from Joann.
Interfacing: I used Peltex from Joann.com for the outer portion of the bag (except for the part where the zipper attaches, in that section I used the Pam's heavyweight sew-in interfacing) and Pam's midweight interfacing to stabilize the lining
Pocket zipper: This zipper was custom made for me at Botani during PR Day 2014. I *love* the girl with the ponytail zipper pull.
The label: I have no idea what "twi-trendy" means, but I bought this label at Pacific Trimming during some past visit. I googled it, and it didn't have any substantial matches. Apparently "twi" can be associated with Twilight fans but I've never watched.
The exterior fabric: it's two layers, actually, both from Kashi (Metro Textiles). I bought what I'm calling the "cutout" layer in Sept with ATP and the shiny "wet look" fabric during PR Day with Tomasa. I asked Kashi if the "cutout" fabric was neoprene and he said, and I quote, "It can be anything you want." Yes, folks, Kashi's shop is where fabric can be whatever you want it to be. I asked what the wet look fabric is and that's pleather, he said. It's actually stretchy so go ahead and make your Catwoman suit now before he sells out of it.
The lining fabric: it's from Gwen Couture, purchased in May of 2013 with Elizabeth. I used that same fabric in a bag I made in Nov 2013, a bag I still use frequently.
Pocket lining fabric: NYC Subway fabric from The City Quilter
Preparations
I cut out the neoprene layer at the end of October, and then realized that I cut the pieces without any regard to positioning of the stars. So I cut it out again. I'm sort of kicking myself because that meant I couldn't enter the PR handbag contest (which called for the bag to be cut out and constructed in the month of November). I should have waited a few days til it was November to cut out all the pieces again. I thought, oh, how long could it possibly take for me to make this bag? I'll make this one and then I'll make another one where I will quilt my own fabric and use a different pattern and enter that one in the contest. Bwah ha ha ha ha.
I bought the wet look fabric in Nov and cut that out 2 weekends ago.
Then I cut out the peltex, the lining and the lining interfacing. So basically each bag piece was cut out 6 times!!! There are 5 layers in the bag and then my crazy cutout layer that I didn't use. And the exterior zipper pieces wound up being 1cm too short (user cutting error) AND way too stiff with the peltex so I had to cut those pieces all over again (and used the heavyweight sew in interfacing from Pam)...so the zipper pieces were cut 7 times.

The peltex had been folded up soooo long....I had to Elna Press it (pic taken pre-Elna pressing)
I made my own piping. First I made it with the wet-look pleather, shiny side out, but I thought it would make the bag look really cheap, so I made it again with the wet look pleather, this time with the wrong, dull side out, and it looked really good.
The wet-look piping looks great in the pic, but the matte looks better in real life.
Construction

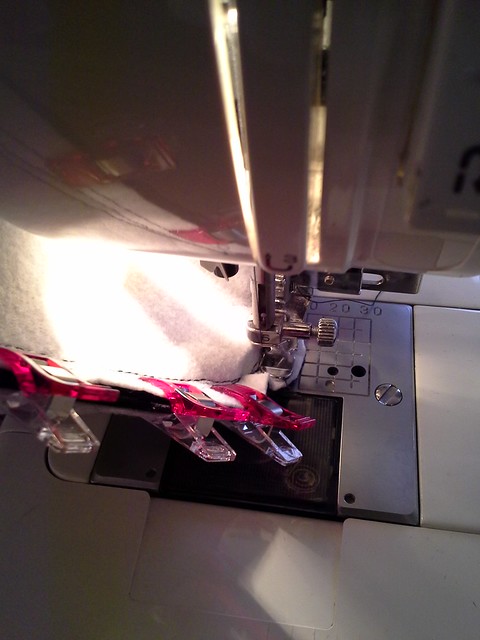
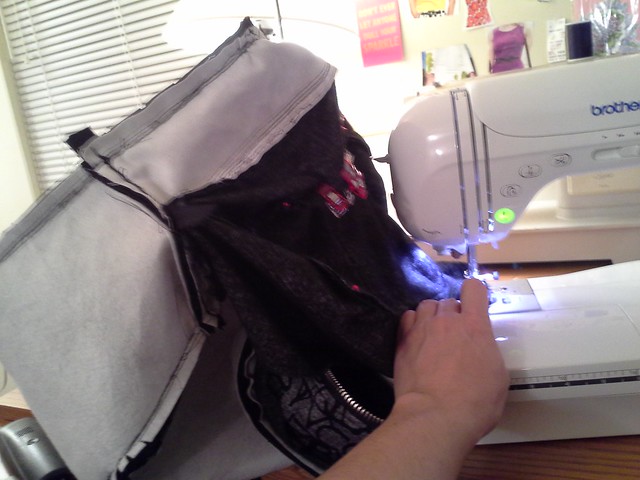
(So actually I should have clipped the clips on the *other* way, since the easier way to baste this is with the neoprene down against the feed dogs. By clipping the other way, then the flat part of the clip is against the machine instead of the angled part.)
This sews up much more easily if you first baste the neoprene to the pleather with the neoprene against the feed dogs, and a teflon foot on the sewing machine. Sewing it with the neoprene on top was not as smooth. So, neoprene down. Then I basetd the peltex on, with the peltex up, neoprene down on the feed dogs. Again it went much more smoothly to baste that way.
I interfaced the lining and then added two pockets, one for my cell phone (with the twi-trendy label) and one with the zipper pocket. The pattern does not come with pockets but Maria does warn you to add them first.
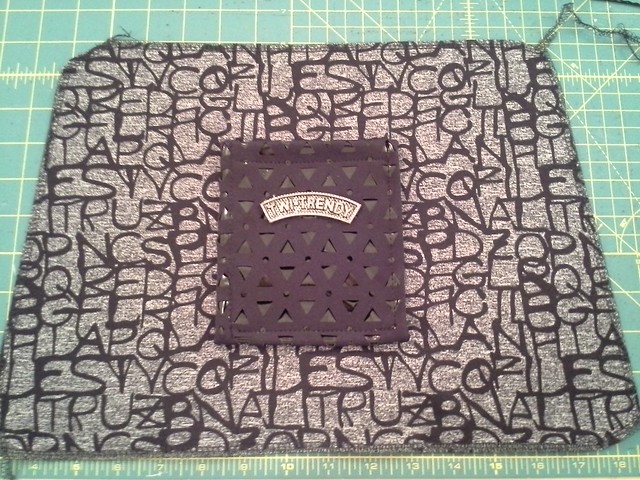
Twi-trendy?
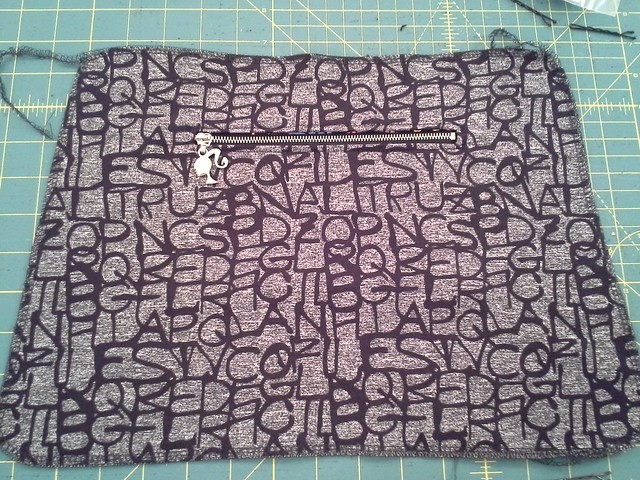
I used these instructions for the zipper pocket. If you've never made a zipper pocket before, it is basically a welt pocket without any welts. If you are scared to try welt pockets (L I'm looking at you) you should try the zipper pocket first. It is a great way to get your feet wet.
My tip for this is if you are using a directional print (like the NYC subway fabric): I actually cut it in half and sew it together like this, so that when you look inside the pocket, the fabric print is always going down on both sides, instead of up one side and down the other.

So then it looks like this once the pocket is sewn in
Then I sewed the zipper to the exterior "zipper piece" and to the lining "zipper piece" making the infamous "zipper sandwich".

Then I sewed the piping to the 3 layers of exterior fabric. Above, I was testing out handle length
Doesn't the piping distract from the fact that it's impossible to line up that print?
Then I sewed the straps on.
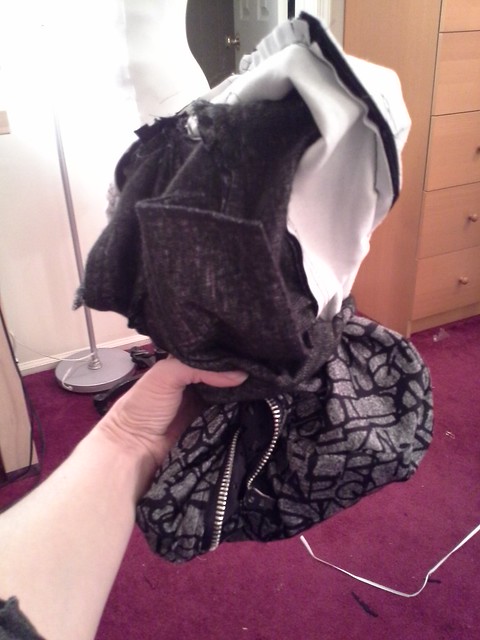
Then I sewed the exterior of the bag all together
Here's when it looked like a cat bed.
zipper foot action!
Stitch stitch stitch
Then I sewed the lining to the exterior.
Then I turned it inside out.
Then I sewed the hole in the lining shut.
And it was done!!!
Thoughts on construction/machines
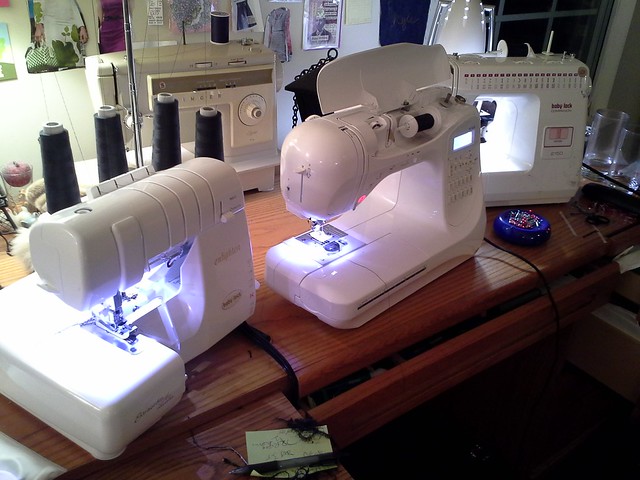
I used 3 of my machines for this:
- My brand new serger to serge the raw edges of the lining
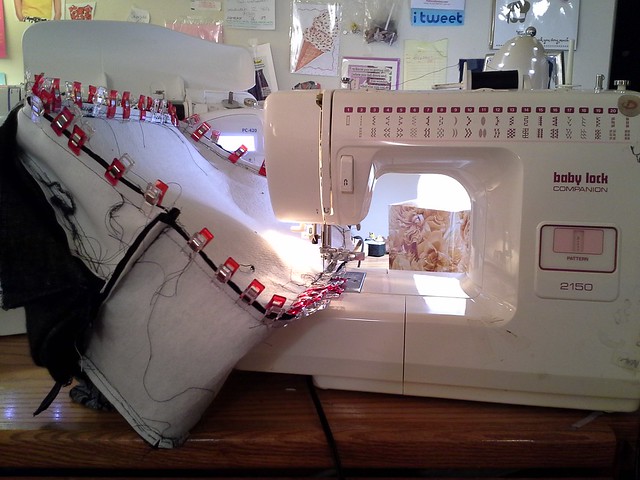
- My old Baby Lock with its zipper foot to sew on the piping and sew any part of the bag together that had piping. I prefer that old zipper foot to the new style of zipper feet.
- My newish Brother machine to sew everything else.
My BL handled all those layers extremely well.....at one point (where the straps are) there were 8 layers---3 exterior/2 interior/2 layers from the piping and then the thick straps!
Also, it is kind of a workout making this bag. You really have to push all that peltex through the machine.
Bag usage
I finished this bag on Monday night and have used it every day since then.
I have to admit, this bag came out much wider than I anticipated. I wanted to use this as my purse and it's a bit big for my purse (though there are plenty of women who carry big bags--don't let me stop you!). But is it perfect for a laptop bag/travelling in between buildings/walking into town at lunch bag.
The fact that the zipper goes halfway down each side means it is SO easy to see EVERYTHING in the bag at one time.
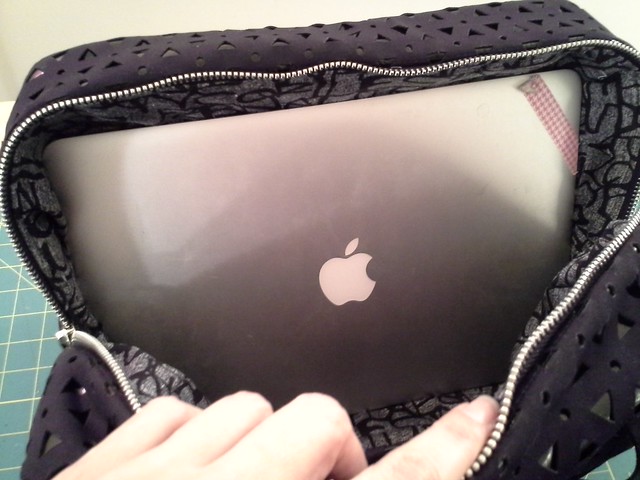
Bonus: My work laptop fits nicely in the bag.
Congrats if you read this whole thing!
Let me know if you think you're interested in making this bag now!
Be well!
I can't believe you didn't break any needles making this!
ReplyDeleteThis bag is at least a three-needle purse!
Fantastic job on the piping.
Thanks! I used a microtex needle and it handled the job well!
DeleteWow! I am amazed. It was fun reading about this bag coming together as I remember when we purchased some of the materials together. I am amazed that your machines were able to handle all the layers. I normally would think only an industrial machine would be able to handle something like this but obviously the home sewing machines stood up to the challenge. It's a beautiful bag and I look forward to seeing it in person someday. Fabulous job!!!
ReplyDeleteI have to give huge props to my 21 year old Baby Lock...it has the zipper foot I like, so it did the majority of the heavy duty sewing because of the piping, which meant it was sewing the peltex too. It handled it like a champ.
DeleteWhat an excellent bag!
ReplyDeleteThanks Dilliander. I think I'm in love with it.
DeleteOh I want one.. but I don't know i have it in me to make it! It looks fantastic. I'm impressed also no needle breakages and that your machine coped with all those layers.
ReplyDeleteIt's really not so bad, just choose a fabric you adore and it will see you through to the finish line.
DeleteI definitely want one. It looks big enough to carry several sets of papers to be corrected. I love your long posts because they provide so much info! I don't know if I would even think of attempting this if you hadn't given so much information.
ReplyDeleteYes, it can definitely hold a lot of stuff!
DeleteI wasn't sure if anyone actually read my huge posts because they are so long, so I am happy to hear that you enjoy them!
That is ONE FABULOUS bag. You should be very proud of it. All that work! It came out perfect!!!
ReplyDeleteThanks so much Linda T! I am proud of it, very happy with it, and am showing it off at work. One of my coworkers said she is going to steal it!
DeleteApplause!!! Applause!!! This is so awesome! It looks amazing, no one would ever guess that it's "homemade", you did a phenomenal job! Congrats!
ReplyDelete*Takes bow*. Thanks Kristine! I really love it!
DeleteGirl! I love this bag! Inspires me to make one but for a man. Lol. My version!!! Grrat work!
ReplyDeleteThanks Enrique! So basically you want to make the "Lotta Man" bag. ;)
DeleteWOW! Your bag is absolutely fabulous! Beautifully made and it looks amaaazing! I adore the fabric too, sorta futuristic, in a very good way :)
ReplyDeleteThanks Carolyn. I really love how it looks, and how functional it is too!
DeleteYou are definitely the queen of bags! Everything about this is just fantastic!! I think using the non-shiny piping was the right way to go. It adds dimension to the bag without saying, "look at me, I'm piping."
ReplyDeleteWhat's that about welt pockets? =) One day. Maybe. Possibly.
You can do it L! I know you can make welt pockets. I too was once scared and afraid of welt pockets. It definitely gets easier the more you practice it. The zipper pocket is a great place to start.
Deletep.s. I am proud of the piping too. It looks very profesh, I think. The super shiny pleather made it look kind of cheap.
DeleteYou're amazing! This is great. In the first pic, it almost looks like the outer fabric is a mosaic of shiny black tiles. It's very cool. I have a similar pattern (Boston bag) that is smaller -- might be a proportion that is more suitable for a purse. I did trace it and cut it out, but never quite found the fabric I wanted for it. I'll keep you posted. Can't wait to see your bag in person!!!
ReplyDeleteThanks! I looked at the Boston bag and I agree, it's very similar. I was also thinking that I could print out the Lotta Lady pattern again but reduce the scale...
DeleteLooking forward to seeing your bag when you make it!
Wow, super
ReplyDeletezapalov.blogspot.com
Thanks zapaLov!
DeleteFantastic! What a great looking bag! Love Kashi's response ;-)
ReplyDeleteVery Classy and elegant Bags indeed ...sometimes less is more and in this collection everything’s restrained, relaxed and – even better – comfortable, with a pulled-together elegance !! Click here for more collection: Charles and Keith Bags
ReplyDelete