
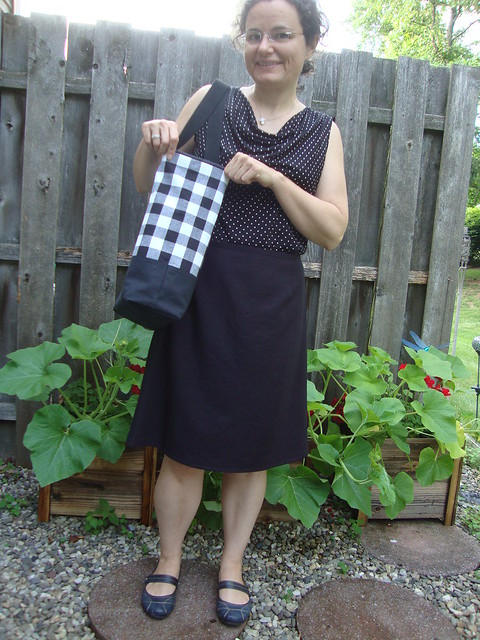
Gingham gingham gingham!
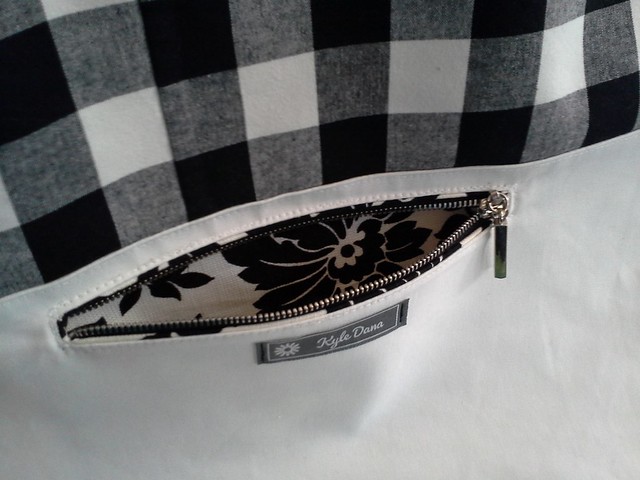
Zipper pocket
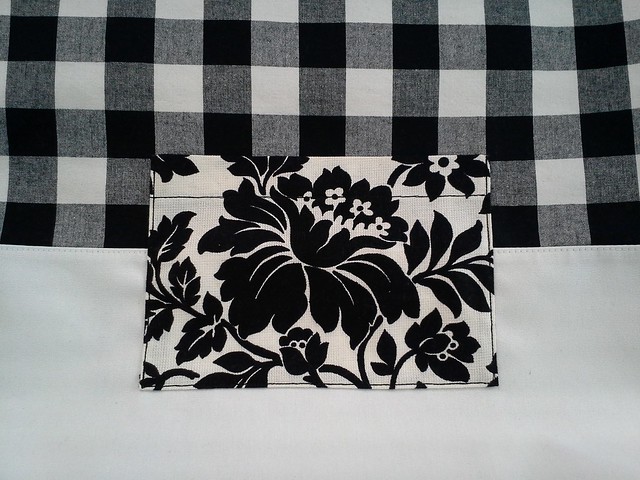
Patch pocket
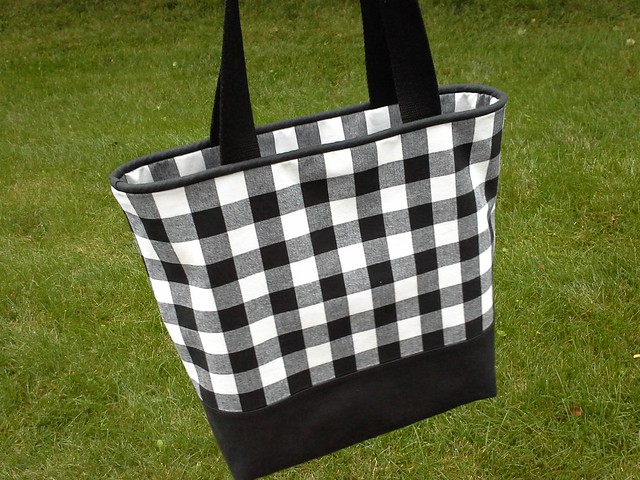
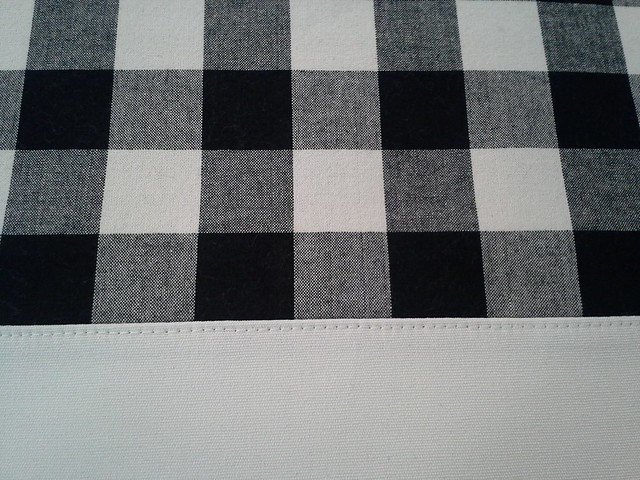
Black and White Gingham!
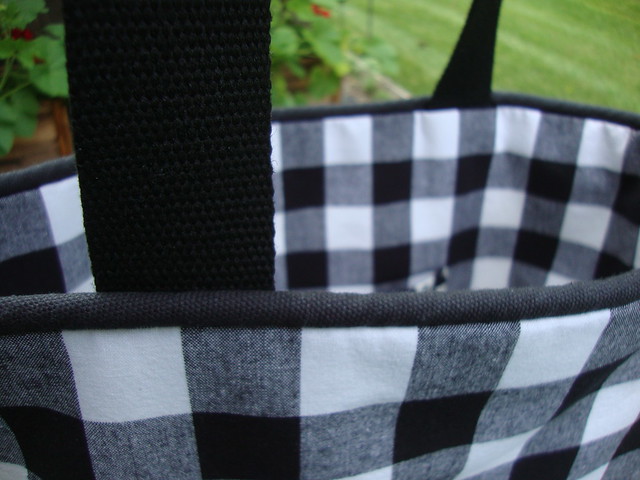
I love gingham and have quite a little stash of it but have never sewn gingham in the summer. I was inspired by Dana's video tutorial on how to make a simple tote bag (where she used black and white gingham!), but wound up combining elements of multiple tutorials for mine:
- Dana's boxed out bag
- Dana's reversible bag
- Leslie's reversible bag
- Leslie's piping tutorial.
- Emmaline's interior zipper pocket tutorial

Materials used:
- Black and white gingham I bought at Joann's ages ago; I think it was from the Lisette fabric line from a few years back.
- Black duck cloth in stash from Joann's (for the piping and the bottom contrast)
- White bottomweight fabric from Joann's because my Joann's didn't have the white duck cloth in stock that day and I had none in my stash.
- Medium weight white fusible interfacing from Fashion Sewing Supply, fused to both the exterior and lining
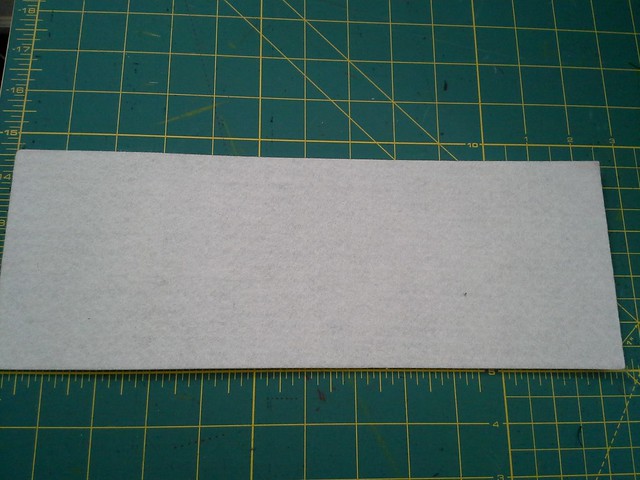
- A piece of peltex cut 12.5 by 4.5, inserted between the lining and exterior fabric
- Custom cut zipper from Botani, NYC for the interior zipper pocket
- Contrast floral fabric purchased at a summer yard sale with my mom when I was a teenager!!! Lots of sentimental value there.
- Cording from Joann's for making my own piping.
- Black strapping from Pacific Trimming, in stash
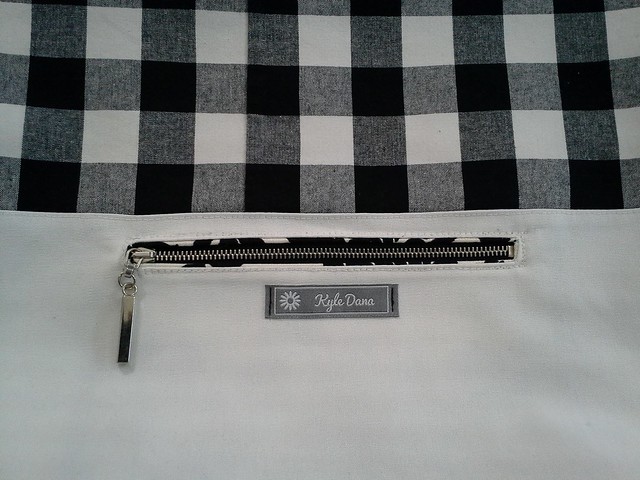
- Name label from Labels and Ribbons.com
Cutting and sewing the seams
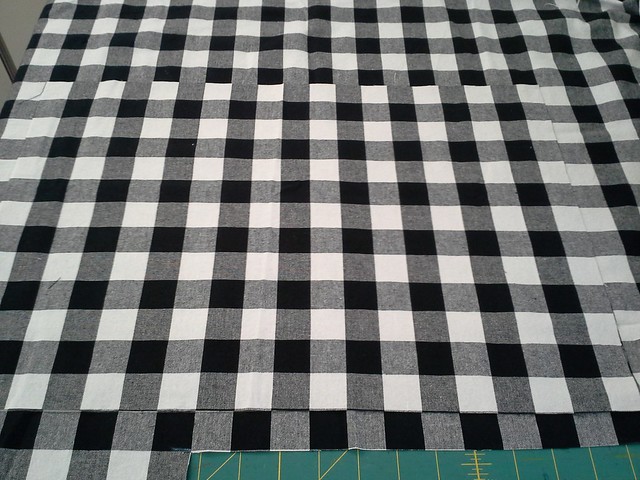
I cut out the bag so that the print would be continuous along both side seams. I cut it 19 by 14 to keep the continuity. This meant that one side is centered over the black stripe and the other is centered over the white stripe. (I decided to use 1" seam allowances to try to make it easier to sew, since the gingham is 1" square.)
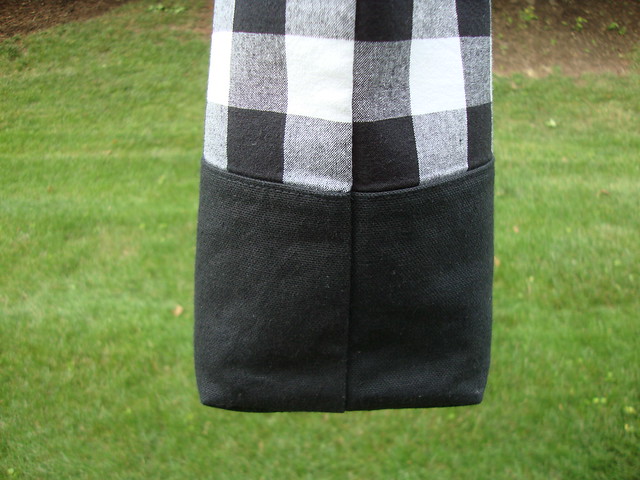
And I cut the duck cloth 19 by 8.5 then sewed it to the bottom of the gingham with 1" SA, serged off the excess and topstitched.
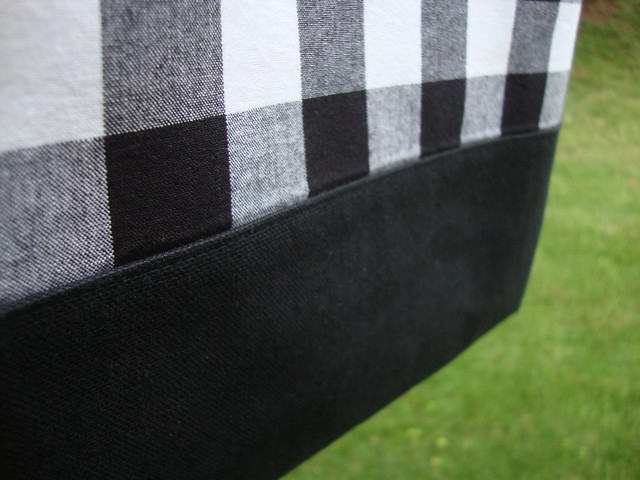
I also used my walking foot but redid the side seams or sections of side seams multiple times to try to make the seam as invisible as possible, then serged and pressed. Oh, and the graining. I tugged on the fabric quite a lot to try to grain it into submission. You'll see what I did on my next bag to minimize this.
From far away the seam is not noticeable
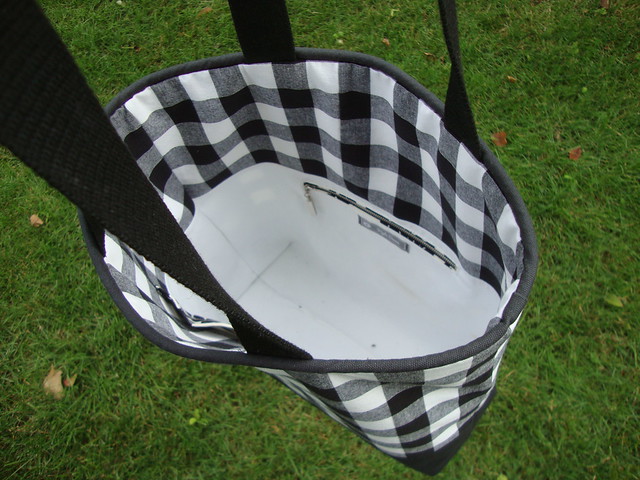
Interior
I decided to use just a little bit of gingham on the top and the rest in white for the lining. These pieces were cut 19" by 9" and 19" by 12.5" respectively, then also sewn with 1" SA, with the excess serged off and topstitched.
Boxing the corners
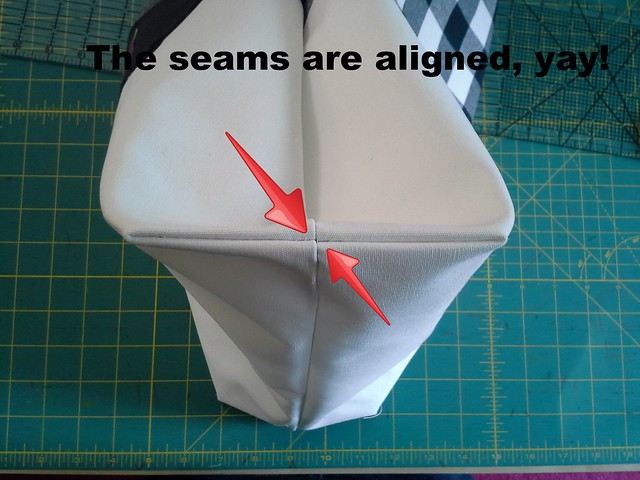
The big "a-ha" moment regarding boxing out the bottom came from Dana's tutorial. Using her method, you don't cut the corner out. Instead you cut straight down/across and sew down/across.
Next, you bring the side of the bag to match the bottom of the bag. She says you should take your time to make sure the seams line up. I thought about how to do this more precisely than eyeballing and feeling it--I took my square ruler and measured in 2.5" from the raw edge and mark with the chakoner.
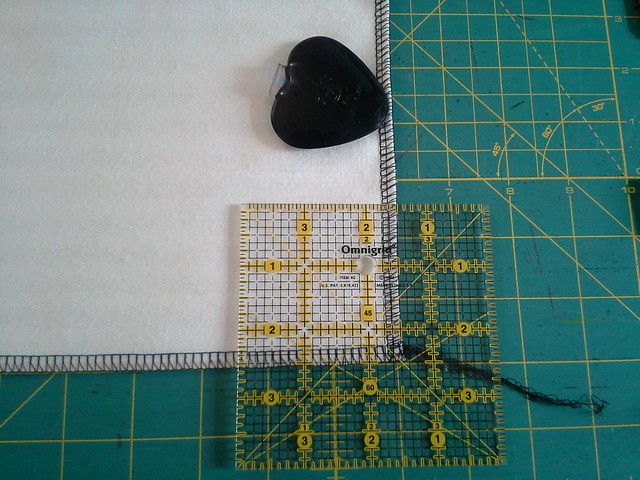
Then I marked it with the chakoner:
Repeat for each side of each bottom corner.
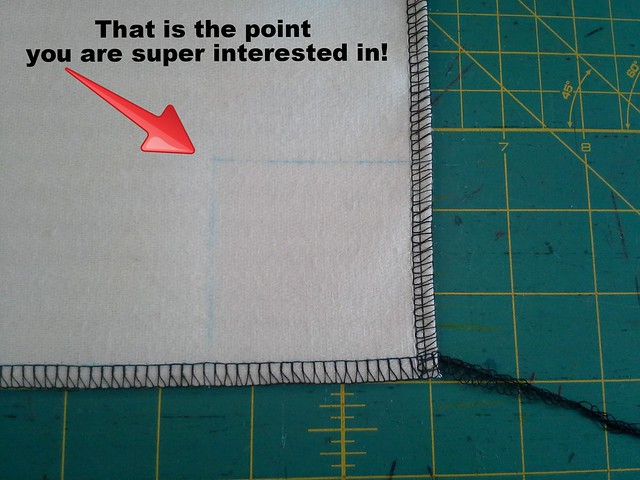
Then, when you bring the side seam to match the bottom seam, you can fold it at the 90 degree angle that you have drawn with the chakoner! This guarantees that your side seam and bottom seam will match up perfectly.
Then I marked it with the chakoner:
Repeat for each side of each bottom corner.
Then, when you bring the side seam to match the bottom seam, you can fold it at the 90 degree angle that you have drawn with the chakoner! This guarantees that your side seam and bottom seam will match up perfectly.
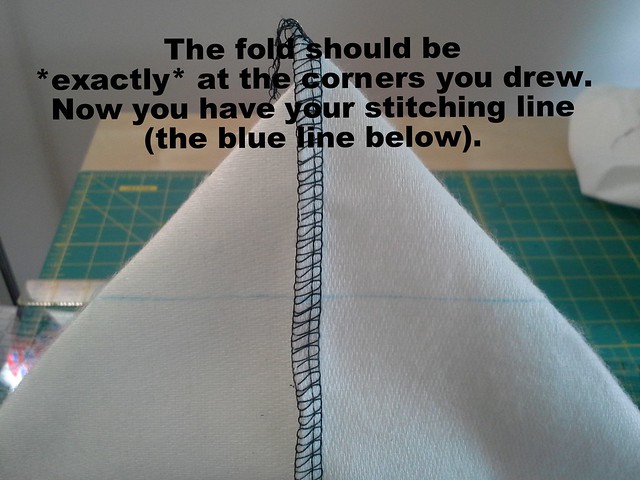
Baste it first, check that the side and bottom seams do align perfectly.
Then serge that corner off.
Then serge that corner off.
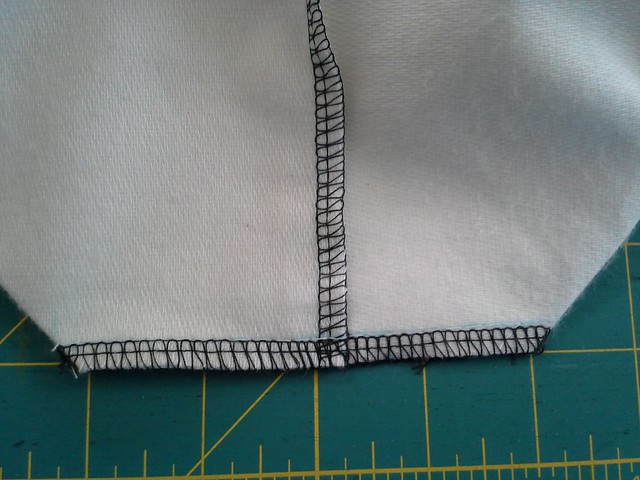
Measuring in 2.5" from the raw edge, after subtracting the side/bottom seam allowance, results in a box that is 4.5" long (look at the stitching line, not the cut edge). Nice!
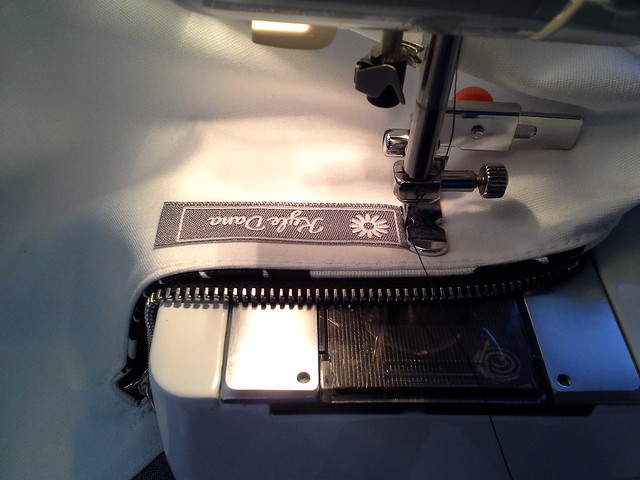
Zipper pocket
The zipper pocket fabric was quite thick and didn't want to stay pressed down! So it is actually somewhat framing the zipper, which looks like a nice, albeit totally unintentional touch!
My new labels arrived after I had sewn the zipper pocket, but before sewing the lining to the exterior, so I was able to sew the label on this way:
So then it looked like this zipped:
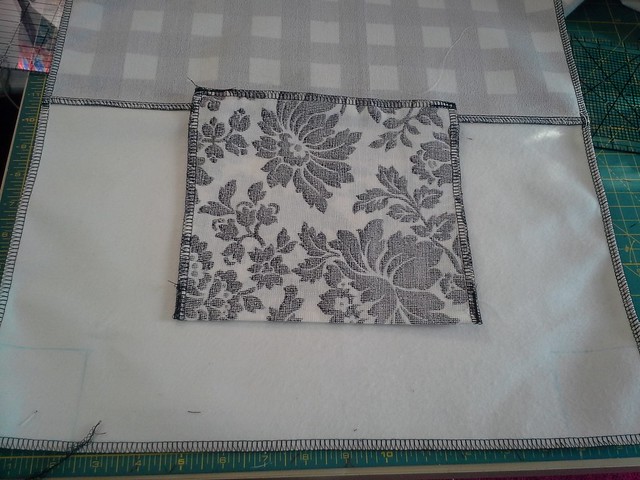
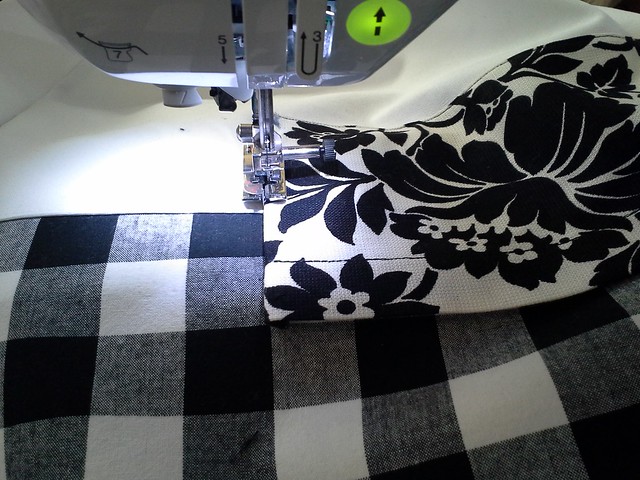
Patch pocket
I also made a patch pocket out of the same contrasting fabric. I originally had a black pocket (with cherry patch) stitched on, removed it and added the new patch pocket after I had already sewn the side seams together, ha ha. I live dangerously!
Used my blind hem foot as a guide.
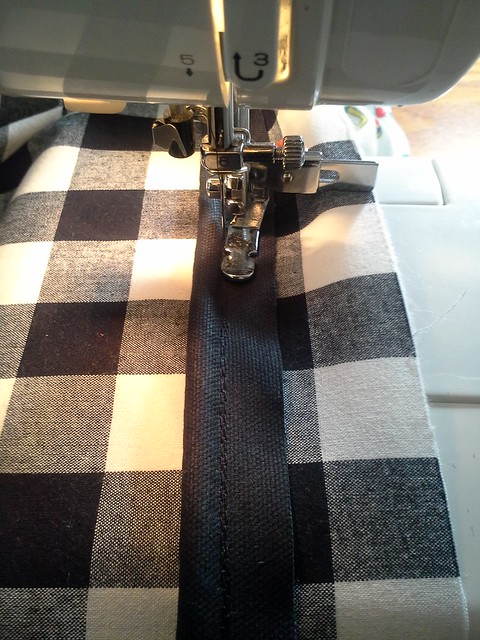
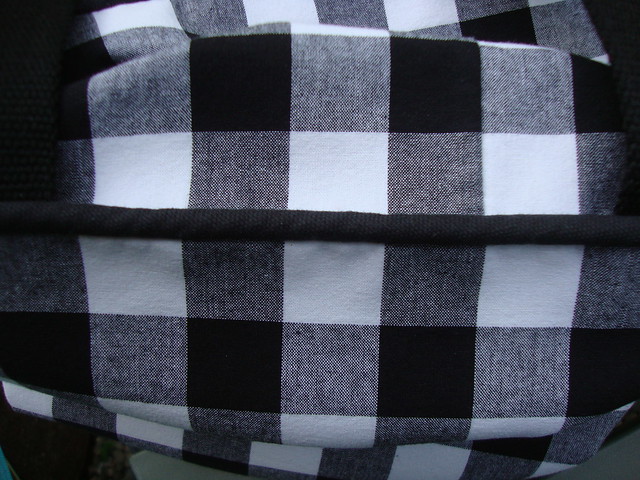
Piping
I made my own piping
Then I decided to take 2" off the height of the bag, so it is sewn at the 2" mark.
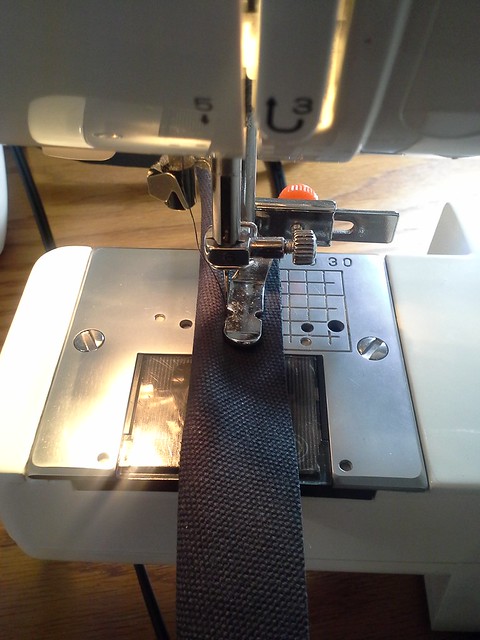
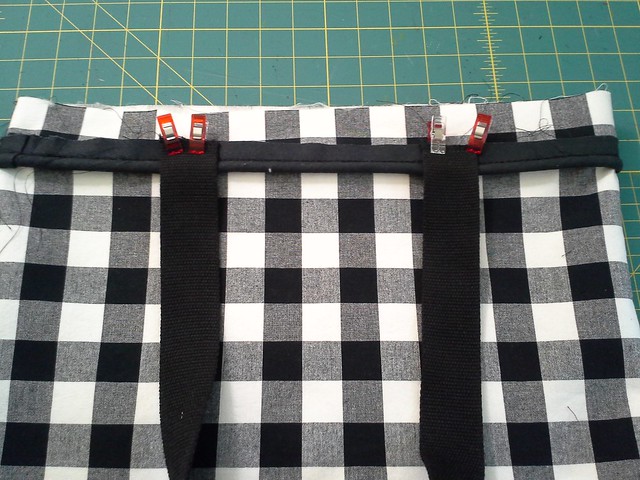
Strapping
Then it was time to add the straps.
I figured out the placement first with Wonder Clips, as I can put it on my shoulder and test it out before cutting and sewing it down. These straps are 27" each.
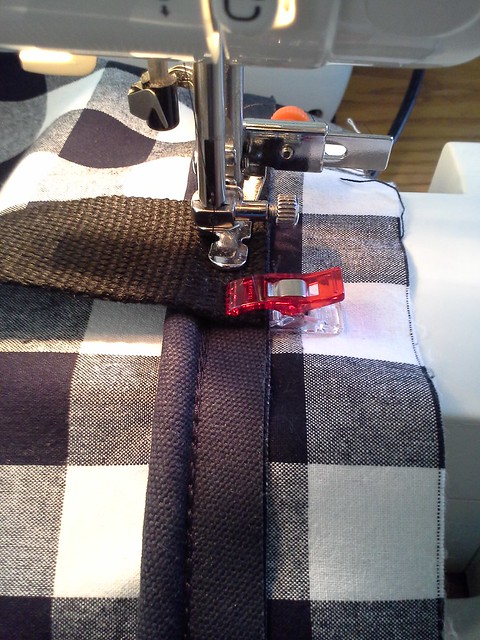
And sewed it on
Sewing interior to exterior/ Interior gingham upper
I decided I would also match the gingham upper lining to the exterior gingham so there would be no jarring mismatches. This meant a lot of usage of Wonder Tape and much undoing and redoing. It was worth it.
Birthing of the bag
I didn't want to sew the bag together via reversiblie methods because it means topstitching the top of the bag, and I didn't want to risk uneven topstitching (though you will see I overcame that fear on my next bag).
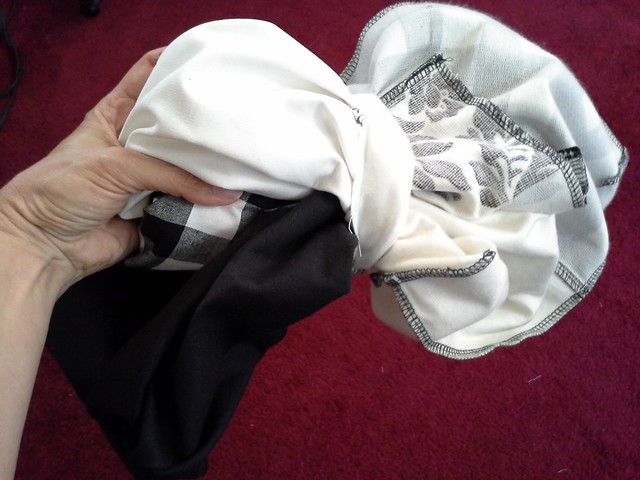
Peltex
To help the bottom of the bag keep its shape, I inserted Peltex before sewing the lining shut. I could have inserted it along the sides and front too, but for this style tote I decided just the bottom was enough.
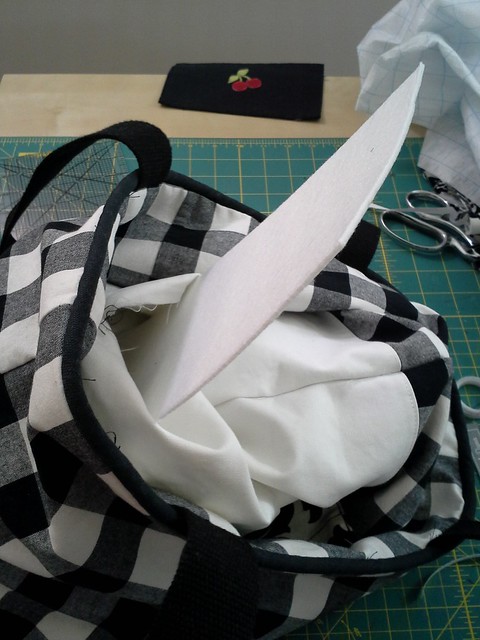
(oh hey, the old patch pocket is in the background of this picture!)
Verdict
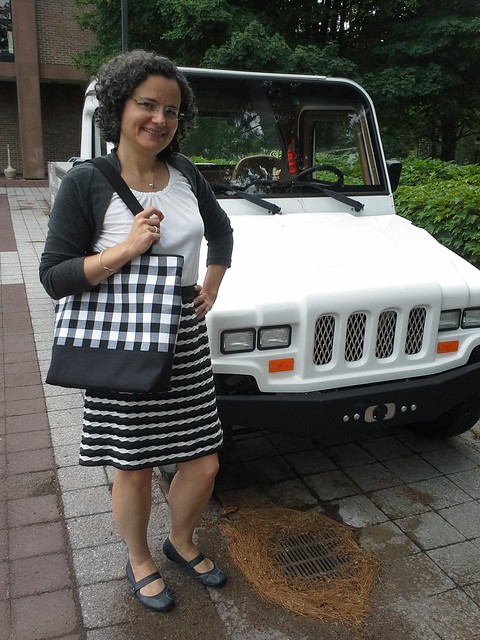
I have used this bag almost every day since I made it. It is on the large side so it holds a lot. I would like to make it in a smaller size for days when I have less to carry.
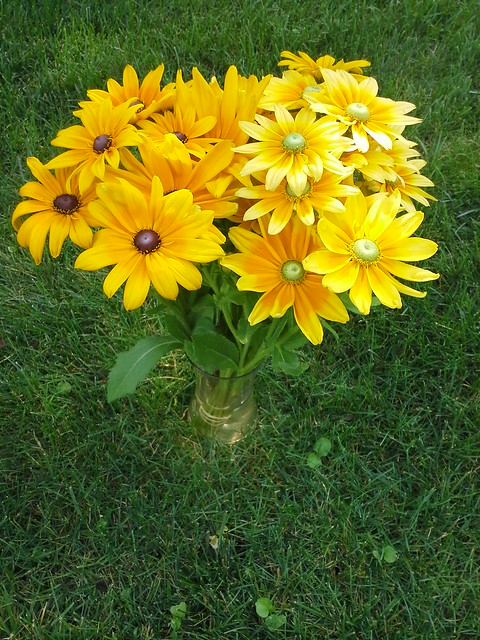
How do you like your "eyed susans"??? Black-eyed or Green-eyed??
How do you like your "eyed susans"??? Black-eyed or Green-eyed??
Be well!
I'm not sure how I sewed before I bought my wonderclips.
ReplyDeleteYou bag looks awesome. Well matched.
I like your new labels. I get set to order some and then find myself dithering for 60 minutes about font, what to put on the dang things, if I want a button/sewing machine next to the lettering, can't decide, and then I turn off the computer and go to bed.
Thanks! I am a big fan of Wonder Clips!
DeleteI did the same thing about the labels, dithering a lot, coming back to it on an off for several months until I decided to just order some (the ones you see in this post and brown with aqua text and a button symbol).
I am with you, I love gingham. Great looking bag
ReplyDeleteThanks Lori!
Deletep.s. I have you to thank for the Peltex--it really changed my bag making world!
DeleteKyle, I love the way you mixed the check with the floral print! And, your tutorial is great (I almost didn't have to read the text with all the clear pics!
ReplyDeleteThanks Jennifer! This method is SO much easier than cutting the corner first and then trying to sew it.
DeleteVery pretty AND practical! I love it.
ReplyDeleteThanks Linda! It is practical, great for the days with a bunch of stuff to tote around!
DeleteLove it! I want to make one now.
ReplyDeleteGo for it! It's fun!
DeleteVery , very good tutorial with lots of great info !!! The black & white check is stunning - thanks !!
ReplyDeleteThanks MaryEllen! Happy to hear you enjoyed it!
DeleteFantastic job! I love the coordinating floral fabric too.
ReplyDeleteThanks Shannon! I only had a quarter yard of that floral fabric but thought it was great too!
DeleteGreat bag, I love a roomy tote!
ReplyDeleteThank you so much for this tutorial...the bag is perfection!
ReplyDeleteThanks Mary! You're welcome!
DeleteLovely bag, your construction is impeccable. Gingham is perfect for summer, actually it's perfect for anytime really
ReplyDeleteThank you Kristy! Keep that summer feeling going throughout the winter with gingham! :)
DeleteThis bag is superb! You are the HANDBAG QUEEN! I love the combination of the gingham and the floral print.
ReplyDeleteThanks! I also like the combo of the gingham and the floral print. It makes me smile.
DeleteI agree with Tomasa. You are the HANDBAG QUEEN. It's stunning. I'd use it everyday too. Congrats on the stylish name tags.
ReplyDeleteThanks Maria! It has gotten a lot of use so far ! The tags are fun.
DeleteFrickin' delightful, as usual!
ReplyDeleteThanks Trumbelina!! I've been thinking about renaming my blog. Maybe "frickin' delightful" should be the name?
DeleteImpeccably made, just perfect thoughout!
ReplyDeleteThank you Carolyn! I try!!
Delete