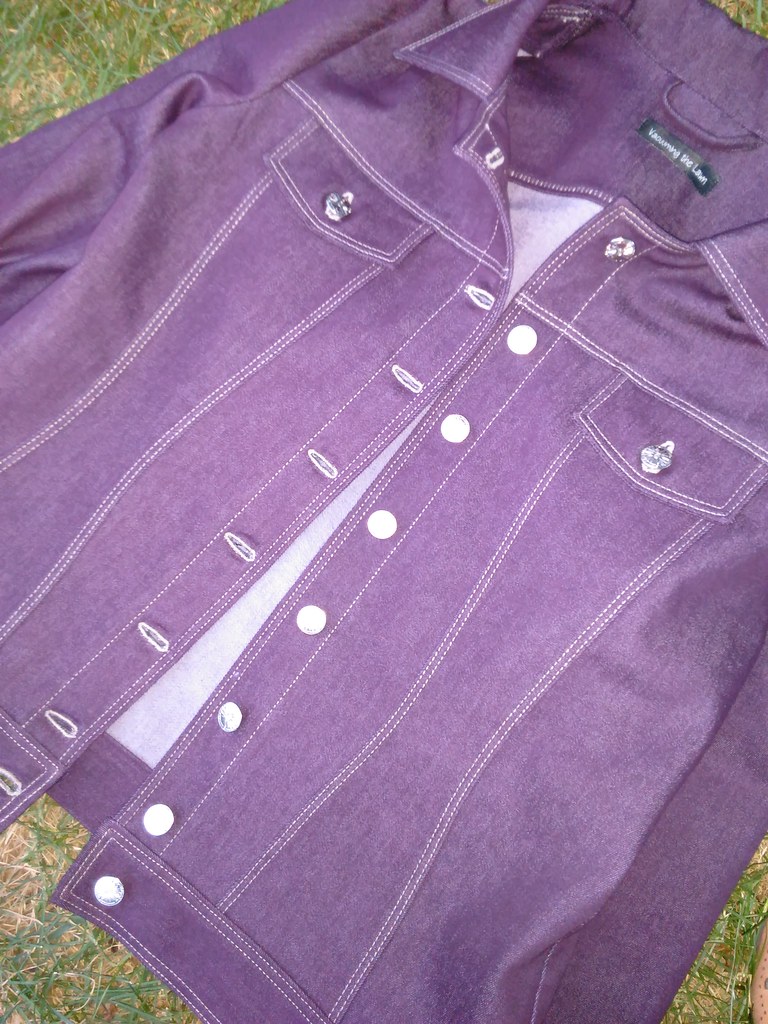
Thank you for all your kind words about my StyleArc Stacie jacket!!
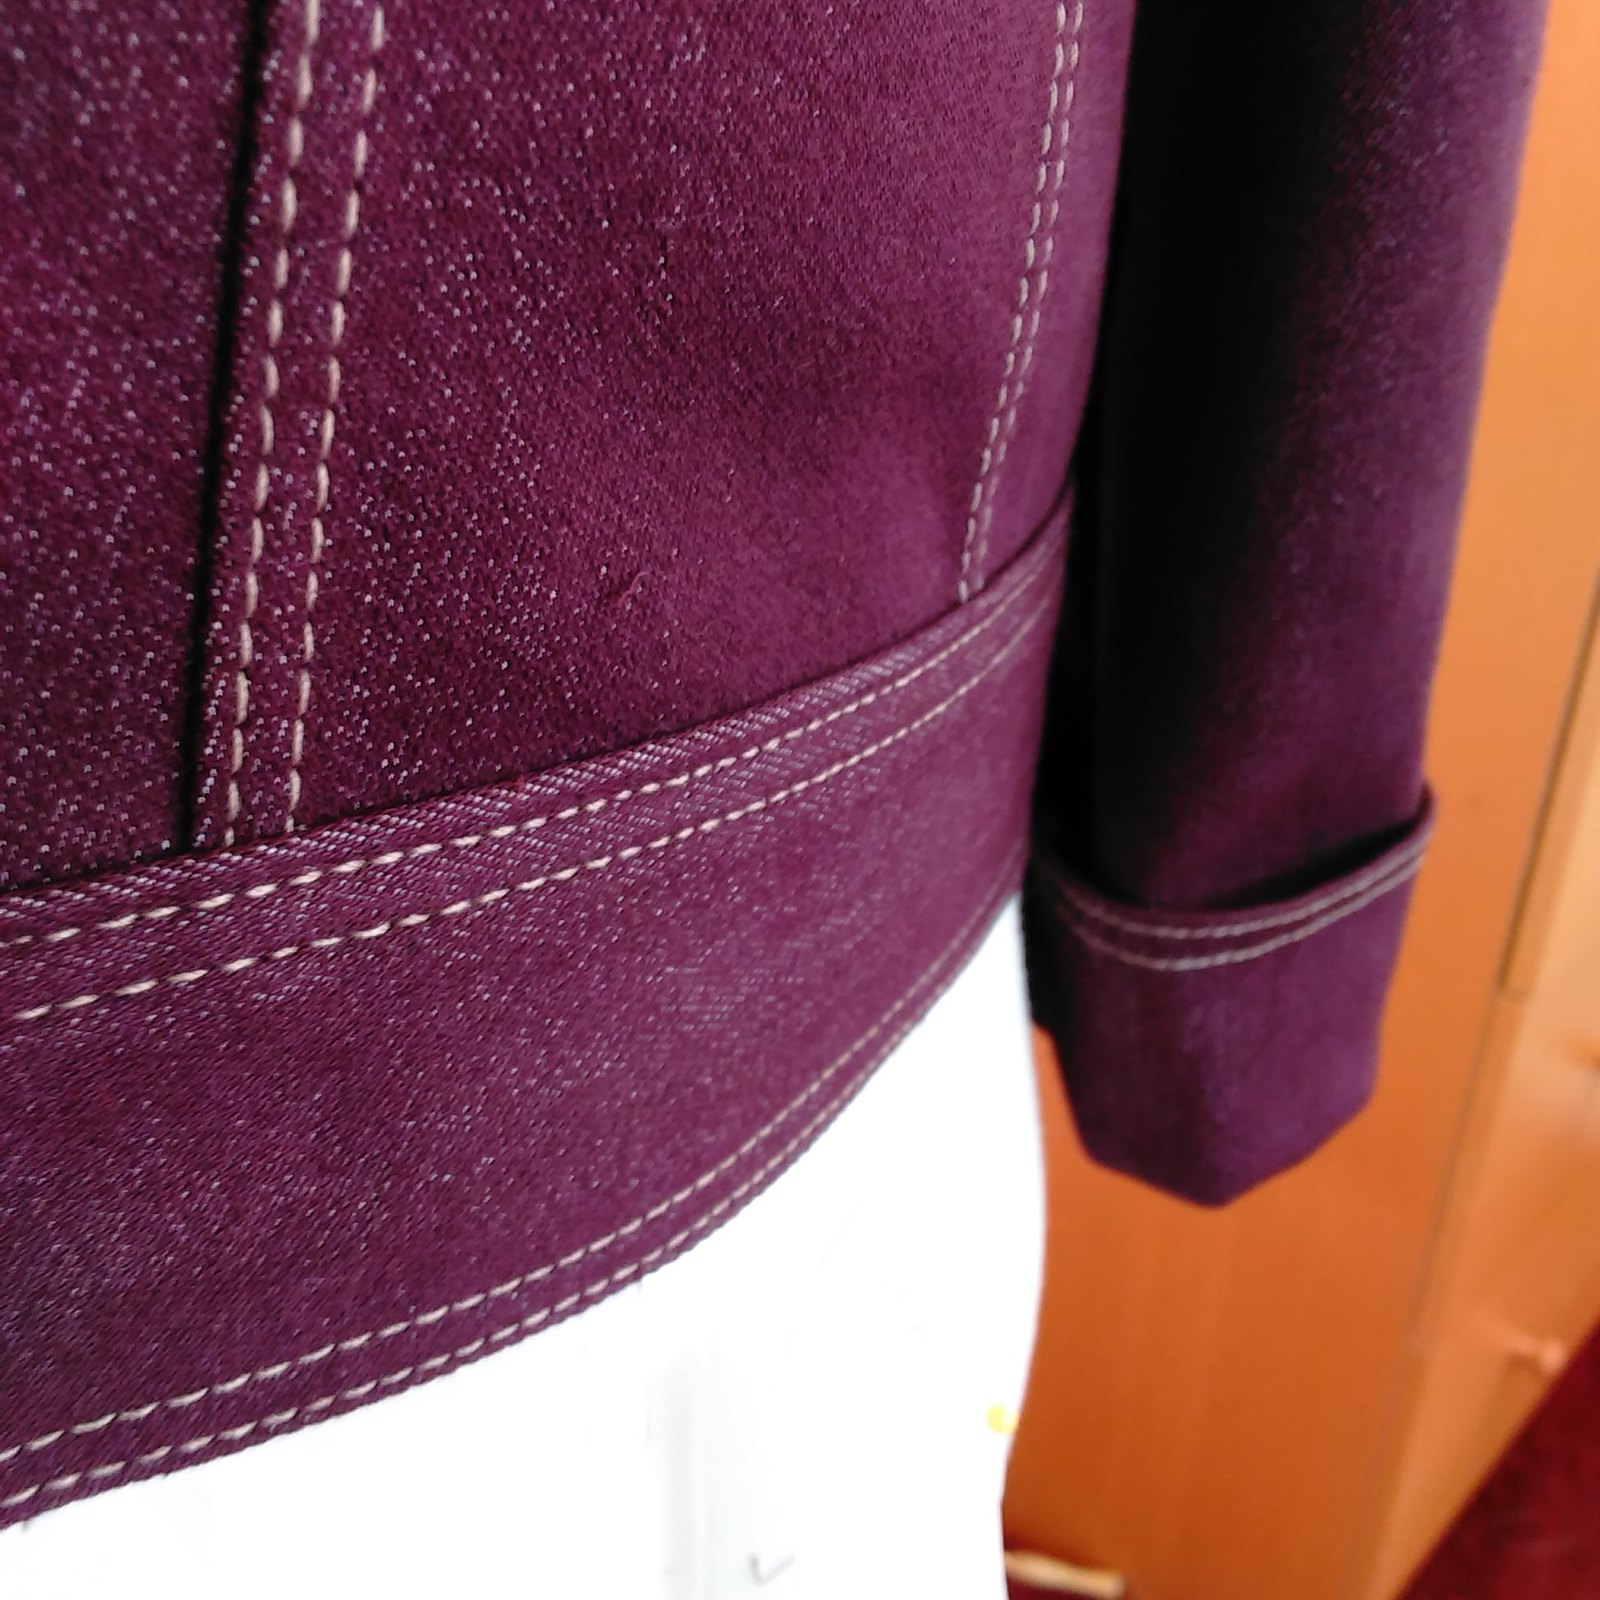
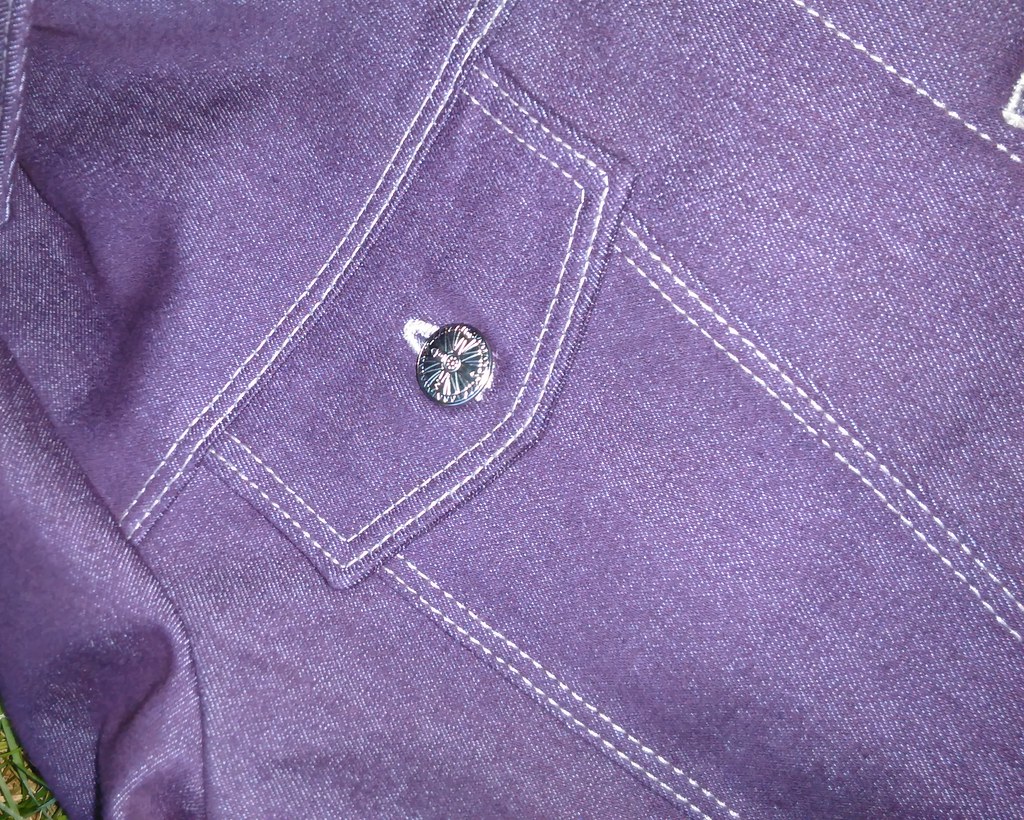
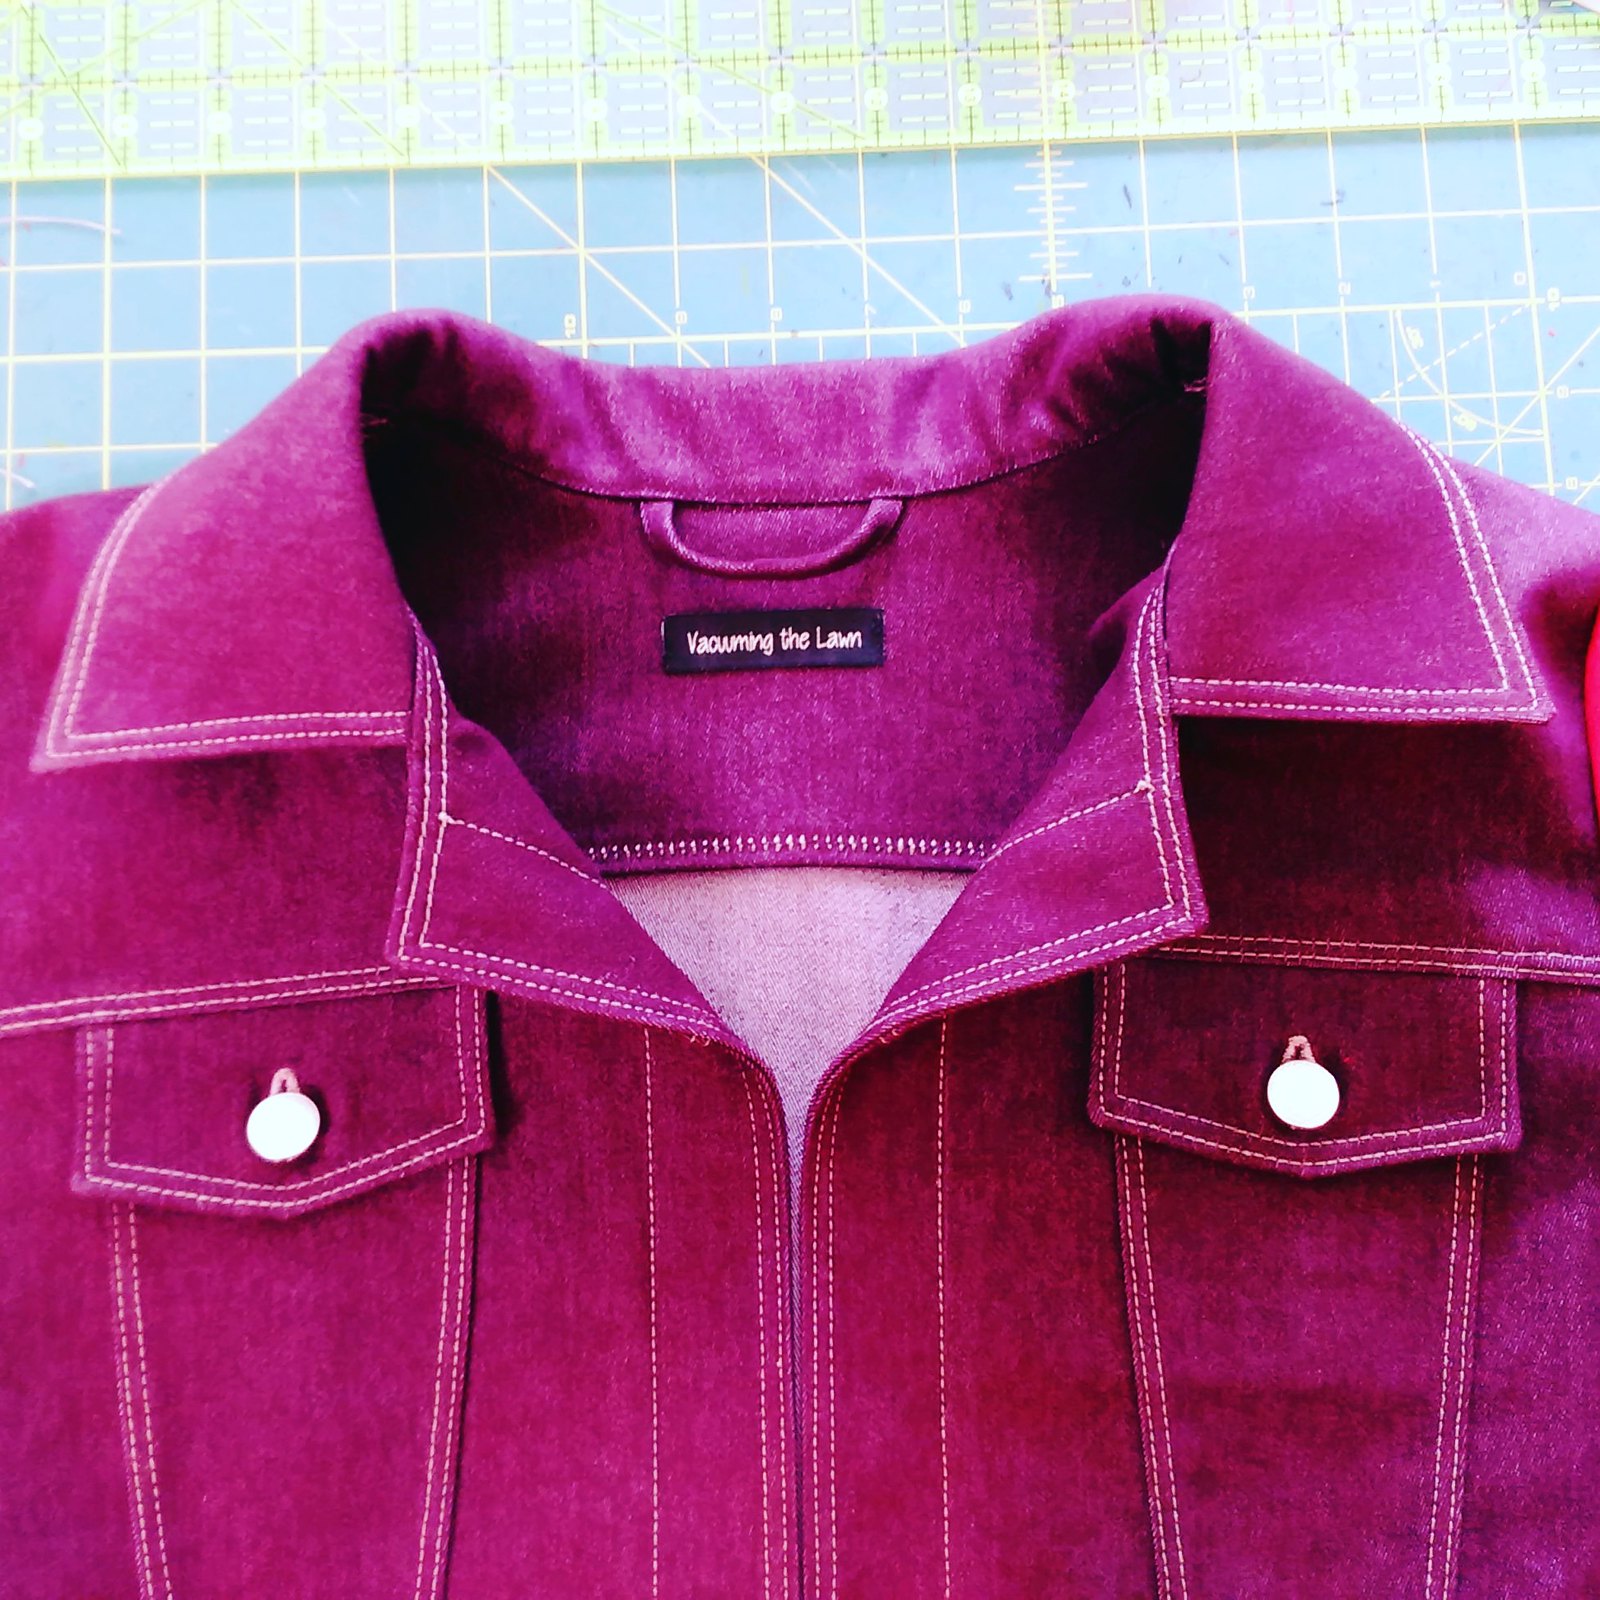
Since I have so much to say about this jacket, I'm divvying it up into several posts. This post focuses on the topstitching!!! Topstitching is NOT for the weak; there is an "ugh" moment when it doesn't look great, but there is a HUGE rush when it turns out looking great!
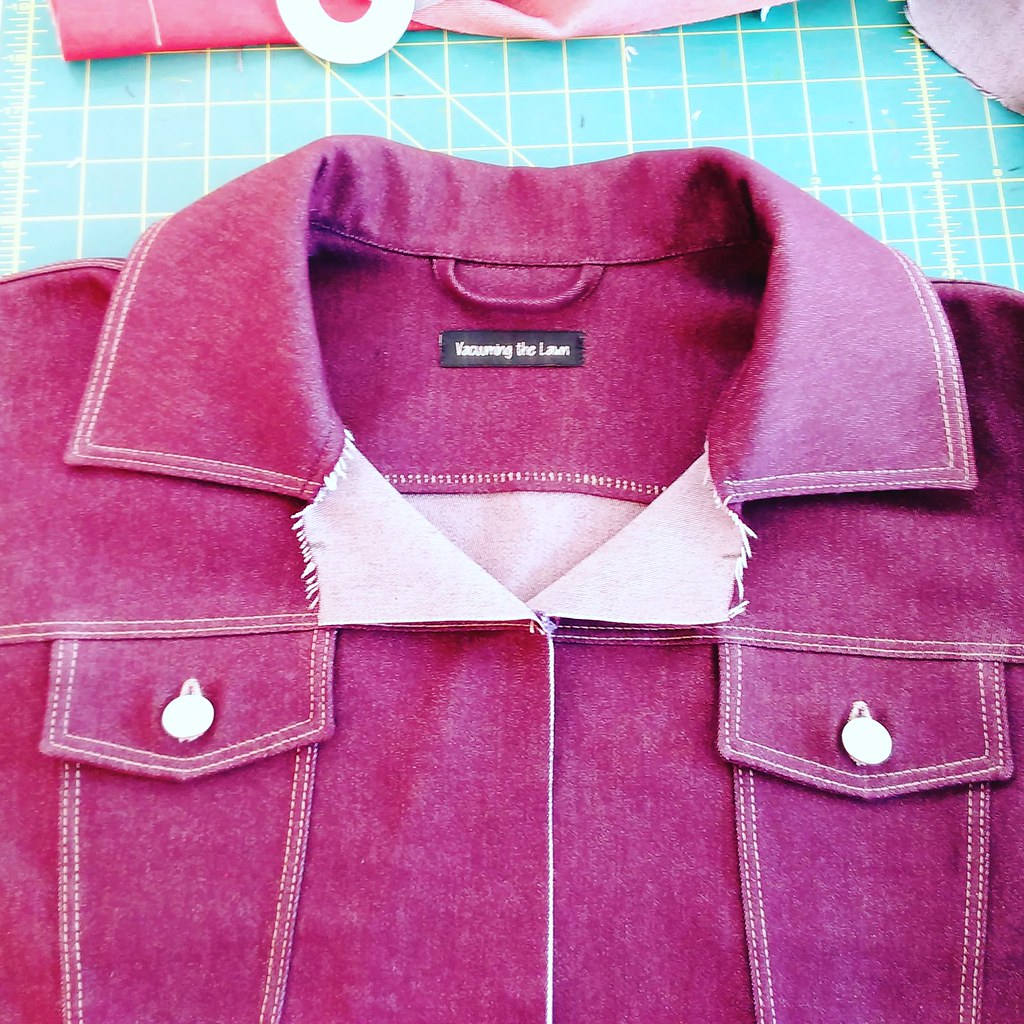
Auditioning Topstitching Thread Colors
As per Janet Pray's "Sew Better, Sew Faster: Garment Industry Techniques" Craftsy class, I "auditioned" several topstitching threads on a scrap of fabric. Some of these threads were regular Coats and Clark poly thread, some were Coats and Clark "heavy duty" or "jeans" thread, and the ones on the wooden spools are 80 weight topstitching thread from the Wawak catalog. I went a bit overboard buying topstitching thread from Wawak in 2012 after I made my first pair of jeans, but it was also great because I had plenty of choices.
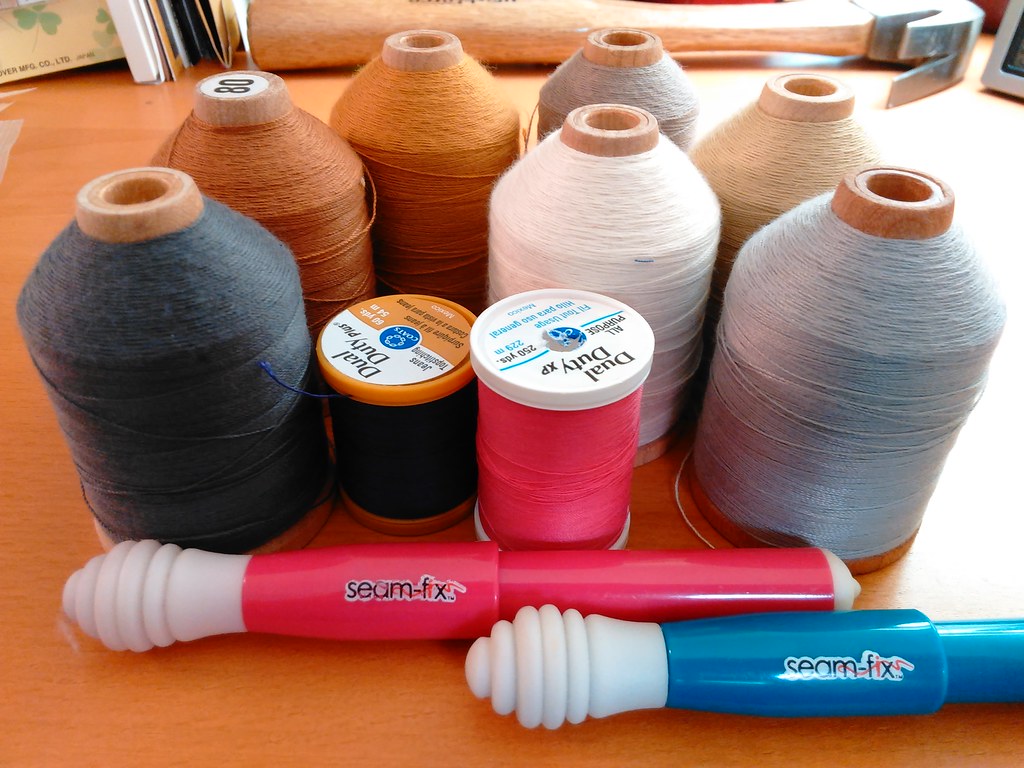
Also included, the "Seam Fix" which I discuss further down...
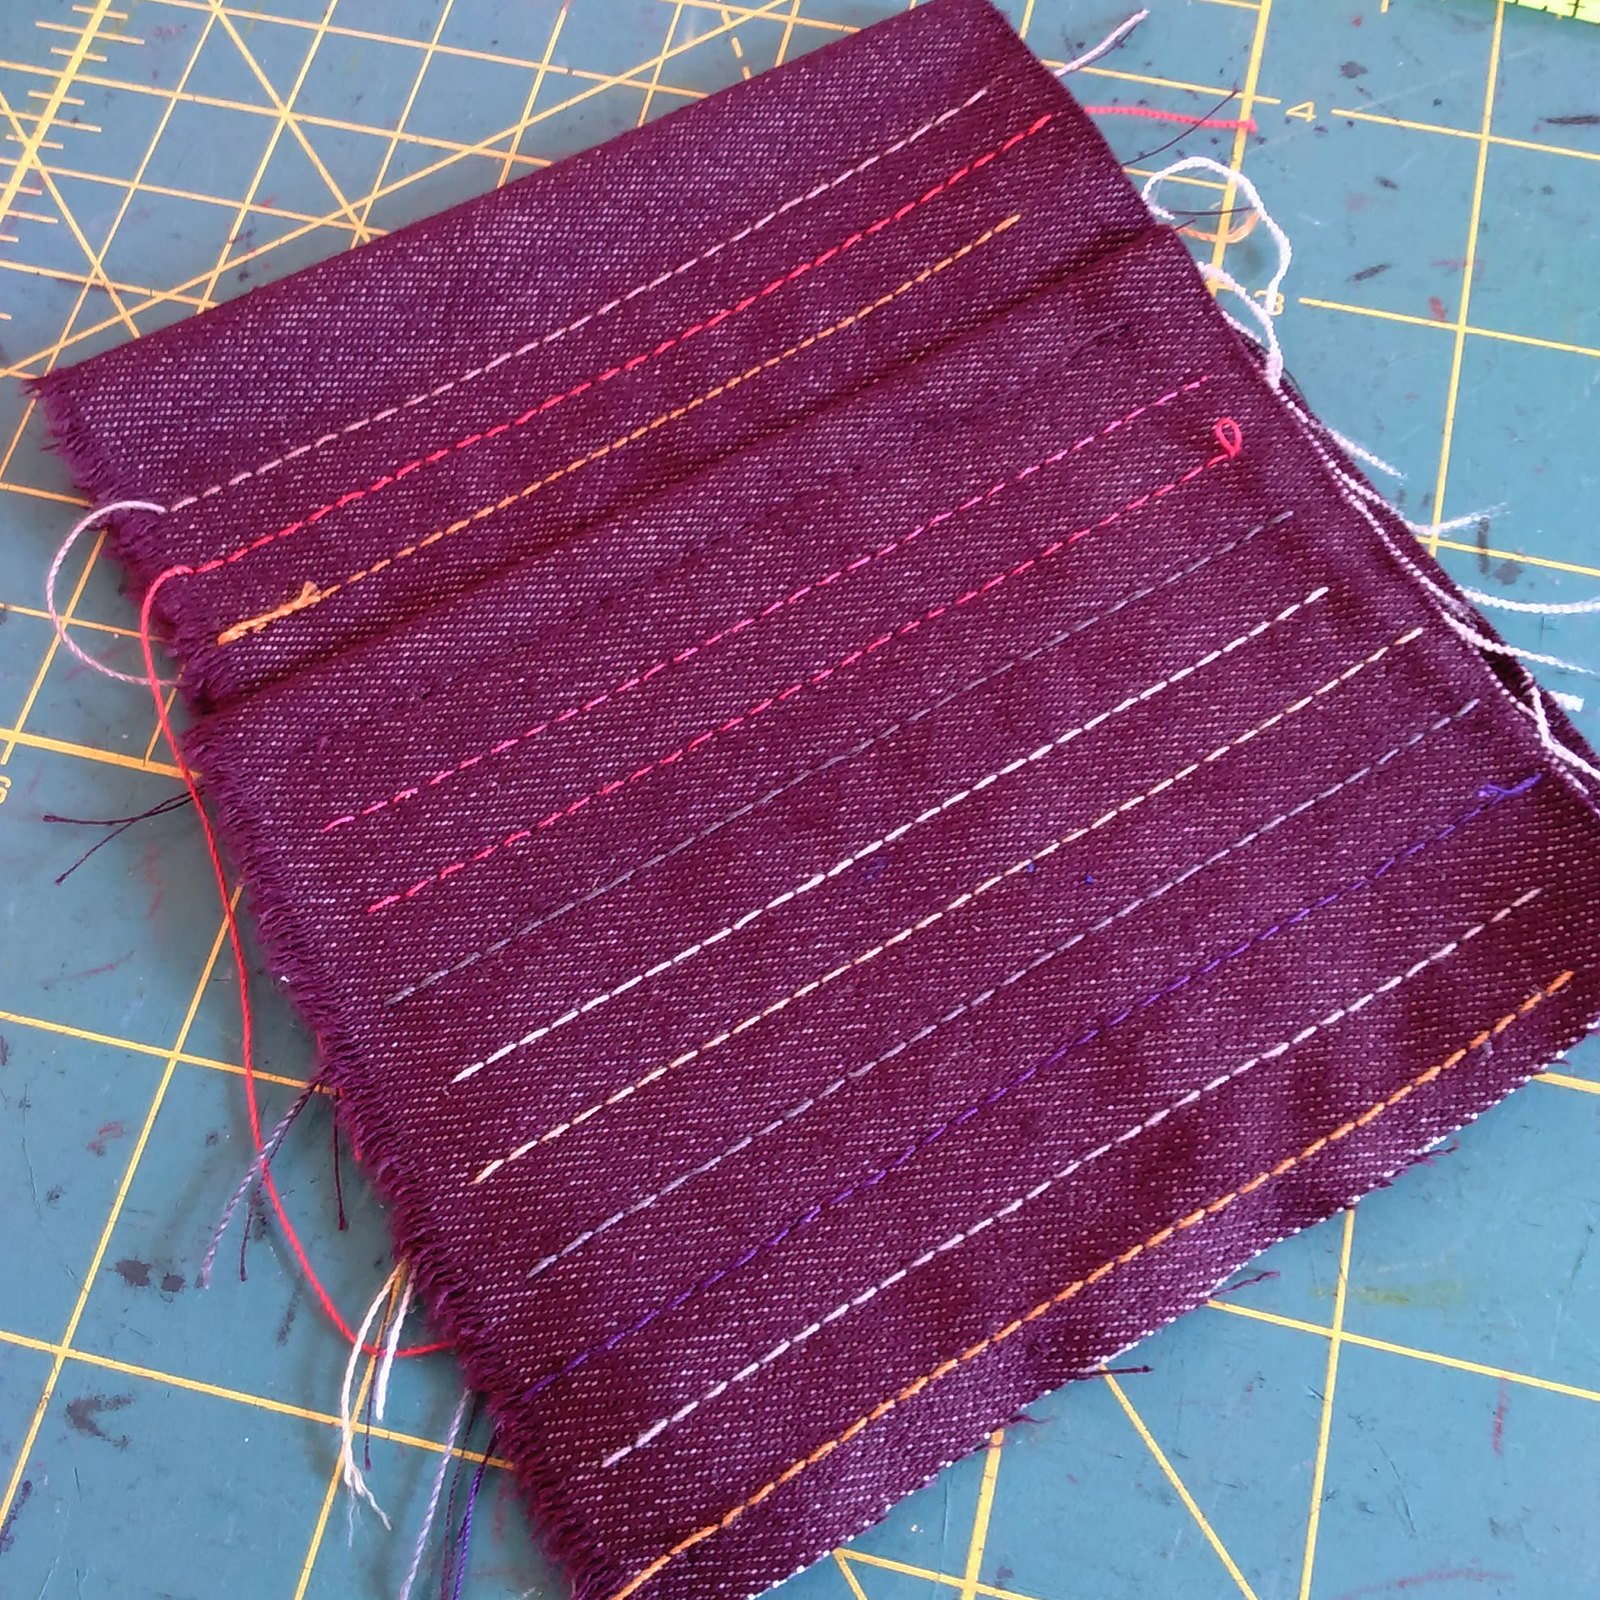
Sew, Jean Margaret had used pink topstitching thread on her purple jean jacket, so I auditioned that color as well as shades of gray, white, and neutral. The pink colors had strong support on IG, but I ultimately went with a color called "velvet fog" (from the 80 wt Wawak selection) that felt the most like "me" and also had a vaguely lavender appearance when sewn onto the eggplant colored fabric. It also has a high contrast with the fabric which makes it pop. The 80 wt thread is also super thick and really stands out, and one spool of that topstitching thread has 750 yards on it, which is fabulous.
Using bobbins as "spools" for the topstitching thread
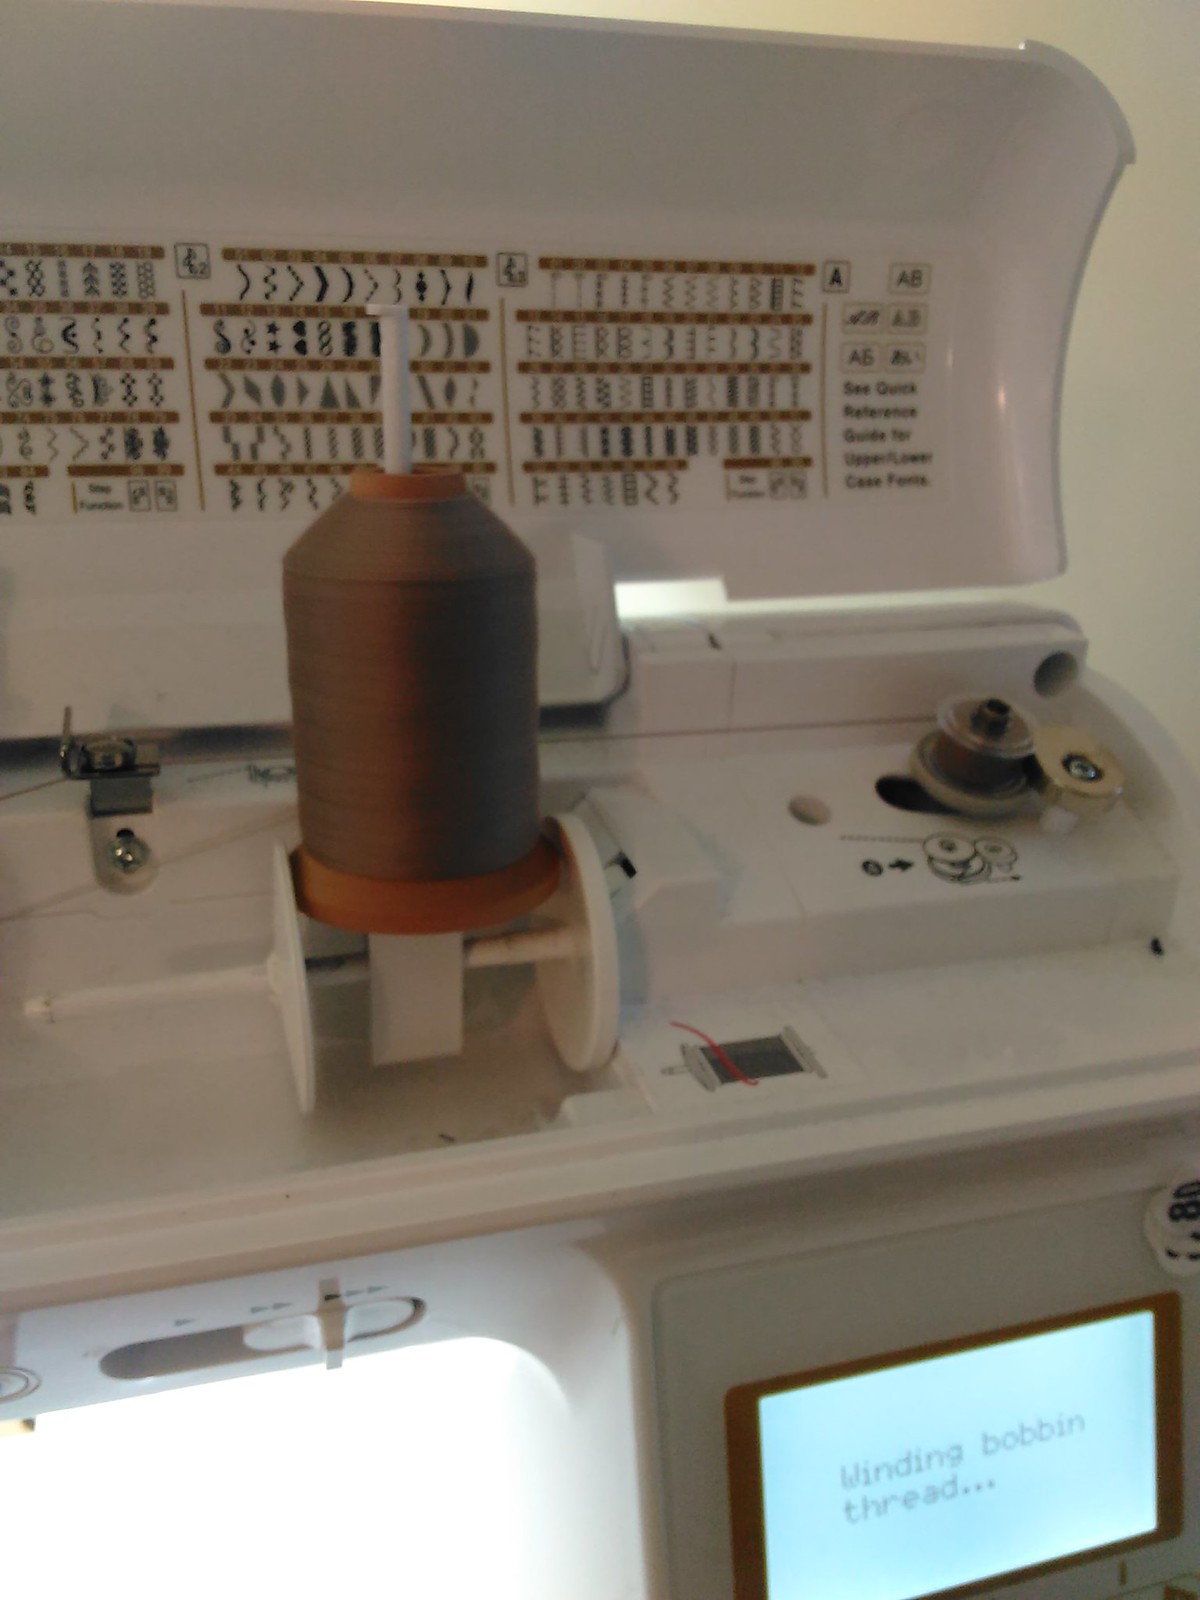
I had one wooden spool of the topstitching thread, but was going to stitch from two machines, so I wound multiple bobbins so that I could use the bobbins as "spools". This thread is really thick, so the bobbins wind up really quick (and then also run out just as quickly).
Two rows of topstitching: twin needle or a single needle stitched twice?
Janet is totally anti-twin needle; the StyleArc directions said to use a twin needle as much as possible. I wound up doing a combination of both twin needle and a single needle stitched twice, as below.
Hammer Time vs folded up fabric vs the Jean a Ma Jig
For some but not all thick intersections, I used a hammer to flatten the seam allowance (using a scrap between the fabric and the hammer) and a folded up scrap behind the presser foot to keep the foot level. For SUPER thick intersections, I hammered the seam allowance and used a Jean A Ma Jig (hump jumper) which worked like a charm!
Stretch Twin Needle Stitching
For any seam that was topstitched that was either straight or curvy, but did NOT have a corner ,I used a stretch twin needle (since I was using a stretch woven) on my Brother Project Runway sewing machine. I really needed help to keep the stitching straight, so I used the overlock foot that came with my BabyLock Soprano. The overlock foot has a wide and deep ridge on it that I could put the non-topstitched part under, and it fit under there really nicely, as the topstitched part is always on multiple layers (like the seam allowance is pressed under the topstitched part).
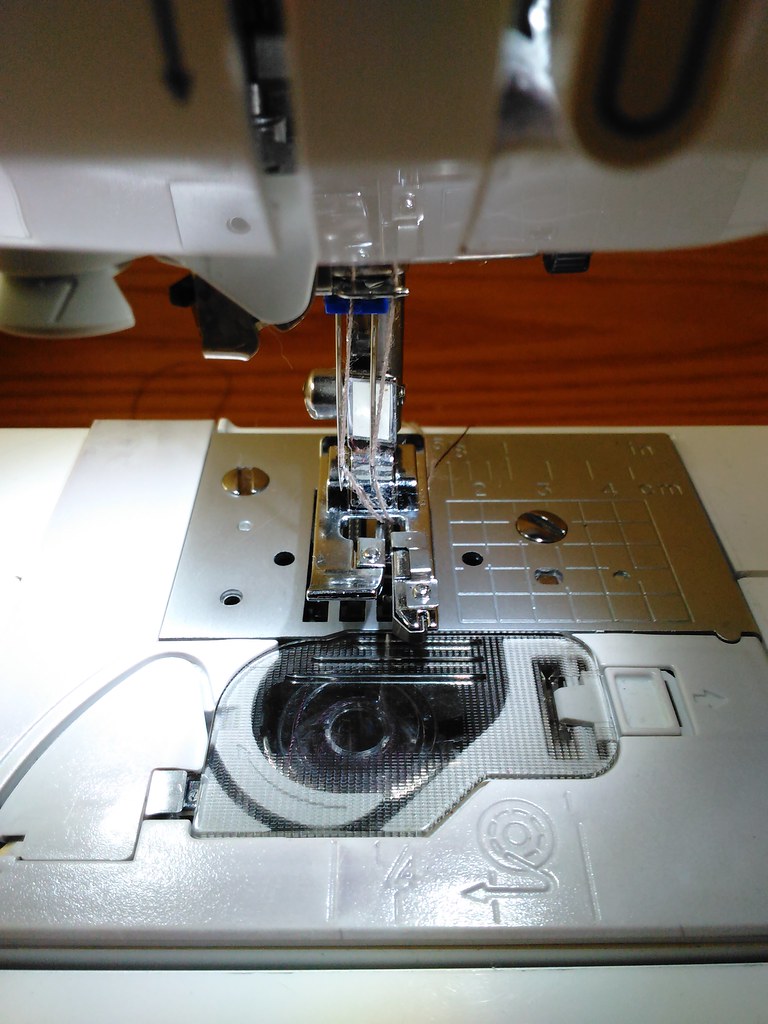
By some small miracle, the stretch twin needle I used just barely fit into the opening of the overlocking foot, on the 1.5 4.5 setting, which also made it the perfect distance from the edge.
I used regular Coats and Clark poly thread in color 3190 in the bobbin for all stretch twin needle stitching.
I will say it was not easy to get the topstitching thread through the eyes of the twin needle. This required a little bit of patience, as well as cutting the thread where it looked "the thinnest" and threading "the thinnest" part of the thread into the needle.
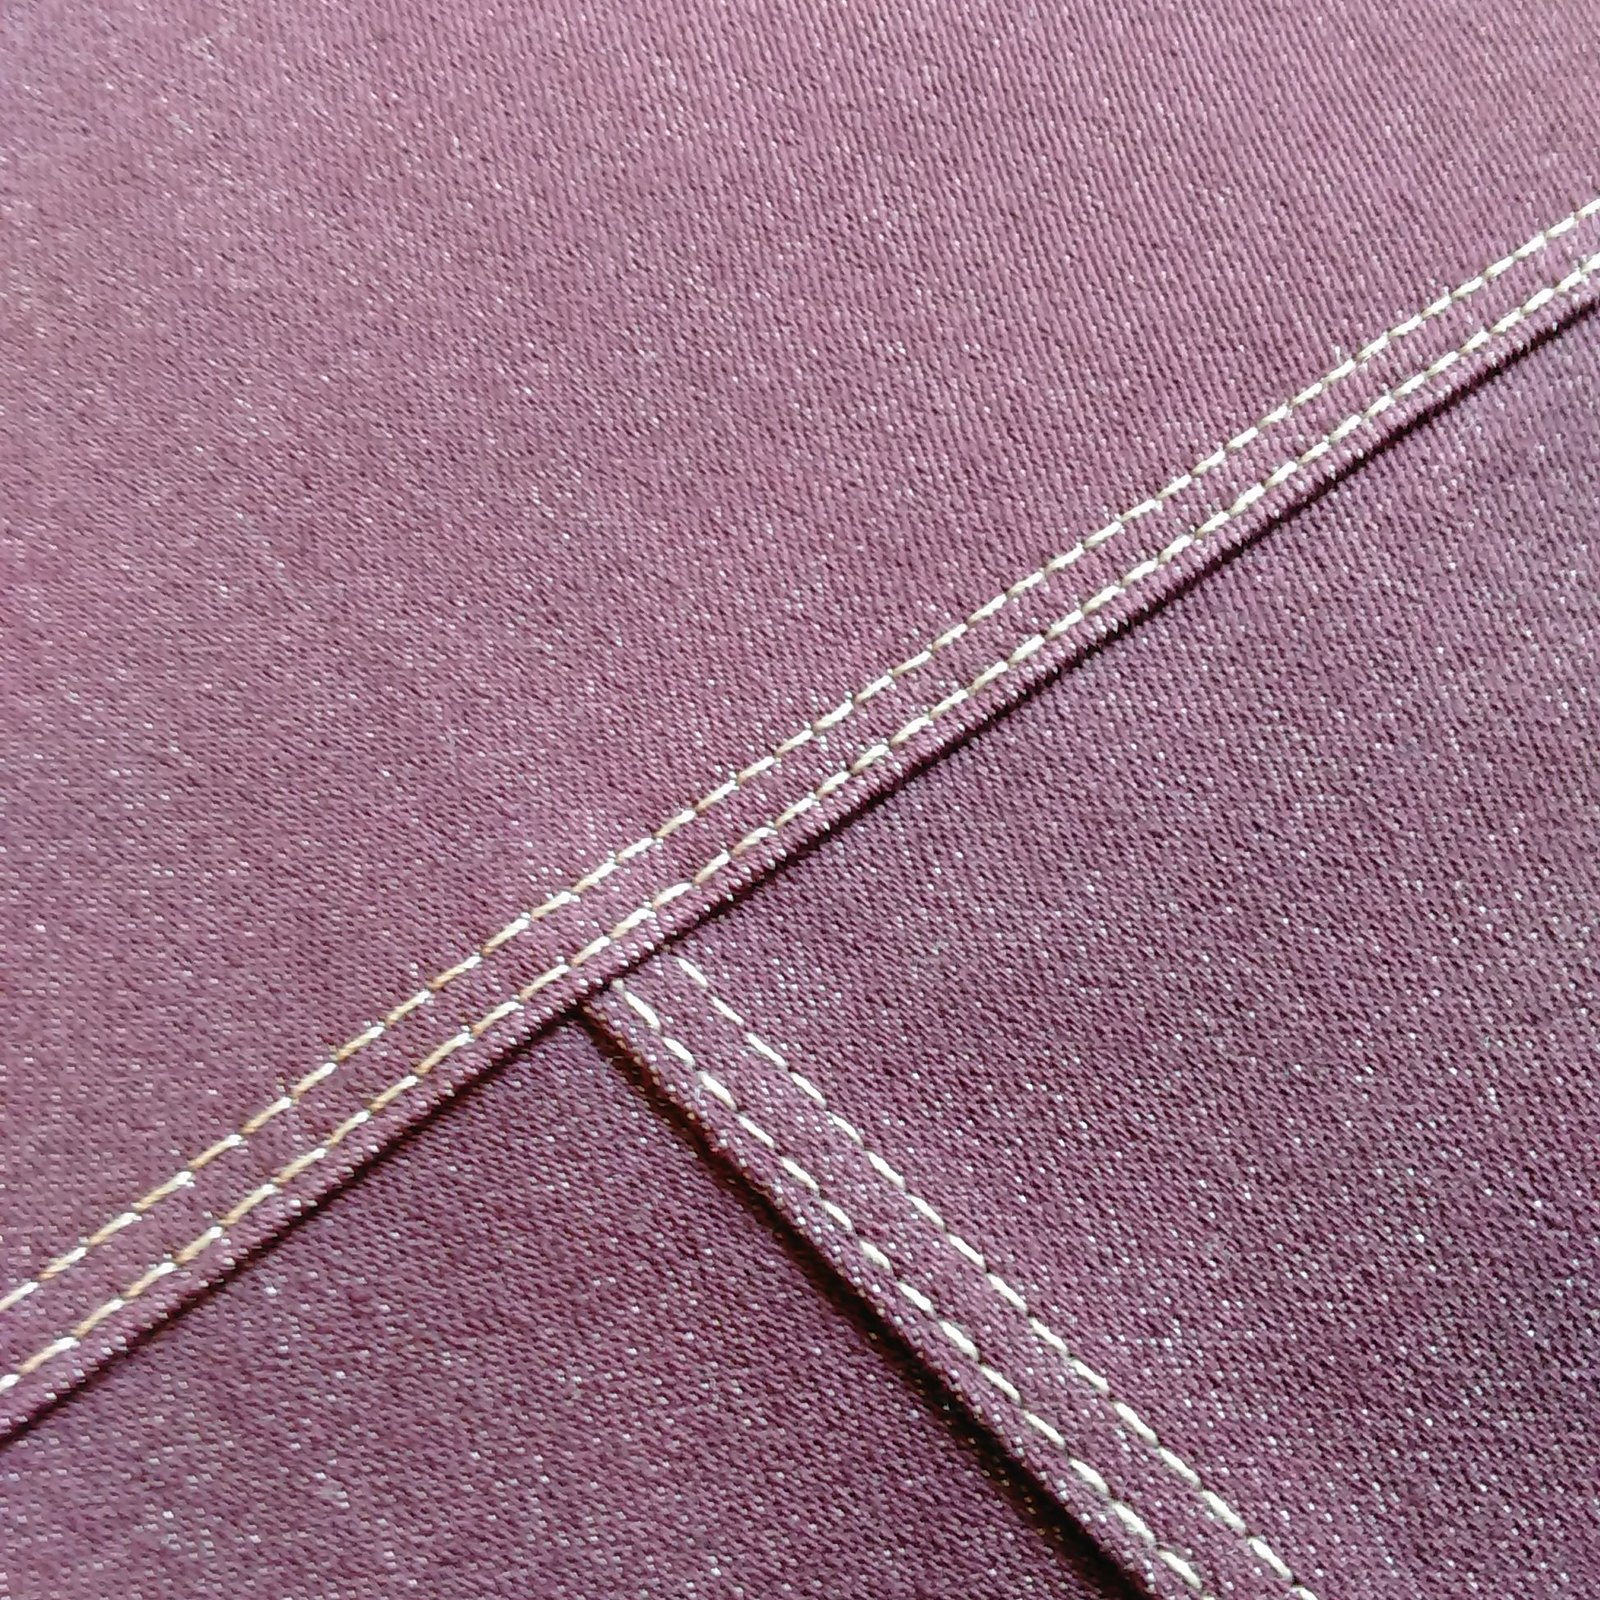
Also I could not use the thread cutter on my Brother, as it would seem to get jammed up so I cut the threads by hand. I actually put a sticker over the "cutter" button on my machine as a reminder to NOT press it.
When I started stitching, I held the long thread tails out of the way.
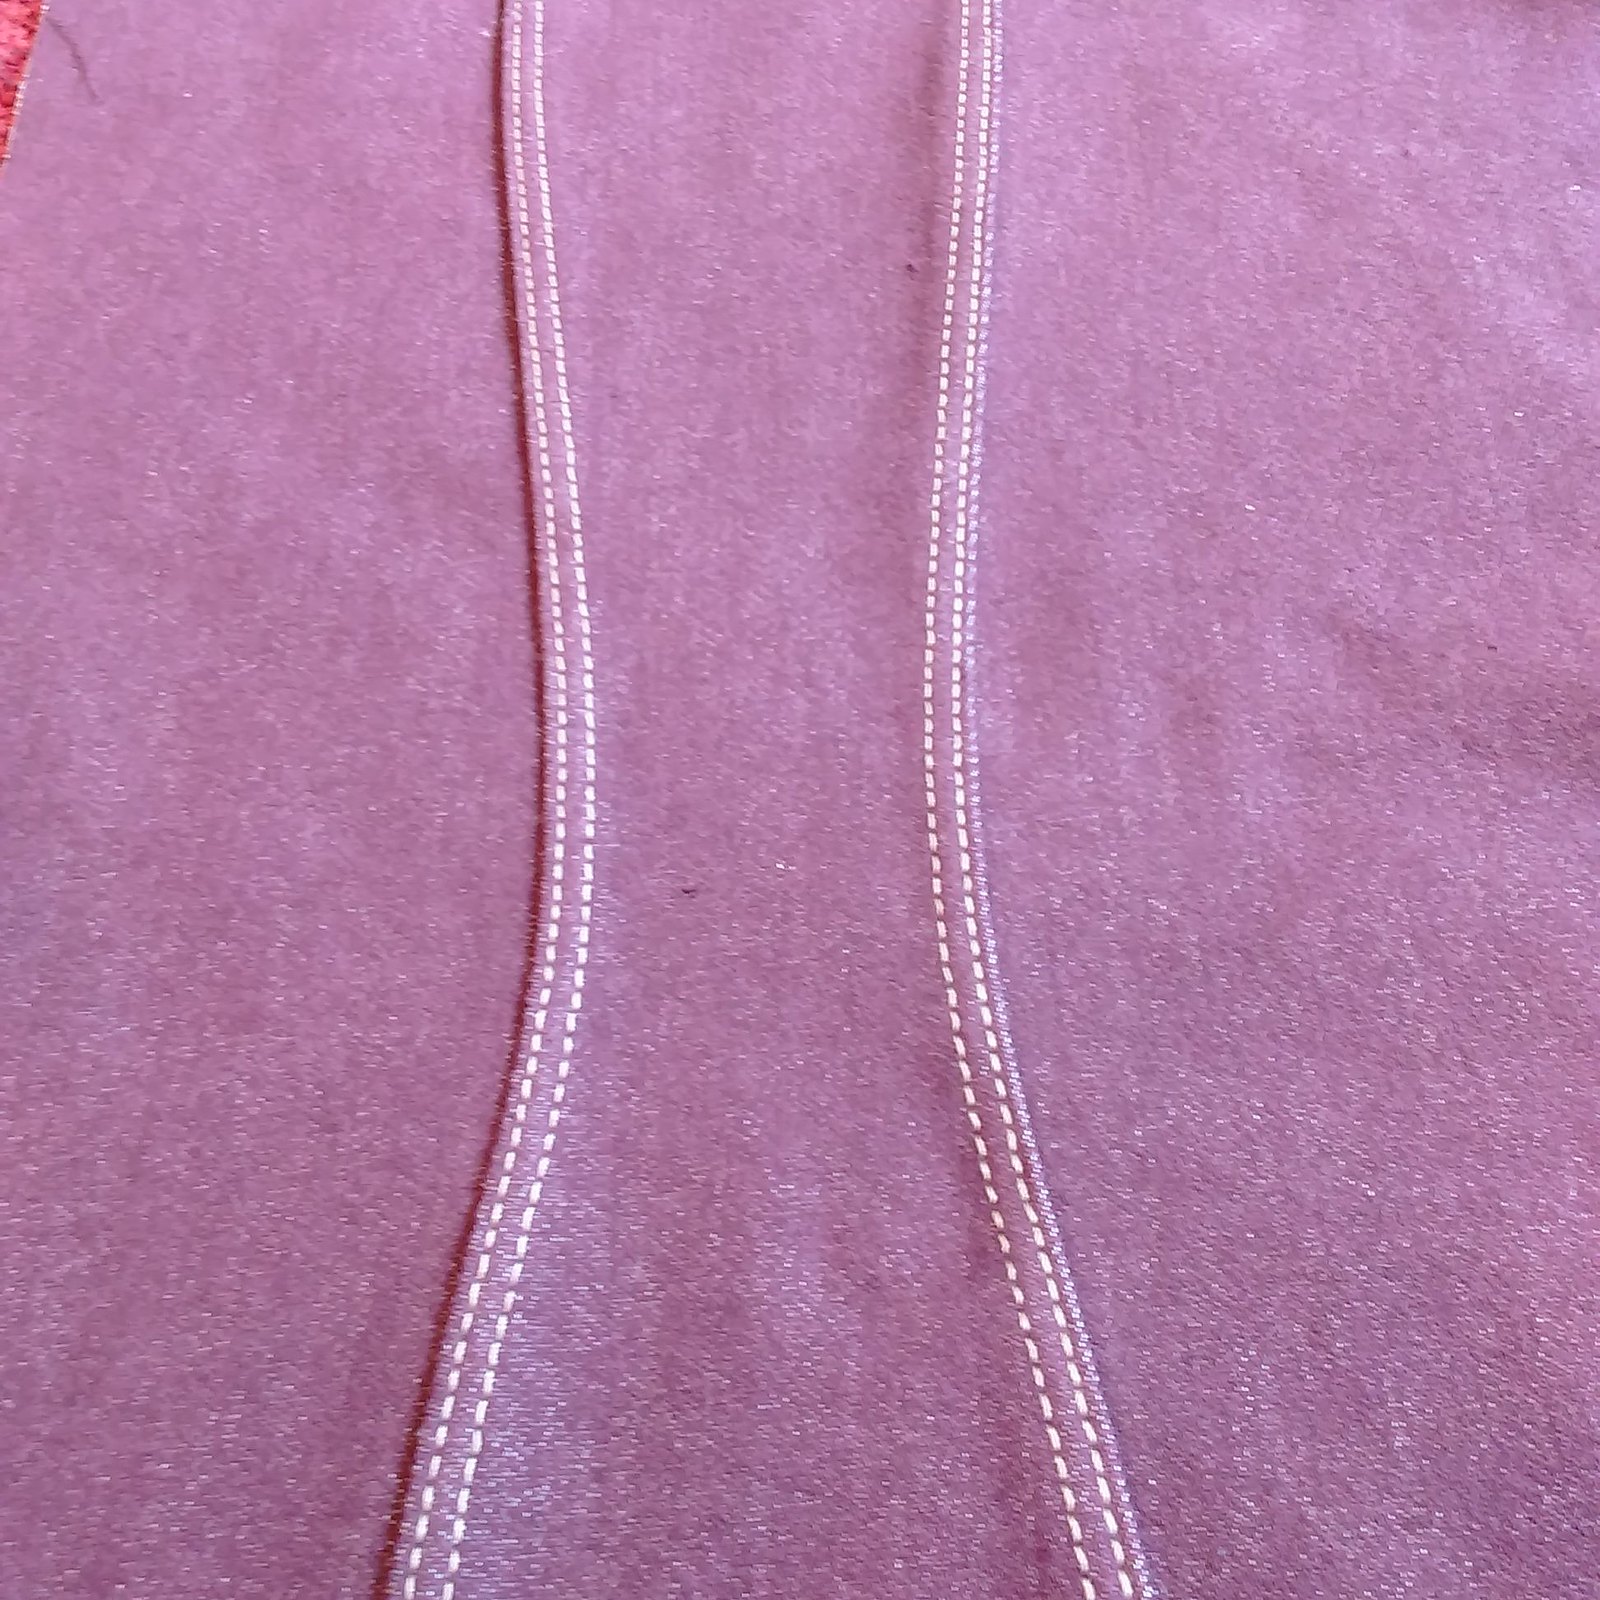
Single Needle Stitching twice
When I sewed my Jalie Eleonores, I had written that you can't pivot with a twin needle, and a reader said that you can. I really had trouble doing this, and definitely need to practice more. So instead, for any topstitching that had a corner, I used a single needle on my BabyLock Soprano, twice.
For the first pass, I used my "stitch in the ditch" foot which has a flange. I put the edge of the fabric up against the flange, and stitched at 0.5, 3.5, 4.0
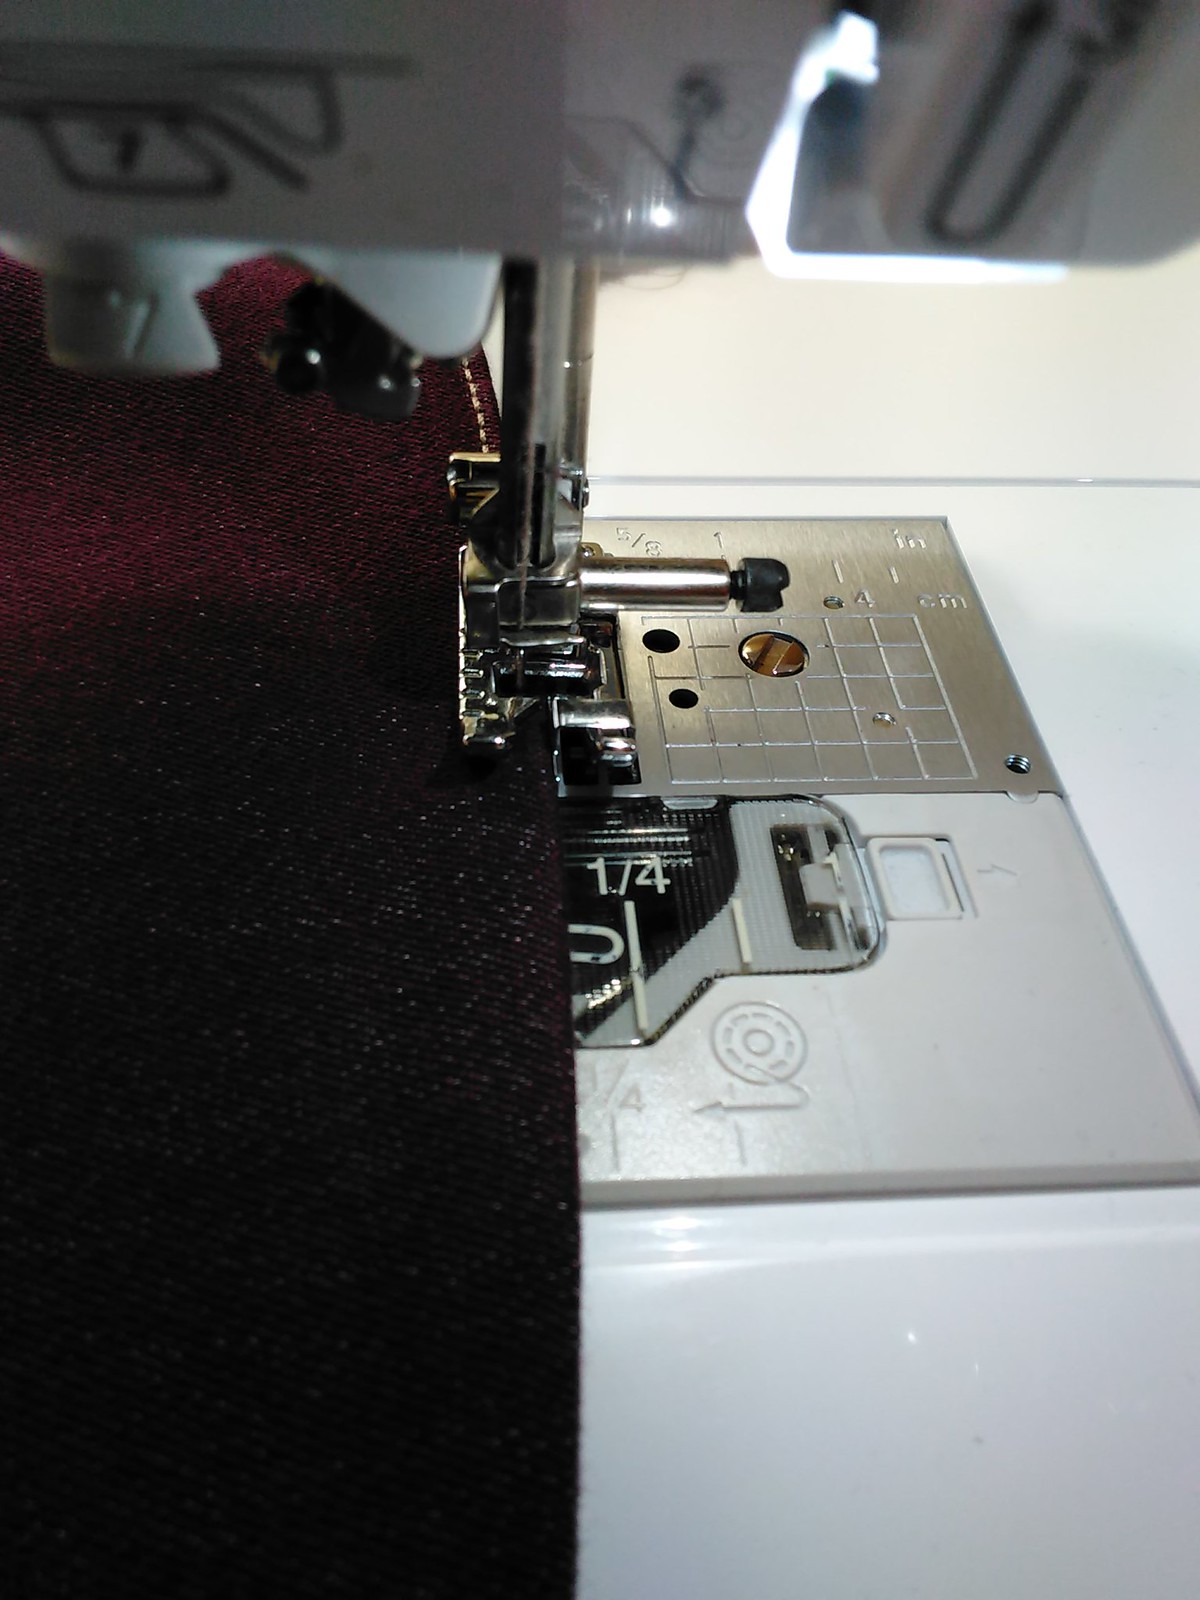
Stitch in the ditch foot
For the second pass, I used the quarter inch quilting foot that came with the machine. I put the edge of the fabric up against the flange, and stitched at 3.5, 3.5, 4.0
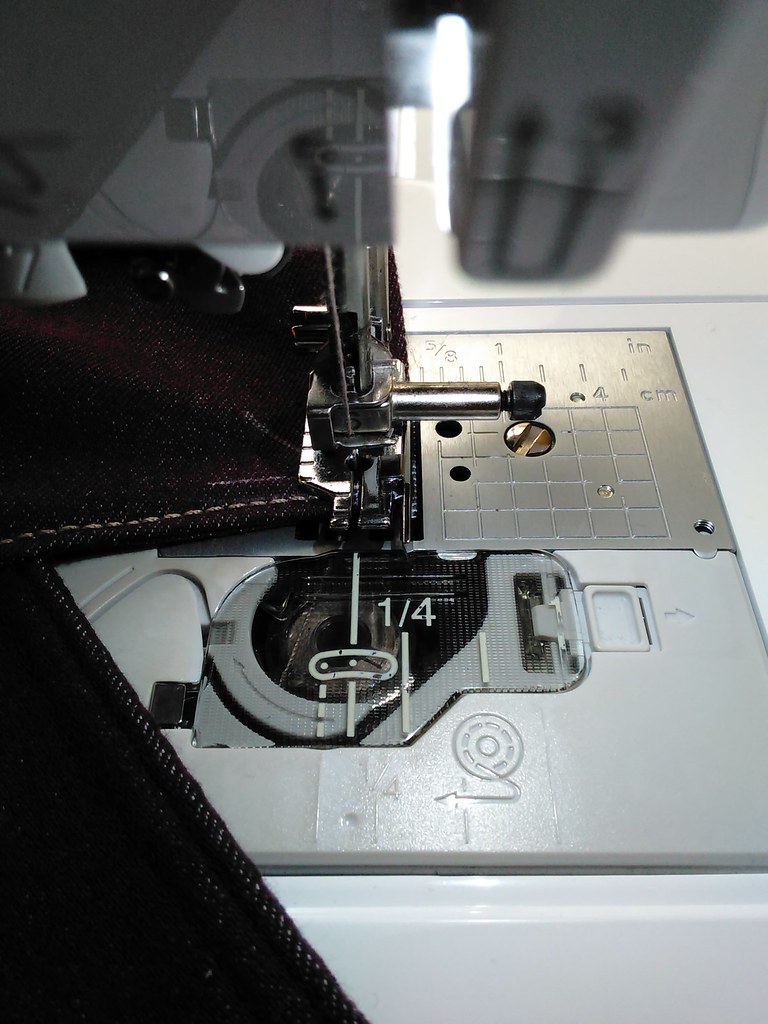
1/4" quilting foot
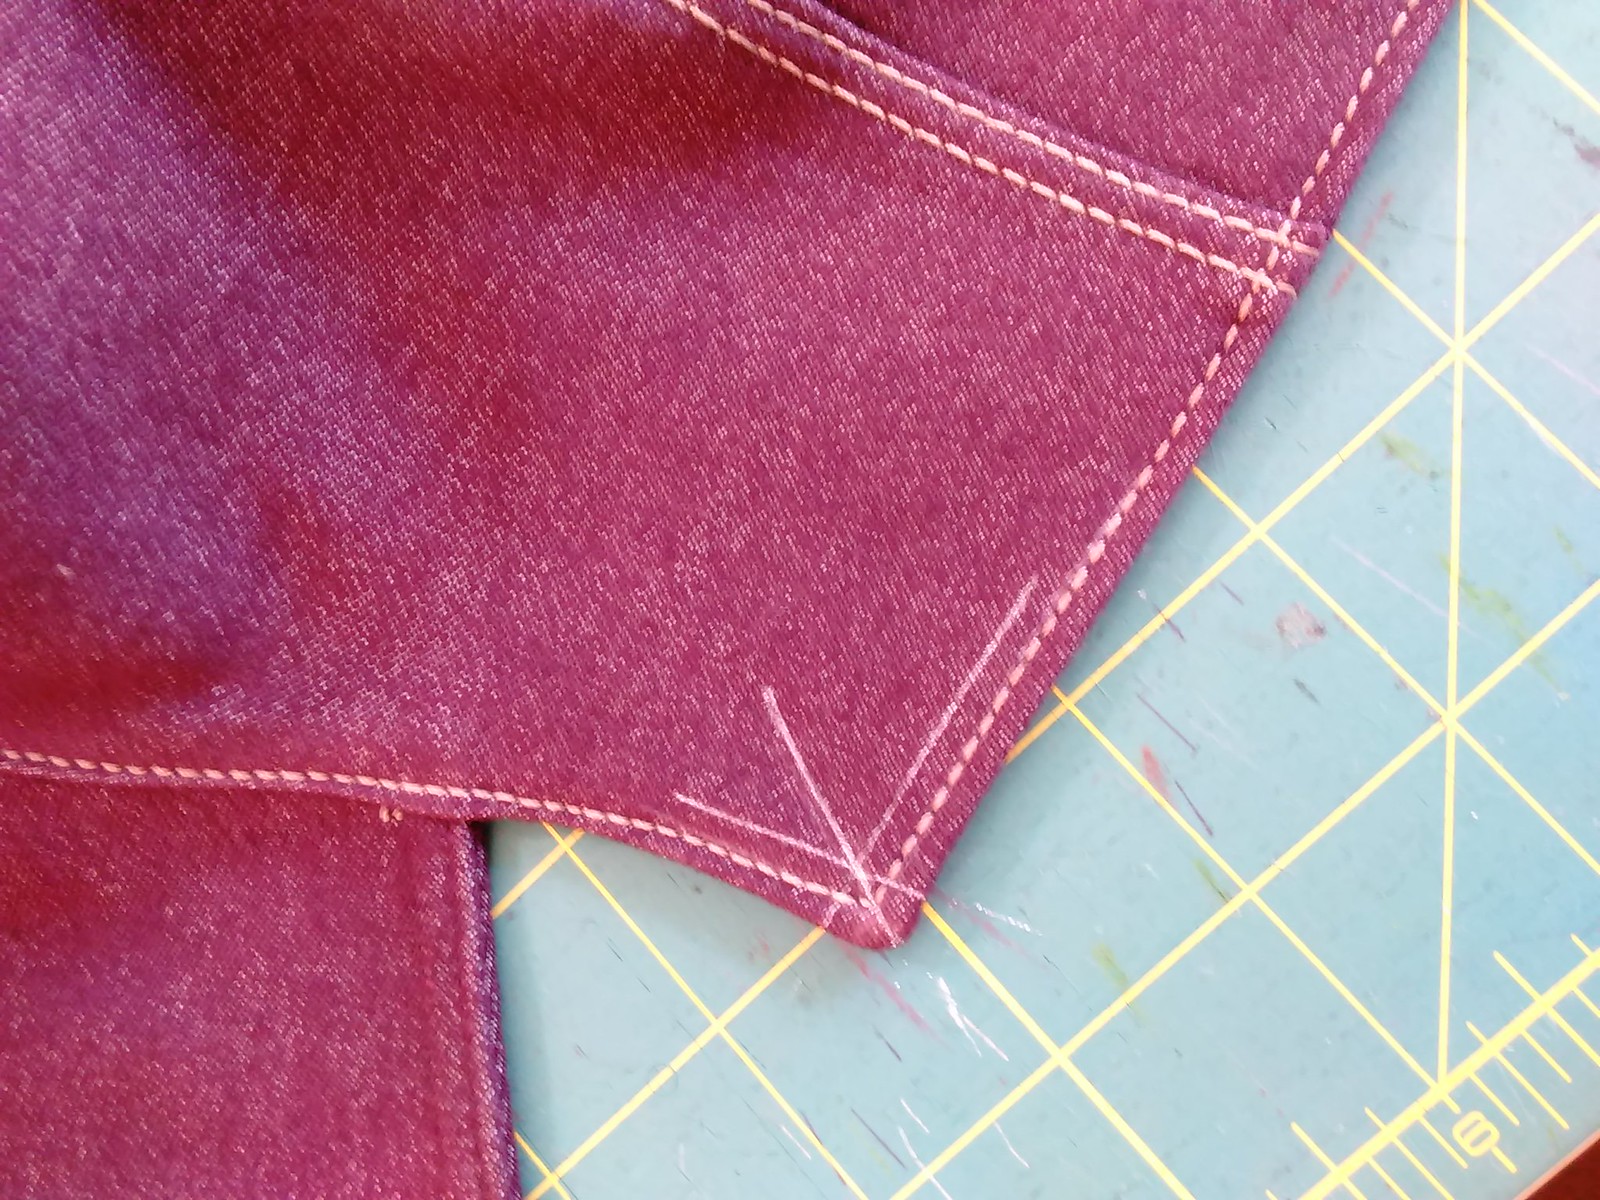
As far as knowing where to pivot, I drew with my Chakoner and a quilter ruler 1/8 and 1/4 from each edge with a diagonal line to show exactly where the corner is. Of course, when your stitch length is really long for topstitching, it is hard to "hit it" right on that spot. Sometimes it's a little short; sometimes it's a little long; sometimes you nail it.
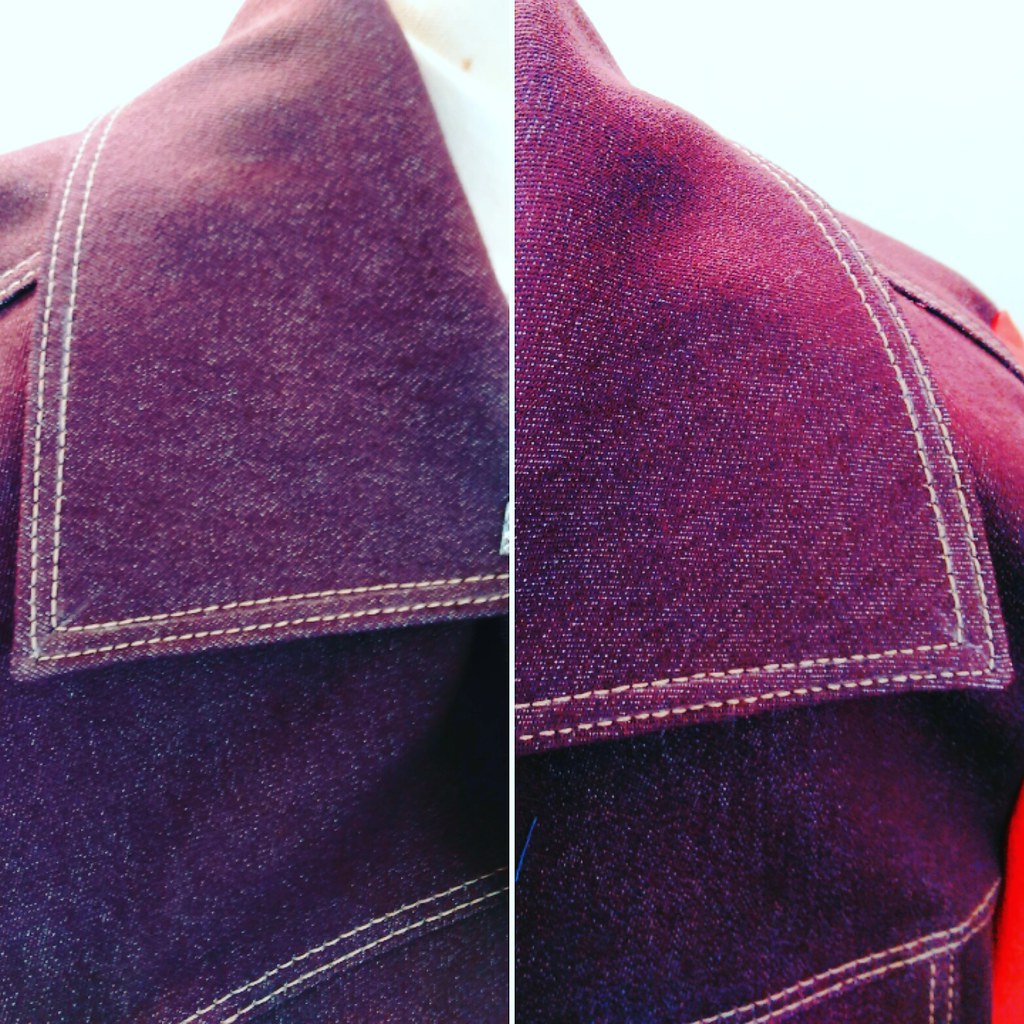
I tried a few different pocket shapes and also tried twin needle before using a single needle twice on the flaps, choosing the best ones, and calling it a day.
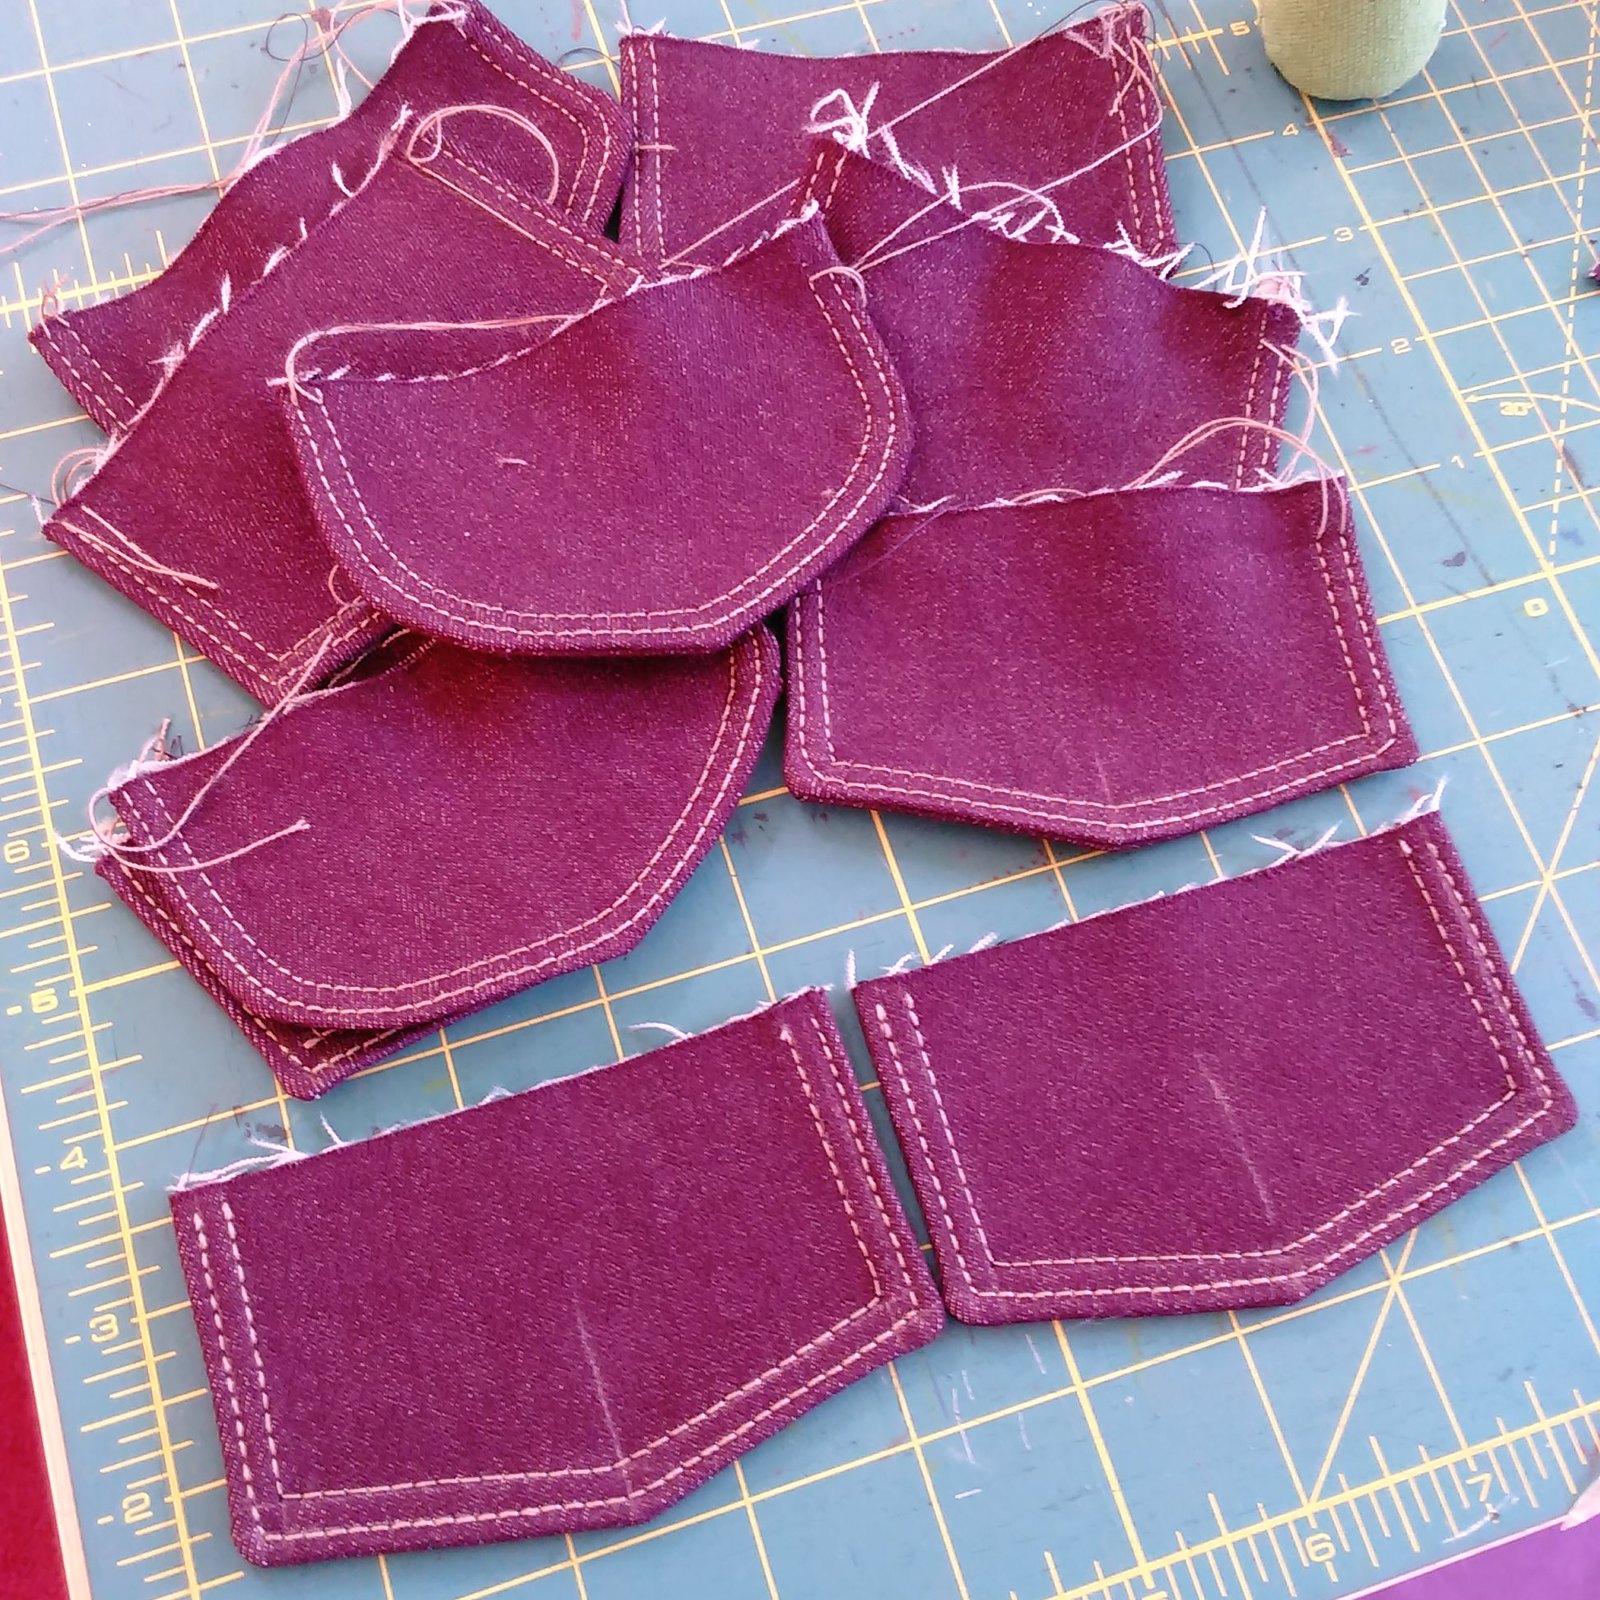
Since I used a size 14 topstitching needle for this, I could use my automatic threader and it worked just fine. However, I could not use the thread cutter (just like my Brother) as it didn't seem to want to cut the thread and so I cut the threads by hand. I also put a sticker over the "cutter" button as a reminder to not press it on this machine either.
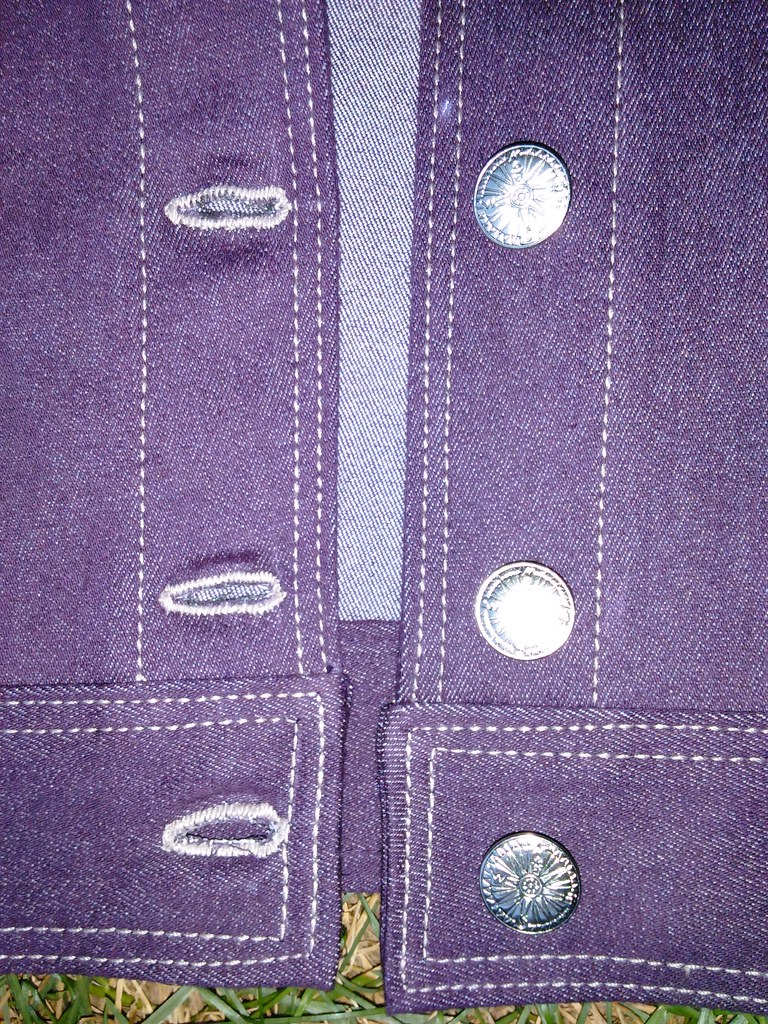
Admittedly, totally wonky stitching here on the corners, but most people are never going to look that closely, and it was the best I could do.
Single Needle Stitching just one row and using the "reinforcement" stitch to secure the stitching
The "placket" of the jacket had just one row of stitching down the front, so that meant the top of the stitching would be out in the open for all to see and not covered by a seam allowance (as most of the topstitching was--like those front panels--where the topstitching starts and stops is hidden within the seam allowance as the jacket is sewn together. For those places I did not reverse and go forward like I normally would--I just started stitching, holding the long thread tails while I stitched.)
So, for the single needle row of stitching down the sides of the placket, instead of starting going backwards and forwards, I used the "reinforcement stitch" on my BabyLock Soprano, which creates a really cute little knot. I used Fray Check on this knot to help.
I put a piece of painter's tape on the bed of my sewing machine 1 3/8" from my needle to stitch that topstitching row, 0.0, 3.5, 4.0
Single Needle Stitching just one row and using backwards/forwards to secure the stitching
When topstitching the band, the reinforcement stitch didn't look so hot, so there I stitched forwards and backwards, then used Fray Check on that area as insurance. I also started and stopped the stitching on the side seam, which felt like the most inconspicuous place.
Single needle topstitching on places where the topstitching would show from BOTH sides
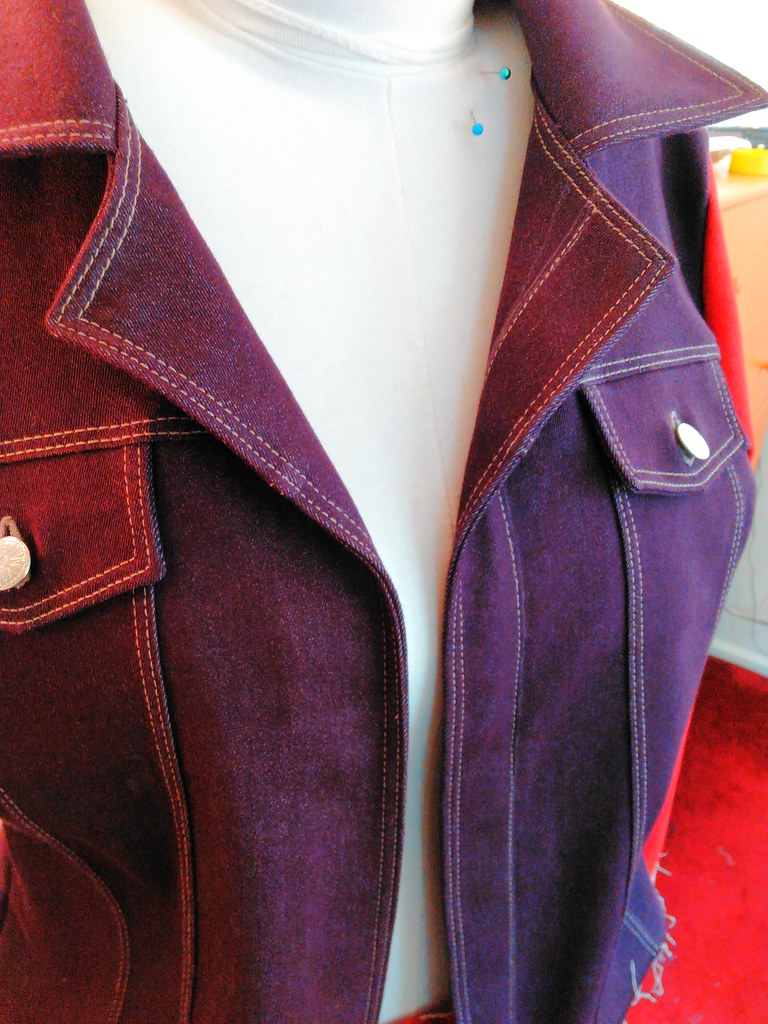
When the topstitching would show from both sides (like the placket) I used topstitching thread in both the bobbin and the needle. Normally I would use matching regular thread in the bobbin but I had no regular thread that matched "velvet fog" and didn't want to drive an hour round trip to Joann's so I used the topstitching thread in the bobbin too and it worked! Don't use the threadcutter! Keep the tails long and hold them out of the way when stitching so it doesn't create a messy ball of thread on the back.
Topstitching on interfaced vs non-interfaced areas
I had not interfaced the cuffs and honestly, the topstitching does not look as good there as it does everywhere else, which was either interfaced and/or stitched on top of the pressed seam allowance. Next time I will interface the cuffs too.
(NOTE: The StyleArc pattern says NOTHING about using interfacing. I interfaced the collar, placket and pocket flaps, and next time I will interface the cuffs too.)
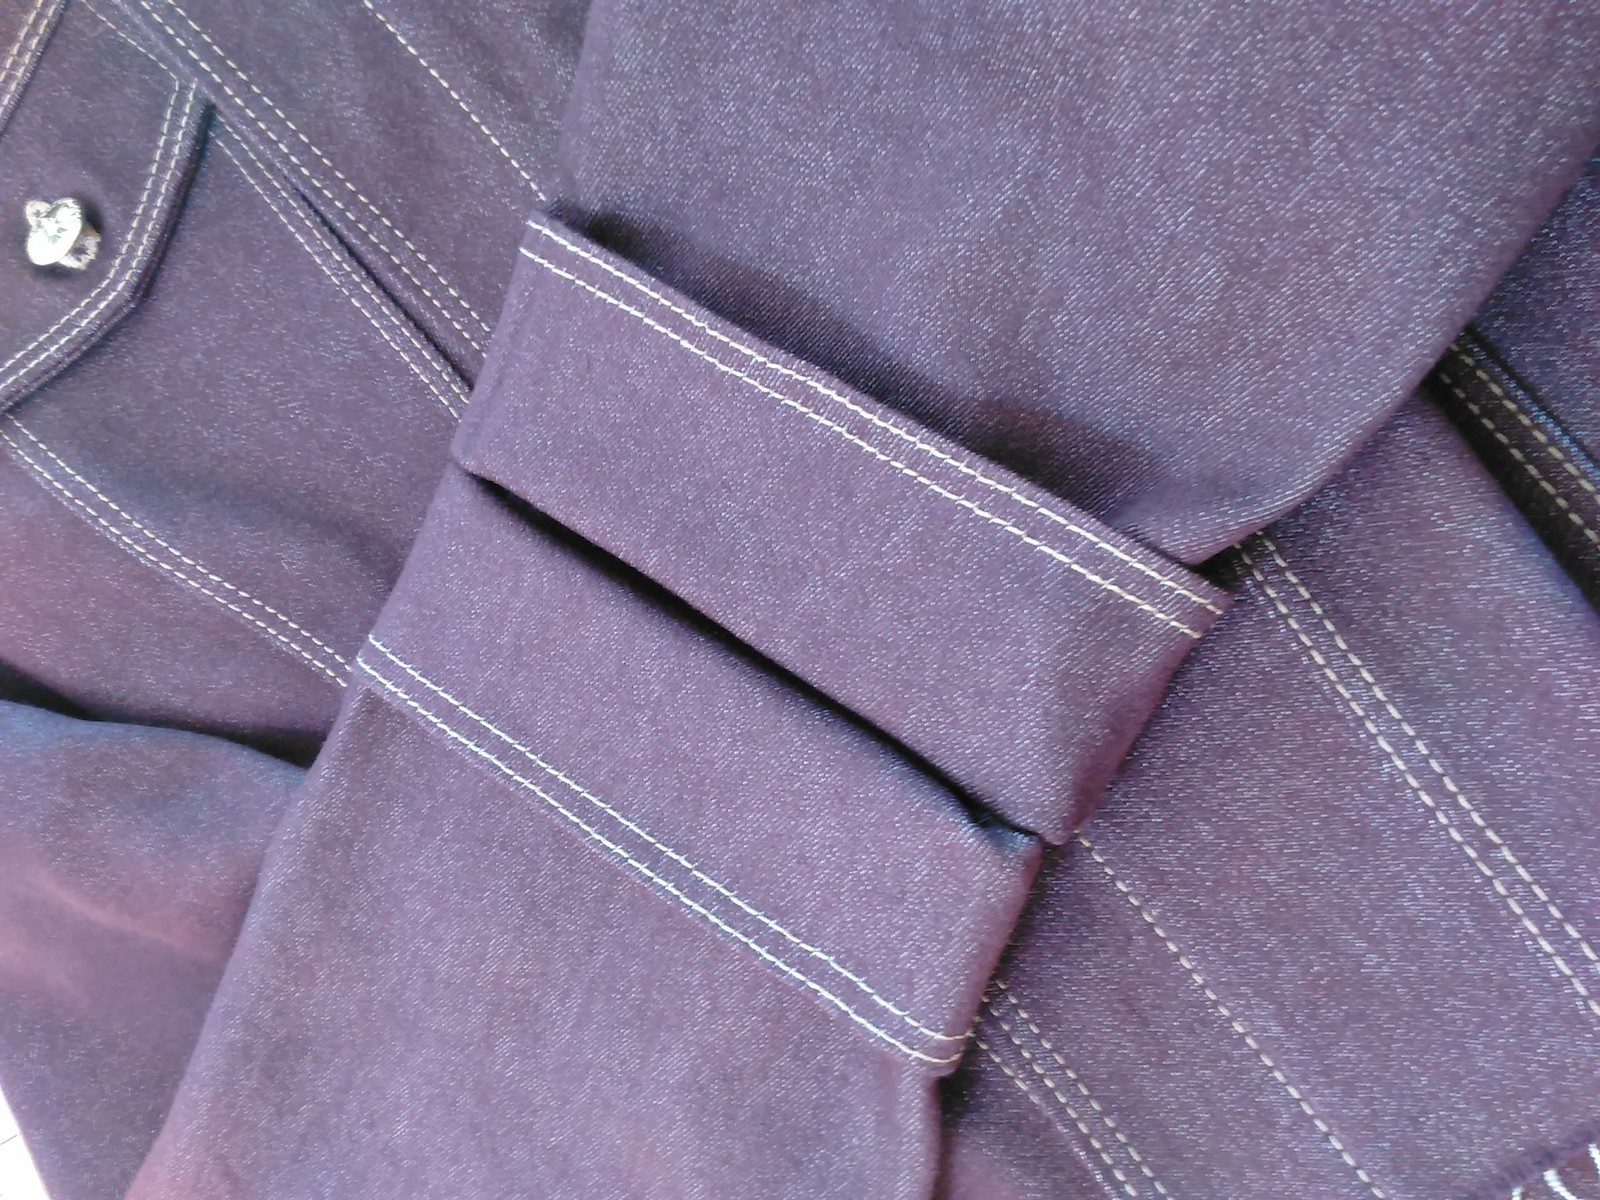
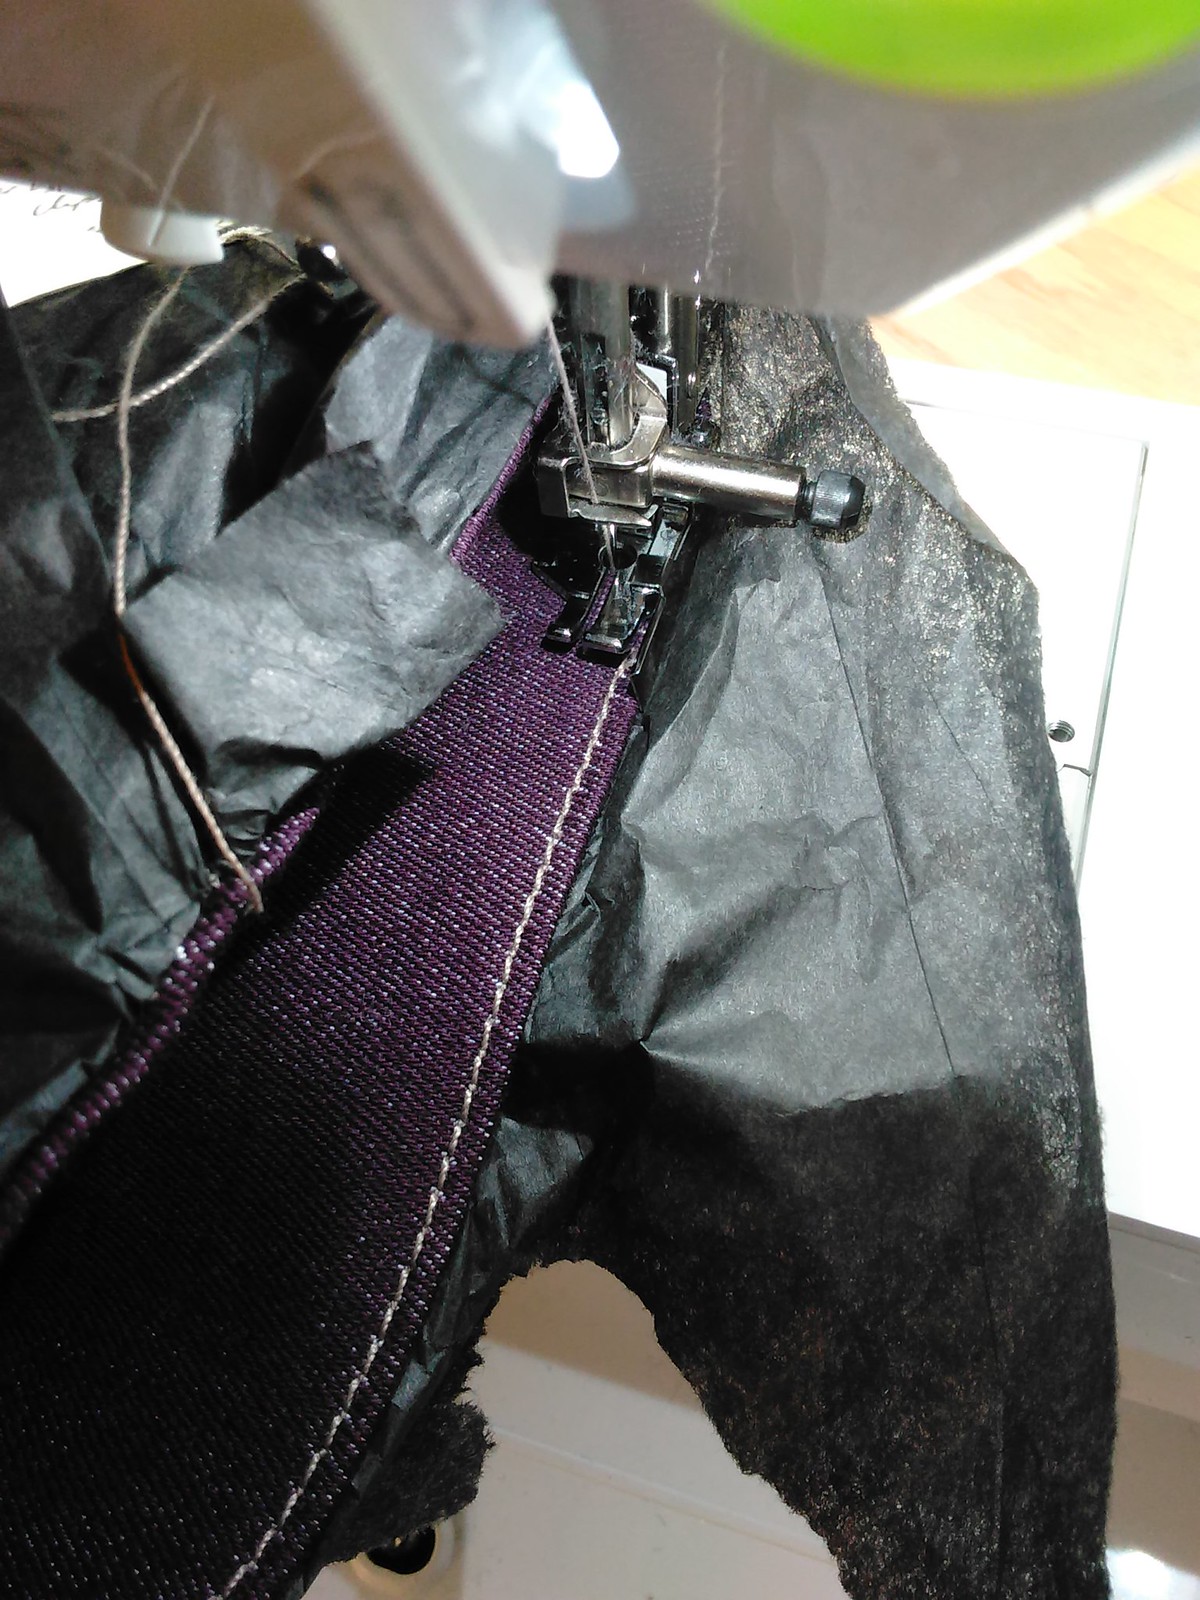
I totally forgot til seeing this picture, I used the "tissue paper" method to keep the cuffs from stretching as I stitched. If I had interfaced them, I would not have had that problem!
Undoing topstitching
I am a perfectionist so I got a lot of practice ripping out topstitching. Basically, I took my tiny scissors and cut every other stitch, then pulled the fabric apart to release the stitching, and used the Seam Fix rubber thing to help pull out the stitching. There are parts that are definitely NOT perfect, but I tried 2 or 3 times and felt this was the best I could do. Looking at my 3 RTW jean jackets, they are not perfect either!
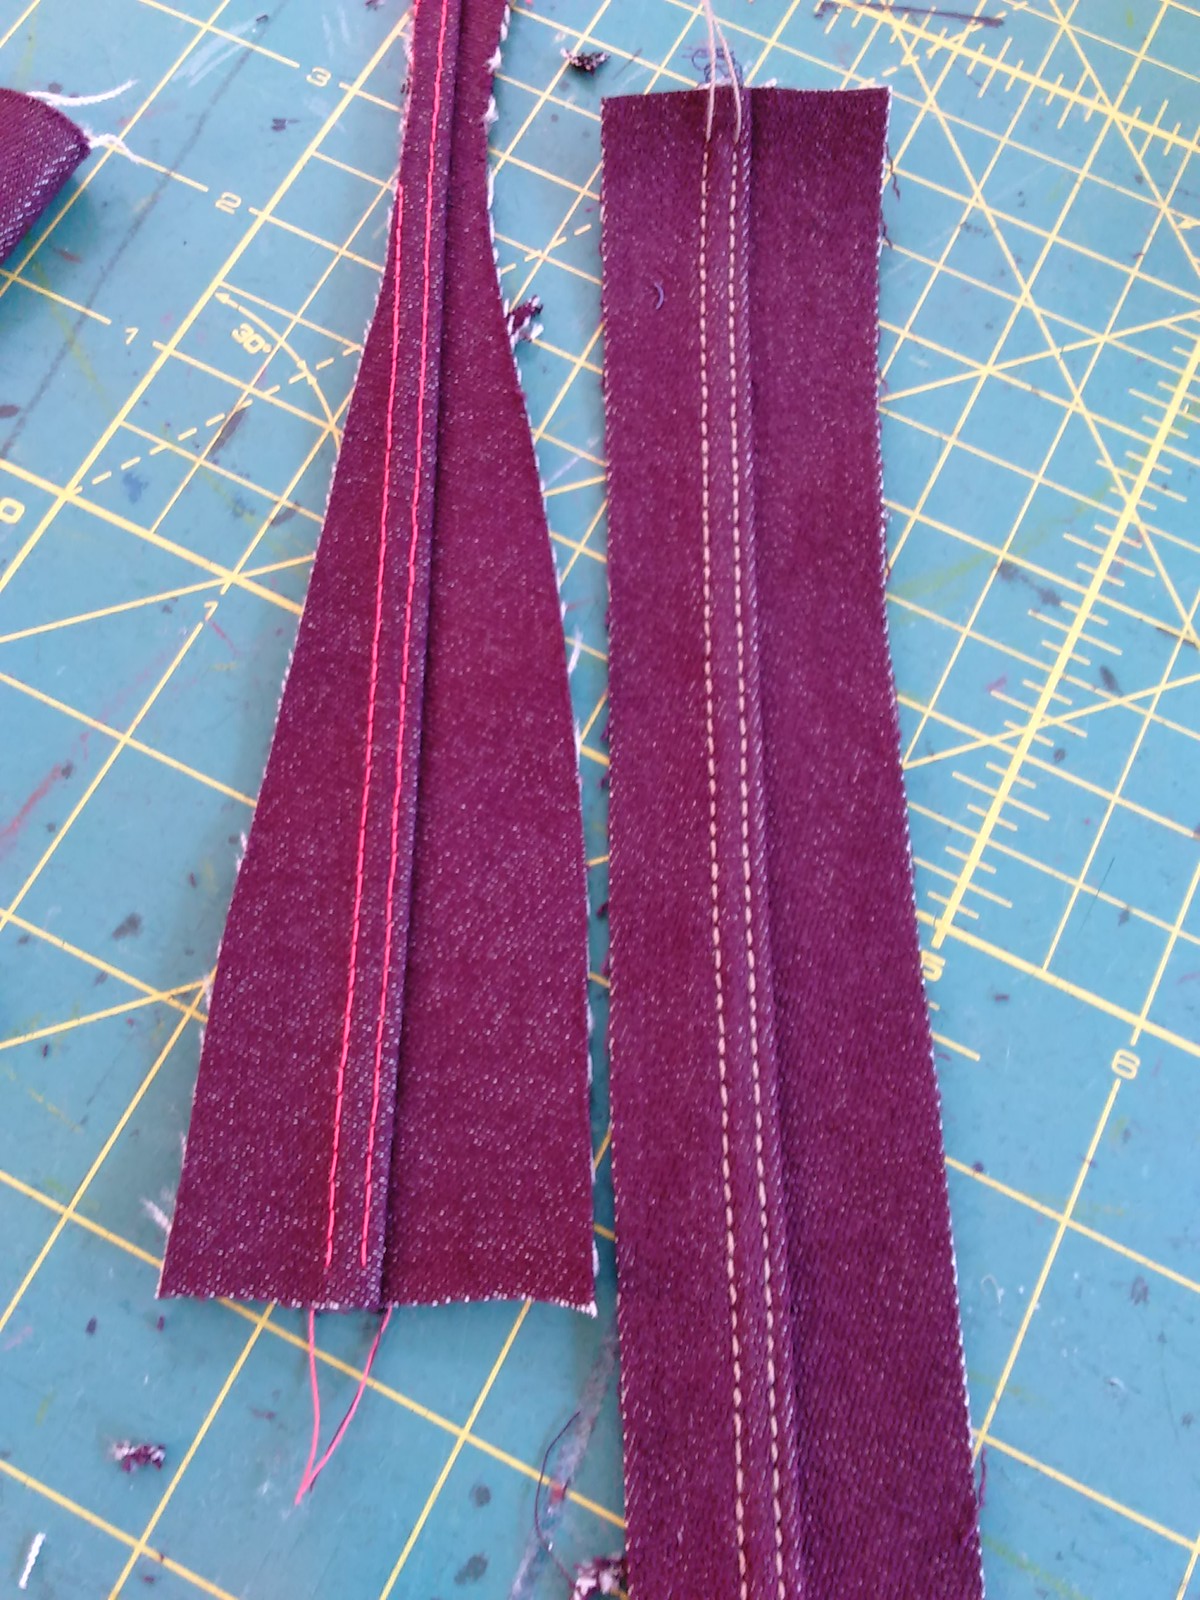
Also I did a lot of samples first too, to make sure I got the length and needle positioning down first. Mainly when I ripped out topstitching, it was because I didn't "hit" the corner right or the two rows of single needle stitching were obviously out of alignment with each other.
Next up...
Next post, I'll talk about how I turned the faux pocket flaps into real pocket flaps by adding real pockets.
Be well!

Wow such great details. I love your jacket - it looks terrific and so close to perfect it's not funny. I see many RTW that is crooked or badly done and it stands out, but when I am with non sewers they just see the piece of clothing! Thanks for these in depth reviews.
ReplyDeleteNice insight to your jean jacket construction!!
ReplyDeleteWow Kyle your standards are amazing! I would never have the patience for all that, but it looks superb. Definitely bookmarking for future reference.
ReplyDeleteHoly cow that's some perfect and impressive stitching!
ReplyDeleteHoly cow that's some perfect and impressive stitching!
ReplyDeleteYour topstitching is amazing. Beautiful work!
ReplyDeleteI'm just getting caught up on sewing blogs this afternoon. This jacket is phenomenal!
ReplyDeleteAppreciate the "up close and personal" look and detail of your top stitching. I think it looks fabulous!
ReplyDeleteWonderful post which is a mini lesson on topstitching~thank you Kyle. I love the jacket and admire your accuracy.
ReplyDeleteDid you have trouble using the twin needle threaded with the wawak heavy thread when topstitching? I would think the needles aren't strong enough to pierce several layers of denim, whether or not given the hammer treatment. Otherwise, beautiful results from so much testing!
ReplyDeleteNow, I am even more impressed. Wow!
ReplyDeleteOh my. I'm so impressed! I just cut out my jacket and now I think I'm going to do a muslin. I don't have a serger or any of this fancy equipment but I do have a twin needle, which I've never used, as it came with my new Brother sewing machine. Luckily I'm not a perfectionist. I'm thinking about doing flat-felled seams instead but the seam allowances are not wide enough. I think there will be plenty of room at the bust line but not sure I can lose the width at the hips as I'm kind of an apple. I used an 18 at the top and swelled it out to a 24 at the bottom. If I use 5/8 inch seams instead of 1/2 inch I will lose about an inch altogether. Wish I'd thought of this before I cut it out. I love the way flat-felled seams look inside and out, but maybe I shouldn't use contrasting thread! :-)
ReplyDelete