Showing posts with label flowers. Show all posts

Saturday, December 17, 2016

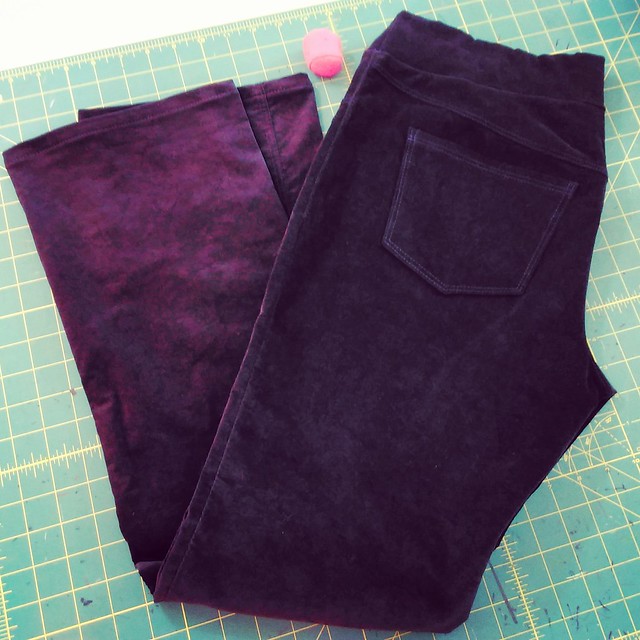
Jalie 3461 Eleonores in stretch velveteen

IMG_20161212_205115

I made the Jalie 3461 Eleonores (stretch pull on jeans with faux front pockets and faux fly) back in May, in red.  Now that the temps have dropped, I wanted to make a pair in stretch velveteen.  I went into the stash last weekend, and emerged with this dark midnight blue fabric.  Purchased during that brief period of time when I actually labeled my fabric, it's 3 yards from Chic Fabrics, circa Nov 2013, for $3 a yard.  This fabric was more on the order of 45" wide, so unlike my Jalies in May, 1.5 yards would not be enough.   3 yards was plenty.  I had 3 other velveteen pieces in stash, but two pieces were not stretch and the other piece that was stretch was not long enough to make pants.

I wrote extensively about making the red Jalies in May.  All the gory details are in this post.  If you are a pear shape and want to make these pants, I highly recommend reading that post  (I have a 10" difference between my waist and hips).  If you are a rectangle, don't bother.  The pants will most likely fit you right out of the envelope with little tweaking.
IMG_20161213_084553
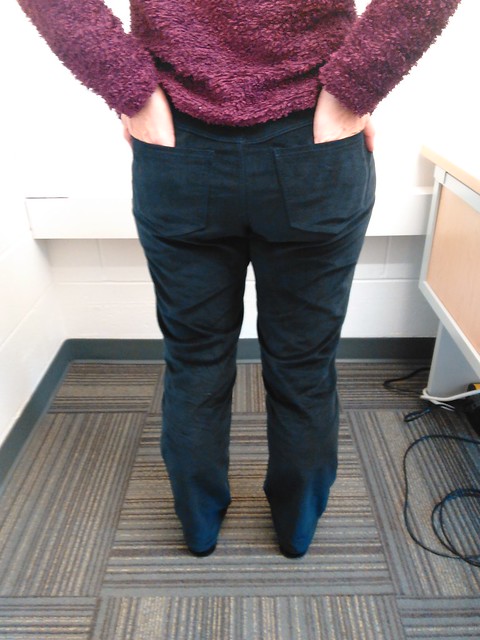
This shot makes me laugh but there you go--functional back pockets!

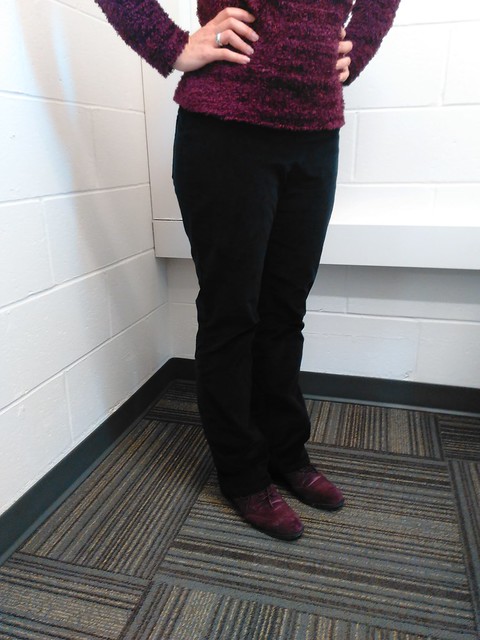
Since I already had the curved yoke that I made last time, I forged right ahead.  I had to make the waistband 3x to get it just right.  My advice to myself for next time is when I try on the pants before putting the waistband on, make sure the fabric of the top of the pants is against my body, all the way around my body...ultimately I did take out a 3/4" pinch from the top at the CB seam grading to nothing where the yoke meets the rest of the pants.  When I tried pinching out some of the excess at the side seam, it created a really ugly lumpy effect.
IMG_20161213_084535
I really should fix the pattern to add more width to the fabric below the knee on the front and subtract an equal amt from the back...but I didn't!

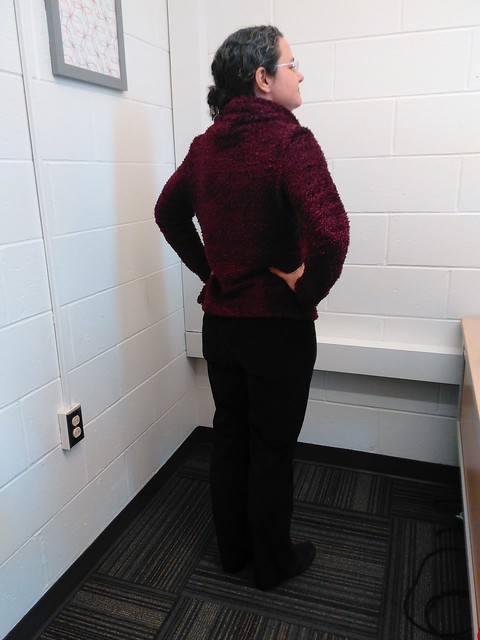
It is really hard to photograph dark fabric.  Some of these photos have a filter applied, and some do not.
IMG_20161213_084541

This fabric does relax a bit during wearing, but it's not overly relaxed.
IMG_20161210_213349
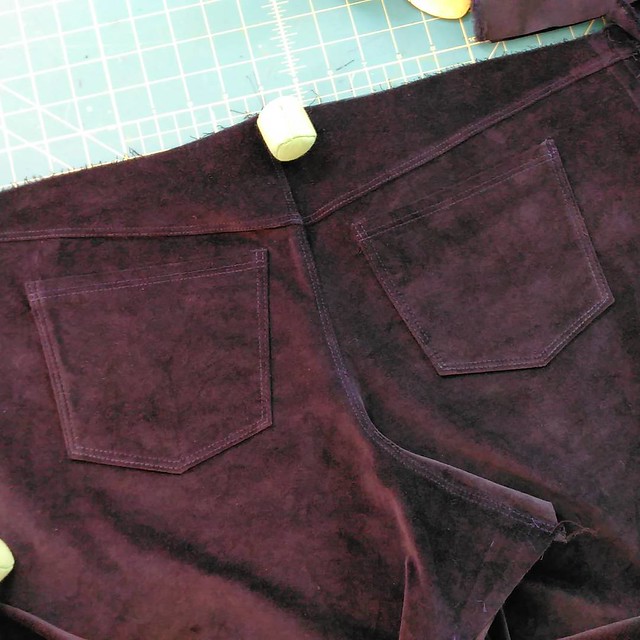
Back pockets during construction
IMG_20161210_162125
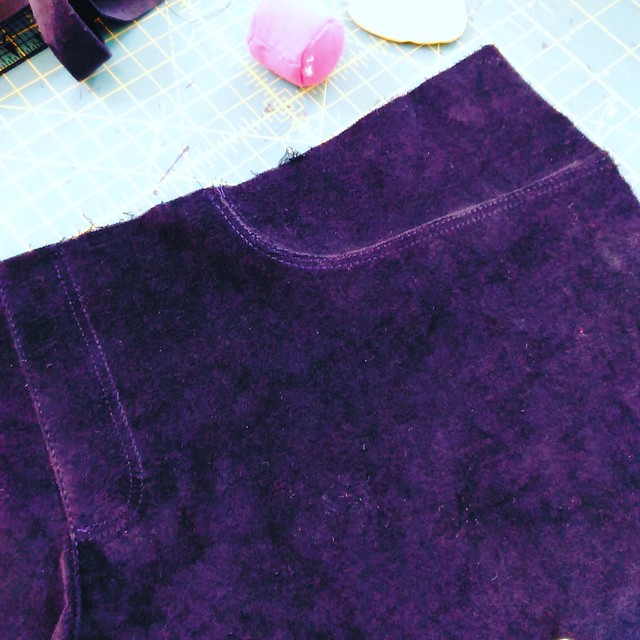
Faux front pocket during construction.
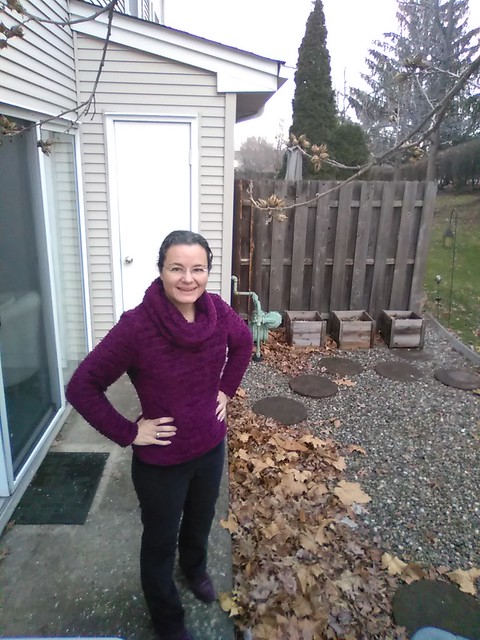
IMG_20161213_073920
Above I'm wearing them with my "Muppets" shirt--a Sewaholic Renfrew from a few years back.

So, they were comfy enough that I wore them twice this week and I will enjoy wearing them all winter.  It is really nice to wear "complete" me-made outfits and by making pants I have expanded my winter options.    I still have a hankering to make the Eleonores in stretch floral, but that is kind of a tall order, especially when I am really picky about florals--I want a small scale floral.  (ETA: I want to make them in teal stretch velveteen with excellent recovery too--if I can ever find it).
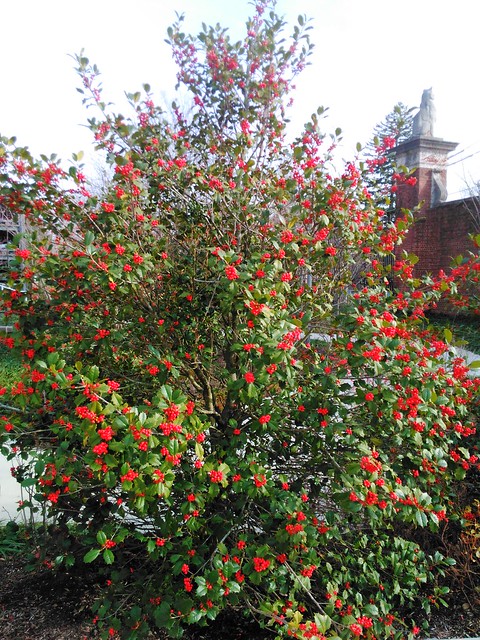

IMG_20161213_123807
I really wanted to get a picture of me and my Eleonores in front of this holly bush on campus but I didn't have my tripod and there was no one around to take pix...
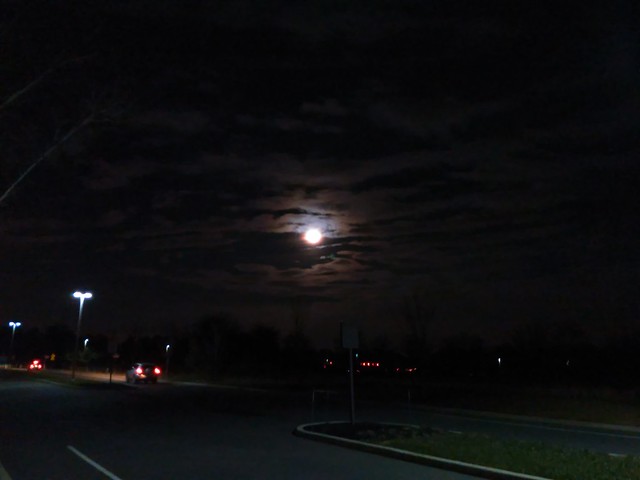
IMG_20161213_181258
The full moon after the gym on Tuesday night.
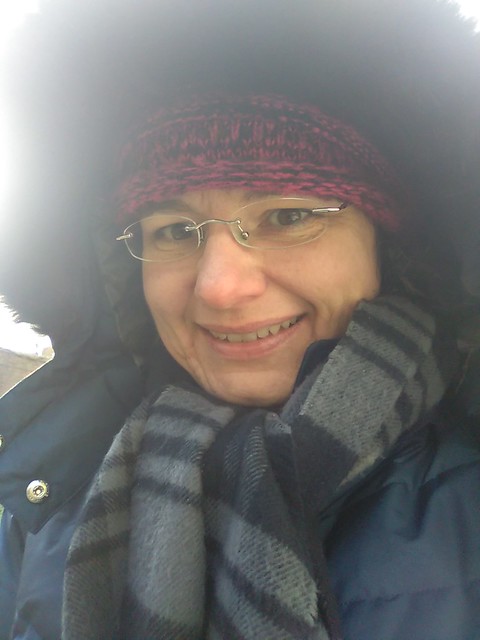
IMG_20161215_115714
This was on Thursday.  After last winter's freezy bits, I decided to buy a "real" cold weather coat for when it's under 40F, and this totally fit the bill.  I look like I'm wearing a comforter, but it is warm and has features that make a difference, like cuffs inside the sleeves to keep the cold air from creeping in and a ginormous hood.
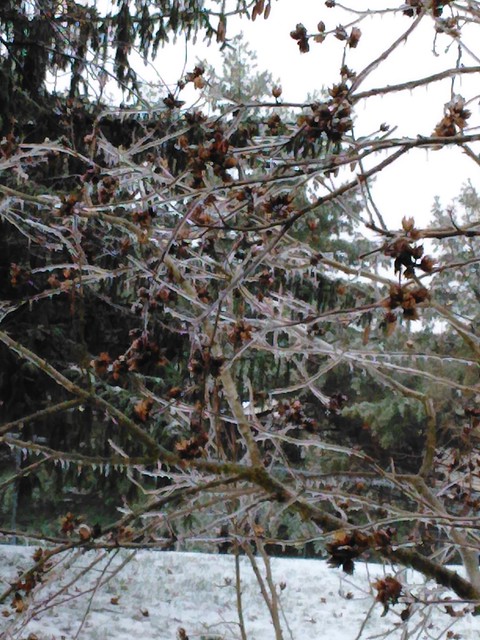
IMG_20161217_154614
Last night there was snow and ice...which formed these mini-icicles outside.
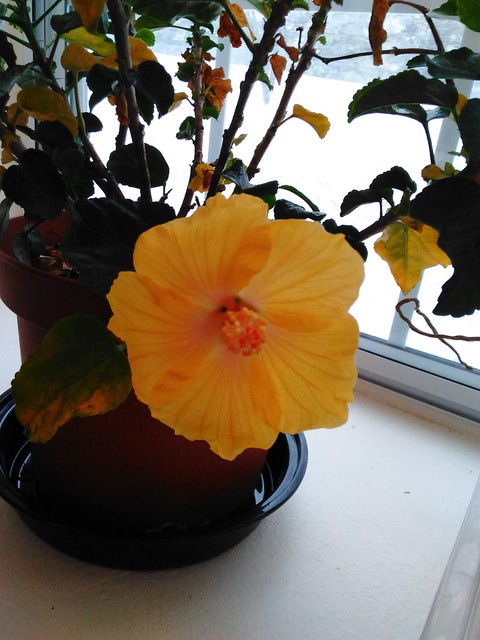
IMG_20161217_154659
I brought my hibiscus in a few months back to see if I can coax it to live through the winter.  It is dropping its leaves pretty fast, but decided to bloom today, awesome!

One more week til I'm on vacation for 11 days--I can't wait!

I'm going to have a special giveaway starting on Tuesday--please check back then!
Be well!

Friday, September 4, 2015

Sashiko pillow covers

20150904_213412
Inevitably someone asks, "what are you going to do with all that sashiko?"

This is something I don't worry about.  I just do it because I love it, and the end result takes up very little space, so it's not like it's filling up my home.  You may find me buried in an avalanche of fabric, but you won't find me buried in an avalanche of sashiko.

I can think of a few ways to use finished sashiko, like the preprinted Olympus kits I've been using:
  • pillow covers (you don't need to make a pillow for each sashiko.  Just make the cover and change out the covers every once in a while--I learned that from a comment on Peter's blog.  I admit, though, that changing out decorative pillow covers is low on my to-do list.)
  • tote bags
  • tea towels
  • frame them and turn them into wall art--I am eager to stitch up a bunch of coordinating sashiko and hang them in my office at work.
So I recently made two pillow covers, one for me and one for a friend.

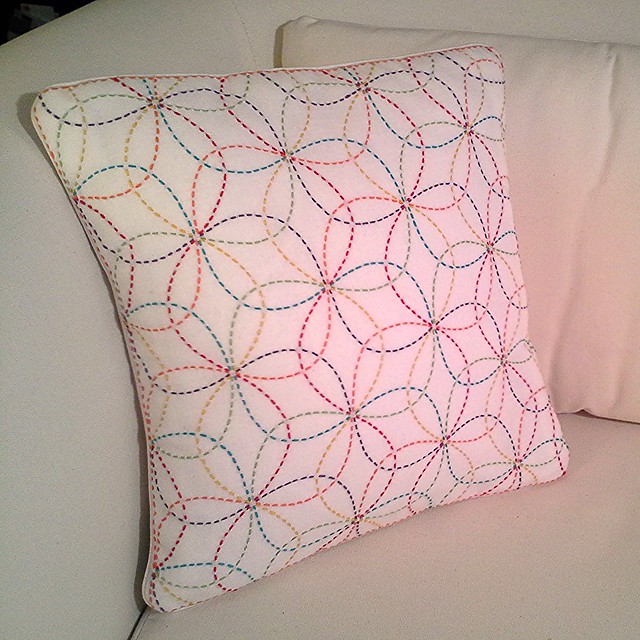
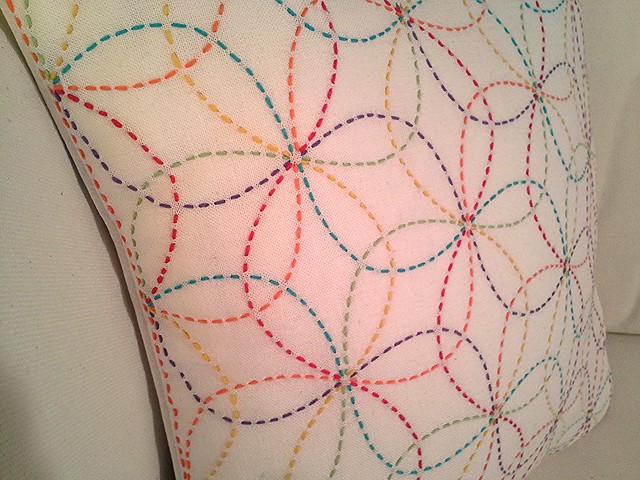
First up was the multi-colored flower pillow.  

20150904_213426

I completed the stitching during my July vacation and turned it into an envelope pillow for me last month.

20150829_155154
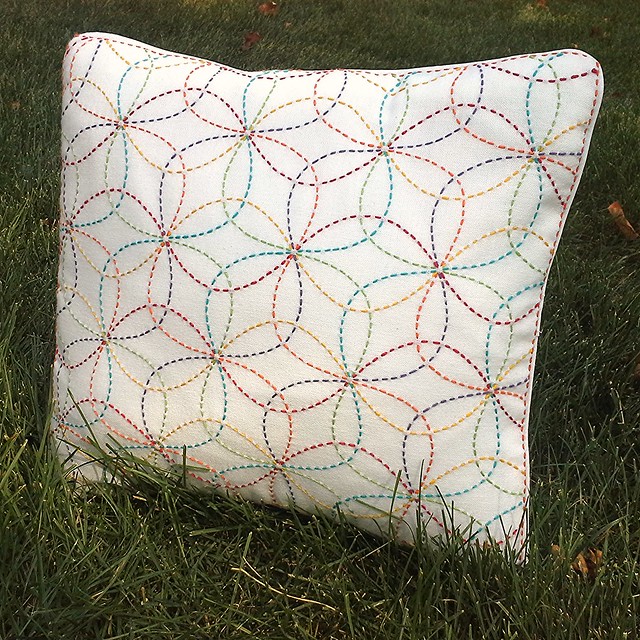
Turned the other way, in the great outdoors.

The front is underlined with the other half of the fabric that comes with the kit.

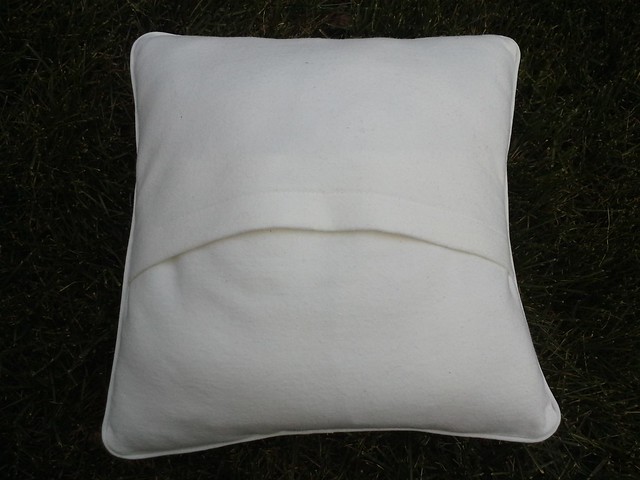
The back is made from some smallish pieces of interfaced white flannel.

I used prepackaged white piping and feel that maybe I should have used orange piping?  Turquoise piping?  Not sure.
20150829_155718
One thing I'm not fond of with envelope pillows is the pillow bulging to emerge from the back of the pillow.    This lead me to my next pillow:

20150901_120327
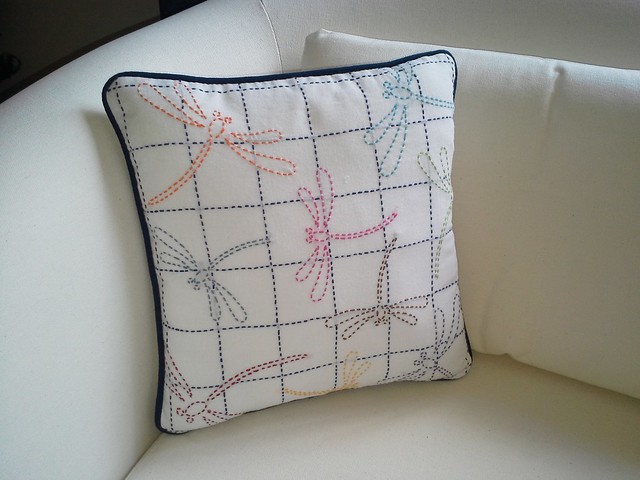
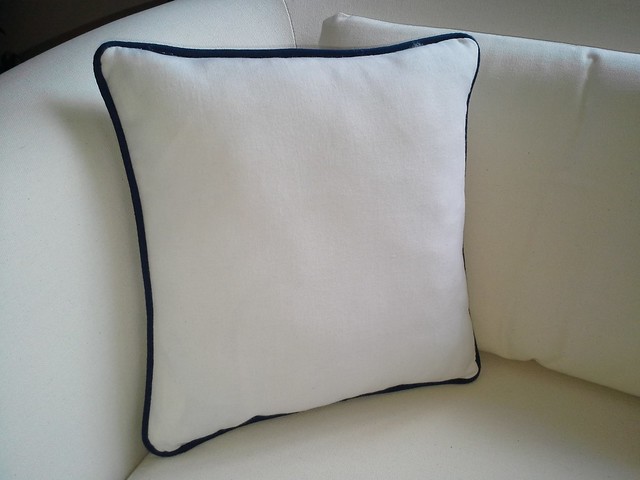
This one is the dragonfly from earlier in the year (I used blue thread as the grid instead of the gray from my last post).  This is my first-ever pillow with an invisible zipper.  I didn’t have the premade piping in my stash so I made my own from double fold bias tape that was the right color and some cording in my stash.  The tutorial for the invisible zipper was from Haberman Fabrics on YouTube.


20150829_155106

I will say that:
  1. If you used knots on your dragonflies, you will not want to interface the design after stitching because those knots will be super-evident.  Instead I underlined it with some white fabric.
  2. I interfaced the backing fabric to give it some heft.
  3. All raw edges were serged
  4. You will want to use the same color thread as the piping, not the pillow.  This is because when you unzip the zipper, you will see the contrast stitching on the piping very clearly.
  5. The invisible zipper MUST be longer than the opening you want in the pillow by at least 2 or 3 inches.  Then after it’s installed cut off the excess.
  6. I used a 12x12 pillow form but the design dimensions are not 12x12.  I wound up removing all the stuffing from the pillow form (which has its own non-invisible zipper) and stitching the pillow down two sides to reduce the size, then stuffed it lighter, then zipped it shut and put it inside the pillow cover. Then I used some of the leftover stuffing to fluff out the corners of the pillow.

20150901_120349
The back.  Where's the zipper?  It's invisible. :)

(Ok it's actually at the top of this picture)

I also want to mention that I severely underestimated the amount of time it would take to stitch up the pillow cover with the invisible zipper, but now that I know the ropes, it should be easier next time.  Right?  Right?

At least my friend loved the pillow, yay!
20150904_093239
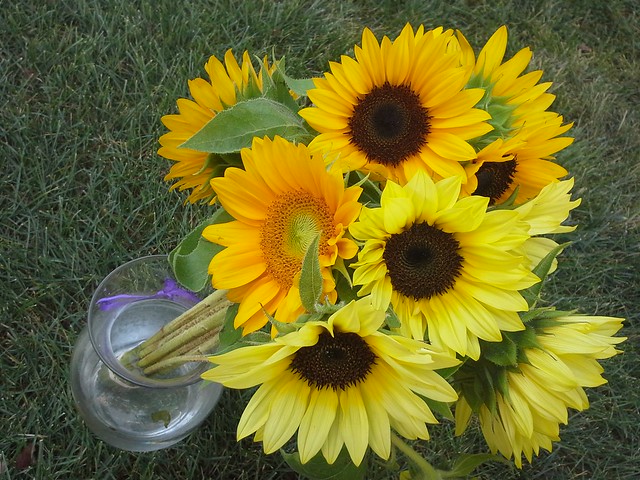
Small sunflowers from the PFF this week.

Be well!
Monday, August 17, 2015

McCalls 6559: My first dress sewn since November

20150816_162528
As I finished up sewing M6559 yesterday I realized that I have not sewn a dress since November!  And look at this, it's a bona-fide print, from Kashi at Metro Textiles, sewn up a little over two weeks after I bought it (which surely must be a record).  It is somewhat spongey and totally synthetic as all get out so I love it because it does not wrinkle.
20150817_104621
 I had a serious "want to make a dress" itch that I needed to scratch and this fit the bill nicely.  The pattern is just a front piece and a back piece, and I sewed some strips to bind the armholes and neckline. I had made this dress once before in an ITY polka dot last September.  This took me about 5 hours to sew this time, but I am a very slow seamster and if I had not futzed a lot with the bindings, I'm sure it could go faster.  If I had serged the raw edges and then twin needle stitched the armhole and neckline, it would have been much speedier.  Binding looks nicer but takes longer, for me at least.
20150816_162434
I am not overly crazy about how I used white thread to stitch down the binding at the neckline. The white stitching blends into the spongy fabric  vertically at the armholes but it is really obvious at the neckline, as it approaches horizontal-ness, at least to me.  Maybe I should have stitched it in brown, or maybe it would still drive me a bit crazy.
20150817_104651
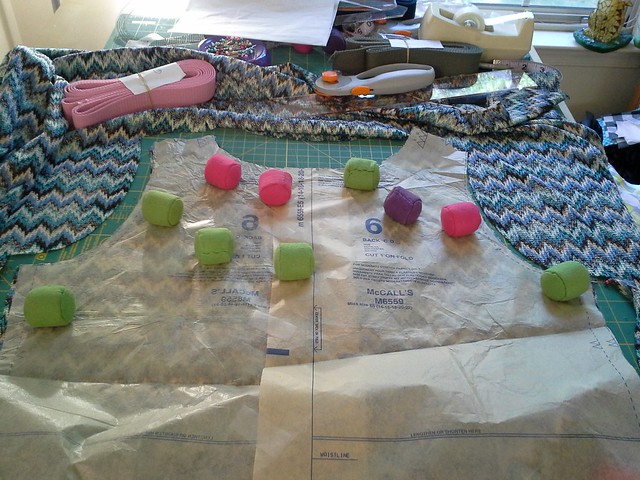
I am pretty pleased with how the print pretty much lines up on the side seams.  The way I accomplished that was by first superimposing the front and back dress pattern pieces and noticing that, from the armhole down, the pattern piece is exactly the same.   I cut out the front piece, and then placed the cut-out front of the dress right side to right side on the fabric, lined up the print at the edges, and then cut out the back piece from the armhole down, like this:
20150816_073521
Then I put the back of the dress pattern down and cut out the back from the armhole up.
20150816_074917
(Yes, I bought the pattern twice, and then taped it together at the fold so that I could cut single layer and not have to trace the pattern piece, which is the ultimate lazy thing to do but it works!)

20150816_163333
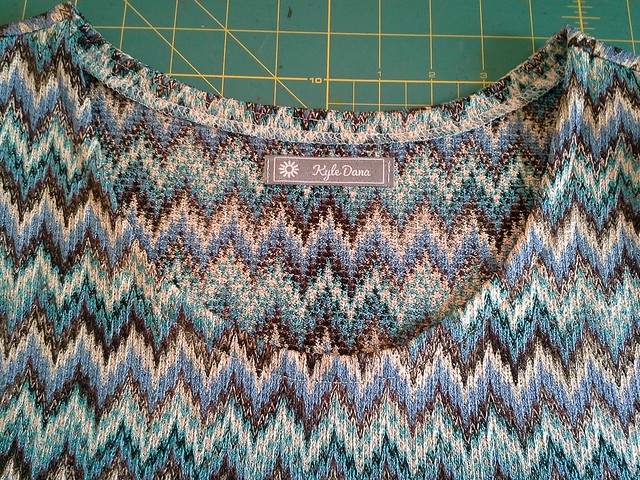
Close-up of the neckline, above.
20150816_162855
Above is the binding on the neckline on the inside....
20150816_162912
And above is a closeup of the binding on the armholes on the inside.  This fabric is kind of spongy, so it was much easier to bind the neckline by leaving the serged edge exposed instead of folding the binding in half first like I did with the armhole binding.  Basically it's 4 layers vs 6.

20150817_104700
As this dress has no darts, I used a belt for shaping, which creates a few lines but doesn't bother me.
20150817_104621
All in all this was a great dress to get back in the dress-making saddle again.
20150816_213924
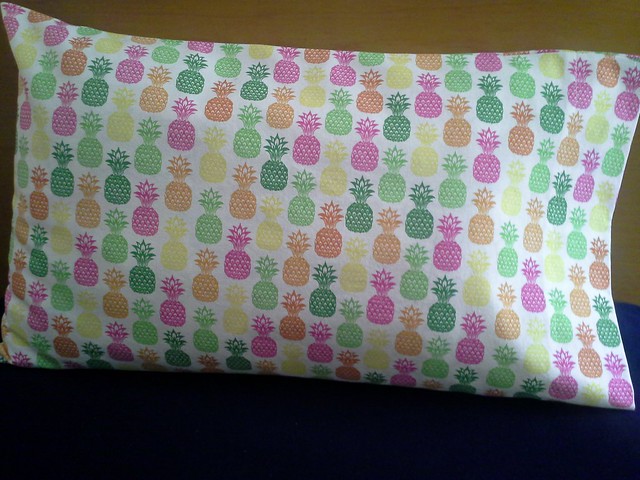
One random pillowcase I made this weekend.
20150816_214046
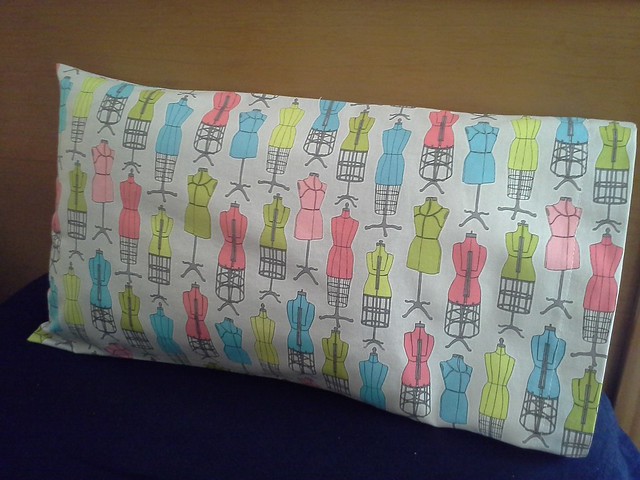
And another random pillowcase I made this weekend too.
20150816_133830
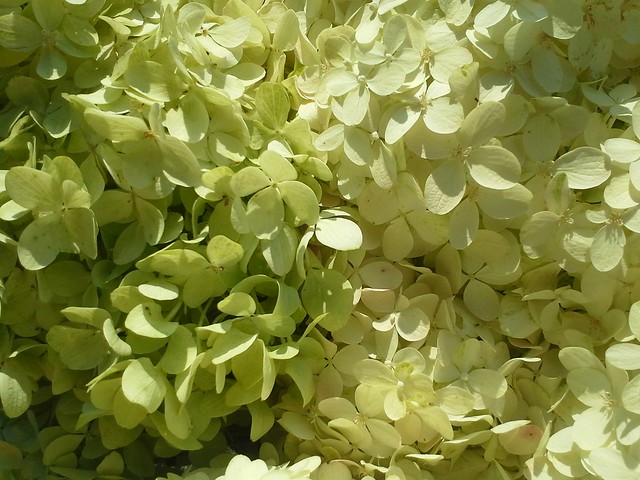
Close up of hydrangeas from the Princeton Farmers Market

Be well!
Saturday, July 4, 2015

Hand Cast

20150628_181744
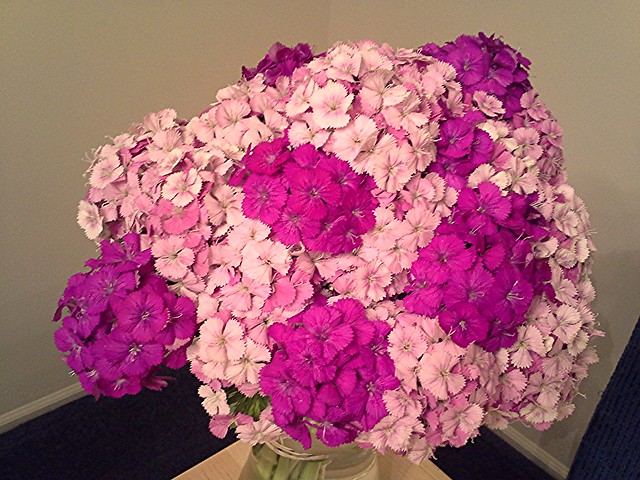
Sweet William from the PFM.

Today's post is totally not sewing related, but creative in another way and I thought it might be interesting to share.

Last week I participated in a work retreat at the Grounds for Sculpture in Hamilton, NJ.    We knew there would also be a group activity, but didn't know what it would be.  We were told we should bring something to fit in the palm of our hand to be used for inspiration.    At this point I was thinking we would be in teams and sketch amongst the sculptures, maybe a la Project Runway when they go to a park/museum/natural setting and sketch.    I was totally wrong.  We were going to cast our hands.

The idea was to hold something small in our hands and then leave it in the mold so that the resulting cast would be holding it,  but I didn't trust my object (a plumeria hair clip from Hawaii) to hold up to the treatment.  I didn't trust my ring either, so I took it off and put it on my other hand.  Knowing what I know now, I wish I had left my ring on!

20150623_135128
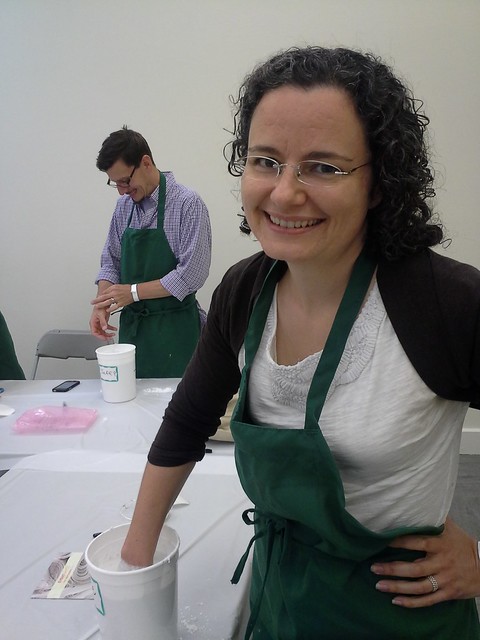
They gave us green aprons, a bucket, and name tags for our buckets.  First we mixed the material for the mold in a little bucket in an up-and-down motion; we were told this is the same material dentists use to make molds of teeth. Then we plunged our hands into the bucket; whatever gesture you made with your hand, you had to hold the gesture for 3 minutes while the mold set, like I'm doing above.
20150623_135540
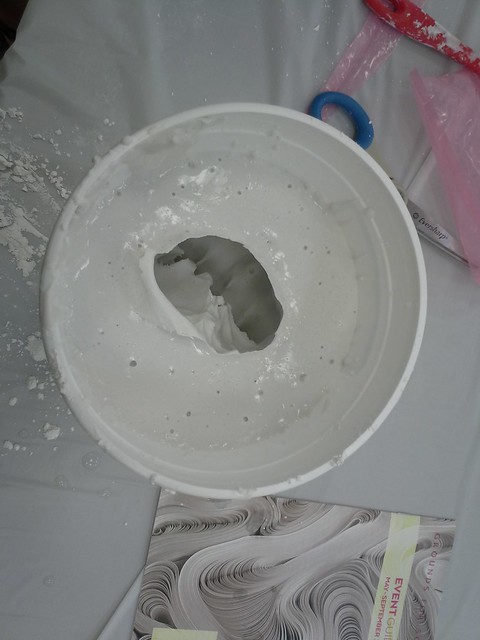
After 3 minutes, and making sure the material felt firm from the top, you then wiggled your fingers a bit.  I could feel the material separating from my skin, and then I was able to pull my hand out.  Above is the aerial view of the bucket after removing my hand.

We then mixed, er, maybe it was plaster of paris?  with water, kind of like mixing cake batter...mix round and round til it's totally smooth while not introducing a lot of air bubbles.

Poured that mixture into the bucket and tamped the bucket several times to get the cake batter to really fill up the mold.

Then we went for our tour of the grounds and when we came back, we extracted our cast from the mold.
20150623_155858
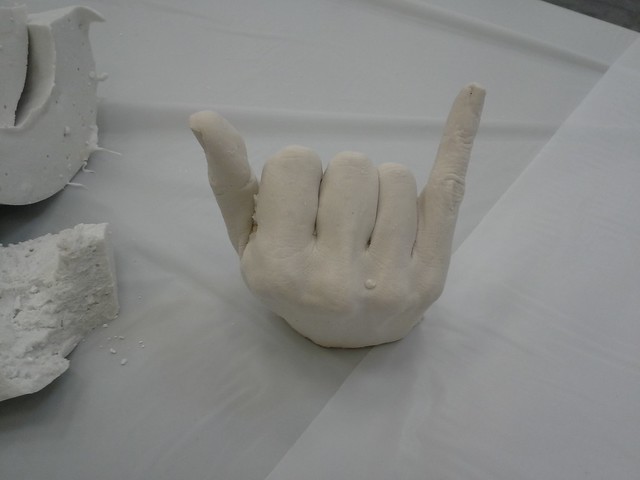
On the left of the picture you can see some of the material that I cut away using a razor. It felt very spongey and quite cold.  And then there was the cast of my hand!  I am making the "shaka" sign, aka "hang loose" in Hawaii.  I couldn't get the full wingspan I normally get on the shaka because the bucket wasn't wide enough for that.  But you can see the detail of my hand pretty well, the lines in my fingers, though it looks like I have a wart, which I don't--I will see if I can sandpaper that off. I should have taken a picture from the other side too, but it's currently on my desk at work and I am at home.  Next week I'll take a picture from the other side and post it here.

I would love love love to do this activity again, to try posing my hand in different positions.  One of my coworkers had the "thumbs up", another held her hand like a claw so she could use it as a ring holder, and I think it would be pretty neat to do the "OK" sign.  I would also let my hand be in a more natural state and cast it.   I googled it and there are plenty of kits online; maybe an activity for my vacation week?


20150627_165621
I have been sewing!  Sneak peek of upcoming posts...I currently have gingham fever.
20150703_172356 \
Lots and lots of gingham fever...

So, have you ever cast your hand?  If yes, what gesture did you make?
Do you have gingham fever too??

Be well!
Monday, October 27, 2014

New Look 6071, Part 2: the modesty panel and the rest of the dress


20141027_151751
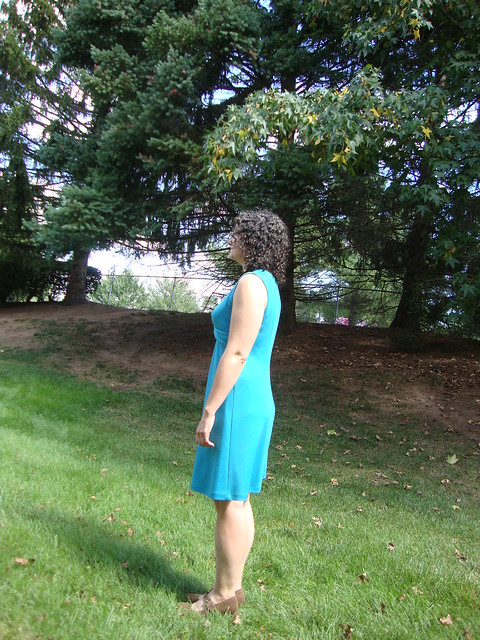
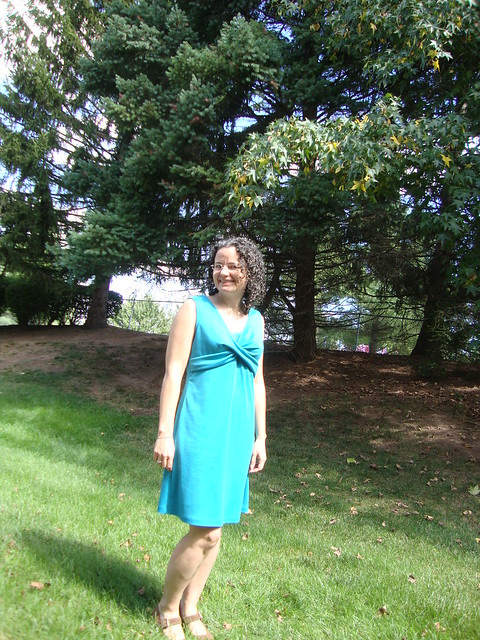
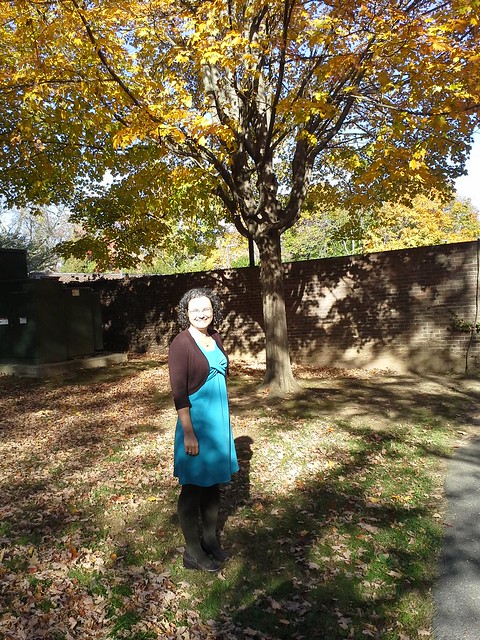
So yes, I made two turquoise dresses in a row!
First was NL 6071, which I never finished blogging about.  I wrote part 1 here about the back of the dress here.  Then I made that S1314 quilted dressed which I blogged about in a few posts, the last of which is here.

So today I'd like to finish blogging about NL 6071.  I made it all in a 14.  Next time I will go back to making the back in a 14 and the front in a 12.  It is just a little big in the front, methinks.

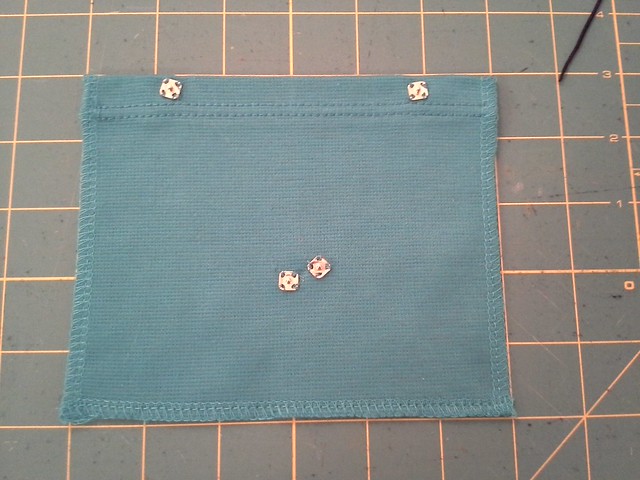
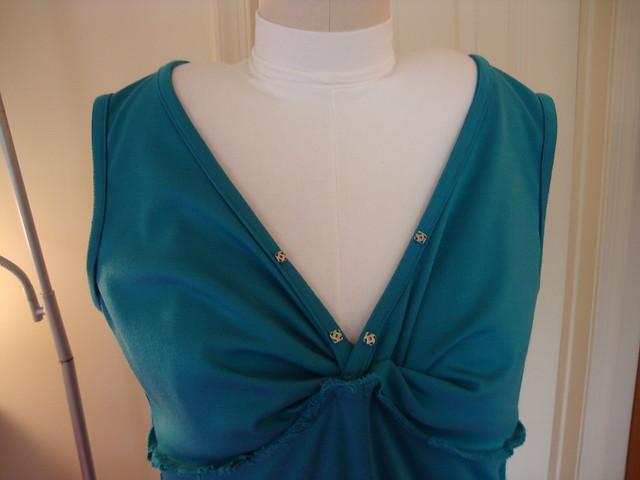
I made a detachable modesty panel for it.  Two, in fact.  The first one felt a tad too low when I sit down at work.  So I made this one recently and sewed the snaps on it last night.  I am loving the idea of the modesty panel instead of a half-cami.  Less bulk....and bulk is definitely noticeable with light colors like turquoise.

These super-small, super-adorable square snaps are from Daytona Trimming in NYC.  They're right next to the register and they don't seem to have them in any other size except super-small.  I first saw them during PR weekend 2012 and they have been lingering in the back of my brain ever since, but part of me was like, when am I ever going to use snaps that tiny?

I bought them during MPB Day with Tomasa this past August and she succumbed to their charms and bought a pack too.  (Have you seen her nascent blog btw?  She has taken classes at FIT and is sharing oodles of construction info--check out her awesome black and white gingham shirt too!)

Still I was thinking, when am I ever going to use snaps that small?

For a detachable modesty panel, of course.
20141027_175341
Tiny square snaps

New Look 6071
Here's what the inside looked like with the first modesty panel snaps sewn in.
20141027_175839
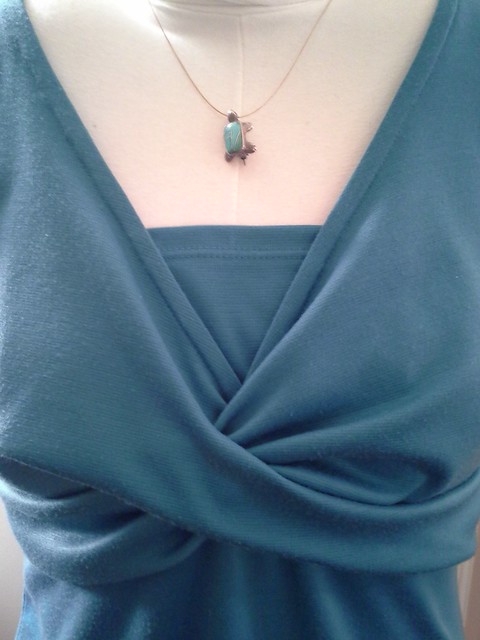
Perfect with one of my favorite necklaces, a turquoise & silver turtle.
20141027_151711
My coworker and I tried for fall color, but this was the best tree we could find.

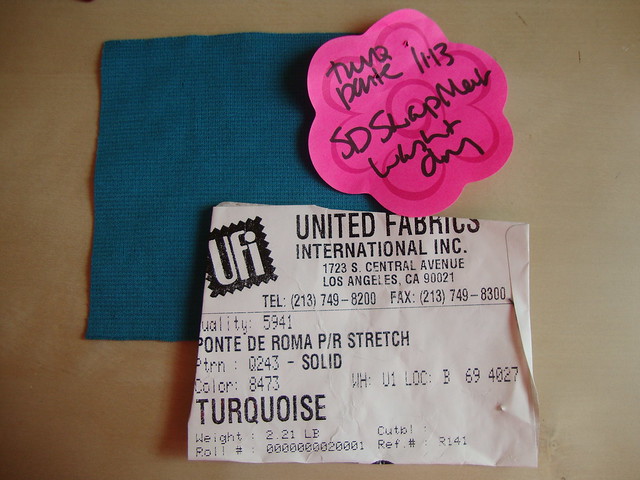
Of note, the turquoise ponte knits were not the same ponte knits.  Both were from my November 2013 trip to San Diego and LA.   The quilted dress ponte was from Michael Levine Loft, and was actually on a roll where I cut off a length of it myself.  The ponte knit for the crossover dress was from the San Diego Swap Meet, where the fabric is in heaps on the ground, and you pick out the piece that you want for $2 a yard.  This was the sticker on the piece I chose
New Look 6071
Also you can see my new system for labeling fabrics--a post it that I then pin on to the fabric, with fabric source, if I've washed and dried it, and the 4" sample square I washed and dried for shrinkage.    I wash my pontes in the washer but I only dry them in the dryer once--as a shrinkage test when it's just fabric and also just in case the final garment ever accidentally gets thrown in the dryer. Then I air dry the final garment with each washing...unless it accidentally hits the dryer.
New Look 6071
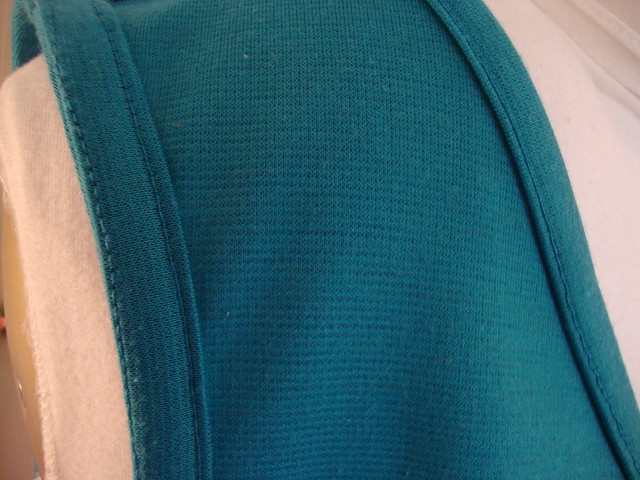
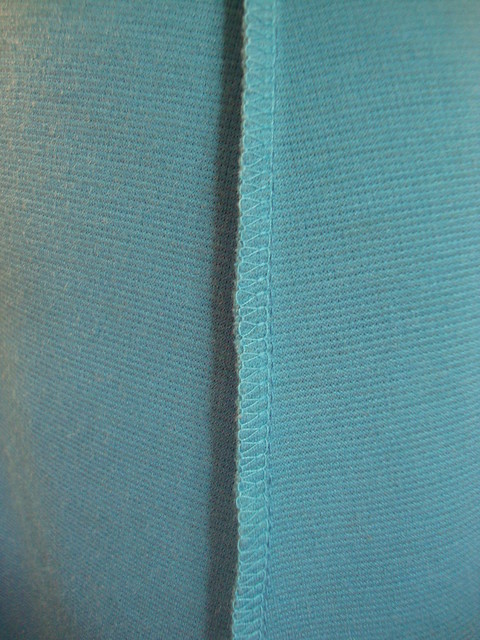
The bindings inside
New Look 6071
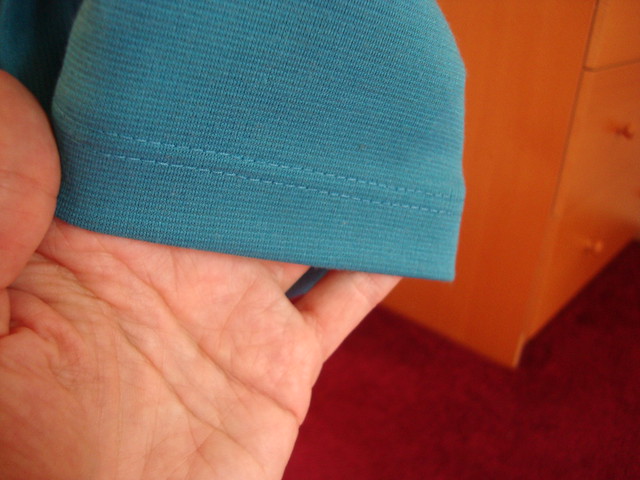
The twin needle stitching on the hem.
New Look 6071
Serged inside with my old serger
New Look 6071
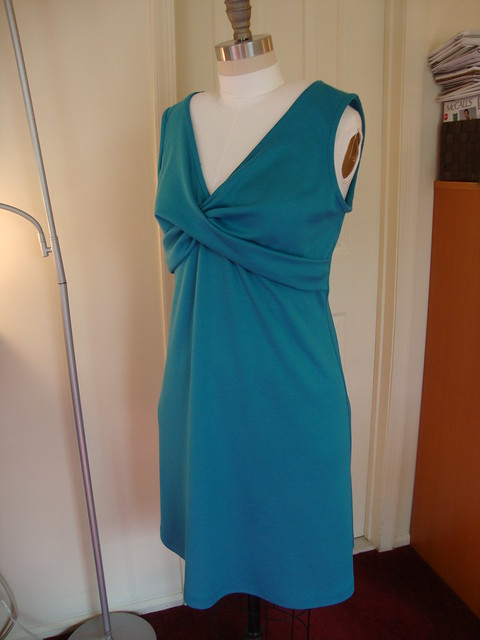
On my dressform
New Look 6071
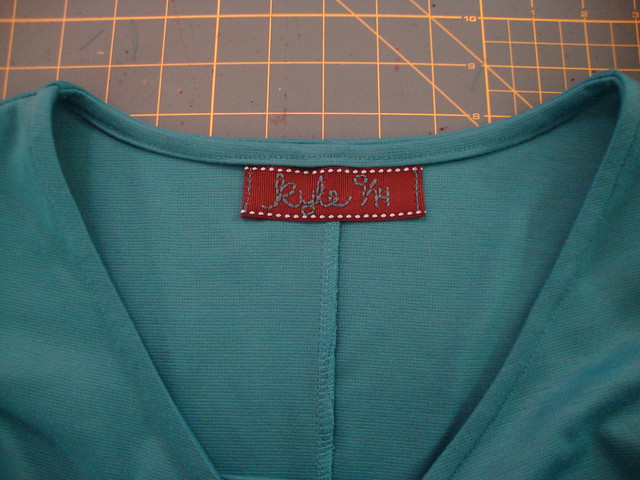
The tag inside, handstitched by me.
New Look 6071
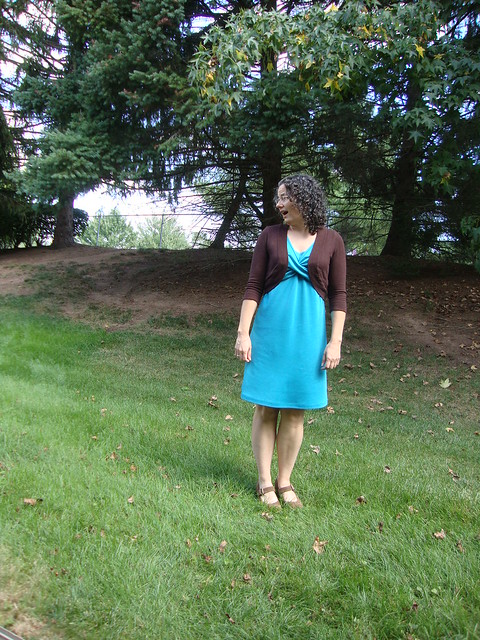
With a cardi
New Look 6071
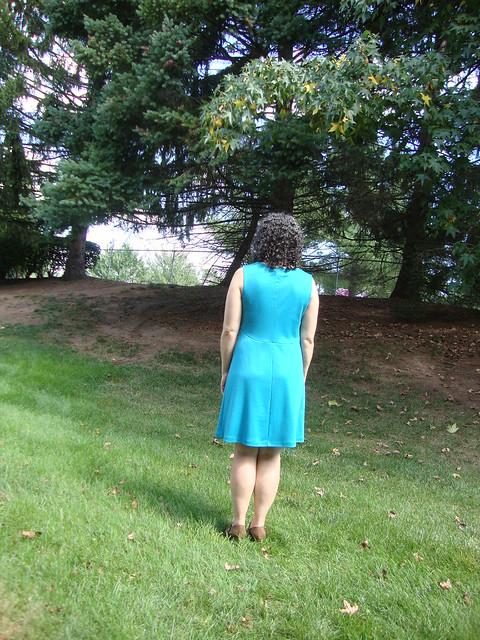
Back
New Look 6071
Side
New Look 6071
Front, with the lower modesty panel.  Those last few pix were taken over a month ago, in mid-Sept.
20141025_150334
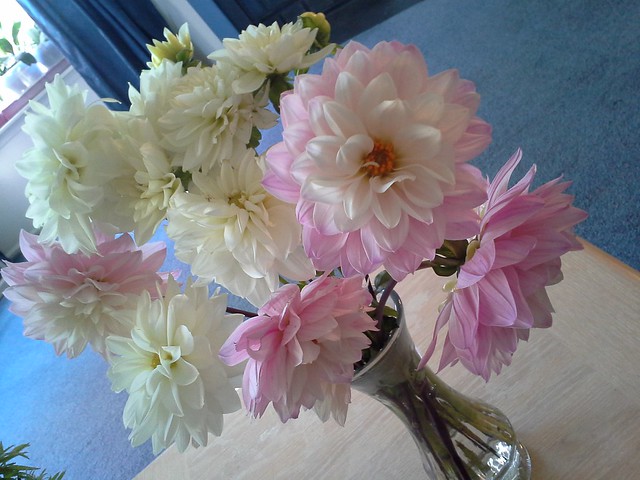
My flower farmer said last Thursday that it would be his last week at the PFM for this year.  I snagged these dahlias.  So pretty and delicate!  I know I slacked on taking flower pix this summer.  I endeavor to do better next summer!

Be well!