Saturday, July 4, 2015

Hand Cast

20150628_181744
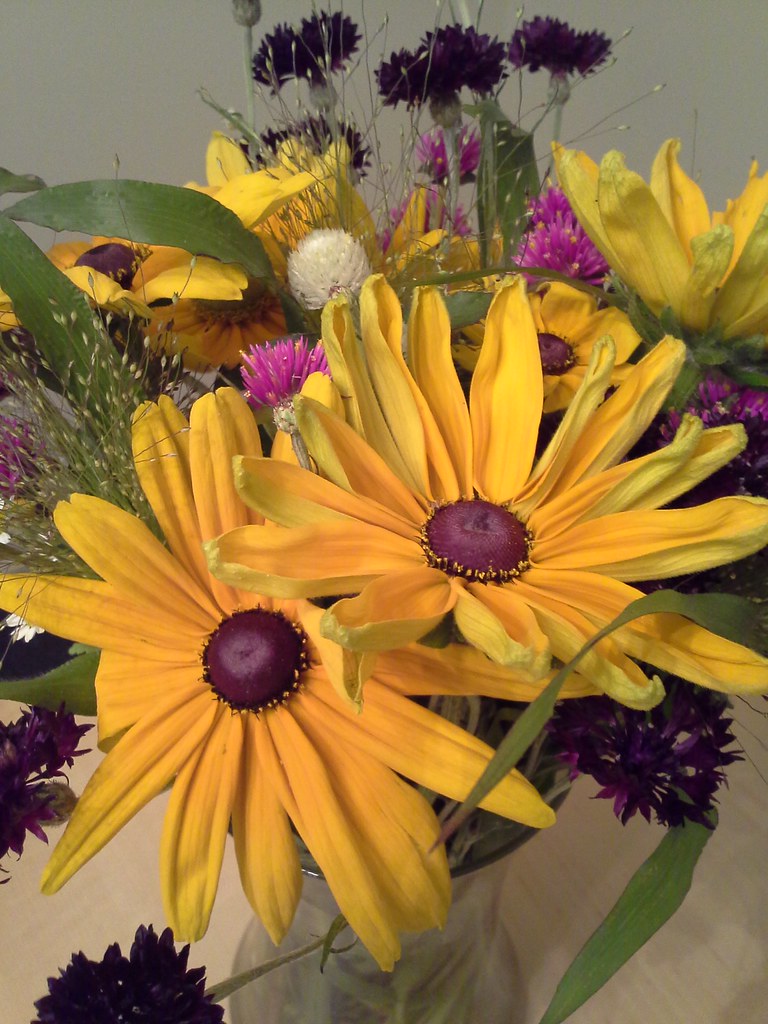
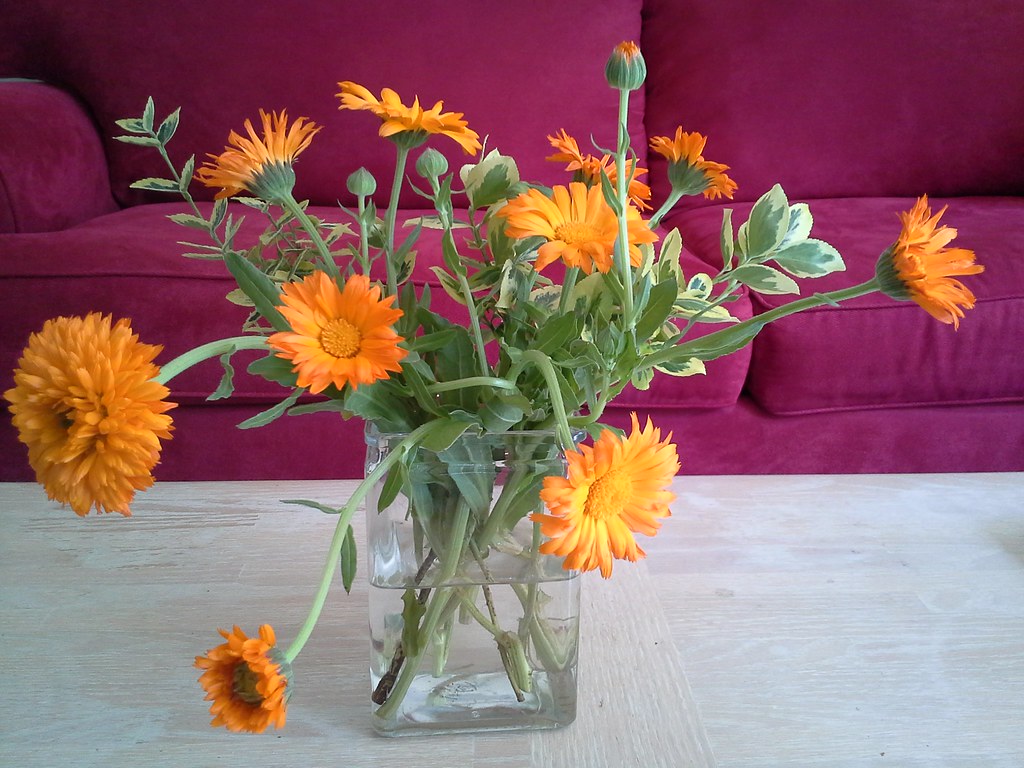
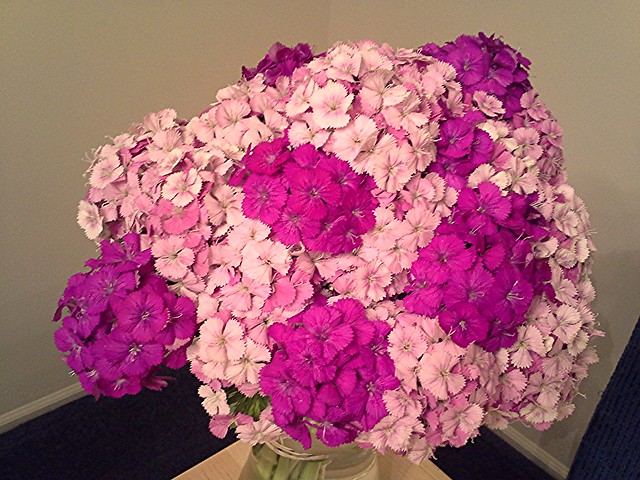
Sweet William from the PFM.

Today's post is totally not sewing related, but creative in another way and I thought it might be interesting to share.

Last week I participated in a work retreat at the Grounds for Sculpture in Hamilton, NJ.    We knew there would also be a group activity, but didn't know what it would be.  We were told we should bring something to fit in the palm of our hand to be used for inspiration.    At this point I was thinking we would be in teams and sketch amongst the sculptures, maybe a la Project Runway when they go to a park/museum/natural setting and sketch.    I was totally wrong.  We were going to cast our hands.

The idea was to hold something small in our hands and then leave it in the mold so that the resulting cast would be holding it,  but I didn't trust my object (a plumeria hair clip from Hawaii) to hold up to the treatment.  I didn't trust my ring either, so I took it off and put it on my other hand.  Knowing what I know now, I wish I had left my ring on!

20150623_135128
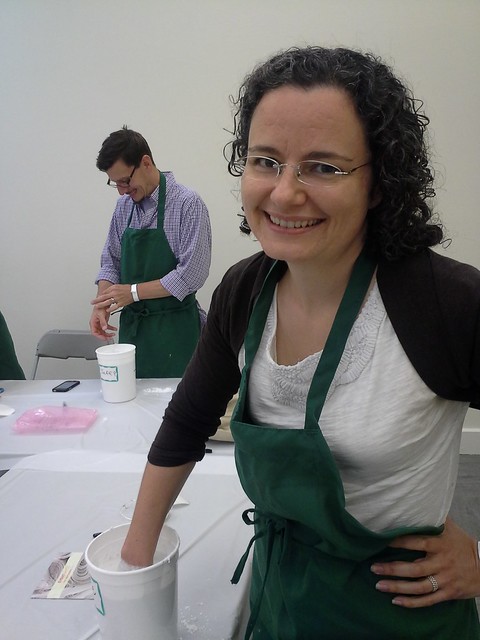
They gave us green aprons, a bucket, and name tags for our buckets.  First we mixed the material for the mold in a little bucket in an up-and-down motion; we were told this is the same material dentists use to make molds of teeth. Then we plunged our hands into the bucket; whatever gesture you made with your hand, you had to hold the gesture for 3 minutes while the mold set, like I'm doing above.
20150623_135540
After 3 minutes, and making sure the material felt firm from the top, you then wiggled your fingers a bit.  I could feel the material separating from my skin, and then I was able to pull my hand out.  Above is the aerial view of the bucket after removing my hand.

We then mixed, er, maybe it was plaster of paris?  with water, kind of like mixing cake batter...mix round and round til it's totally smooth while not introducing a lot of air bubbles.

Poured that mixture into the bucket and tamped the bucket several times to get the cake batter to really fill up the mold.

Then we went for our tour of the grounds and when we came back, we extracted our cast from the mold.
20150623_155858
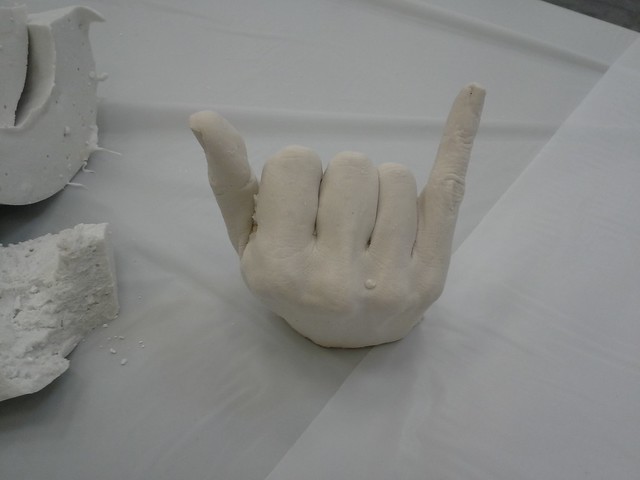
On the left of the picture you can see some of the material that I cut away using a razor. It felt very spongey and quite cold.  And then there was the cast of my hand!  I am making the "shaka" sign, aka "hang loose" in Hawaii.  I couldn't get the full wingspan I normally get on the shaka because the bucket wasn't wide enough for that.  But you can see the detail of my hand pretty well, the lines in my fingers, though it looks like I have a wart, which I don't--I will see if I can sandpaper that off. I should have taken a picture from the other side too, but it's currently on my desk at work and I am at home.  Next week I'll take a picture from the other side and post it here.

I would love love love to do this activity again, to try posing my hand in different positions.  One of my coworkers had the "thumbs up", another held her hand like a claw so she could use it as a ring holder, and I think it would be pretty neat to do the "OK" sign.  I would also let my hand be in a more natural state and cast it.   I googled it and there are plenty of kits online; maybe an activity for my vacation week?


20150627_165621
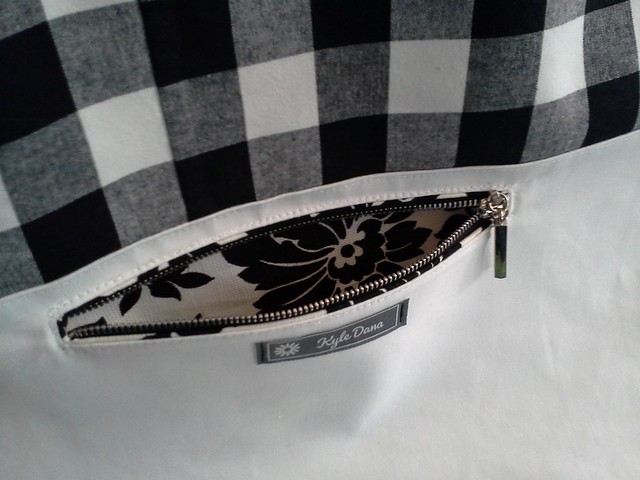
I have been sewing!  Sneak peek of upcoming posts...I currently have gingham fever.
20150703_172356 \
Lots and lots of gingham fever...

So, have you ever cast your hand?  If yes, what gesture did you make?
Do you have gingham fever too??

Be well!

Saturday, June 27, 2015

McCall's 6256: NYC subway zipper pouch, again

20150621_223923
I wanted to give a special gift to Gina, one of my #mmmay15 work photographers.  I felt she had gone "above and beyond" and is leaving to move on to other things.  I rarely sew for others but felt this gift was perfect for her as she has spent a lot of time in NYC.

20150621_223952

I've made this zipper pouch before, in the large and small sizes, laminated and non-laminated, and even in non-NYC fabric.  For this version, I chose the small, non-laminated size.  You can see all my posts referencing the various versions of this zipper pouch here.
20150621_223639

I am still on the fence about the best way to fussy cut the front.  The word "Manhattan" is not centered over the orange and blue subway lines.    This time I centered the front over the subway lines but then Manhattan is off center.  Previously I have centered it over Manhattan but then the subway lines are off center.    I'm on the fence about which version is better.  Definitely a first world sewing problem.

20150621_223650
This time I added a grosgrain ribbon to the zipper tab.  I think velosewer did that with hers.  It's a nice touch.
zippertabs
I used a 9" metal YKK zipper from SIL Thread in NYC.
I also used wonder tape for temporarily attaching the zipper tabs before stitching them down.
20150621_223844
The zipper tabs were fussy cut featuring the two main ways I have gotten into the city...the bus (above) and the train (below).

20150621_223751
Other versions were lined in green denim; this version was lined in pink duck cloth.

I also used Fashion Sewing Supply sew-in medium weight interfacing in between the layers.  FSS medium weight fusible interfacing is fused to the outer layer too.  The duck cloth and all that interfacing makes the bag quite sturdy and it stands up on its own.

20150621_225106
I added the "Party" label.  I am running out of labels with fun words on them but I have ordered some of my own custom labels which should arrive soon.
20150621_225145

Gina loved it and let out a little silent scream when she opened her present. I forgot to tell her that she can tuck the tabs in if she prefers.

You've seen me use this fabric for interior zipper pockets on tote bags and backpacks. I'm thinking of making a full-on tote bag using this fabric.  It seems like it would be fun.  Guess that means I better order more from The City Quilter as this fabric has I am running out of it.  Cotton version is here.   Laminate version is here.

20150627_104512
Black-eyed susans at the PFM are back, yay!

Be well!

Tuesday, June 16, 2015

Simplicity 1283: Modified Chevron MimiG Shirt

S1283 top + NL6843 skirt
Thanks to everyone for your comments on my last post about the Ups and Downs of Chevrons.  I enjoyed them all and replied to each one.  I especially loved Kossiwa's idea about trying out a sample on paper or with scraps--usually I make samples of everything first but this time I just dived right in, like any enthusiastic beginner!
S1283 top + NL6843 skirt
Front view

20150609_152029
Side view

s1283 top and pants
Here it is with the pants from the same pattern.  I love these pants and wear them SO much!

s1283 top and pants
Back with the pants
20150609_152209
Back with the skirt
S1283 top + pants
With my gray Jalie shrug
20150609_152018
My favorite pic of this outfit, even if it's not hanging straight at the bottom of the shirt.
20150614_215240
Inside out

Changes I made:
  1. Sleeveless and collarless
  2. Cut the armholes inward for a less boxy armhole shape
  3. Bound the arm and neckholes with strips of black ITY fabric. Originally I was going to bind with the black on the outside, but it was not turning out how I wanted to so I folded it over the binding to the inside and stitched down.
  4. Lengthened the shirt by a few inches
  5. cut the front straight across instead of  with a curve
  6. Serged the raw edge of the hem and used a twin double needle to finish.
  7. Also I think I cut the 16 to begin with and then wound up at probably a 14 or maybe even a 12 with the side seams.
  8. No zipper, though it is a bit challenging to get it on and off.
I would like to make the shirt again, as intended, with a collar and sleeves, but probably not in a stripe.  I have some textured fabric from Kashi that might be fun for experimentation.  The collar definitely needs a stable fabric to look good, in my opinion.  I had a version of this with a collar but it was way too floppy and blah looking.

Thanks to Tomasa, Anna Christina and ATP for their input as I sewed up this shirt!
20150614_104054
I leave you with flowers from the PFM.

Be well!