Showing posts with label snow. Show all posts

Saturday, December 17, 2016

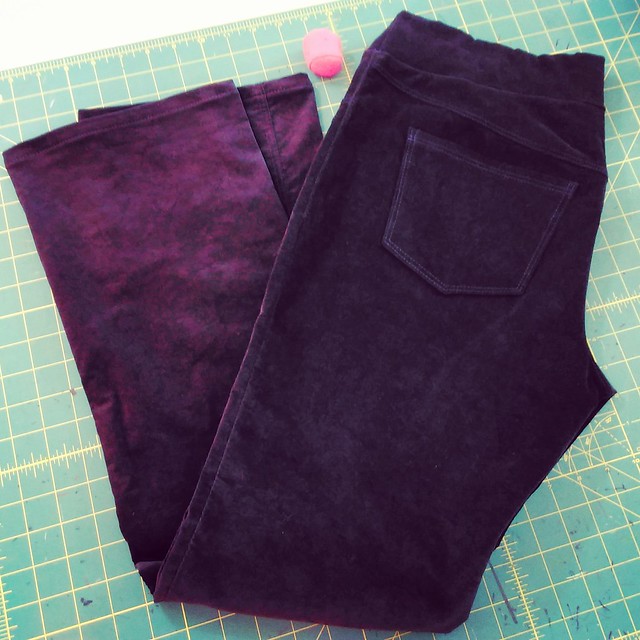
Jalie 3461 Eleonores in stretch velveteen

IMG_20161212_205115

I made the Jalie 3461 Eleonores (stretch pull on jeans with faux front pockets and faux fly) back in May, in red.  Now that the temps have dropped, I wanted to make a pair in stretch velveteen.  I went into the stash last weekend, and emerged with this dark midnight blue fabric.  Purchased during that brief period of time when I actually labeled my fabric, it's 3 yards from Chic Fabrics, circa Nov 2013, for $3 a yard.  This fabric was more on the order of 45" wide, so unlike my Jalies in May, 1.5 yards would not be enough.   3 yards was plenty.  I had 3 other velveteen pieces in stash, but two pieces were not stretch and the other piece that was stretch was not long enough to make pants.

I wrote extensively about making the red Jalies in May.  All the gory details are in this post.  If you are a pear shape and want to make these pants, I highly recommend reading that post  (I have a 10" difference between my waist and hips).  If you are a rectangle, don't bother.  The pants will most likely fit you right out of the envelope with little tweaking.
IMG_20161213_084553
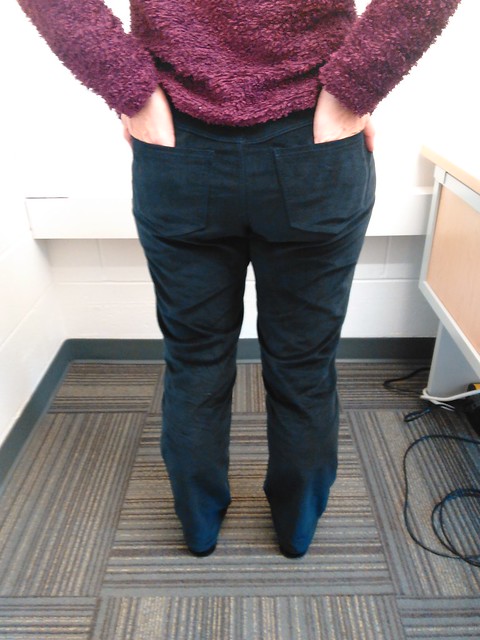
This shot makes me laugh but there you go--functional back pockets!

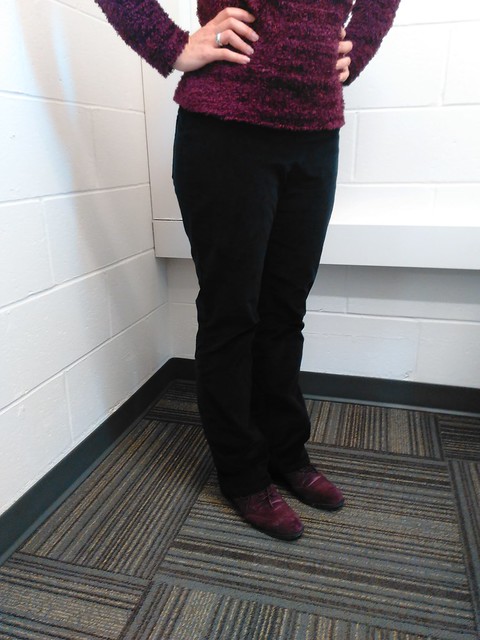
Since I already had the curved yoke that I made last time, I forged right ahead.  I had to make the waistband 3x to get it just right.  My advice to myself for next time is when I try on the pants before putting the waistband on, make sure the fabric of the top of the pants is against my body, all the way around my body...ultimately I did take out a 3/4" pinch from the top at the CB seam grading to nothing where the yoke meets the rest of the pants.  When I tried pinching out some of the excess at the side seam, it created a really ugly lumpy effect.
IMG_20161213_084535
I really should fix the pattern to add more width to the fabric below the knee on the front and subtract an equal amt from the back...but I didn't!

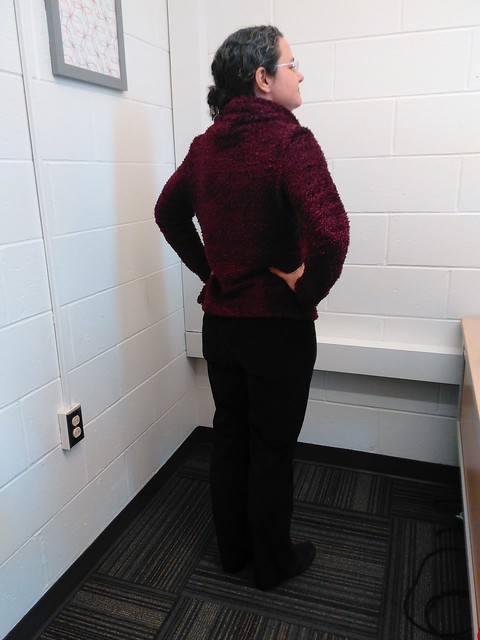
It is really hard to photograph dark fabric.  Some of these photos have a filter applied, and some do not.
IMG_20161213_084541

This fabric does relax a bit during wearing, but it's not overly relaxed.
IMG_20161210_213349
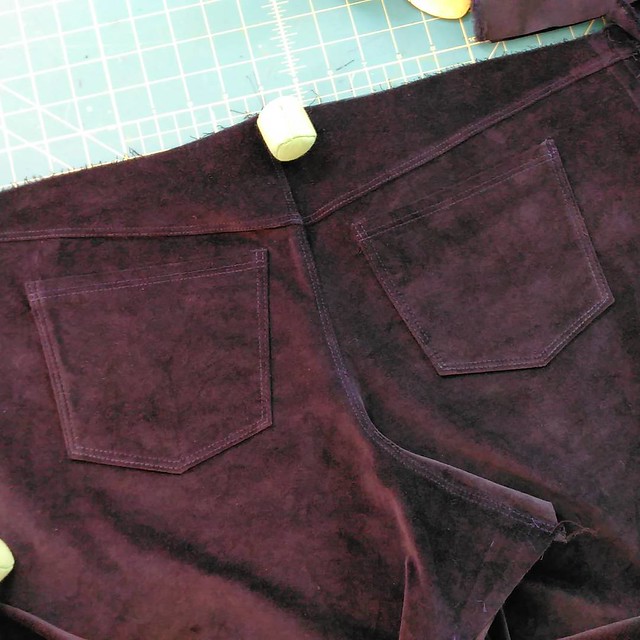
Back pockets during construction
IMG_20161210_162125
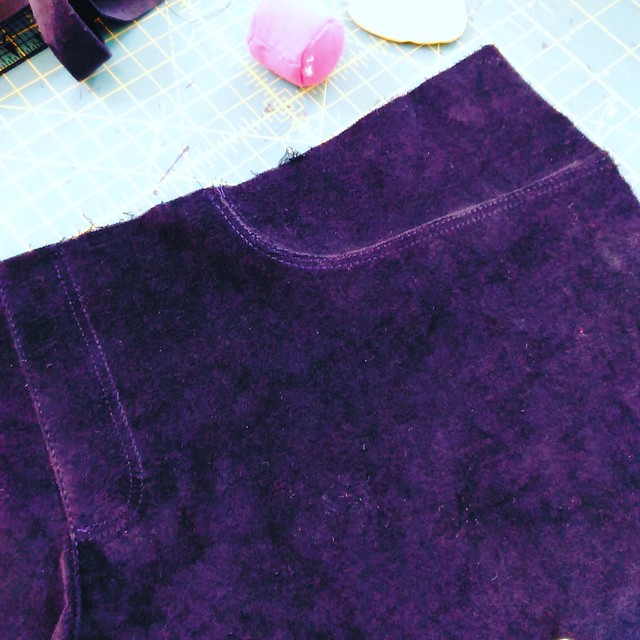
Faux front pocket during construction.
IMG_20161213_073920
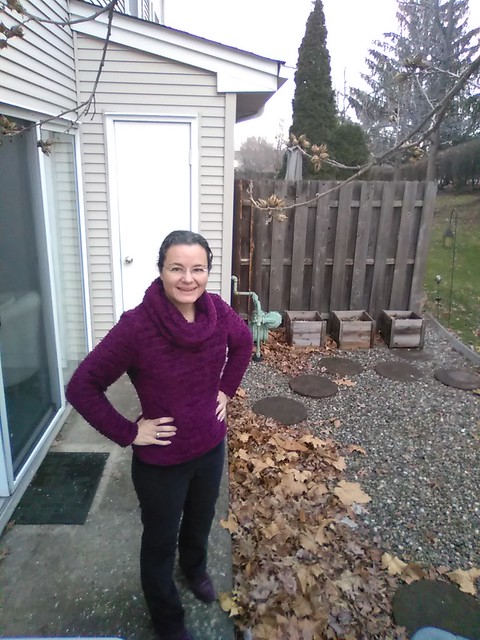
Above I'm wearing them with my "Muppets" shirt--a Sewaholic Renfrew from a few years back.

So, they were comfy enough that I wore them twice this week and I will enjoy wearing them all winter.  It is really nice to wear "complete" me-made outfits and by making pants I have expanded my winter options.    I still have a hankering to make the Eleonores in stretch floral, but that is kind of a tall order, especially when I am really picky about florals--I want a small scale floral.  (ETA: I want to make them in teal stretch velveteen with excellent recovery too--if I can ever find it).

IMG_20161213_123807
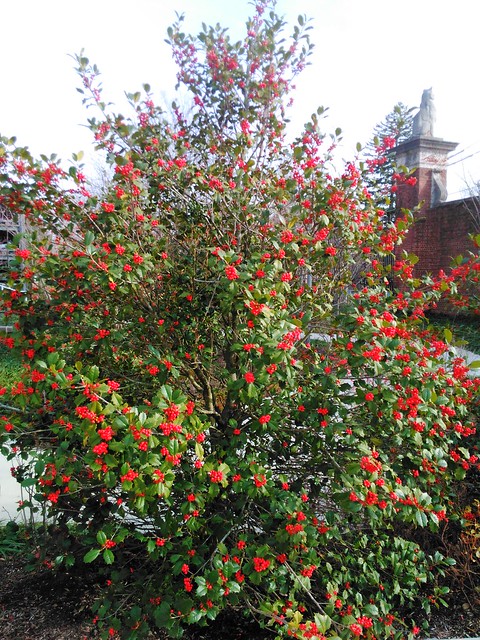
I really wanted to get a picture of me and my Eleonores in front of this holly bush on campus but I didn't have my tripod and there was no one around to take pix...
IMG_20161213_181258
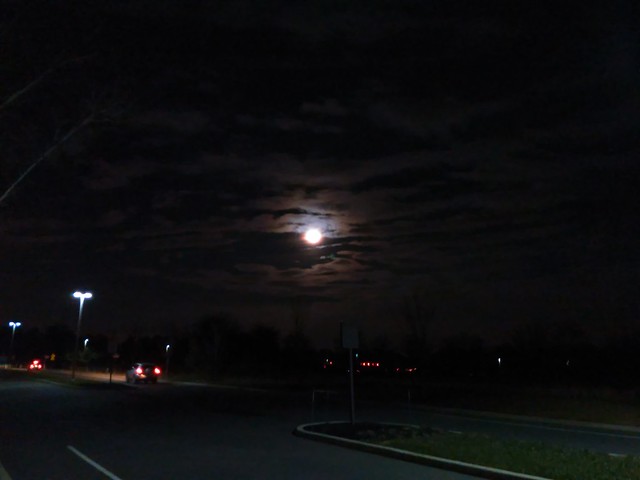
The full moon after the gym on Tuesday night.
IMG_20161215_115714
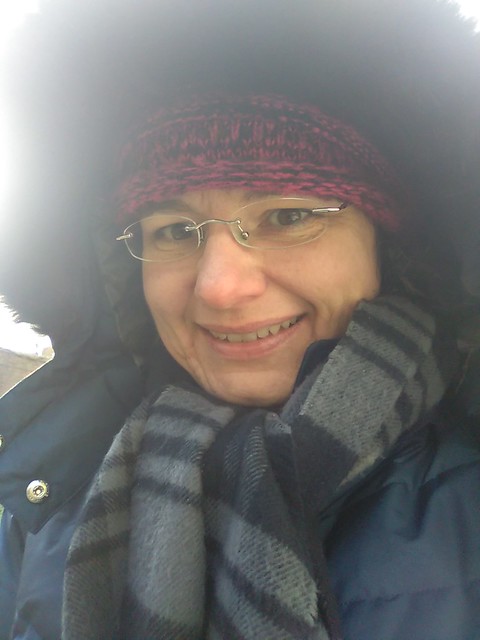
This was on Thursday.  After last winter's freezy bits, I decided to buy a "real" cold weather coat for when it's under 40F, and this totally fit the bill.  I look like I'm wearing a comforter, but it is warm and has features that make a difference, like cuffs inside the sleeves to keep the cold air from creeping in and a ginormous hood.
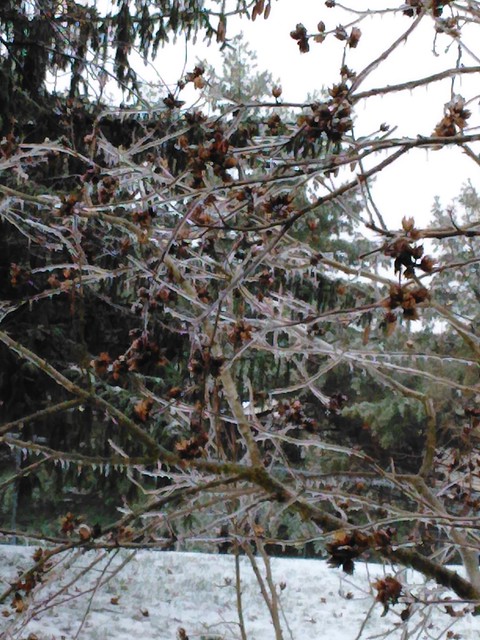
IMG_20161217_154614
Last night there was snow and ice...which formed these mini-icicles outside.
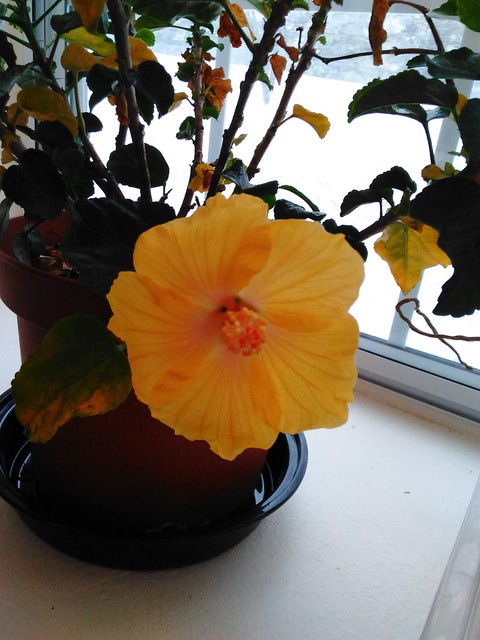
IMG_20161217_154659
I brought my hibiscus in a few months back to see if I can coax it to live through the winter.  It is dropping its leaves pretty fast, but decided to bloom today, awesome!

One more week til I'm on vacation for 11 days--I can't wait!

I'm going to have a special giveaway starting on Tuesday--please check back then!
Be well!

Sunday, March 22, 2015

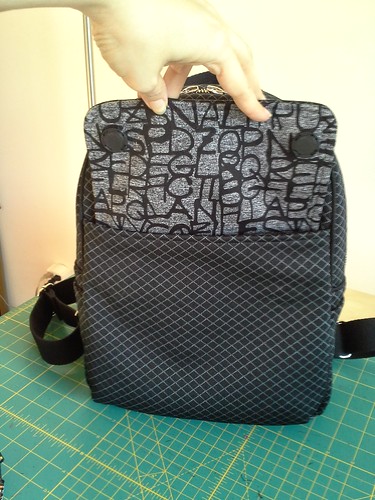
Straps, hardware, magnetic closures and Butterick 6072

20150322_171701
I love the enthusiasm you are showing for my new backpack--I am enthusiastic about it too!!!

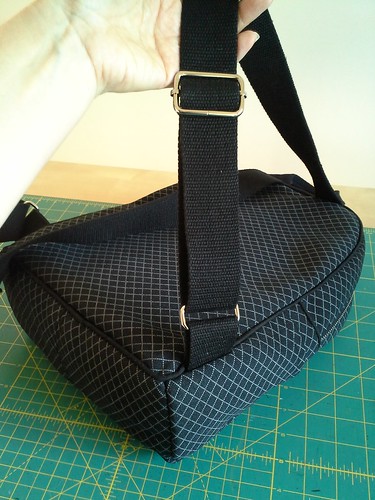
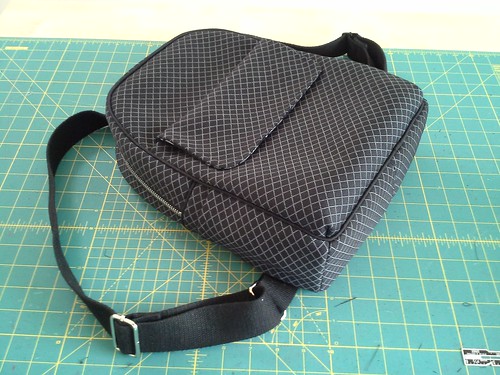
The Butterick 6072 has you make your own straps, and use no hardware.  That means the straps are not adjustable.  Instead, I raided my stash and found this 1.5" wide super sturdy and official feeling strapping from Pacific Trimming, and then bought the rectangle rings and sliders in nickel finish from this shop on etsy.

The Butterick directions have you sew the strap to the bottom of the bag, but I consulted 3 RTW backpacks and they all had the straps sewn on an angle to the side of the bag, so that is what I did (as show in the pic above).
20150320_162041
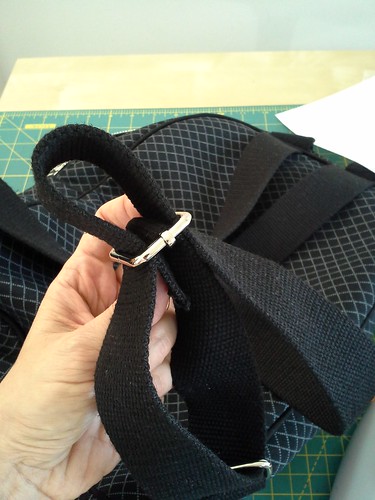
If you've ever made a bra or camisole with adjustable straps, the process of "threading" the straps through the hardware is exactly the same--it's just the length and width of the straps and hardware are much larger!  Threading the strapping through the hardware feels very satisfying to me somehow, and I love the end result.
20150322_144650
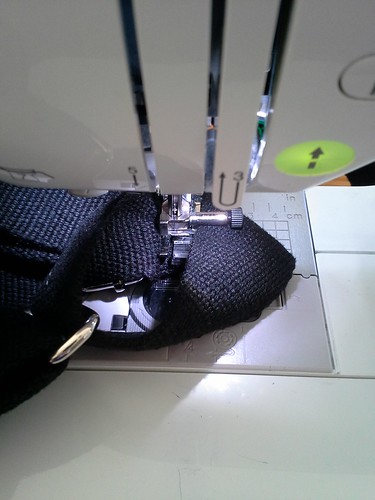
You can't tell what's really going on in the above pic because the strap is folding over but I am sewing the end of the strap to itself after threading it through the slider.

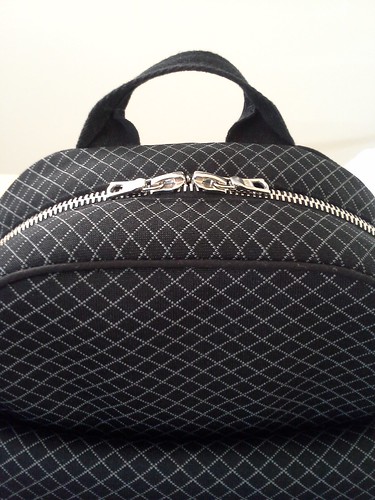
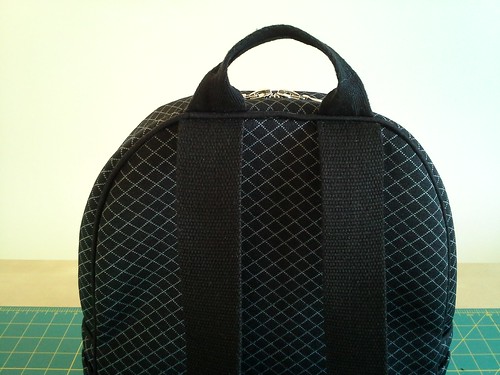
The directions also have you make a loop for the top of the bag, so you can hang it in a locker, and then sew it to the space between the straps.  My 3 RTW backpacks all had handles, so I made one out of 1.5" strapping, also in stash, also from Pacific Trimming.

I folded the lengthwise edges together and used Wonder Tape to secure, then sewed it down.

I sewed the handle over the straps for balance and to make the handle functional.  That way I could carry the backpack by the handle if I wanted to instead of using the straps.

Originally I made the handle too long and it was flopping over on top of the zipper, so I took that section apart and made the handle shorter to it would not cover the zipper when it flops forward.

20150321_220800

If you are curious, I sewed the straps on top  first, then the piping, then the handle.
20150322_171641

But on the side I sewed the piping first and then the strapping.

20150318_213315
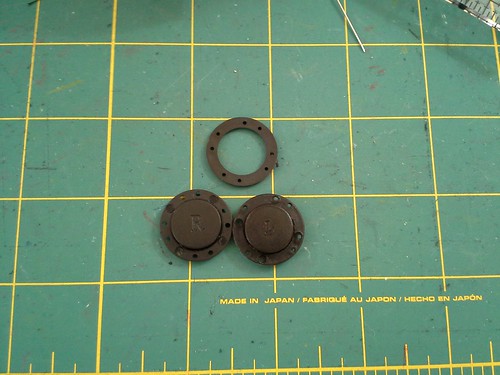
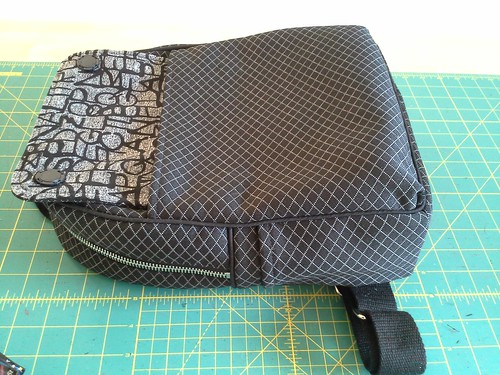
The Butterick directions call for velcro on the zipper flap but I don't like the attention-grabbing sound velcro makes when I'm in a quiet room, so I went for magnetic closure.

I bought the magnets (above)  on Pacific Trimming.com, but by the time I realized that hey, these are probably supposed to be invisible magnets that should have been sewn between the layers, that ship had already sailed, and even I, perfectionist that I am, wasn't going to undo what I had already sewn to insert them.

I also don't know what that extra ring is for?
20150322_171747
I sewed the magnets on the inside of the corner of each flap, but did not sew through the front of the flap.  I then sewed the other half of the closure to the inside of the pocket, which was a total pain.   If I had x-ray vision, it would have made that task easier.  Ooph.

20150322_171424
20150322_174033
But it totally works!

This week I will post the final wrap-up post for the bag.  It is done and I am going to use it tmw!!
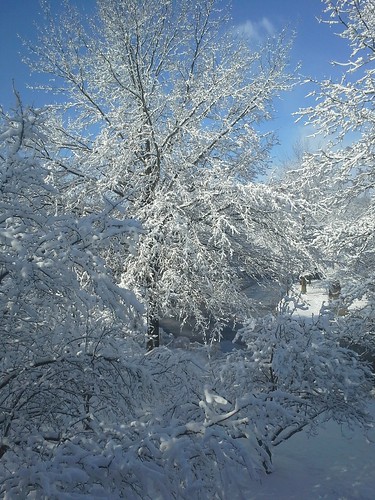
possibly my favorite snow picture ever
This may possibly be my most favorite snow picture I have ever taken. That was the scene from my sewing room yesterday morning. Can you believe, the snow is all gone (except for snow pile remnants).

Be well!

Thursday, February 13, 2014

My Third Sewaholic Renfrew: Muppetlicious Texture

My third Sewaholic Renfrew

I'm still behind on posts and this post, like the last one, is brought to you courtesy of another snow day!  I think this is our 4th snow day this year, plus 1 early dismissal and 1 delayed opening.  Some years there is hardly any snow at all but this year is super, super snowy.

Thanks for all your comments on my serged renfrew from my last post.  I absolutely love love love that one and have worn it at least 4 times already.  (Fitting the Renfrew was covered in this post).  

When I saw this fabric at the ASE last September, I *knew* I had to have it!  I bought it in Emma Seabrooke's booth.  It's soft, has 25% crosswise stretch, and has tons of texture.  I also knew it was venturing into Muppets territory with this fabric, but I was willing to take the risk.
my Muppets shirt fabric
A bonus is this fabric has very subtle stripes, so graining it and cutting it out was super easy.  Also I did myself a favor and traced the front and back pattern pieces full sized so I wouldn't be cutting on the fold.   Too much shiftiness with knits to be cutting on the fold.
wrong side of Muppets shirt fabric
Wrong side of fabric is shown above.

What I wasn't expecting was how big that collar would be in such a textured fabric.  I'm not sure what's going on with my face here, but that collar is mighty big.  actually during the day it "settles down" and flattens out a bit

My third Sewaholic Renfrew


My third Sewaholic Renfrew

In this version I added some bust darts and as a result, there are no diagonal drag lines down the front.  The fabric has so much texture that the darts blend in.
My third Sewaholic Renfrew
No thumbholes this time; I was worried I might totally turn into a muppet if I went with the thumb holes.

There is so much texture to this fabric that all the seams blend in to each other.


My third Sewaholic Renfrew


Here are the dress form shots.  You can see how tall I can get the collar to be, but it doesn't stay that way.
My third Sewaholic Renfrew:  fuzzy!

My third Sewaholic Renfrew:  fuzzy!

I sewed this shirt on the sewing machine and then serged, just like the last one.  I like having the stitching from the machine so I have my guide for cutting.  Also basting helps with the fit.  I basted the arms as entirely 1" SA but this fabric has half the crosswise stretch as my last two versions so I actually needed   5/8" SA in the bicep and 1" in the forearm.

The serged edge looks fine when the right sides are together, but as you can see where I serged the raw edge for the sleeve hem, it had difficulty with all that texture.  Looks ugly, but I don't think  could have done better than that with, ahem, all that texture.  I don't have a wide range of serger thread colors so I went with navy.  Turquoise was already on the serger but I felt the navy looked better so I changed it.  I have changed my serger thread a few times this year, and it is not so scary anymore.  I think in 2014 it started off brown, then turquoise, then navy, and since this shirt I have changed it to white.  My main tip is before changing the thread, serge the fabric first in a few test samples, even though the thread is the wrong color. Get all the settings etc right first and have a great test sample.  Then change the thread and run another test sample.  I have been getting good results doing that...for me, if the sample is really bad after changing the thread, I clip all threads and rethread and then run the sample again.  That way I know it's a problem with the rethreading and not with how this fabric is behaving with my serger.

My third Sewaholic Renfrew:  fuzzy!
I stablilized the shoulder seam and pressed to back.  Raw edges are all serged.  Love love love how the inside looks with serged edges.
My third Sewaholic Renfrew:  fuzzy!
I blind hemmed the hems.  I remember back at PR Day 2011 in Austin,  PR member Leslie in Austin wore a sweater knit shirt she made (the Kwik Sew cowl neck one) and I asked her how she hemmed it.  "With my blind hemmer" she said.  I had no idea what that meant.  Now I understand there is a machine called a blind hemmer, but I used the "stretch blind hem" setting on my sewing machine and it worked like a charm.
blind hem is blind
That's the end of my sleeve.  Blind hem is blind.

So this fabric was actually quite easy to work with.  Highly recommend!

Ok, so last post Vanessa was commenting on serging sleeve caps.  I practised first.  I had a little bit of left over fabric from my first Renfrew so I cut out basically short sleeves and the armhole front/back and practiced first.  I have been doing a lot of pracicting on every technique before I try it to get the tension right and the technique down.  Also every knit is different so....

Here is the inside of one of my two practice sleeve caps.
interior sleeve cap practice
And here's the outside:
sleeve cap practice
I also practiced pressing the sleevecap on my ham. This made me feel more confident when it was time to sew up the real deal.

Ok, be careful out there if you're in a snowy clime.  I got a flat tire hitting a ginormous pot hole and I fell outside after taking a picture of the snow on the trees (though that was more to do with my own inattention than the ice itself).  It really shook me up!

Be well!


Sunday, November 11, 2012

A domestic Sunday

Hey, my parents got their electricity back yesterday at 12:20pm!  12 days without power from the grid.  They are tough stock.  A crew from Arkansas helped them out--I love all these crews coming from out of state to help us (the state of NJ) get back on our feet again--thank you!!

Ok, it felt like a very domestic Sunday.

A little cooking...
artichoke chicken and rice soup
Chicken rice and artichoke soup, with too much Parmesan cheese thrown on top...

A little baking....
cookies!
Nestle Toll House chocolate chip with walnut cookies from scratch for the Thanksgiving Potluck at work tmw.  My house smells SO good!

A little sewing....
version #6 of the jeans muslin (next time it will be the real deal....are you ready???  Am I???)
jeans muslin #6
jeans muslin #6
With a fisheye dart to take out excess length at the side seam that was creating unflattering waviness in the hip area (I actually had to make this dart bigger!):
DSC09638

And  a quick gratification project, this lovely pair of UW...
fabric: Joann's
elastic: either Daytona or Pacific Trim, NYC
DSC09670


iron on patch:  Hobby Lobby (recently opened in NJ)
DSC09671


And finally, a little snow with the ginkos...
after the 11/7/12 snowstorm Athena.  pix taken 11/8/12
Be well!!  Good night!

Saturday, October 29, 2011

Did you hear?

It's mah birthday!

PR-birthday
Oh yes, it also snowed all over including NJ!!  It's the first time it ever snowed on my birthday.

Do you see my pumpkin there in the snow? (oh, and my pumpkin growing experiment was a big FAIL. So that's a store-bought pumpkin)
snow on my birthday, 10/29/11
My neighbor's tree couldn't take it; it looks like it collapsed under the weight:
snow on my birthday, 10/29/11
And here are three trees in various stages of de-leafing:
snow on my birthday, 10/29/11
So I had a nice lunch down the shore with my parents, then drove back to "beat the snow" but got caught in it instead. Once I got back to my house I took a nice 2 hour nap, ahhhh....

OH! So thanks for all the comments about the straight hair. It was SO much fun to have it straight for a few days and I got a lot of interesting comments on it at work and the gym and here on the blog. To answer your questions, it was flat ironed (not the keratin treatment) and done by my hairdresser. I had never had it straightened before. I'm not planning on flat ironing it myself, but I will have it done from time to time by my hairdresser. It seemed kind of weird the first two days and then I was really loving it.
So, it's back to curly, at least for today. ;)

Here's what I worked on tonight, New Look 6071, in progress. I picked up this pattern at the ASE.
New Look 6071
It's not done yet, but you get the idea:
New Look 6071 view A in progress

It's a pretty cool looking dress and the construction is pretty awesome, very simple in a way but it looks pretty cool. That v-neck is way low though and I'll have to figure out a way to make it more work-friendly.  It is actually a brown double knit though the picture color looks weird.

Funny that I chose a snowy day to make a summer dress but it's my birthday and I can do what I want. I might wear it in Austin for PR Day next month.


Be well and good night!