Friday, April 22, 2016
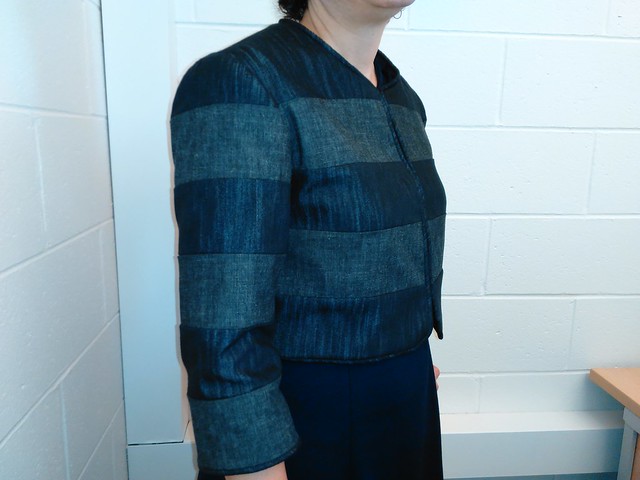
Simplicity 1688 : Striped #epicjacket
Is there something you've always wanted to sew, but you haven't sewn it yet? That item pops up on your "to sew" lists over and over, but the only place it is finished is in your imagination? I can think of a few such items, like a raincoat I've been wanting to make since 2012 or a red denim jean jacket that's been on the list since 2013. I'm not sure how long this Cynthia Rowley boxy cropped jacket has been on the list, but it's been at the front of my "jacket" box for ages now:
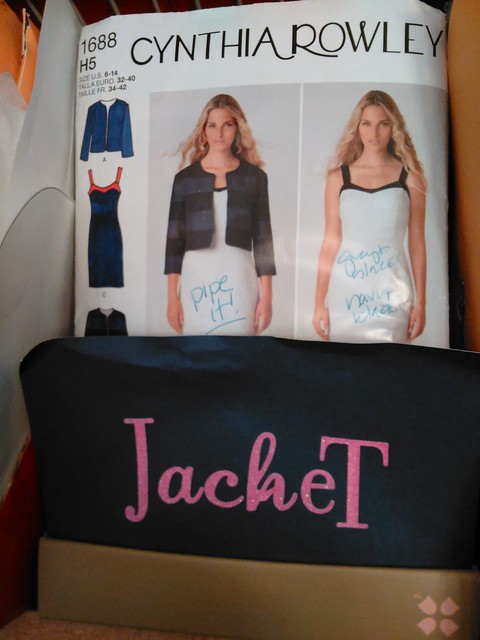
And now, it is sewn. :)
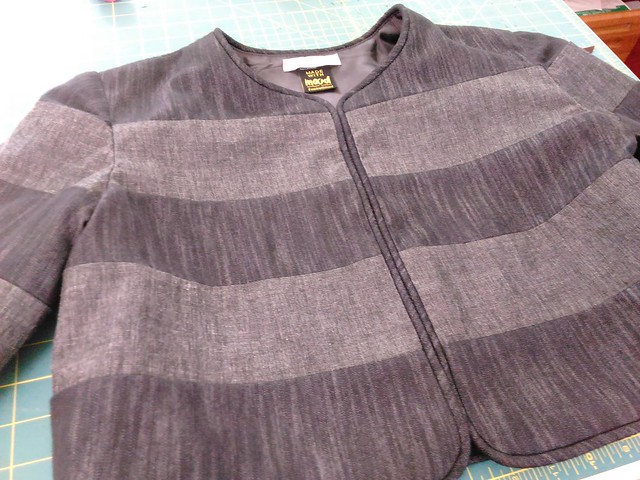
So how can this be an #epicjacket if there are no cuffs, no collar stand, nary a collar? Mainly because it was 19 pattern pieces and it took three weekends to sew. I continue to massively underestimate how long it will take me to sew garments.
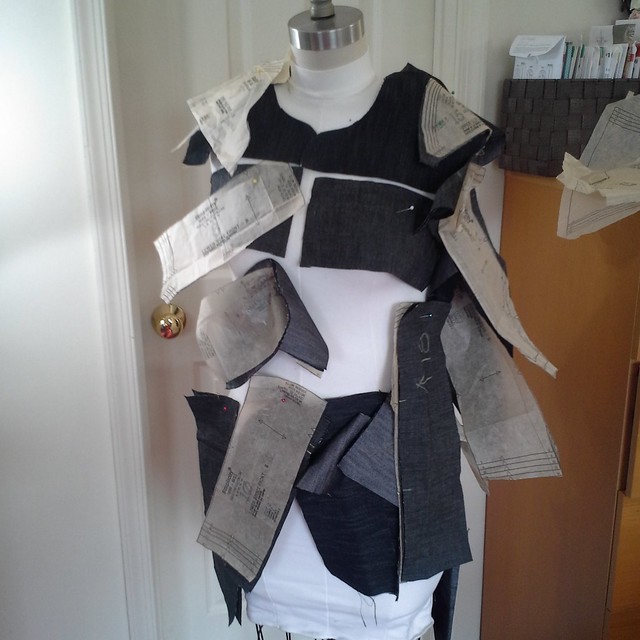
Exterior pattern pieces, pinned to the front and back of my dress form, so I don't lose any of them.
Fabric
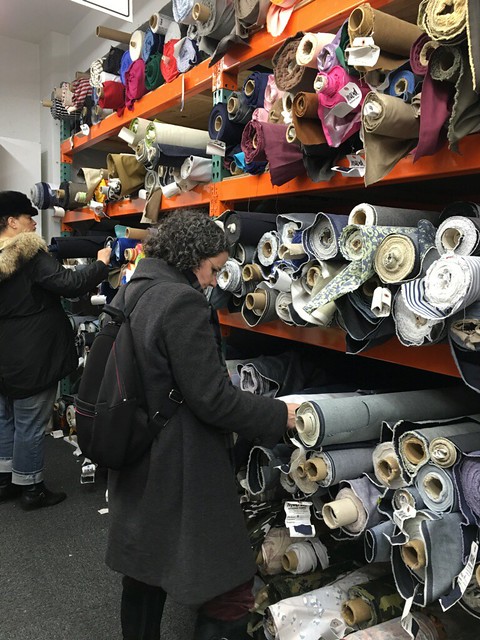
Tomasa captured me on the hunt for denim. There's my neoprene backpack in action.
The exterior fabric is two coordinating denims from Mood, purchased during the MPB Day Winter Frolic in early March. The darker of the two has incredible drape, and I wish I could buy more of it for a denim shirt dress. The interior fabric is a luscious rayon bemberg, also purchased at Mood the same day.
Piping
Based on seeing a PR review where the seamster piped it, I made my own piping using this continuous bias tutorial from The Seasoned Homemaker. The cording is from Joann's.
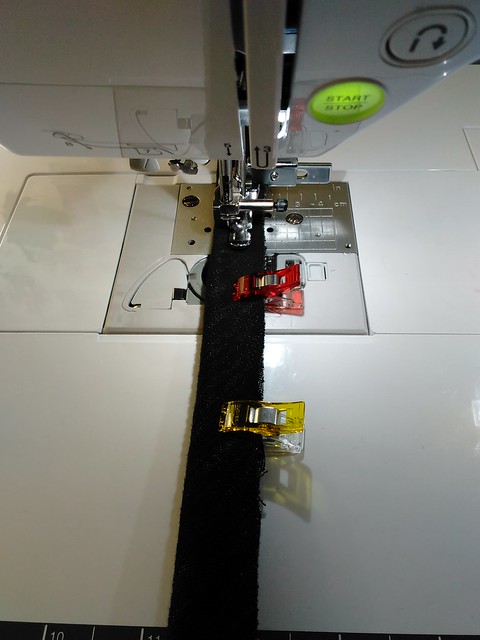
Making piping
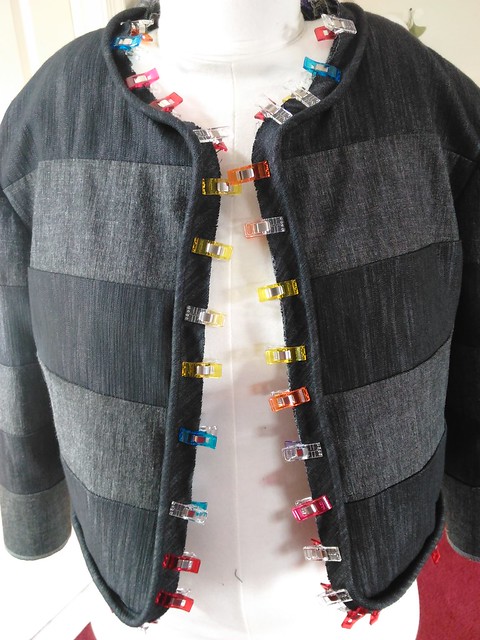
Clipping the piping on
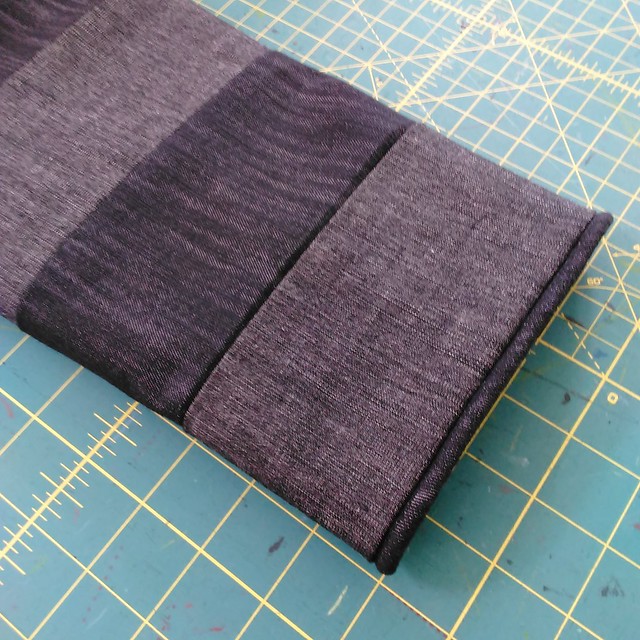
Piped sleeve edge
Sizing
I traced the lining pieces (basically view A) in a size 12 onto Swedish tracing paper and sewed the tracing paper as my muslin, but couldn't get the jacket on easily without dislocating a shoulder. I wound up going with a size 14 and then tapering in the side seams of the real deal.
Stripes
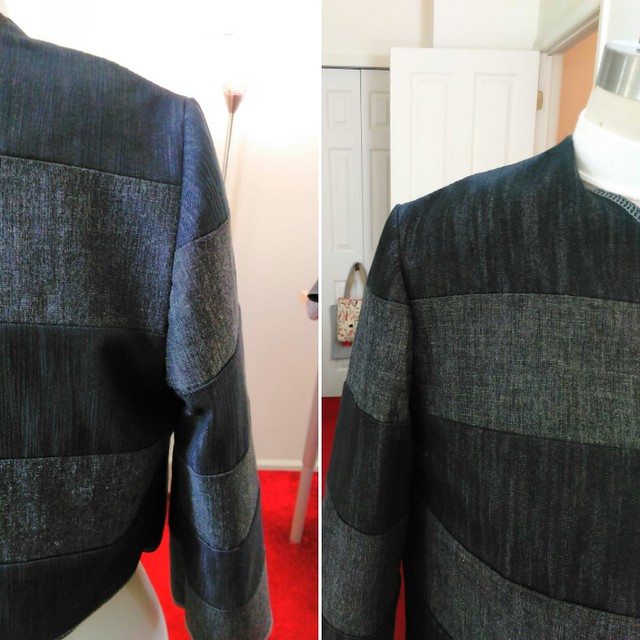
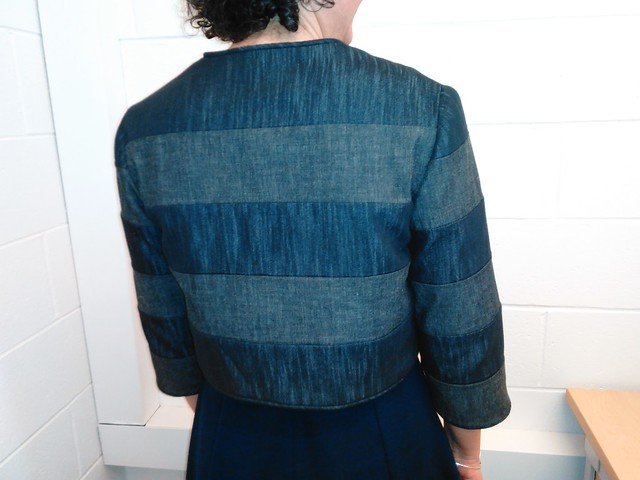
So, those stripes....the line drawing shows the stripes match all the way across the front and the back but when I sewed the first sleeve in, they did not match. At first I thought I did something wrong, but was perplexed because the sleeve seemed pretty decently set in to me.
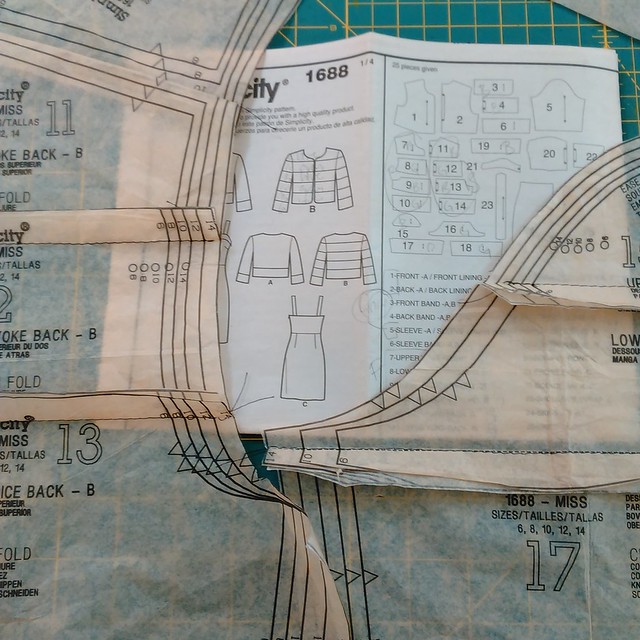
Then I realized the line drawing and pattern do not match. You can see the small circles do not correspond to the same stripe. On the front, this difference is only .25" but in the back the difference is about 1.5". Earlier this week, Simplicity asked me on IG to email them to discuss the issue offline, and I did, but I haven't heard back. Anyway, I had no more fabric to recut the sleeve, and no real interest in redrafting the pattern, so I forged ahead and finished the jacket anyway.
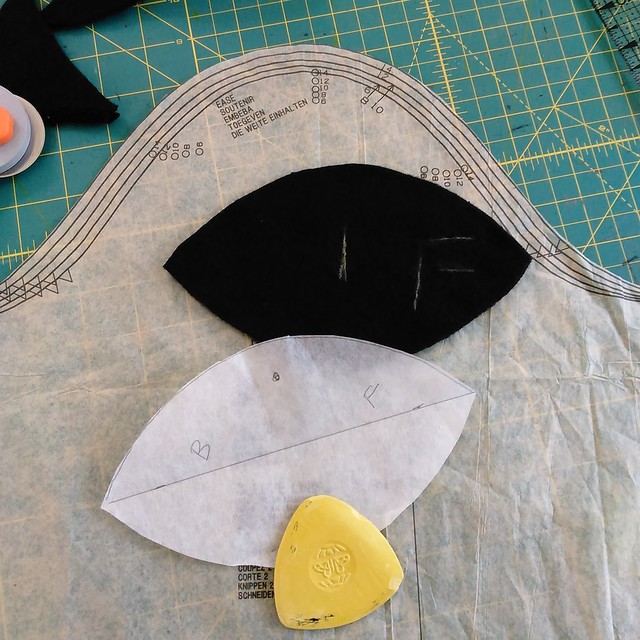
Sleeveheads
I added sleeve heads as per this tutorial to give some support in the shoulder area and make up for some slightly imperfect sewing there. Drafting and making the sleeve heads is honestly a piece of cake.
Sleevehead sewn in
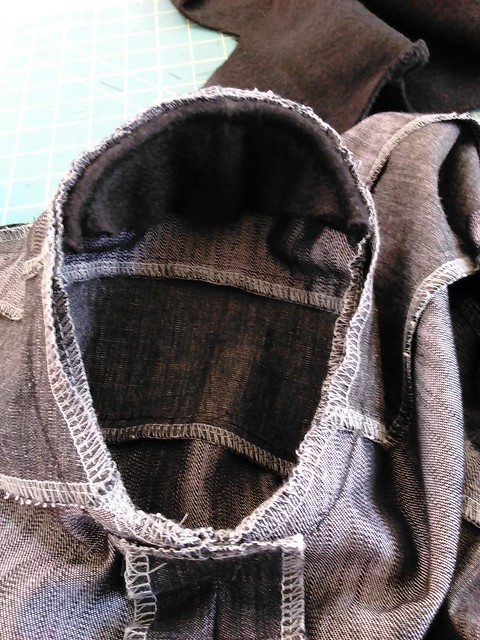
Sewing the lining to the jacket
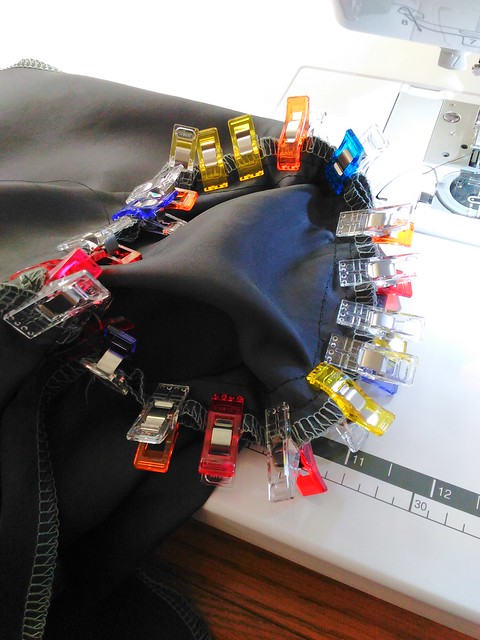
It takes a village...of wonderclips to help set in the sleeve.
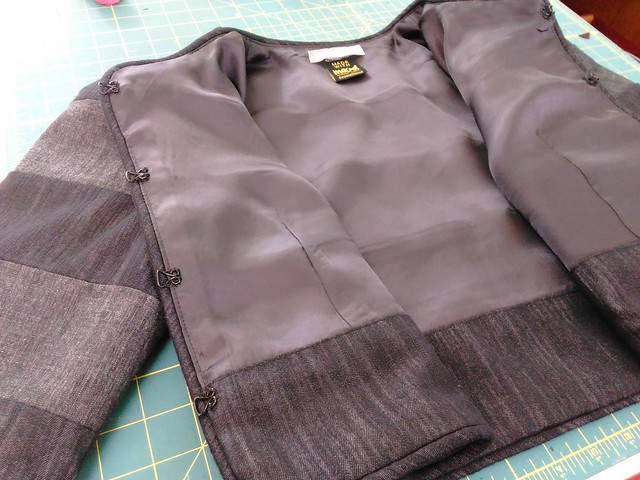
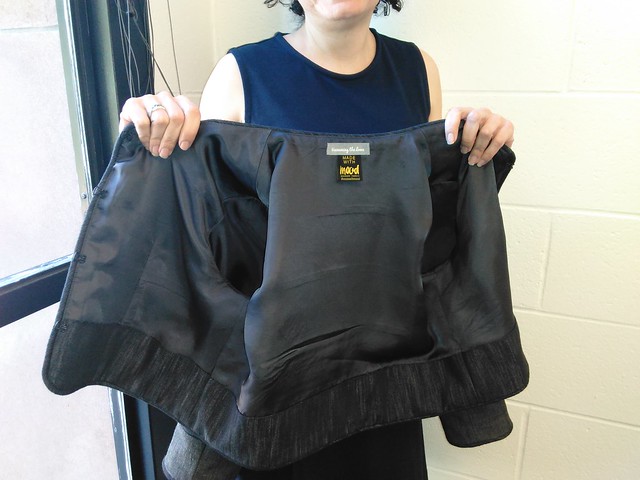
Instead of following the instructions, I think I basically bagged the lining, so the only part that is handsewn is the bottom of the jacket.
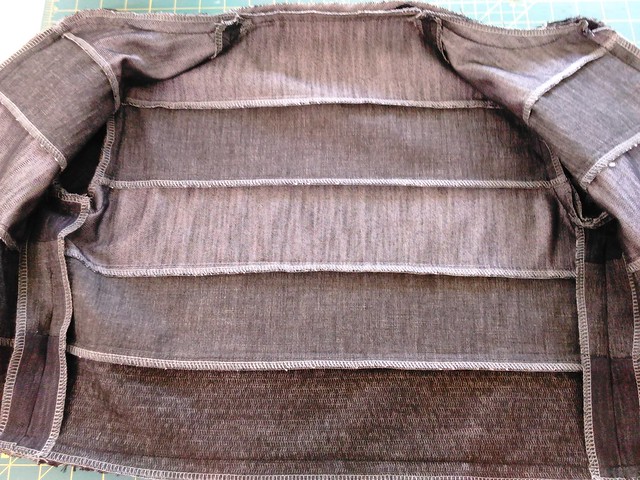
Before sewing the lining in...
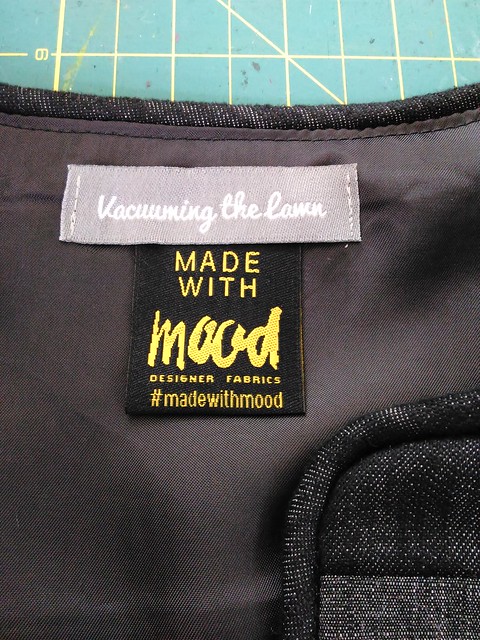
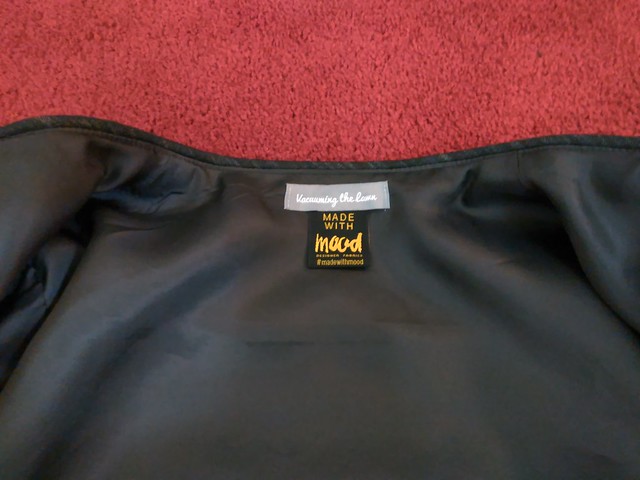
With the lining in, my tag, and the Mood tag
Hooks and eyes
This might merit its own blog post. I think I'm going to sew the hooks and eyes in again. I didn't do any RTW research before sewing them in; instead I went by my 1960's sewing books. The bottom set of hooks and eyes keeps coming undone as I wear the jacket.
Styling
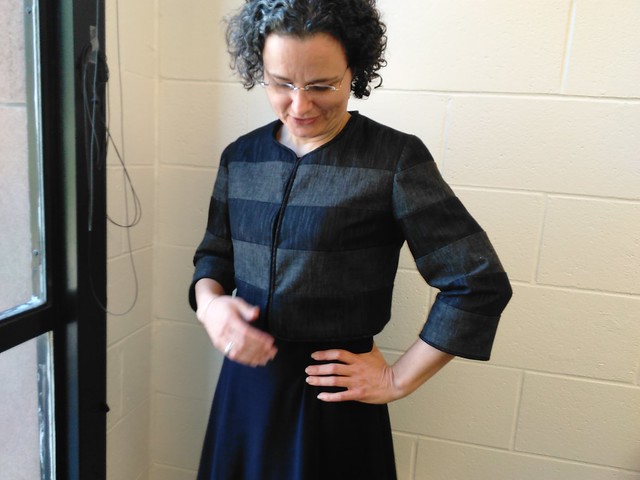
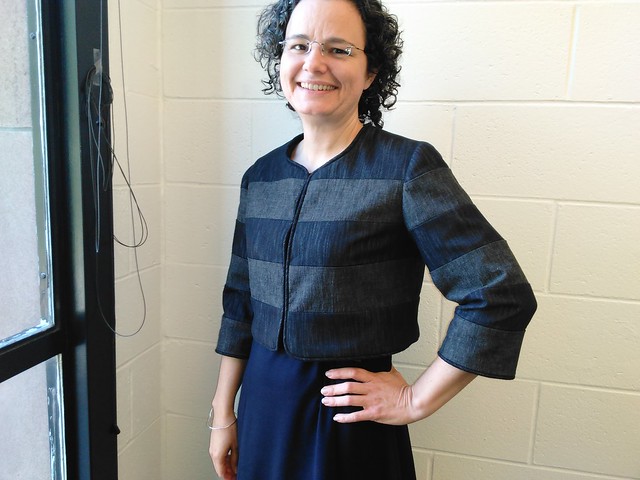
I've paired my jacket with my Sewaholic Davie navy blue dress. I think it's a great combo.
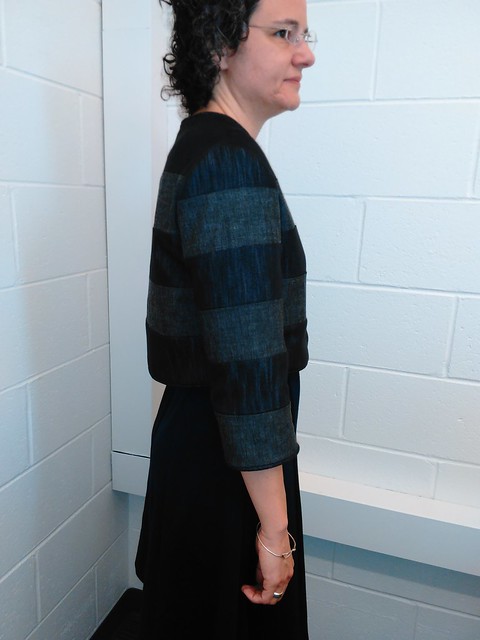
Be well!
Monday, April 4, 2016
Athleisure Wear: Three Little Bears Edition
Juuuuuust right!
Soooooo....back over holiday break I made the heart sweatshirt....and since then I've made two more sweatshirts and a pair of sweatpants. Mainelydad, who tracks all the Milan runway trends for me, says this is officially called Atheleisure. Ok, let's strut the runway!!
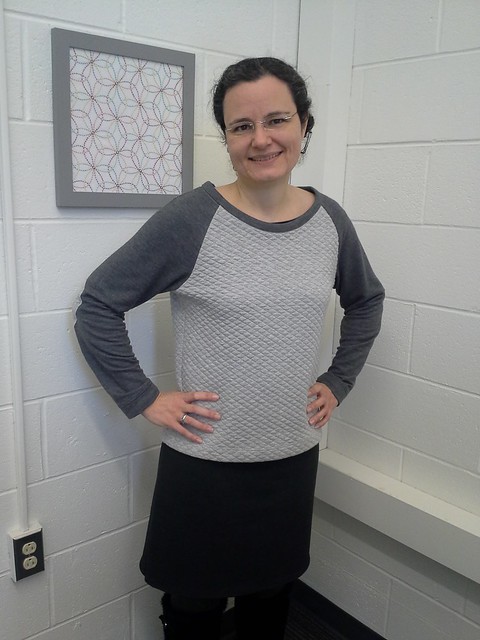
Ok, so I did not wear this to work. This was just for the photos!
Front
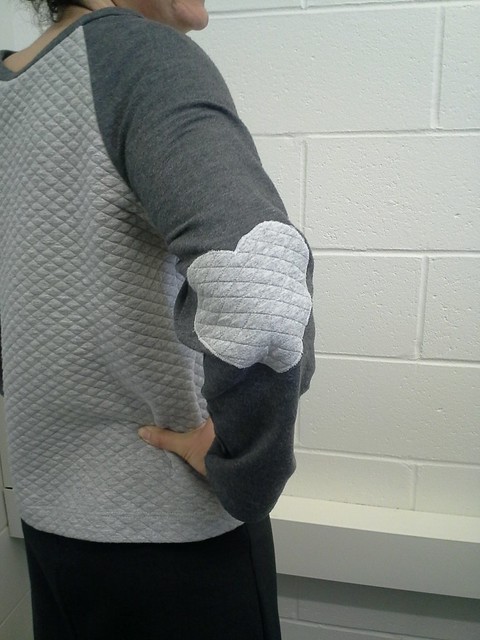
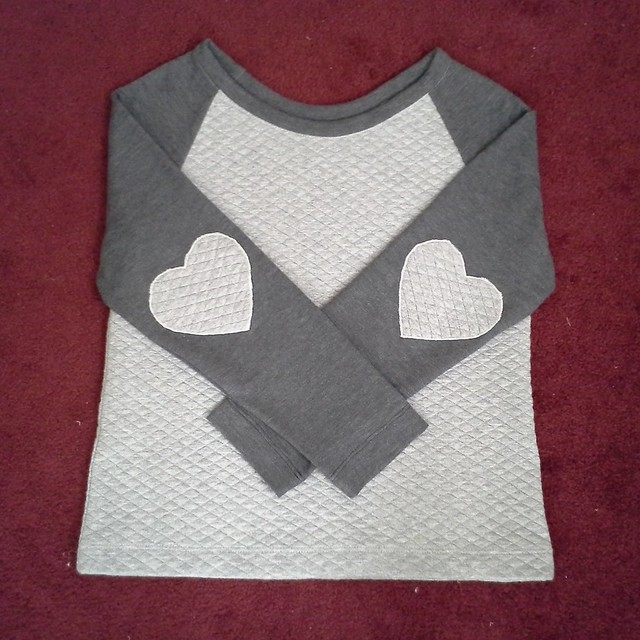
Boom! Elbow patches!
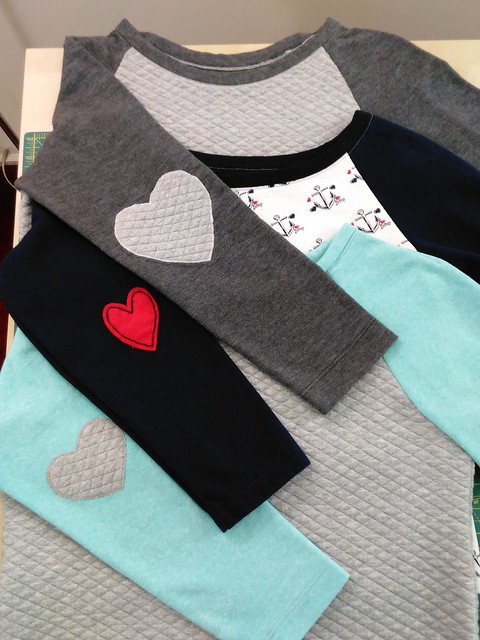
Versions and Fabric Guide:
Version 1.0: Juicy anchor stretch sweatshirt fabric; navy blue no-stretch sleeves from Joann's.
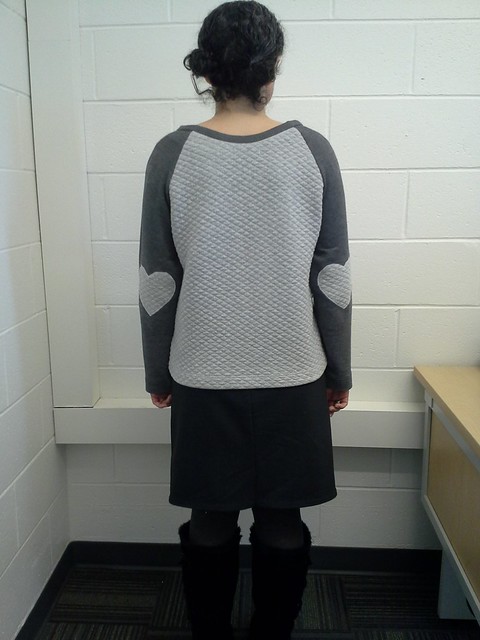
Version 2.0: Pre-quilted gray soft-on-both sides stretch sweatshirt fabric from Joann's with darker gray contrasting stretch terry that I think has its origins at Kashi's.
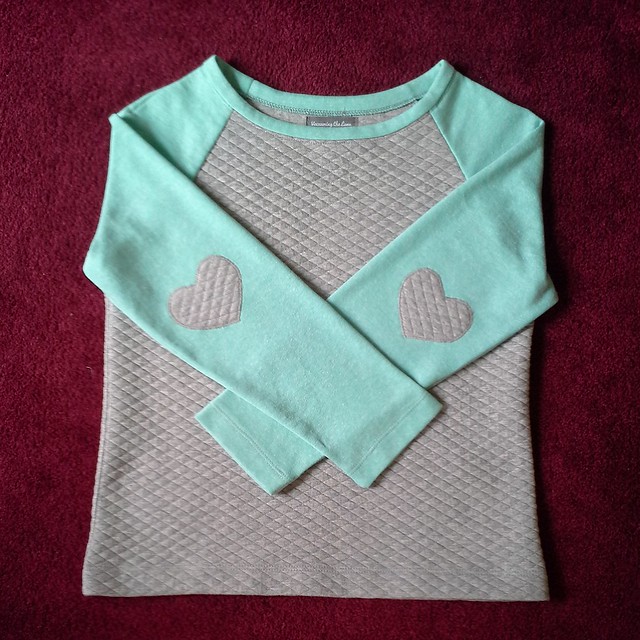
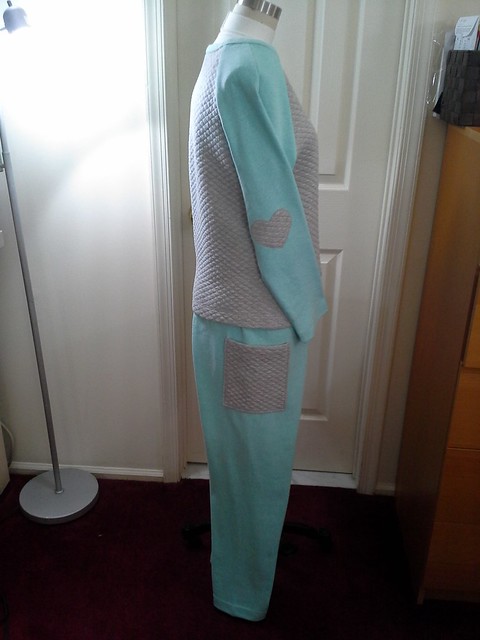
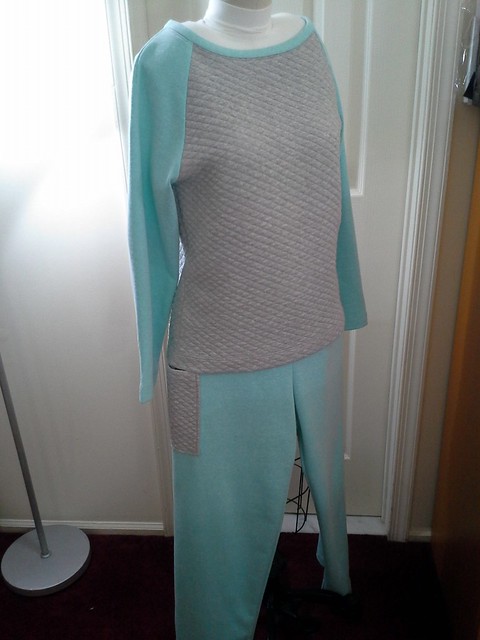
Version 3.0: Pre-quilted gray gray soft-on-both sides stretch sweatshirt fabric from Joann's with stretch aqua terry from Joann's...plus a pair of sweatpants to boot!
Note: I was planning on using the pre-quilted stretch sweatshirt fabric for a dress but then decided I would look too much like a roll of quilted paper towels and went this route.
Elbow Patches
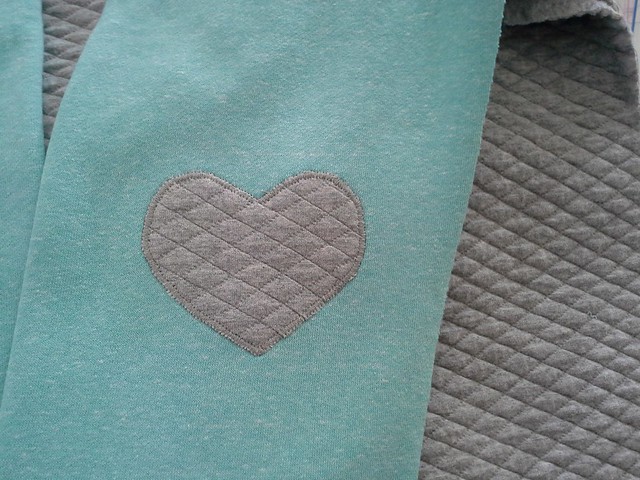
I used McCall's 6992 for all three sweatshirts, and added heart elbow patches to each one. Like the three little bears, I think the first elbow patch I sewed on (the red one) is too small, the second one (the gray on gray) is too big and the third one is juuuuust the right size.
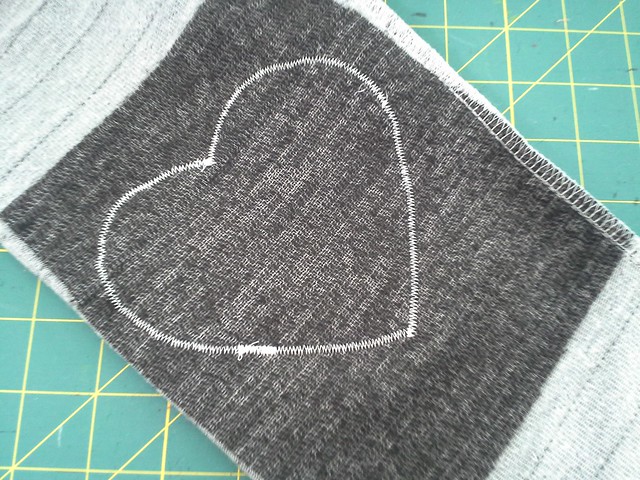
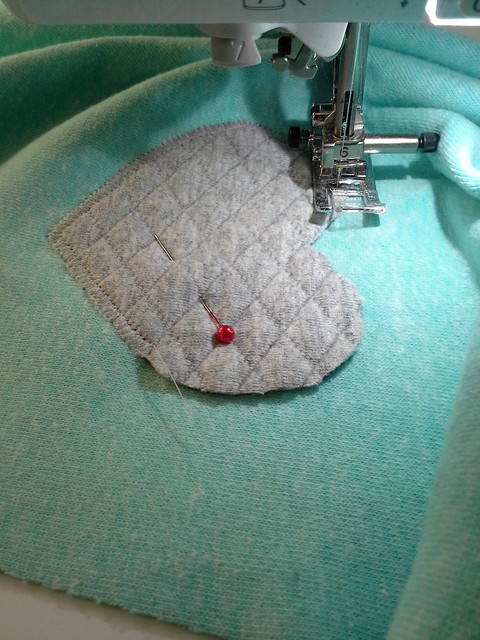
Tips for sewing elbow patches on stretch fabric
- Interface the heart and the area of the sleeve the patch will be sewn to.
- Never ever pick up the presser foot to pivot except at the two points
- Don't use too tight a zig zag stitch (I have to look up what settings I used).
- If there is part of the heart that doesn't look good, undo just that part and redo it. You won't be able to tell where you stopped and started.
- Always practice with samples first
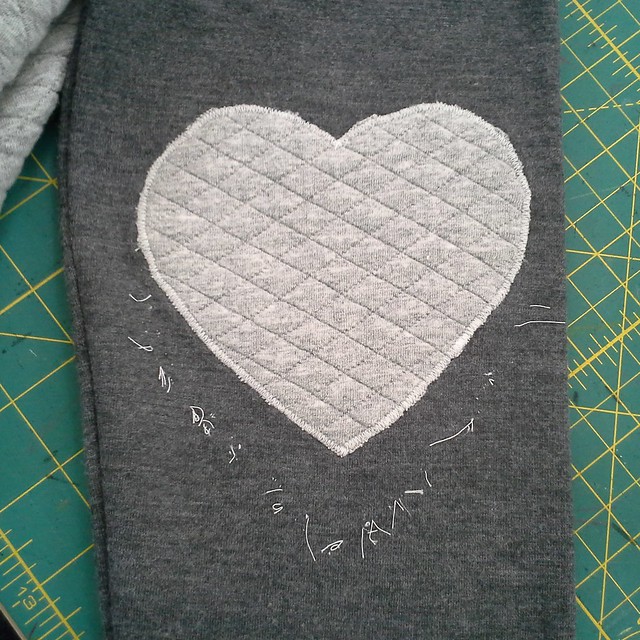
- Triple check that your patches are in the right location, otherwise you will rip them both out when they both turn out to be too low or too high...ask me how I know. :(
It was too low....the threads mark the former location....
Neckline
I felt the neckline was too high on the first version, so I cut an inch off the neckline all the way around, but it came out too big.
For the second version, I cut the neckline an inch lower in CF and CB, but kept the rest of the neckline the same.
For the third version, I cut the neckline as per the pattern, and it was juuuuust right. (No, I don't know why it felt too high the first time and just fine the third time!)
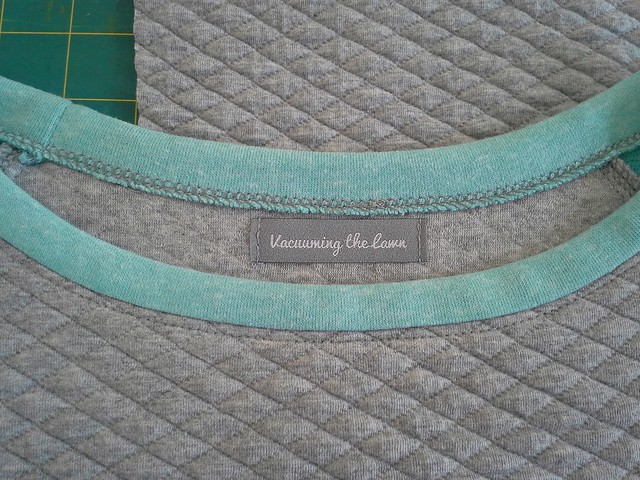
Binding the neckline
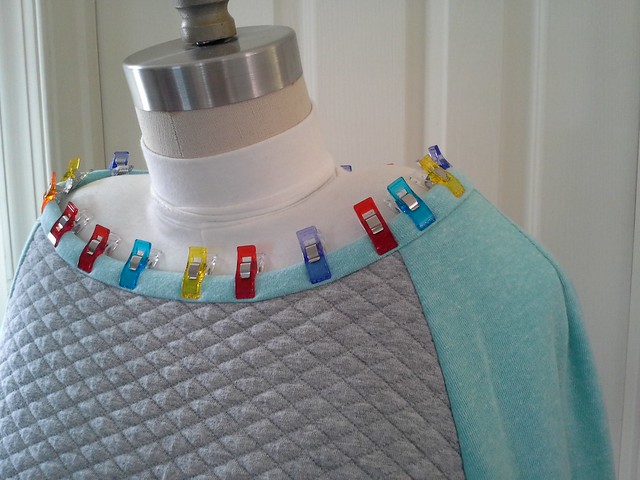
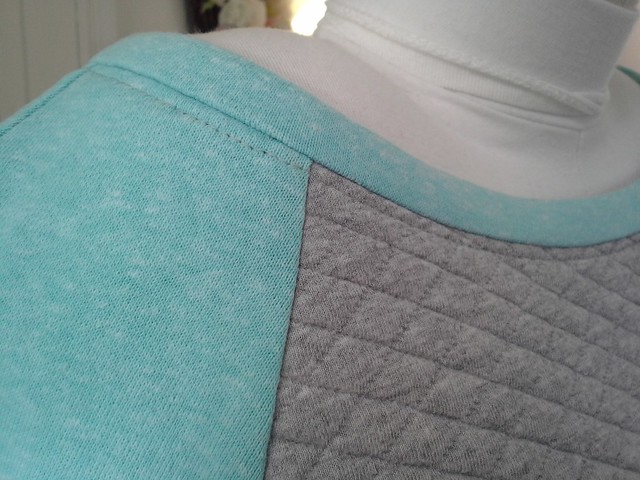
I bound the neckline by cutting a long strip of the contrasting knit crosswise, serge the long raw edges, stitch it down RS to RS while stretching the binding, then turn the binding to the wrong side, and stitch near, but not in, the ditch. If I had sewn it the way the pattern instructs, the neckline would be higher overall.
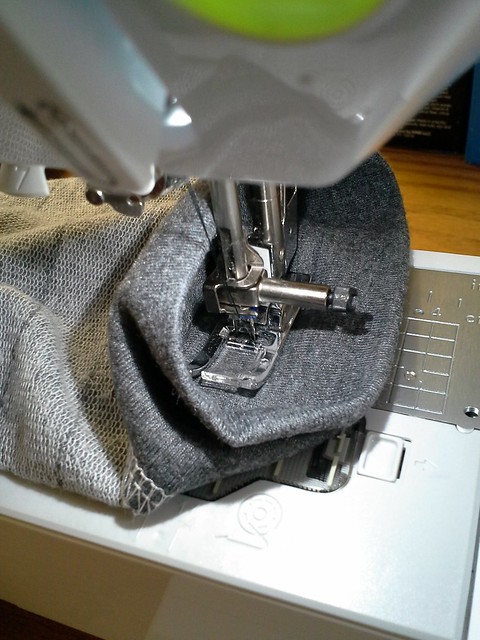
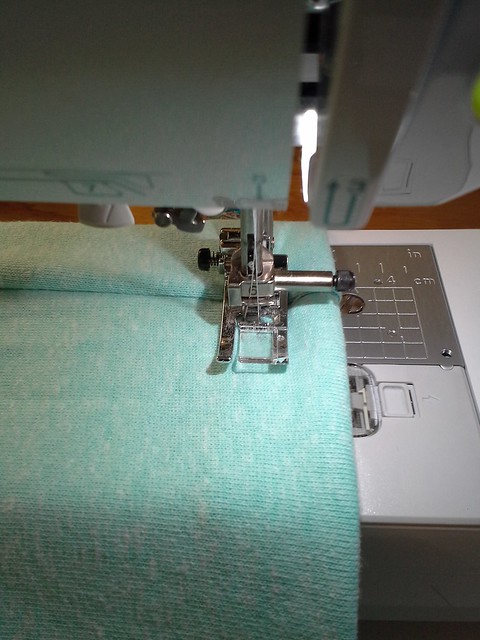
Stiching near but not in the ditch, using my blind hem foot as a guide.
Hems
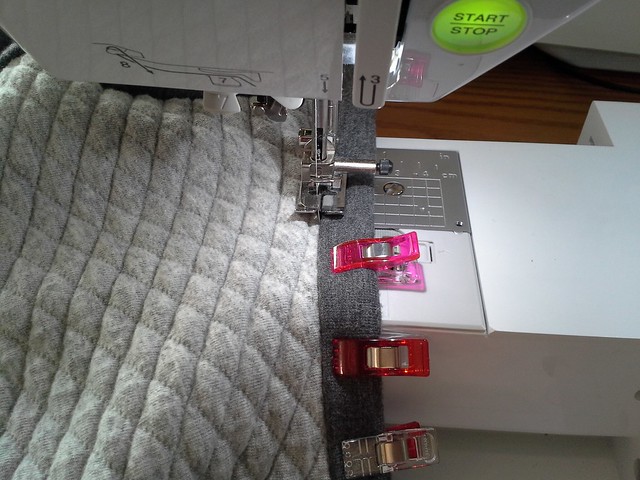
The raw edges were serged and then I twin needle stitched on my machine.
Difficult to do on the sleeve hem...
...but easier to sew on the pants.
Interior edges
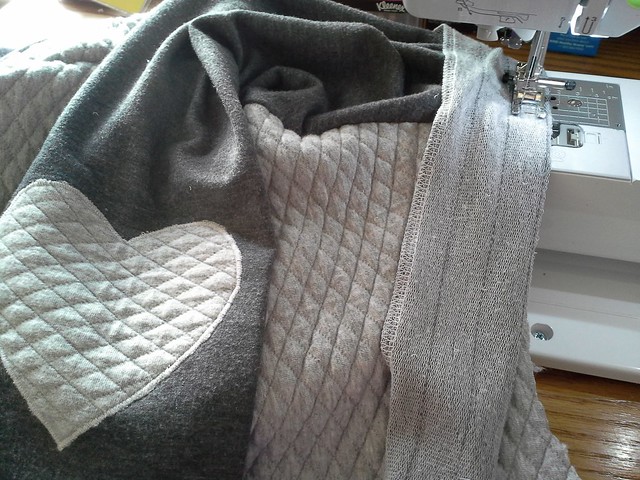
I basted first on my sewing machine and then serged on my serger. By the third version I suppose I could have just gone for it and serged it all on serger but I wasn't confident enough.
Bonus!
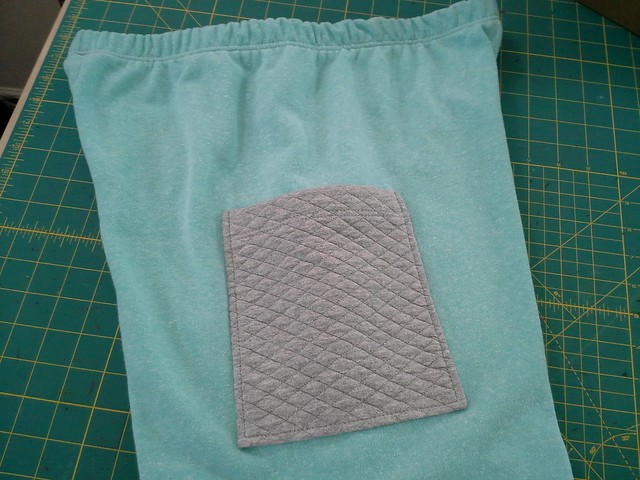
But wait, there's more...I also made sweatpants and added a pocket for my phone. I meant for the placement to be like cargo pants pockets. The pocket wound up being too high, but conveniently located.
Is this photo kind of creepy? I'm never ever owning a full body dressform, ever.
Less creepy?
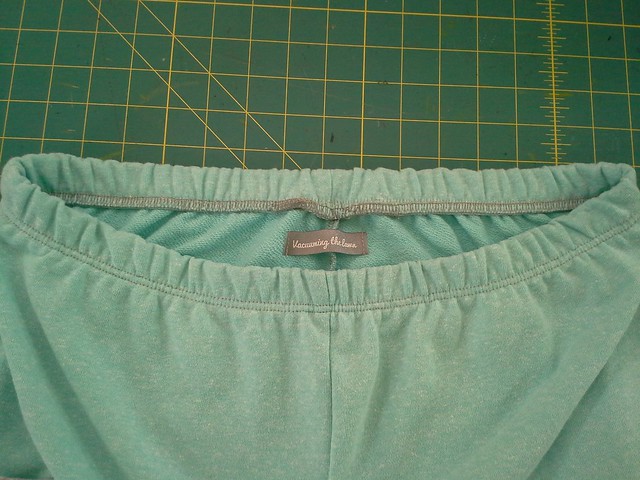
I used Pamela's Fantastic Elastic and her method for sewing the elastic to the pants, but I divide the pants and elastic into eighths instead of quarters.
Overall Verdict
I like version 1.0, but the sleeves are non-stretch fabric, so not as comfy as they could be.
Version 2.0 is pretty awesome, because I love how the back of the quilted fabric feels--it is fantastic!
But I love love love version 3.0 because of the color combo and how both of the fabrics feel--super soft..
Subscribe to:
Posts (Atom)