Juuuuuust right!
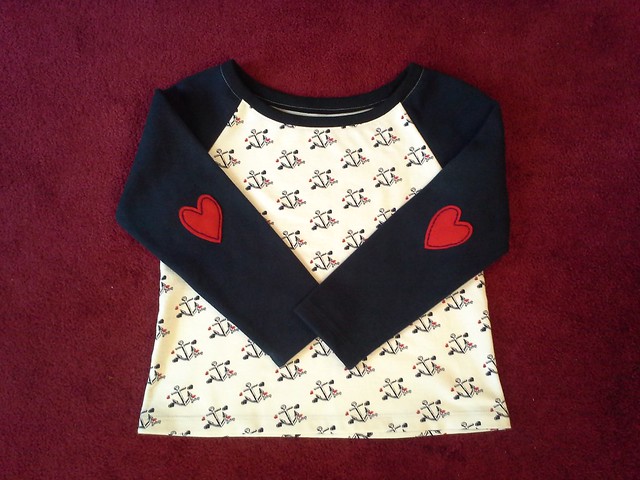
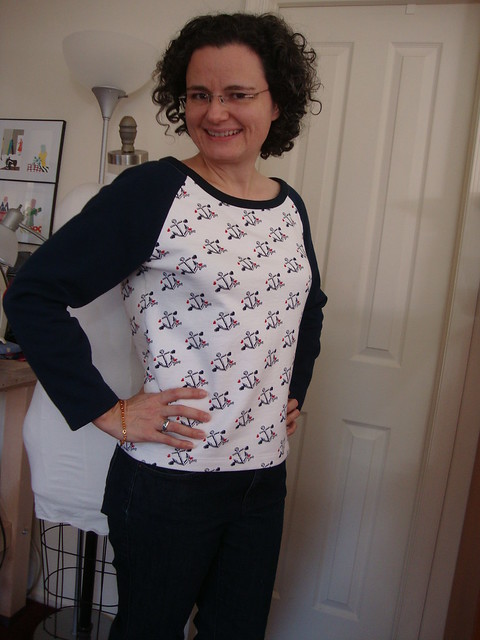
Soooooo....back over holiday break I made the heart sweatshirt....and since then I've made two more sweatshirts and a pair of sweatpants. Mainelydad, who tracks all the Milan runway trends for me, says this is officially called Atheleisure. Ok, let's strut the runway!!
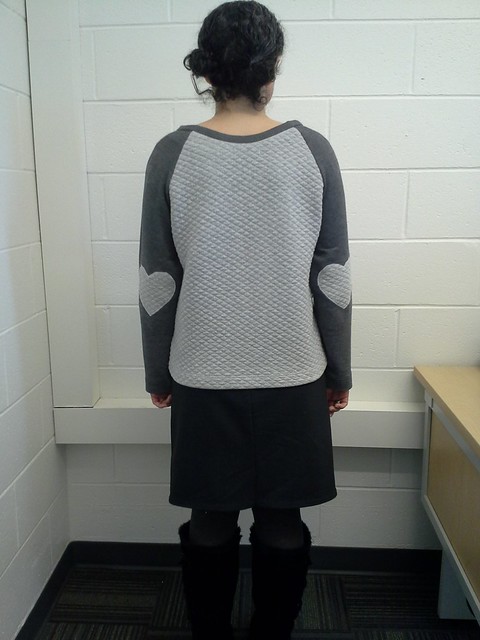
Ok, so I did not wear this to work. This was just for the photos!
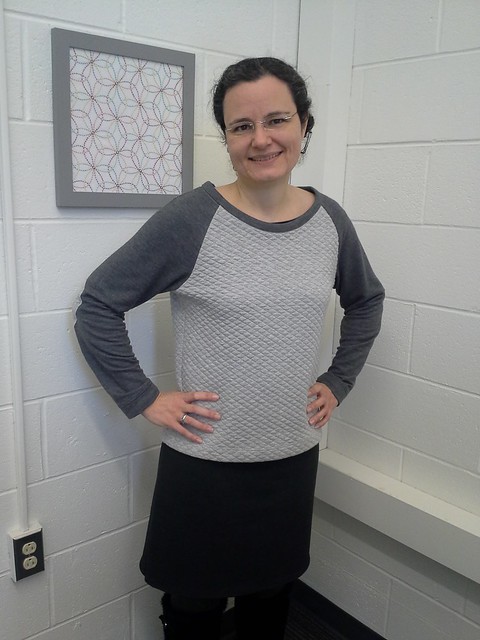
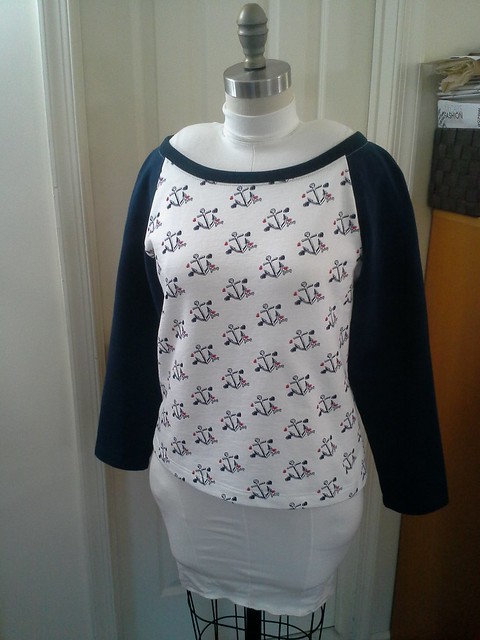
Front
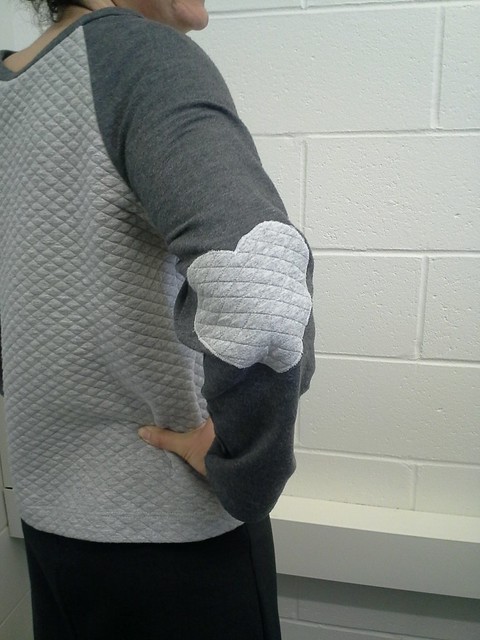
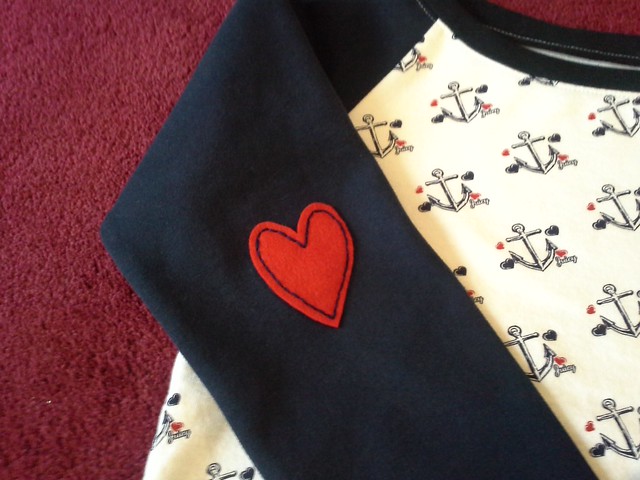
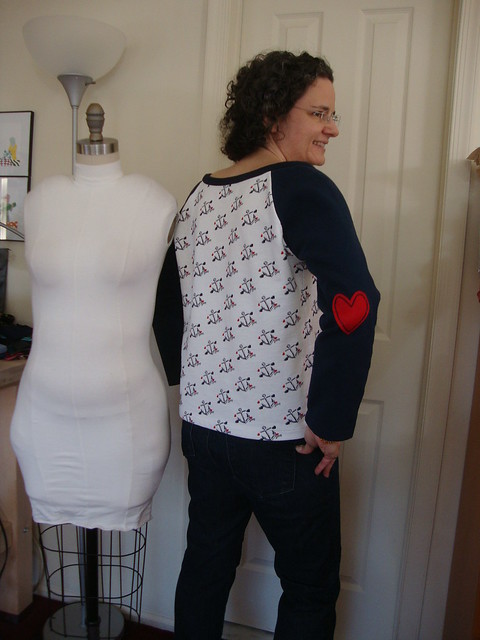
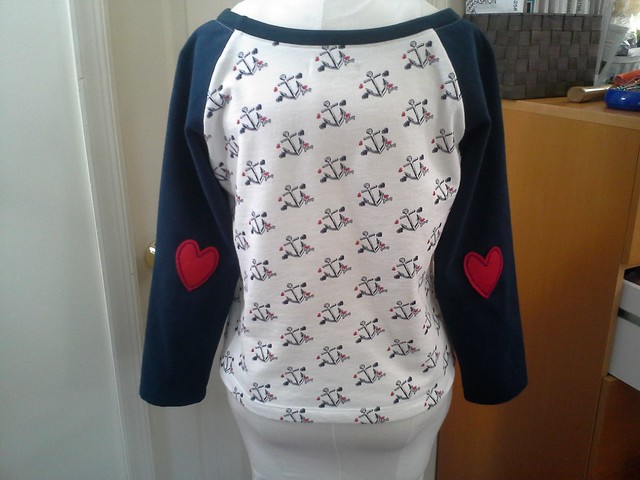
Boom! Elbow patches!
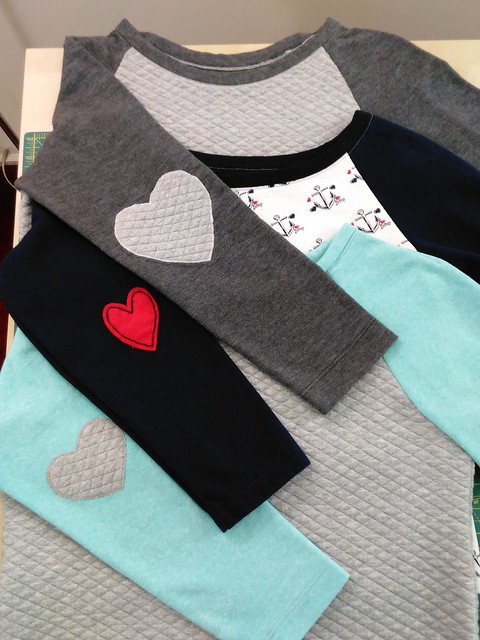
Versions and Fabric Guide:
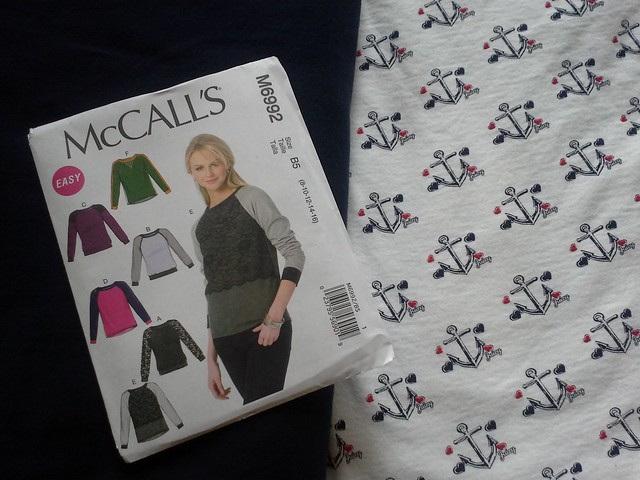
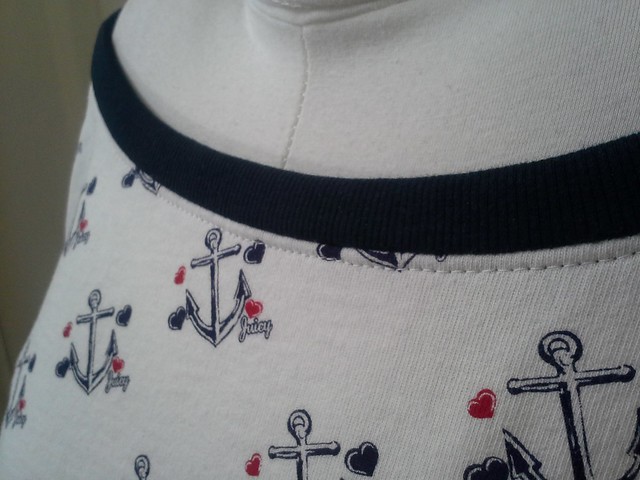
Version 1.0: Juicy anchor stretch sweatshirt fabric; navy blue no-stretch sleeves from Joann's.
Version 2.0: Pre-quilted gray soft-on-both sides stretch sweatshirt fabric from Joann's with darker gray contrasting stretch terry that I think has its origins at Kashi's.
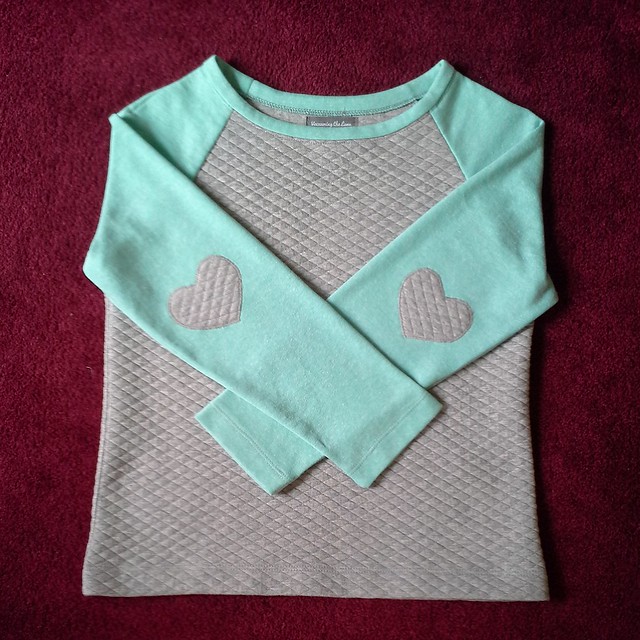
Version 3.0: Pre-quilted gray gray soft-on-both sides stretch sweatshirt fabric from Joann's with stretch aqua terry from Joann's...plus a pair of sweatpants to boot!
Note: I was planning on using the pre-quilted stretch sweatshirt fabric for a dress but then decided I would look too much like a roll of quilted paper towels and went this route.
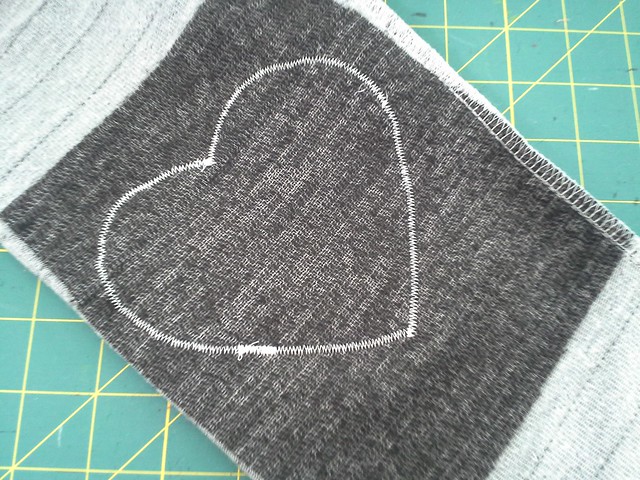
Elbow Patches
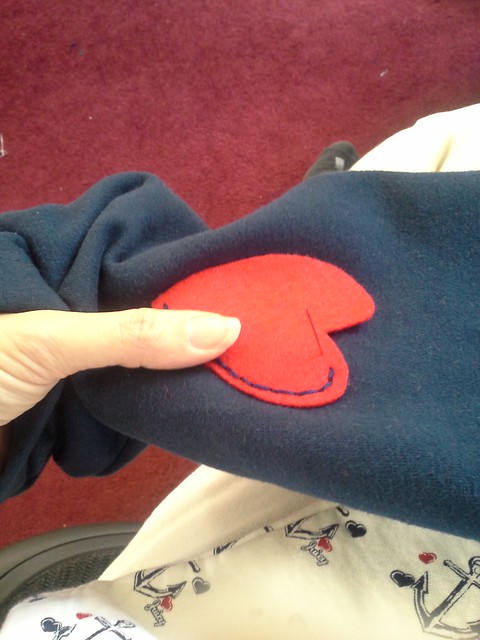
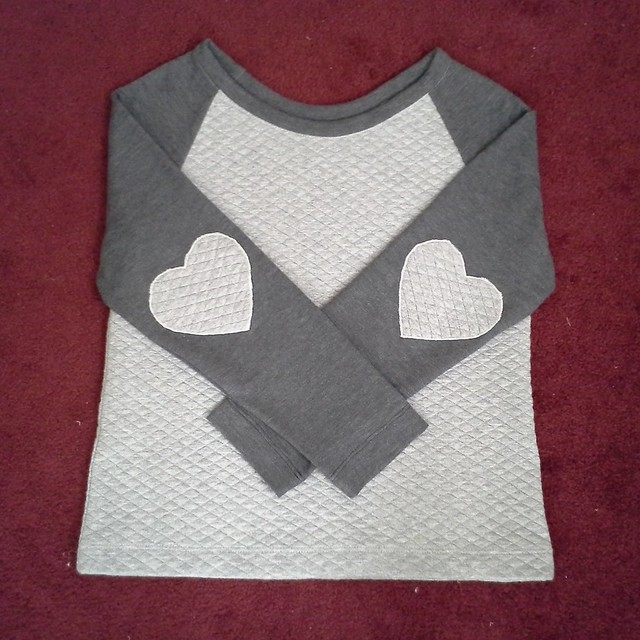
I used McCall's 6992 for all three sweatshirts, and added heart elbow patches to each one. Like the three little bears, I think the first elbow patch I sewed on (the red one) is too small, the second one (the gray on gray) is too big and the third one is juuuuust the right size.
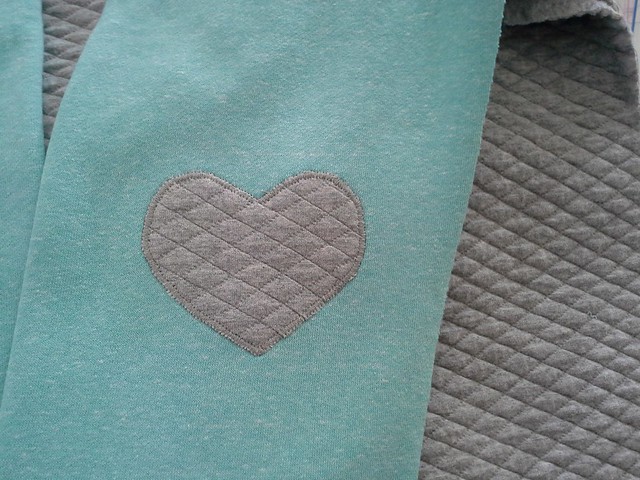
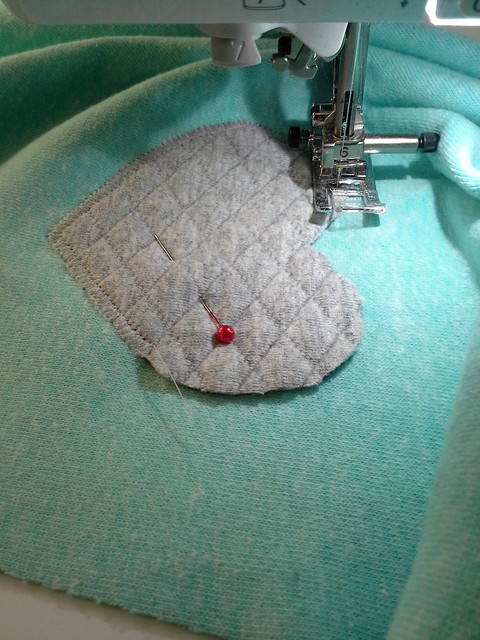
Tips for sewing elbow patches on stretch fabric
- Interface the heart and the area of the sleeve the patch will be sewn to.
- Never ever pick up the presser foot to pivot except at the two points
- Don't use too tight a zig zag stitch (I have to look up what settings I used).
- If there is part of the heart that doesn't look good, undo just that part and redo it. You won't be able to tell where you stopped and started.
- Always practice with samples first
- Triple check that your patches are in the right location, otherwise you will rip them both out when they both turn out to be too low or too high...ask me how I know. :(
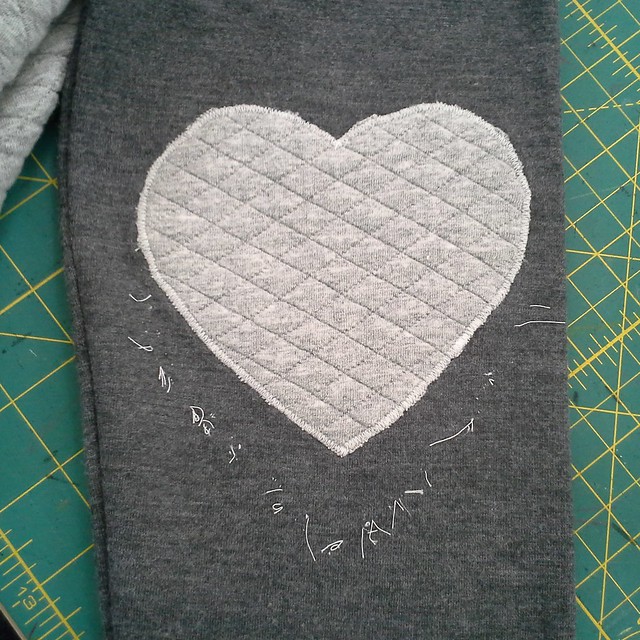
It was too low....the threads mark the former location....
Neckline
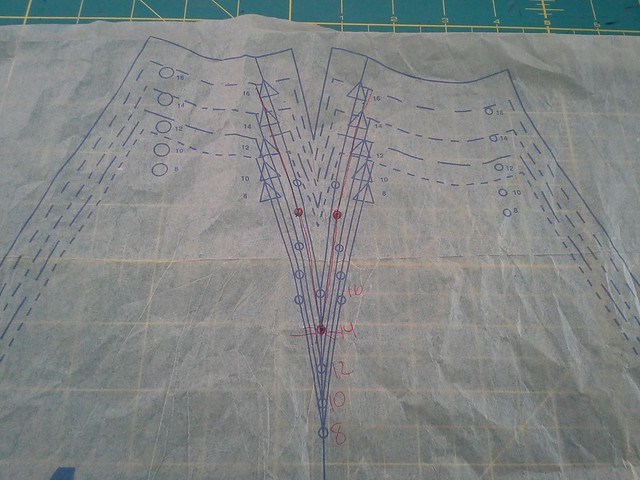
I felt the neckline was too high on the first version, so I cut an inch off the neckline all the way around, but it came out too big.
For the second version, I cut the neckline an inch lower in CF and CB, but kept the rest of the neckline the same.
For the third version, I cut the neckline as per the pattern, and it was juuuuust right. (No, I don't know why it felt too high the first time and just fine the third time!)
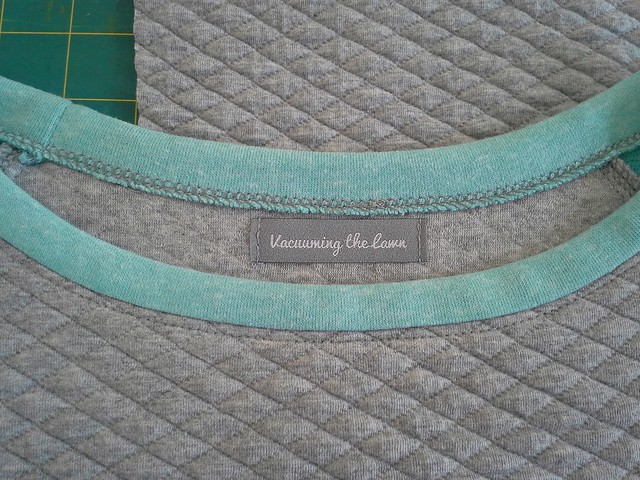
Binding the neckline
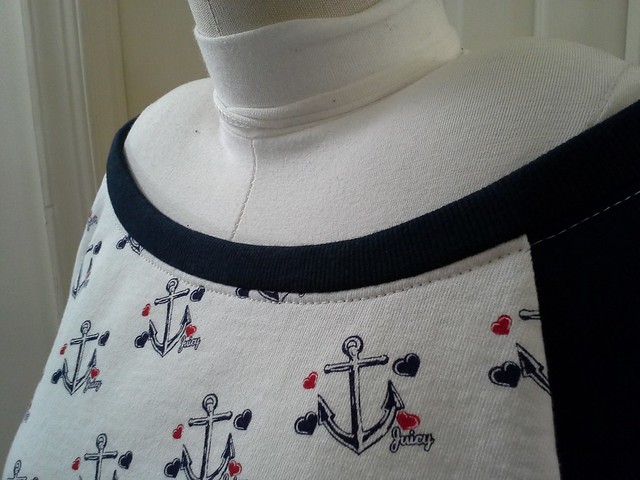
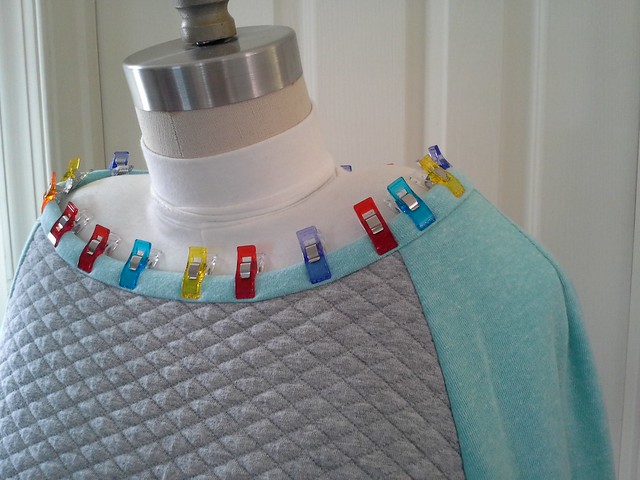
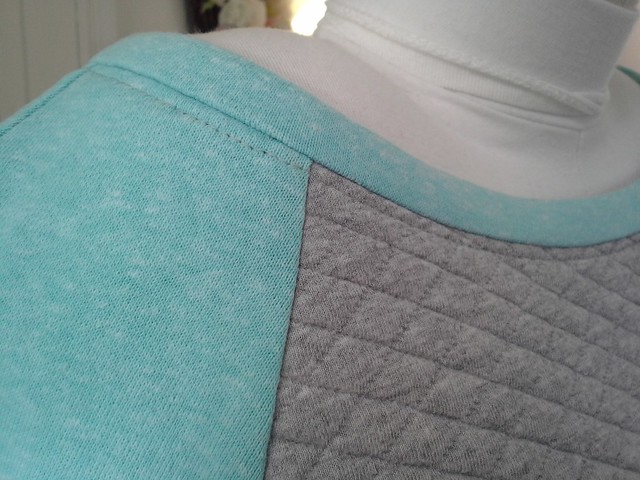
I bound the neckline by cutting a long strip of the contrasting knit crosswise, serge the long raw edges, stitch it down RS to RS while stretching the binding, then turn the binding to the wrong side, and stitch near, but not in, the ditch. If I had sewn it the way the pattern instructs, the neckline would be higher overall.
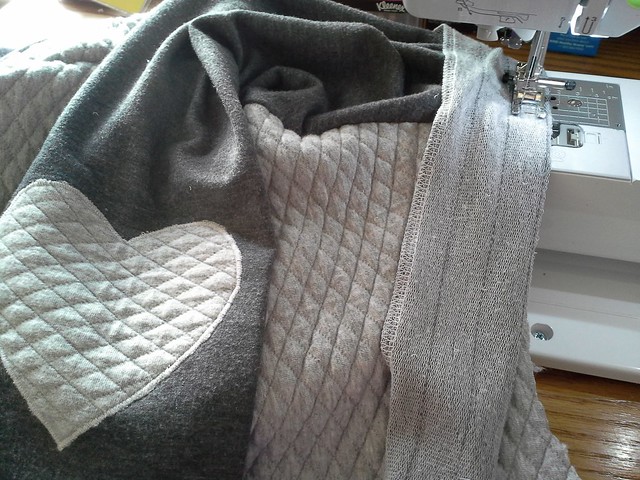
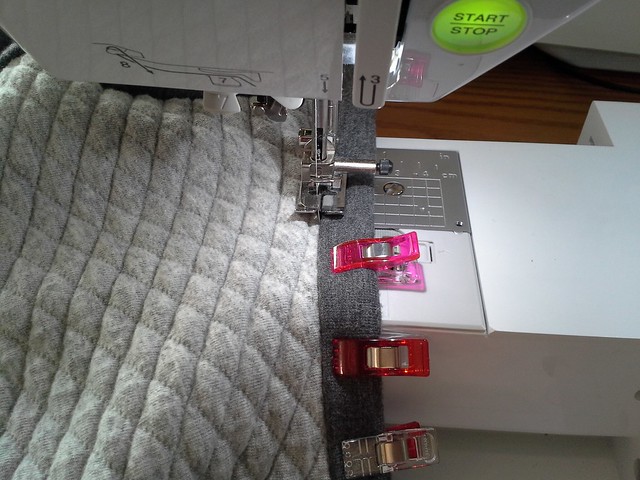
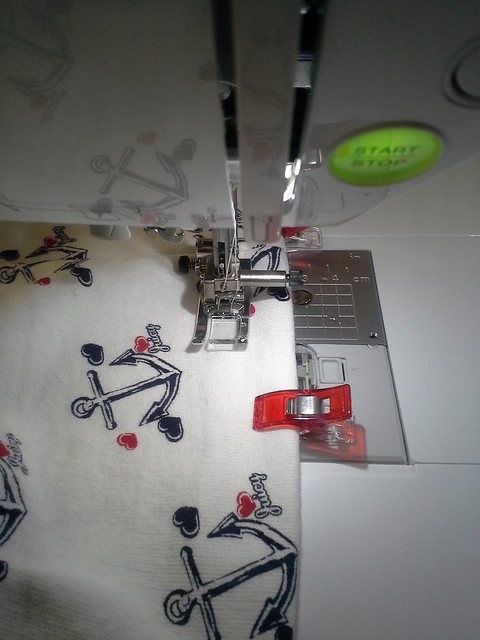
Stiching near but not in the ditch, using my blind hem foot as a guide.
Hems
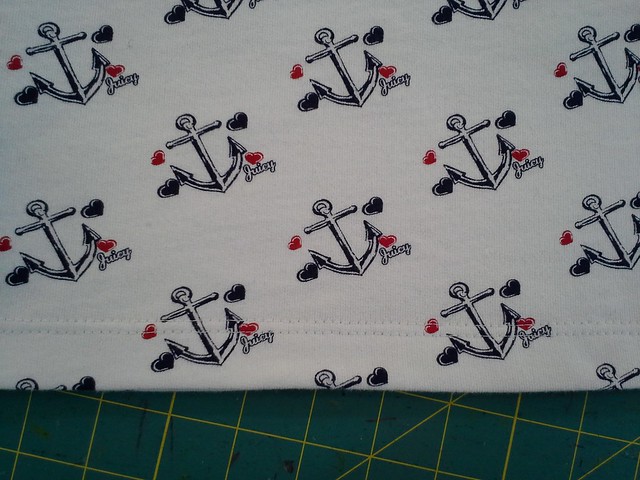
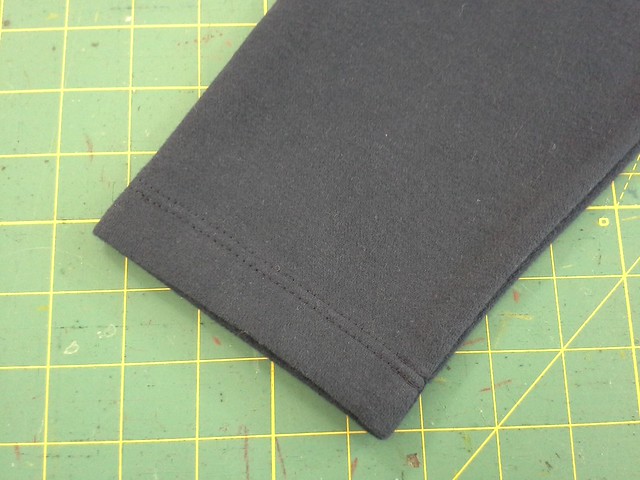
The raw edges were serged and then I twin needle stitched on my machine.
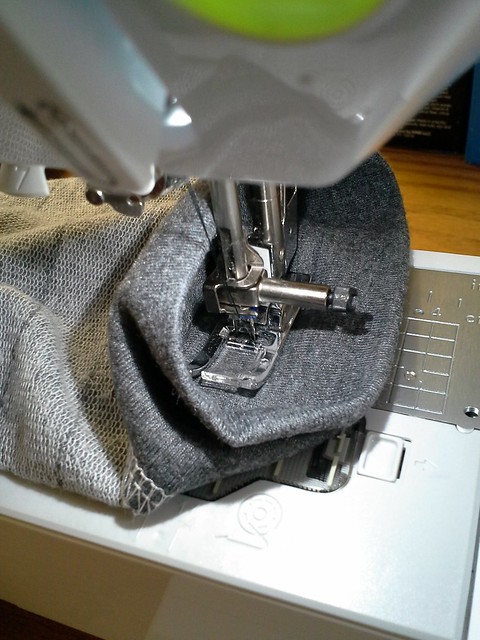
Difficult to do on the sleeve hem...
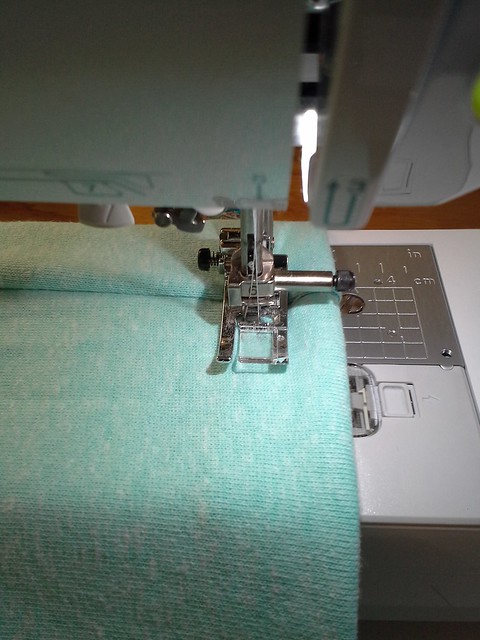
...but easier to sew on the pants.
Interior edges
I basted first on my sewing machine and then serged on my serger. By the third version I suppose I could have just gone for it and serged it all on serger but I wasn't confident enough.
Bonus!
But wait, there's more...I also made sweatpants and added a pocket for my phone. I meant for the placement to be like cargo pants pockets. The pocket wound up being too high, but conveniently located.
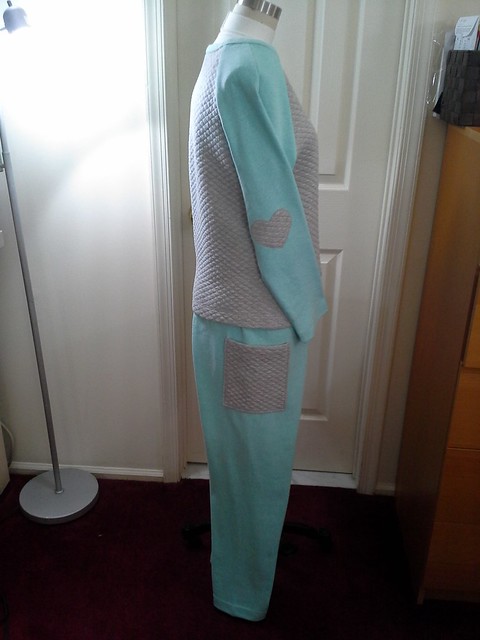
Is this photo kind of creepy? I'm never ever owning a full body dressform, ever.
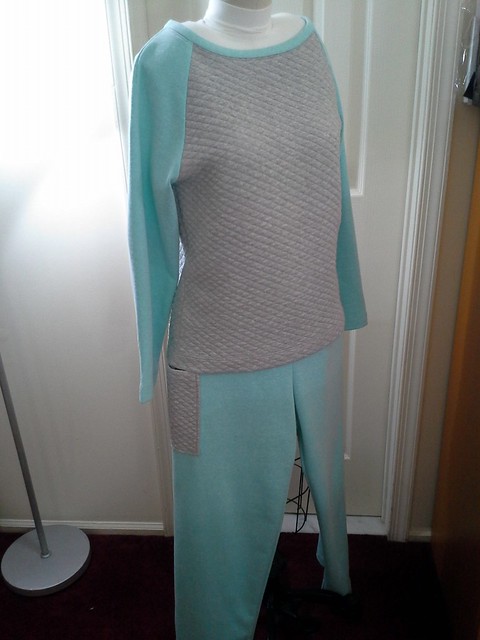
Less creepy?
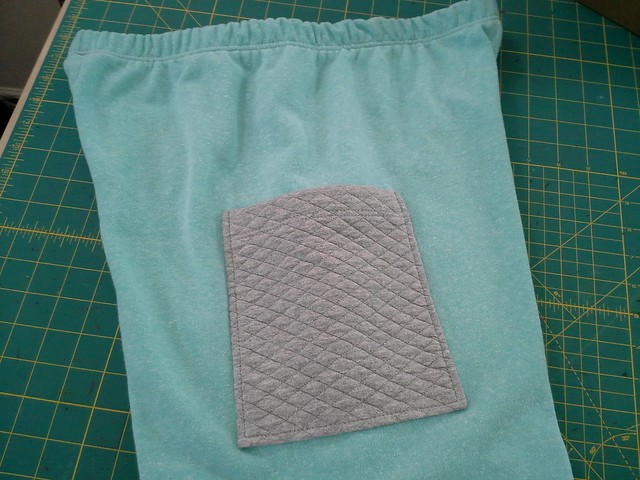
I used Pamela's Fantastic Elastic and her method for sewing the elastic to the pants, but I divide the pants and elastic into eighths instead of quarters.
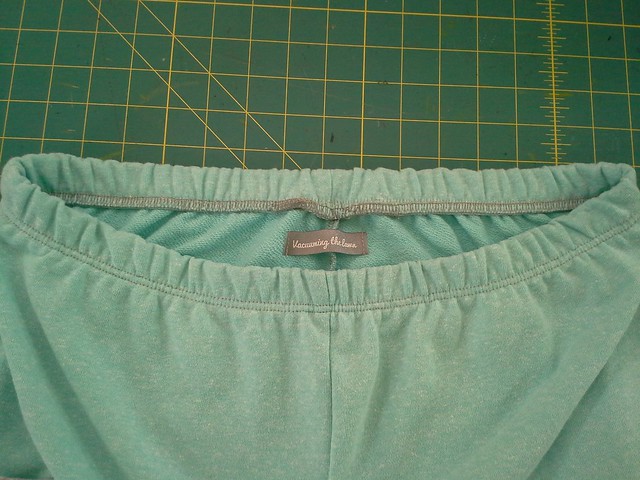
Overall Verdict
I like version 1.0, but the sleeves are non-stretch fabric, so not as comfy as they could be.
Version 2.0 is pretty awesome, because I love how the back of the quilted fabric feels--it is fantastic!
But I love love love version 3.0 because of the color combo and how both of the fabrics feel--super soft..