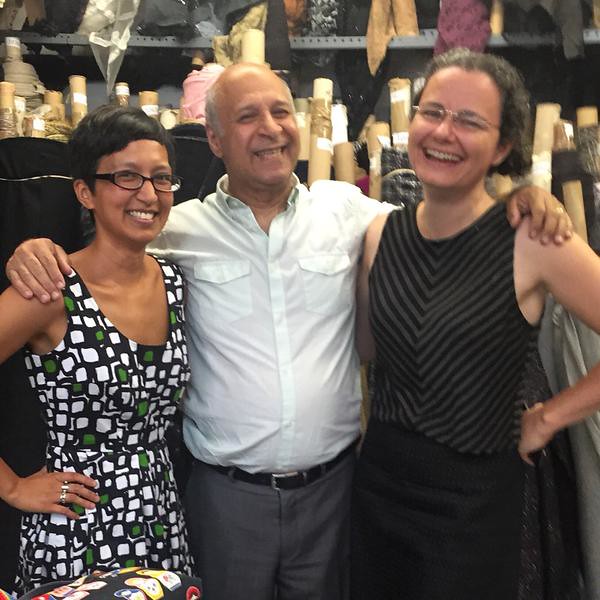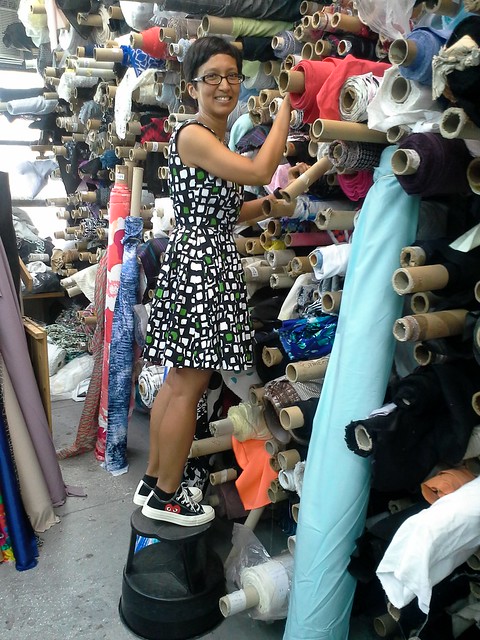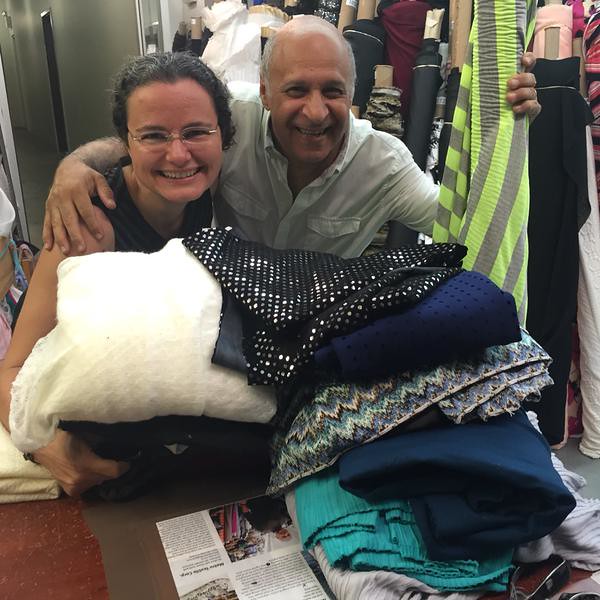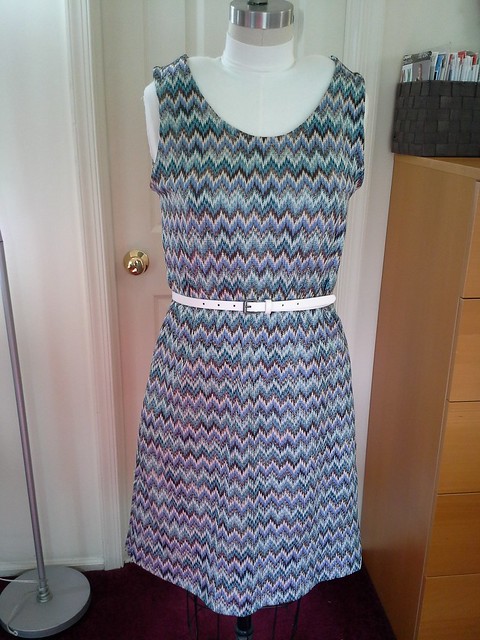
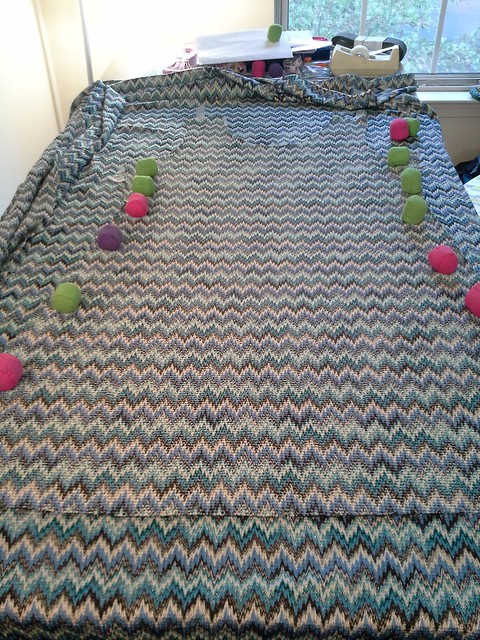
As I finished up sewing M6559 yesterday I realized that I have not sewn a dress since November! And look at this, it's a bona-fide print, from Kashi at Metro Textiles, sewn up a little over two weeks after I bought it (which surely must be a record). It is somewhat spongey and totally synthetic as all get out so I love it because it does not wrinkle.

I had a serious "want to make a dress" itch that I needed to scratch and this fit the bill nicely. The pattern is just a front piece and a back piece, and I sewed some strips to bind the armholes and neckline. I had made this dress once before in an ITY polka dot last September. This took me about 5 hours to sew this time, but I am a very slow seamster and if I had not futzed a lot with the bindings, I'm sure it could go faster. If I had serged the raw edges and then twin needle stitched the armhole and neckline, it would have been much speedier. Binding looks nicer but takes longer, for me at least.
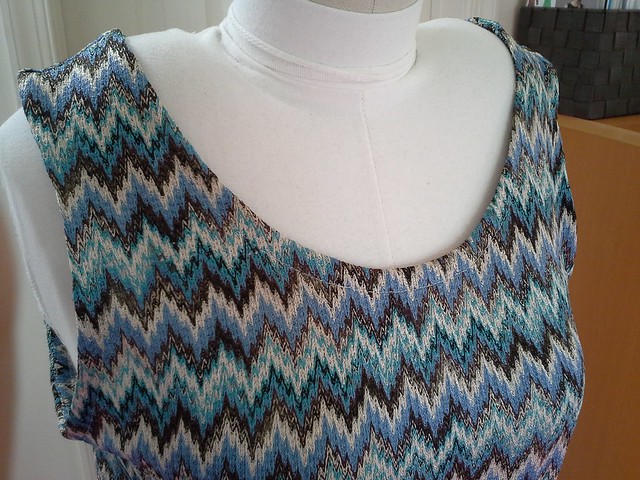
I am not overly crazy about how I used white thread to stitch down the binding at the neckline. The white stitching blends into the spongy fabric vertically at the armholes but it is really obvious at the neckline, as it approaches horizontal-ness, at least to me. Maybe I should have stitched it in brown, or maybe it would still drive me a bit crazy.
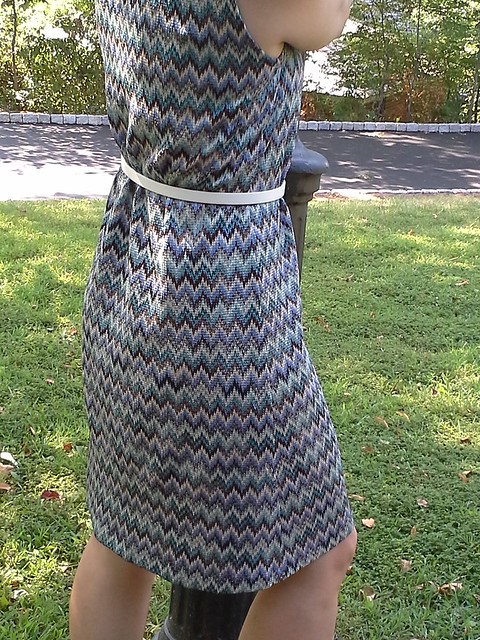
I am pretty pleased with how the print pretty much lines up on the side seams. The way I accomplished that was by first superimposing the front and back dress pattern pieces and noticing that, from the armhole down, the pattern piece is exactly the same. I cut out the front piece, and then placed the cut-out front of the dress right side to right side on the fabric, lined up the print at the edges, and then cut out the back piece from the armhole down, like this:
Then I put the back of the dress pattern down and cut out the back from the armhole up.
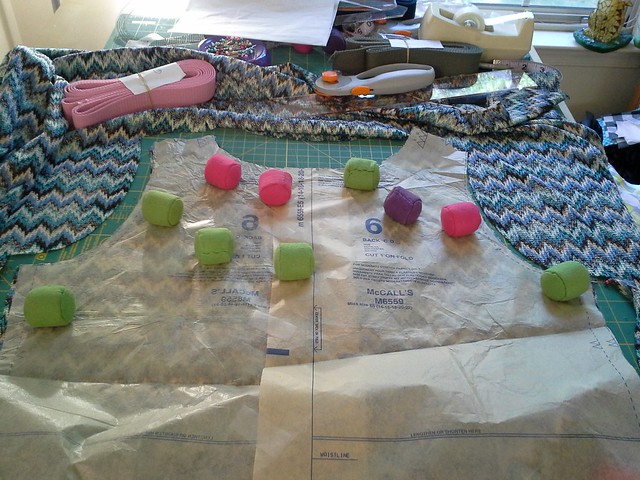
(Yes, I bought the pattern twice, and then taped it together at the fold so that I could cut single layer and not have to trace the pattern piece, which is the ultimate lazy thing to do but it works!)
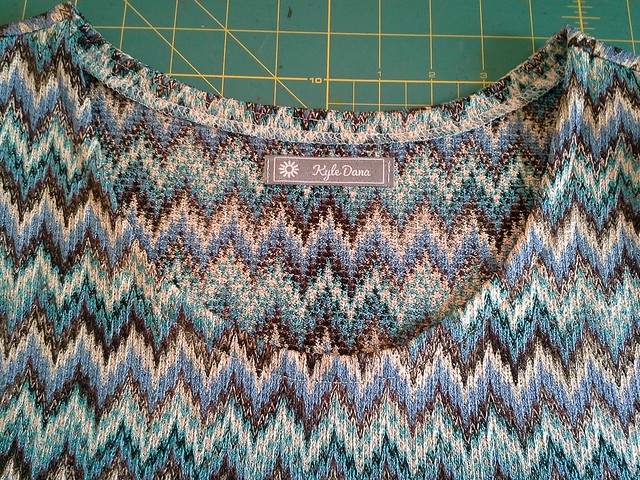
Close-up of the neckline, above.
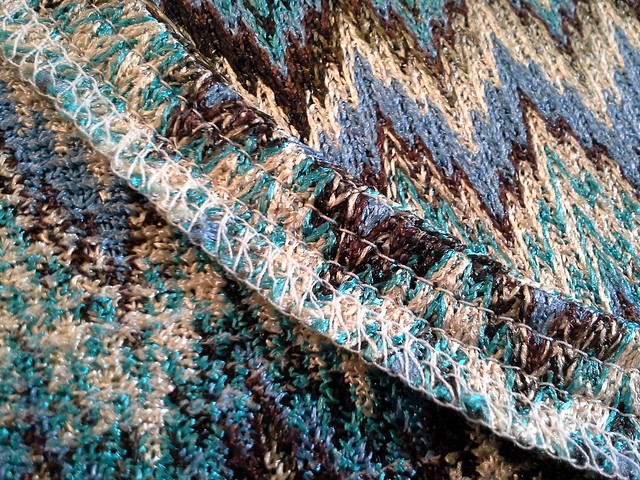
Above is the binding on the neckline on the inside....

And above is a closeup of the binding on the armholes on the inside. This fabric is kind of spongy, so it was much easier to bind the neckline by leaving the serged edge exposed instead of folding the binding in half first like I did with the armhole binding. Basically it's 4 layers vs 6.

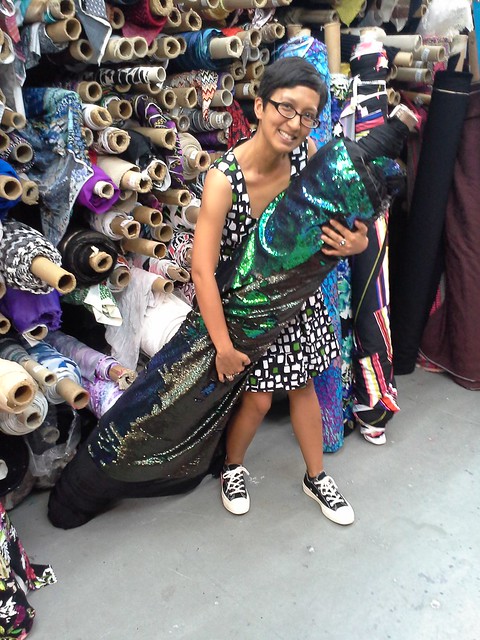
As this dress has no darts, I used a belt for shaping, which creates a few lines but doesn't bother me.
All in all this was a great dress to get back in the dress-making saddle again.
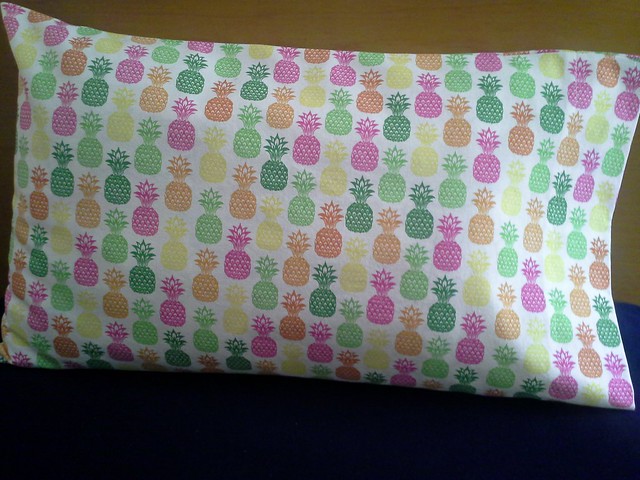
One random pillowcase I made this weekend.
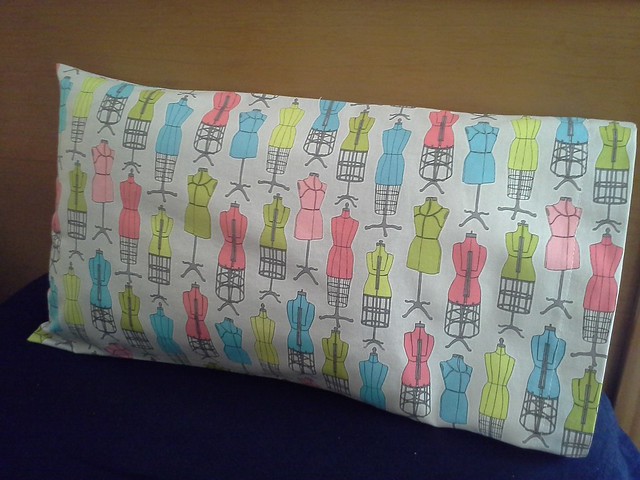
And another random pillowcase I made this weekend too.
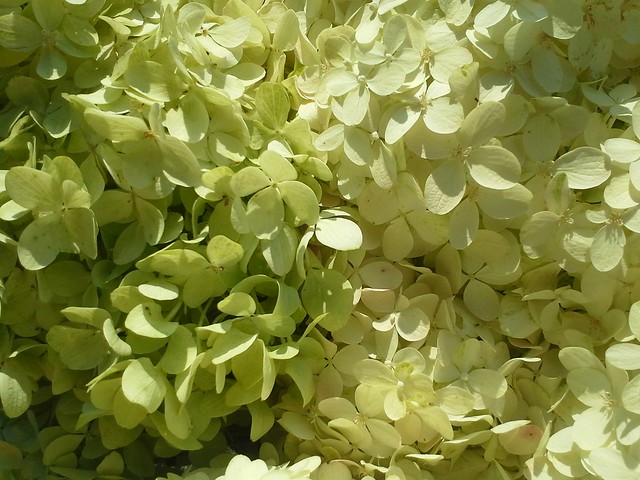
Close up of hydrangeas from the Princeton Farmers Market
Be well!